How to Make Gummy Candy at Home
Many people love the idea of making their own gummy candy at home but feel overwhelmed by the process or unsure where to start. You’re not alone—crafting perfect gummies can seem tricky, especially if you’re new to DIY treats.
To make gummy candy at home, start by blooming unflavored gelatin in cold water. Then gently heat it with your choice of sweeteners, flavorings, and fruit juice until fully dissolved.
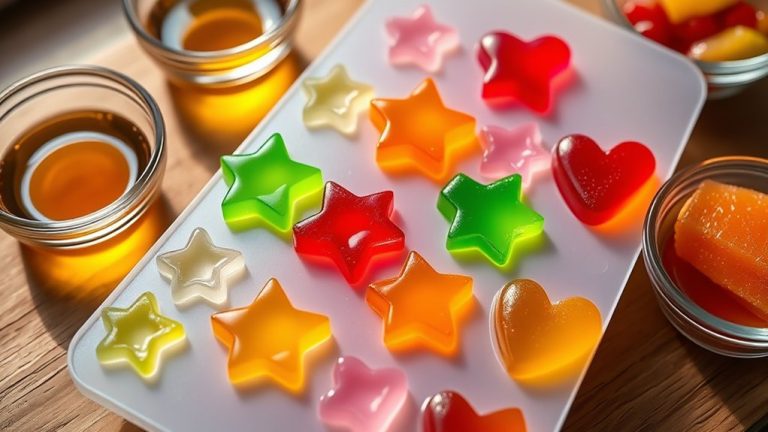
Pour the mixture into silicone molds, which you should lightly grease or spray for easy removal. Allow the gummies to set in the fridge for a few hours.
For tips on perfect texture and decorating, keep exploring—there’s plenty more to uncover.
Key Takeaways
- Dissolve unflavored gelatin with water or fruit juice, then heat gently to activate and incorporate sweeteners and flavorings.
- Choose and prepare silicone or plastic molds, applying release agents for easy gummy removal.
- Pour the warm gelatin mixture into molds, then cool and refrigerate for 2-4 hours until set.
- Carefully demold gummies using gentle flexing, and decorate or package as desired.
- Store gummies in airtight containers in a cool, dry place to maintain freshness and chewy texture.
What Are the Essential Ingredients for Homemade Gummy Candy?
To make delicious homemade gummy candy, you’ll need a few essential ingredients. First, gather unflavored gelatin, which is the backbone of your gummies, giving them their chewy texture.
Unflavored gelatin is essential for chewy, homemade gummy candies.
Next, you’ll need a sweetener like honey, sugar, or corn syrup to add sweetness and help achieve the right consistency. For flavor, use high-quality gummy flavoring—these concentrated extracts give your candies vibrant taste without changing the texture.
Water or fruit juice acts as the liquid base, helping to dissolve the gelatin and flavoring evenly. When pouring the mixture into molds, make sure they’re made from food-grade silicone or other safe materials.
This prevents any chemical transfer and keeps your gummies safe to eat. With these key ingredients, you can create tasty, colorful gummies tailored to your taste while ensuring safety and quality throughout the process.
How to Choose the Best Molds and Tools for Gummies
Picking the right molds and tools can really make your gummy-making experience more enjoyable and hassle-free. When you’re choosing, think about the materials—silicone is super popular because it’s durable and flexible, making it easier to pop out your gummies without breaking them. Plastic molds are also a good option, especially if you’re looking for something lightweight and budget-friendly.
Don’t forget to consider the size and shapes you’re into. Whether you want cute bears, fruity rings, or custom shapes, there are plenty of options out there. And it’s a good idea to pick molds that are easy to handle, even if you’re a beginner. Easy-to-clean tools will save you a lot of time and effort, so you can spend more time enjoying your homemade treats rather than scrubbing.
Material Types for Molds
Selecting the right material for your gummy molds is essential to guarantee easy release and a professional-looking finish. Silicone molds are popular because they’re flexible, non-stick, and withstand high temperatures, making demolding simple.
They come in various shapes and sizes, allowing for detailed designs. Plastic trays are another option; they’re sturdy and typically cheaper but can be less flexible. They work well for larger, simpler gummies and are easy to clean.
When choosing, consider how intricate your molds need to be and how easy they are to handle. Silicone molds are ideal for complex shapes, while plastic trays suit straightforward designs. Both materials are durable, but silicone offers better versatility and easier removal, helping you achieve polished, uniform gummies every time.
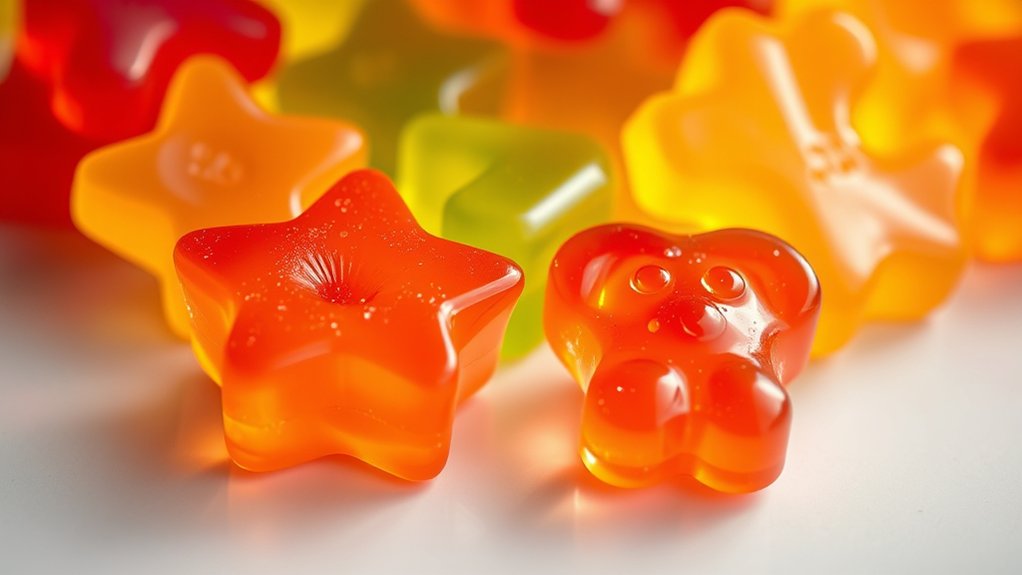
Size and Shape Choices
Size and shape choices are key when it comes to your gummy molds because they impact how your final candies look and how much you get in each piece. Picking the right size helps you get just the right bite, whether you want small, snack-sized gummies or bigger treats.
Gummy shapes also add to the visual appeal and fun factor. From classic bears to creative novelty designs, the shape can make your candies more attractive and memorable.
Think about these points: Smaller gummies are great if you want easy portion control or quick snacks. Larger gummies give a more substantial treat and are perfect for gifting or special occasions.
Unique or themed shapes can make your candies stand out and add a playful vibe. Matching your molds to your desired size and shape helps you create candies that look great and match your style.
Ease of Use and Cleaning
When choosing molds and tools for making gummies, ease of use and cleaning should be your main focus. Go for non-stick silicone molds—they’re easy to pop gummies out of and make cleaning a breeze.
Look for options that are dishwasher safe to save time and ensure a thorough clean. After each use, rinse molds right away and steer clear of abrasive cleaners that could damage them.
For cleaning, warm water and mild soap usually do the trick. A soft brush can help reach into tricky crevices. Just avoid soaking molds in hot water for too long, as it might warp them.
Transparent, flexible molds make it easier to see and remove leftover residue. This helps keep your tools in great shape so you can make consistent, high-quality gummies every time.
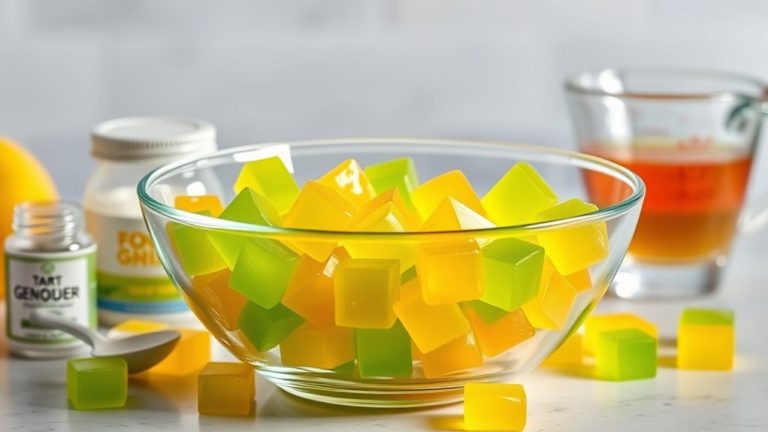
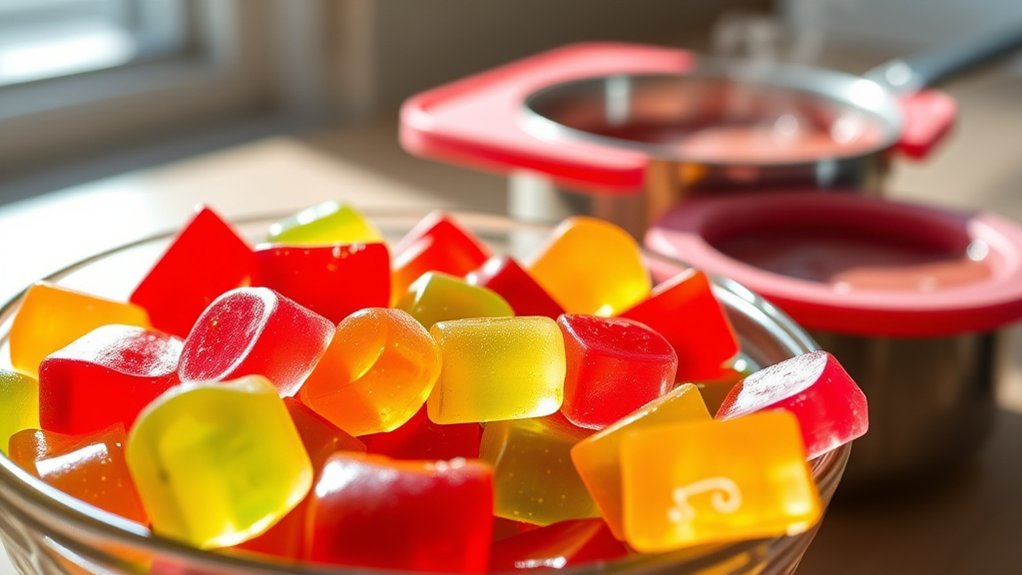
How to Prepare Your Gummy Mixture From Scratch
To prepare your gummy mixture from scratch, start by combining unflavored gelatin with a small amount of cold water in a saucepan. Let it sit for a few minutes to bloom.
Then, gently heat the mixture over low heat, stirring constantly until the gelatin dissolves completely. Once smooth, add your liquid sweetener and flavorings, choosing flavor pairing combinations like citrus with mint or berry with vanilla.
For versatility, consider ingredient substitutions: honey or agave syrup can replace sugar, and fruit juice can stand in for flavored extracts. To improve the texture or taste, incorporate optional elements like citric acid for tanginess or food-grade emulsifiers for smoother consistency.
Keep in mind, your choice of flavor pairing influences the final taste, so be mindful when mixing complementary or contrasting flavors. Once the mixture is fully combined and heated, you’re ready to pour it into molds and move on to the next step.
How to Achieve the Perfect Chewy and Firm Gummy Texture
Once your gummy mixture is fully prepared and poured into molds, paying attention to the cooking and setting process helps you get that perfect chewy and firm texture.
Pay attention to cooking and setting for perfectly chewy, firm gummies.
For the best results, cook the mixture at a gentle simmer, avoiding boiling, which can make gummies too soft. Using a thermometer can help you hit the right temperature—around 212°F (100°C)—to properly activate the gelatin.
To make the gummies chewier, consider adding a bit more gelatin or using agar-agar for a firmer bite. If you want an even chewier texture, reduce the liquid slightly or increase the gelatin ratio.
Allow the gummies to set completely in the refrigerator, usually 2 to 4 hours, before removing them from molds. Proper cooling solidifies the structure and gives you that satisfying firmness.
How to Add Flavors and Colors to Customize Your Gummies
Adding flavors and colors to your gummies is a fun way to personalize them and make them more appealing. To boost flavor infusions, try mixing different extracts like fruit, vanilla, or herbal flavors into your mixture before setting. This creates unique taste combinations that really stand out.
For colors, experiment with color blending by combining gel food colors to get custom shades that match your theme or favorite fruits. Here are some tips to help you get started:
Use a toothpick or small brush to add concentrated flavor extracts directly into the gummy mixture, making sure the flavor is evenly distributed.
Gradually mix multiple gel colors to create a custom hue, testing small amounts first to perfect your shade.
Incorporate natural flavor infusions like fruit juices or herbal extracts for a more authentic and vibrant flavor profile.
Experimenting with flavor infusions and color blending lets you craft gummies that reflect your personal taste and style.
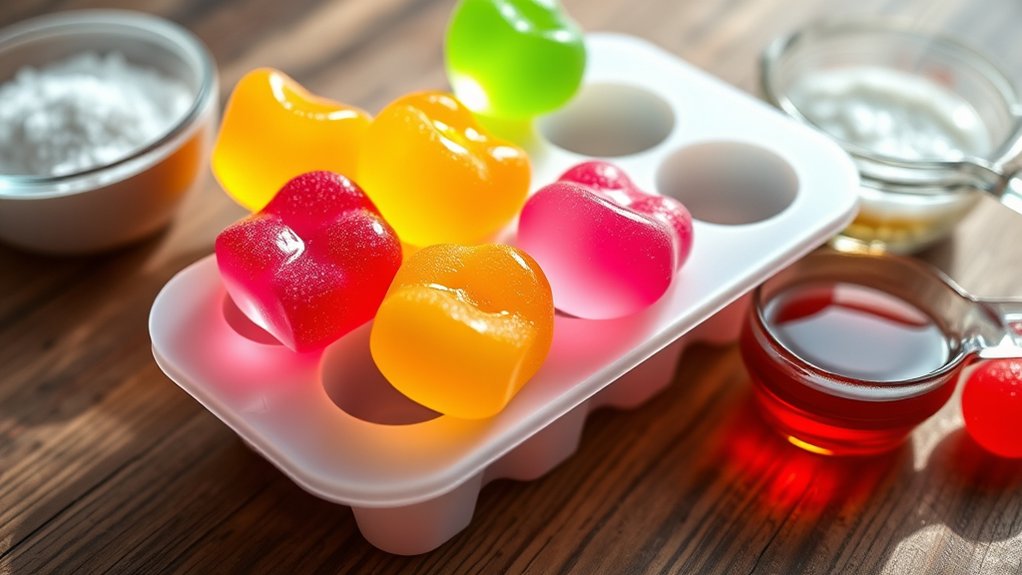
How to Pour and Set Your Gummies for Best Results
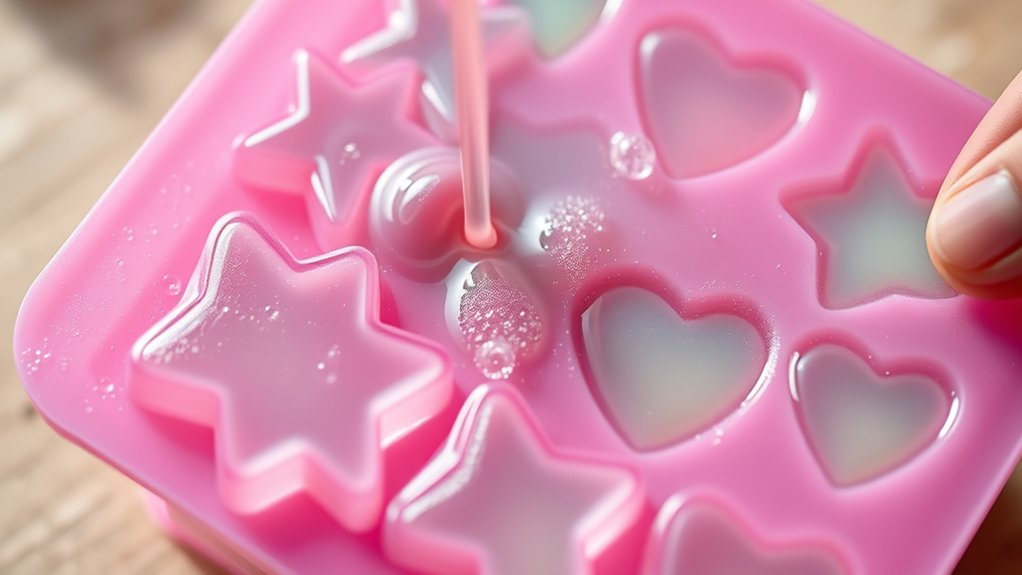
Pouring your gummy mixture carefully into molds helps ensure they set with a smooth, professional look. Take your time and pour slowly to avoid spills and air bubbles, which can affect how they turn out.
Before pouring, make sure your colors are well-blended. This prevents streaks and helps create vibrant, uniform gummies. Use a steady hand and gentle tilts to fill each cavity evenly.
After pouring, you can smooth the surface with a toothpick or small spatula if needed. Proper mold maintenance is key—clean them thoroughly after each batch to prevent residue buildup that could ruin future gummies.
Lightly greasing or using non-stick molds can make removal easier later. By paying attention to your pouring technique, color consistency, and mold upkeep, you’ll end up with gummies that look and taste professional, with a polished finish that’s sure to impress.
How to Remove Gummies From Molds Without Breaking
Want to get your gummies out of the molds without breaking them? It’s easier than you might think! First off, using a good release agent like non-stick spray or a sprinkle of cornstarch can make a big difference. It helps the gummies slide right out without sticking or tearing.
Then, gently flex the mold to loosen the candies—be careful not to pull too hard. A gentle wiggle and patience will help your gummies come out intact and looking perfect. Just take your time, and you’ll have beautifully shaped gummies every single time!
Use Proper Release Agents
Using the right release agent is key to removing gummies from molds smoothly and without damage. Proper agents help keep the gummies’ shape and can even extend their shelf life.
To make removal easier, consider these options:
- Cooking spray or non-stick spray – just apply a thin, even layer to prevent sticking.
- Light brushing of vegetable oil or cocoa butter – great for delicate molds that need gentler treatment.
- Silicone mold sprays – designed specifically for confectionery, giving you a non-stick surface.
Always test small amounts when using ingredient substitutions, since different agents can impact shelf life and texture. Using the correct release agent reduces breakage and helps your gummies come out perfect every time.
Gentle Mold Flexing
Gently flex the mold by carefully bending or twisting it, which helps release the gummies without applying excessive force. This mold flexing technique is essential in candy shaping, preventing your gummies from breaking or losing their shape.
Instead of pulling or tugging, use slow, controlled movements to encourage the gummies to pop out naturally. If they resist, give the mold a gentle stretch and hold it for a few seconds.
Avoid sharp or sudden movements, as these can damage the candies. Consistent, delicate mold flexing ensures your gummies come out cleanly and intact.
Practice patience and finesse, and you’ll master candy shaping without risking breakage. With this careful approach, your homemade gummies will maintain perfect form and texture.
Creative Ways to Decorate and Package Your Homemade Gummies
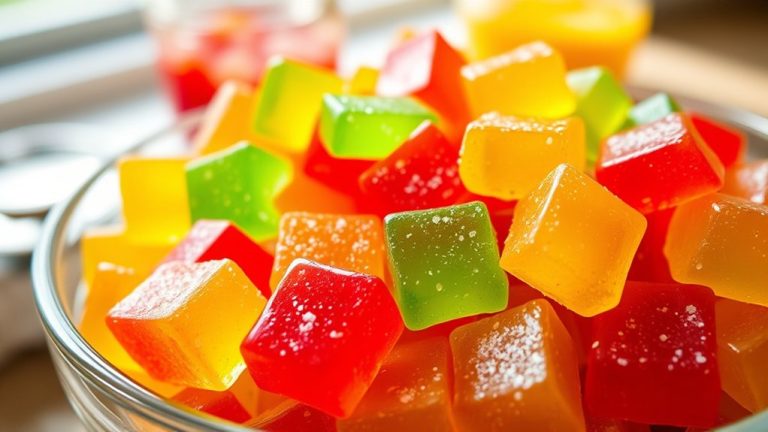
For decorative toppings, sprinkle edible glitter, add tiny fruit pieces, or dip gummies in chocolate for extra flair. You can also use powdered sugar or colored sugar for a vibrant finish.
Here are three ideas to boost your presentation:
- Use silicone molds to create unique shapes, then decorate with tiny edible pearls.
- Wrap gummies individually in patterned wax paper or parchment, securing with twine.
- Incorporate themed packaging, like holiday boxes or party favor bags, to match special occasions.
These tips make your homemade gummies irresistible and perfect for gifting or sharing.
Troubleshooting Common Gummy Making Problems
Even experienced candy makers run into common issues when making gummies, but most problems have simple fixes. If your gummies aren’t setting properly, double-check that you’re using the right amount of gelatin and boiling the mixture just enough to activate it.
For flavor combos that don’t taste quite right, review your ingredient measurements and consider tweaking the sweeteners or adding a bit more extract. If your gummies stick to the mold or break apart, it’s usually a mold maintenance issue—try spraying or dusting molds lightly with neutral oil or cornstarch before pouring.
Poor mold release can cause gummies to tear or stick, making them hard to remove. If your gummies are too soft or too firm, adjust the cooling time or temperature. Remember, experimenting with different flavors can also help troubleshoot taste issues.
With proper mold maintenance and the right ingredient ratios, you can avoid most common gummy problems and get perfect results every time.
How to Store Your Gummy Candy to Keep It Fresh
Want to keep your gummy candy fresh and tasty? The best way is to store it in an airtight container—that way, no air can sneak in and dry it out. Just find a cool, dry spot in your kitchen or pantry, and you’re all set.
Make sure to seal the container tightly so humidity or heat doesn’t sneak in and spoil your gummies. Keep them away from places that get warm or damp, and they’ll stay chewy and delicious for longer.
Proper Container Selection
Choosing the right container is key to keeping your gummy candy fresh and tasty. A good container protects against moisture, air, and contamination, so your treats stay delicious.
When picking a container, think about these factors:
- Material: Go for airtight, food-grade options like glass or BPA-free plastic for the best preservation.
- Aesthetics: Choose containers that look good and match your kitchen decor or style.
- Size: Pick the right size to avoid too much air exposure or overcrowding, which can affect freshness.
Regular cleaning and sealing are important for proper container maintenance. A well-chosen container not only keeps your gummies fresh but also adds a nice touch to your storage space.
Ideal Storage Conditions
Keeping your gummy candies fresh means paying attention to storage conditions that control temperature and humidity. Store your gummies in an airtight container made from non-reactive materials like glass or food-grade plastic to prevent flavor contamination.
Keep the storage area cool and dry, ideally between 60-70°F, to preserve the flavor and stop the gummies from melting or sticking together. Avoid direct sunlight, which can fade the flavor and make candies sticky.
Properly sealed containers keep out air and moisture, helping maintain your gummies’ texture and freshness. Using a good mold material inside the container also helps keep their shape and quality over time.
Sticking to these conditions will keep your homemade gummies tasting great and looking delicious.
Preventing Moisture Exposure
Moisture is one of the biggest enemies of fresh gummy candies because it can make them sticky, lose their texture, or grow mold. To keep that from happening, you need good moisture barriers and humidity control.
Start by storing your gummies in airtight containers to protect them from air and humidity. Then, add desiccant packets or rice inside the container to absorb any excess moisture. Keep your gummies in a cool, dry place away from direct sunlight and sources of humidity.
These simple steps help your candies stay firm and fresh longer. Proper storage creates a strong barrier against moisture and keeps your gummies at their best. With these precautions, your homemade gummies will stay delicious and last longer on the shelf.
Frequently Asked Questions
Can I Make Vegan or Gelatin-Free Gummy Candies at Home?
Yes, you can make vegan or gelatin-free gummy candies at home. Use vegan gelatin substitutes like agar-agar or carrageenan to get the right texture.
For sugar-free options, just swap out traditional sugar with alternatives like stevia or erythritol. You simply dissolve your vegan gelatin substitute in warm liquid, add your sweeteners, and pour into molds.
Chill until set, and you’ll have delicious, plant-based gummies tailored to your dietary needs.
What Are Alternative Sweeteners I Can Use in Gummies?
You can use natural sweeteners like honey, maple syrup, or agave nectar, which add flavor and sweetness naturally.
Sugar substitutes such as stevia, erythritol, or monk fruit sweetener are also great options for a sugar-free gummy.
These alternatives work well in recipes, giving you control over sweetness while keeping your gummies vegan or low-sugar.
Just adjust quantities to suit your taste and desired texture.
How Long Do Homemade Gummies Typically Last?
Surprisingly, your homemade gummies last about a week or two—if you’re lucky. Their shelf life depends on how you store them; keep them in an airtight container and away from heat and moisture.
Ironically, the very freshness you crave might fade faster without proper care. For longer storage, consider refrigerating or freezing, but keep in mind this can change their texture.
Enjoy them quickly, and savor each chewy bite before they disappear!
Are There Any Health Benefits to Adding Certain Ingredients?
Adding certain ingredients to your gummy candy can offer health benefits and positively impact health implications. For example, using gelatin provides protein, while natural fruit juices add vitamins and antioxidants.
Incorporating ingredients like chia seeds or turmeric can boost fiber and anti-inflammatory properties. Just be mindful of sugar content and additives, as excessive consumption might have adverse effects.
Choosing wholesome ingredients elevates your gummies’ nutritional value and contributes to better overall health.
Can I Make Gummy Candies Without Using a Stove or Heat?
Yes, you can make gummy candies without heat by using gelatin or agar-agar, which set at room temperature. Simply mix your favorite flavors with the gelatin or agar-agar, along with sweeteners and liquids.
Pour the mixture into molds and let them chill in the fridge until they’re firm. This way, you get vibrant gummy flavors and a chewy texture without needing a stove or heat.
Conclusion
Now that you know how to make gummy candy at home, why not give it a try and create your own delicious treats? With the right ingredients, tools, and a little patience, you can craft personalized gummies that impress everyone.
So, are you ready to experiment with flavors and shapes? Plunge in and enjoy the fun of making your own chewy, colorful candies. After all, the sweetest results come from your own kitchen!