How to Make Chocolate Candy Bars at Home
Many people dream of making their own chocolate candy bars at home but get overwhelmed by the process. If you’ve ever struggled with achieving that perfect glossy finish or smooth texture, you’re not alone. The good news is, with a few tips and tricks, you can master homemade chocolate bars that look and taste incredible.
To make chocolate candy bars at home, start by choosing high-quality chocolate suited to your flavor preference. Then melt and temper it carefully for a glossy finish.
Pour the melted chocolate into molds, add your favorite fillings or toppings, and layer more chocolate if desired.
Once set, remove from molds, cut if needed, and package them nicely.
Mastering tempering and environment control helps prevent issues like blooming or cracking. Keep experimenting and investigating to perfect your treats and enjoy delicious homemade chocolate bars.
Key Takeaways
- Use high-quality chocolate and proper melting and tempering techniques for a glossy, firm finish.
- Prepare molds and fillings, then pour and layer melted chocolate, tapping out air bubbles.
- Add toppings or fillings like nuts, caramel, or dried fruit before the chocolate sets.
- Cool slowly in a stable environment to prevent blooming and cracking, maintaining consistent temperature and humidity.
- Wrap and package finished bars carefully for freshness and attractive presentation.
Gather Ingredients and Equipment for Homemade Chocolate Bars
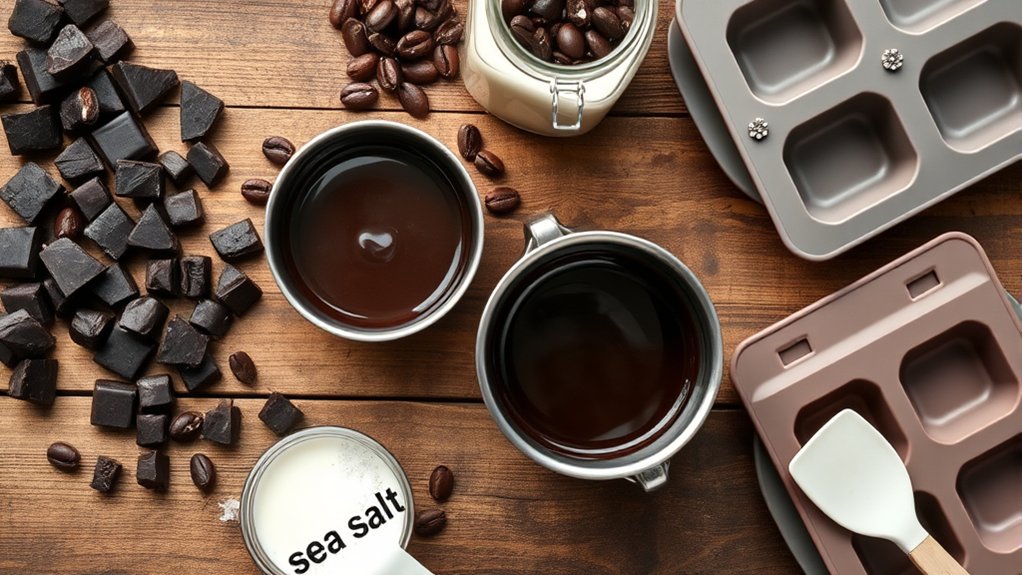
Before you start making your homemade chocolate bars, gather all the ingredients and equipment you’ll need. Start with high-quality chocolate, whether you like dark, milk, or white.
Keep in mind, you can substitute ingredients like cocoa butter or sweeteners if you’re adjusting for dietary needs or flavor preferences.
Feel free to swap ingredients like cocoa butter or sweeteners to suit your dietary needs and taste preferences.
Have a double boiler or a microwave-safe bowl ready for melting the chocolate smoothly. You’ll also want a spatula, a baking pan or silicone mold, and some parchment paper for easy removal.
Proper storage is key—keep your chocolate in a cool, dry place to prevent melting or blooming.
If you’re planning to store your finished chocolate bars, wrap them tightly in plastic wrap or foil and keep them in an airtight container.
Gathering everything before you start makes the process smoother, avoids interruptions, and lets you focus on the fun part—creating delicious homemade chocolate bars.
Choose the Best Types of Chocolate for Your Candy Bars
Choosing the right type of chocolate is really important when you’re making those yummy candy bars. Think about whether you prefer dark, milk, or white chocolate—each one brings its own unique flavor and vibe to your treat. It all depends on your taste and what kind of recipe you’re working with.
And don’t forget, how you handle the chocolate matters just as much as which one you pick. Getting the melting and tempering just right will help your chocolate turn out smooth and shiny—making your candy bars not only taste great but also look super professional.
Types of Chocolate Varieties
When selecting chocolate for your homemade candy bars, understanding the different varieties can help guarantee you get the perfect flavor and texture. Dark chocolate offers a rich, intense taste that’s ideal for those who love bold flavors, while milk chocolate provides a creamy, sweeter experience.
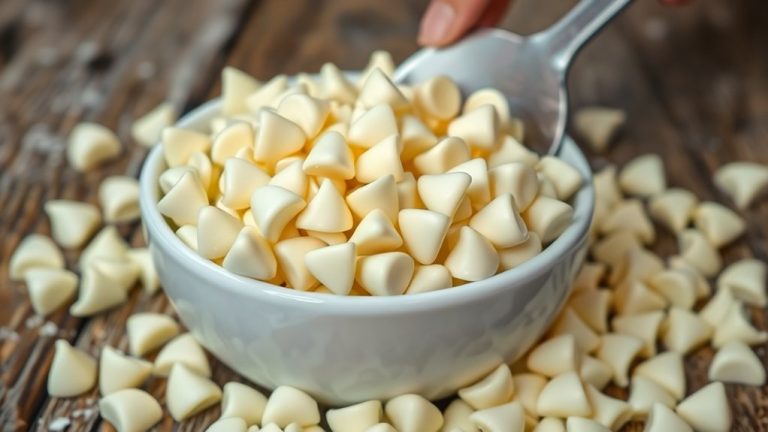
White chocolate isn’t technically chocolate but adds a smooth, buttery note that pairs well with nuts and fruit. Cacao content influences bitterness and depth—higher cacao means more complexity.
Exploring chocolate artistry allows you to experiment with flavor pairing, combining different chocolates for unique profiles. Consider your desired texture and taste when choosing between these varieties.
The right selection can raise your candy bars and create a balanced, delicious treat that showcases your skill and creativity.
Melting and Tempering Tips
To get smooth, glossy chocolate for your candy bars, it’s important to melt and temper your chocolate properly. Start by choosing the best type for your project. High-quality chocolate ensures better pairing and makes wrapping easier.
For melting, go with couverture chocolate or good-quality chocolate chips. They melt evenly and give a nicer finish. Tempering involves heating, cooling, and reheating the chocolate to stabilize the cocoa butter.
Use a double boiler or microwave with short bursts, stirring constantly to avoid overheating. Here’s a quick guide to different chocolate types:
| Chocolate Type | Best for | Notes |
|---|---|---|
| Dark Chocolate | Rich, bold candy bars | High cocoa content |
| Milk Chocolate | Creamy, smooth bars | Softer tempering process |
| White Chocolate | Decorative, smooth finish | Sensitive to overheating |
| Compound Chocolate | Easy melting, no tempering | Less glossy, less stable |
| Couverture Chocolate | Professional quality | Ideal for tempering |
Prepare Fillings and Toppings for Personalization
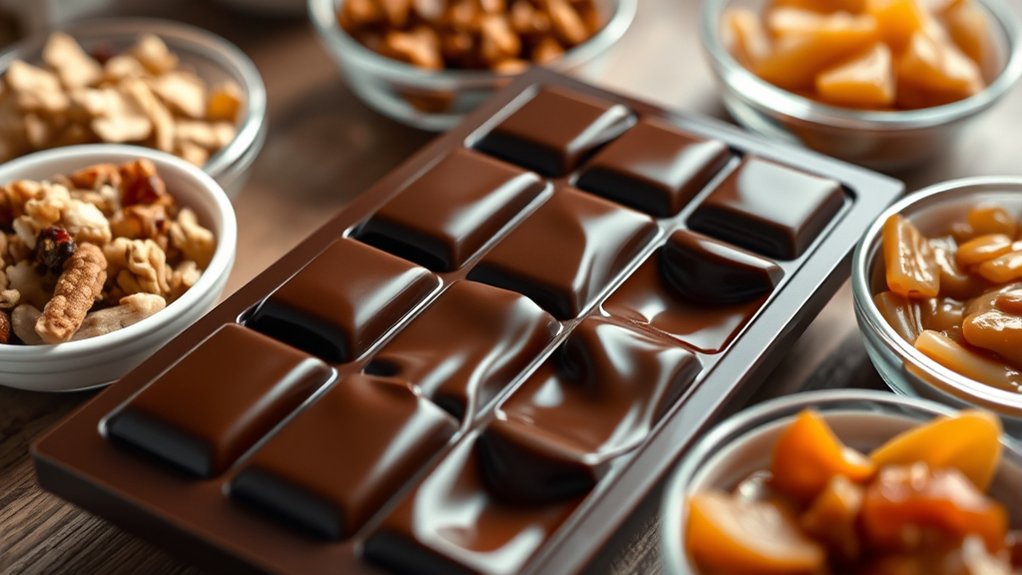
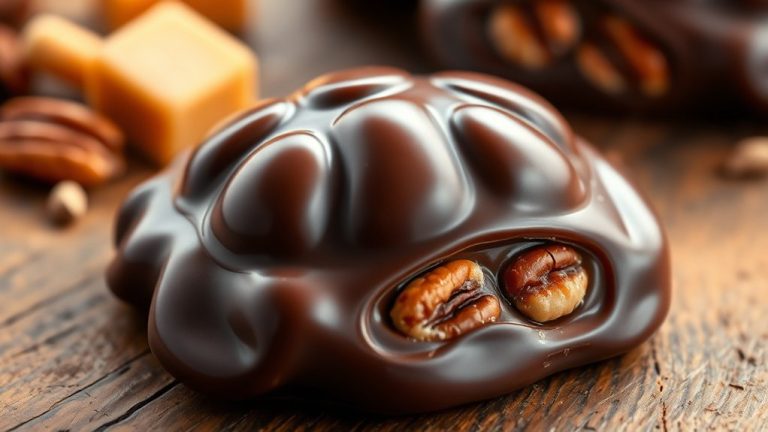
Preparing fillings and toppings lets you personalize your chocolate candy bars and add variety to every bite. Start by choosing fun flavor combos that match your taste—think caramel, nuts, dried fruits, or crushed cookies. These fillings surprise you inside the bars and boost their flavor.
For toppings, consider ideas like sprinkles, shredded coconut, sea salt, or a drizzle of contrasting chocolate. Having a range of textures and flavors keeps your candy bars interesting and unique. To get ready, chop nuts or dried fruits finely, or melt ingredients like caramel ahead of time.
Set out small bowls of your chosen toppings so you can sprinkle or drizzle as you assemble. The key is to experiment with different combinations and textures, making each candy bar truly yours. This step lets your creativity shine and ensures every bite is a delicious, personalized treat.
How to Melt and Temper Chocolate at Home
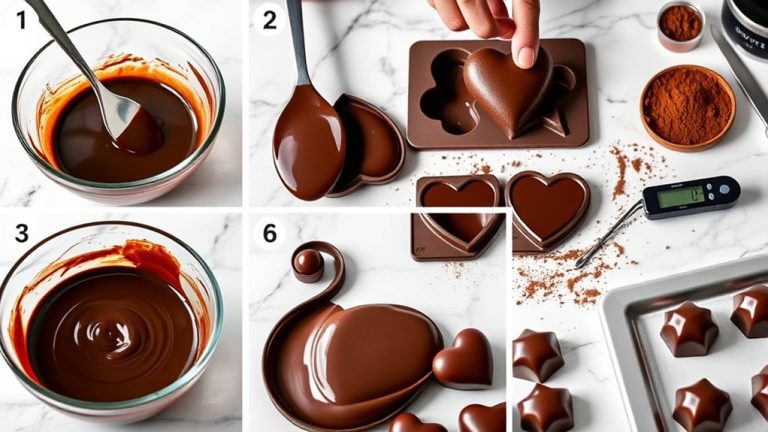
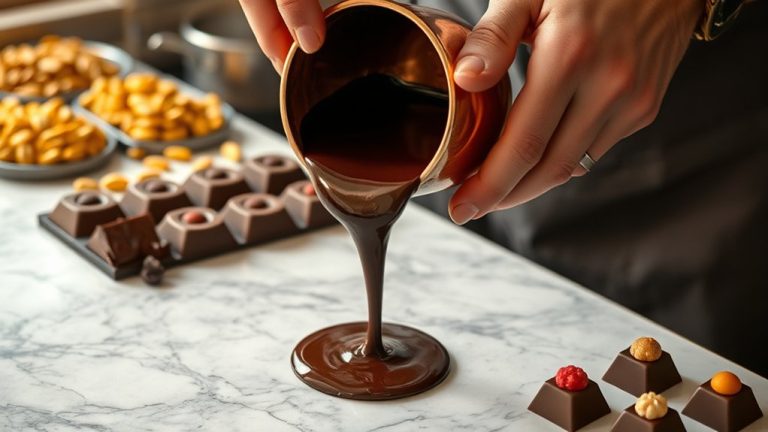
Once your fillings and toppings are ready, it’s time to melt the chocolate to create a smooth, glossy coating for your bars. To keep the chocolate flavor and get that perfect candy texture, use a double boiler or microwave in short bursts.
If melting on the stove, place chopped chocolate in a heatproof bowl over simmering water, stirring constantly until smooth. For microwave melting, heat in 20-30 second intervals, stirring each time until fully melted.
Tempering chocolate is key to preventing dullness or bloom and giving your candy bars a professional look. To do this, melt two-thirds of the chocolate, then cool it by adding the remaining third, stirring until it reaches about 88-90°F for dark chocolate or 86-88°F for milk or white chocolate.
This process ensures a shiny appearance, a firm snap, and a rich chocolate flavor. It also results in a candy texture that’s both crisp and satisfying.
Pour, Layer, and Set Your Chocolate Candy Bars
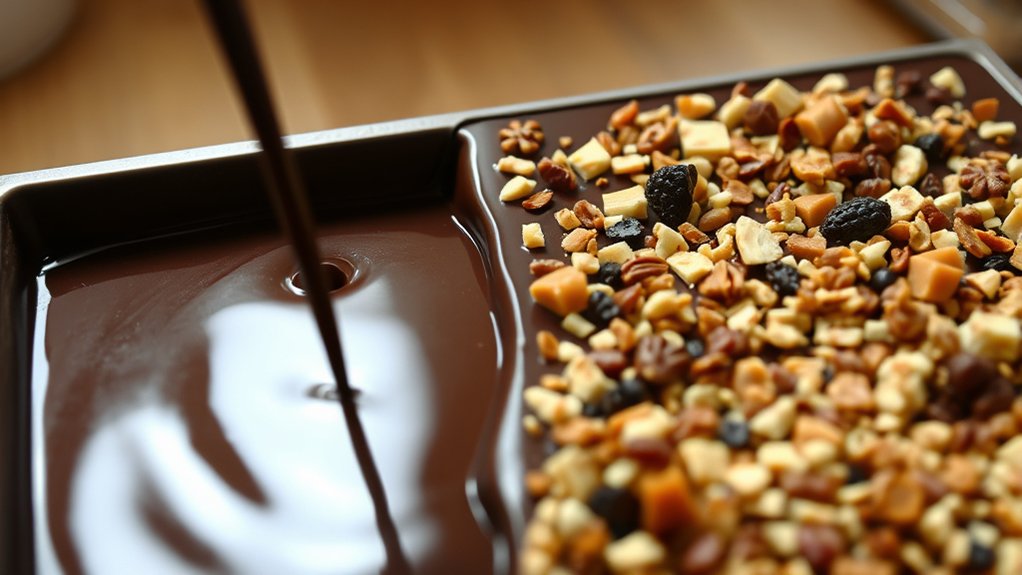
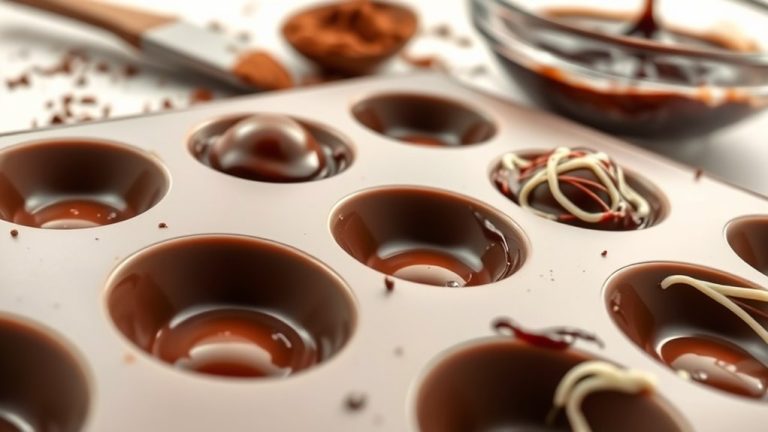
After your chocolate is properly tempered, pour a layer into the prepared mold, spreading it evenly with a spatula or the back of a spoon. This first layer creates the base flavor and gives your candy a smooth, glossy finish.
Gently tap the mold on the counter to remove air bubbles and settle the chocolate. Let this layer set in a cool, undisturbed place for a few minutes until it firms up slightly.
Once it’s semi-hard, pour a second layer if you want a thicker candy bar, and repeat the spreading and tapping process. When all layers are set and firm, carefully lift the chocolate out of the mold.
To keep your candies looking professional, wrap each one tightly in candy wrapping or foil. This seals in the flavor and keeps your treats fresh.
Proper layering and setting are key to making a polished, homemade chocolate candy bar.
Add Fillings and Toppings Neatly and Efficiently
Adding fillings and toppings requires a steady hand and a clear plan to keep your chocolate bars looking neat. Use techniques like piping or sprinkling to place ingredients precisely.
For fillings like nuts, dried fruit, or caramel, spoon or drizzle them evenly across the surface, avoiding clutter. If you want to customize with ingredient substitutions, consider options like dark chocolate instead of milk or coconut flakes instead of sprinkles.
When adding toppings, work quickly to prevent melting or smudging. Lightly tap the mold to settle the toppings into place, ensuring they stick firmly.
For intricate designs or layered toppings, use small tools like toothpicks or squeeze bottles to control placement. Keep your workspace organized and work in sections to stay accurate.
With patience and a steady hand, your fillings and toppings will improve both the look and flavor of your homemade chocolate bars.
Cut and Package Your Homemade Chocolate Bars Perfectly
To get clean, professional-looking bars, you need to cut and package them carefully once they’ve cooled and set. Use a sharp knife that’s been warmed slightly with hot water for smooth cuts. Press down firmly and straight through the chocolate to avoid cracking.
After cutting, you might want to add some finishing touches. Drizzling with contrasting chocolate or sprinkling toppings can give your bars a polished look. Just keep decorations light so they stay neat.
When it’s time to package, choose storage options that keep the bars fresh. Airtight containers or wrapping with wax paper work great. Good packaging not only protects your chocolates but also makes them look appealing.
Common Mistakes to Avoid When Making Chocolate Candy Bars
One common mistake when making chocolate candy bars is rushing the cooling process, which can cause cracks or uneven textures. Cooling too quickly or unevenly can make the chocolate crack or become brittle, messing up how they look and feel.
To avoid this, let the bars cool slowly at room temperature or in a cool, controlled environment. Skipping proper cooling can also make it tricky to add fillings or toppings smoothly.
Another mistake is not thinking about chocolate allergies. If you’re sharing your homemade bars, be aware of common allergens and clearly label the ingredients. Also, pay attention to nutritional info if you’re making bars for people with dietary restrictions.
Using high-quality chocolate and properly tempering it helps give your bars a shiny finish and good texture. This avoids dull or streaky looks. Keep these tips in mind for perfect, safe, and delicious homemade chocolate candy bars.
Creative Flavor Ideas and Variations to Try
Getting creative with flavor combinations can turn your homemade chocolate bars into irresistible treats. You can experiment with flavor infusions to add unique twists, like infusing dark chocolate with chili, mint, or citrus zest for a vibrant taste.
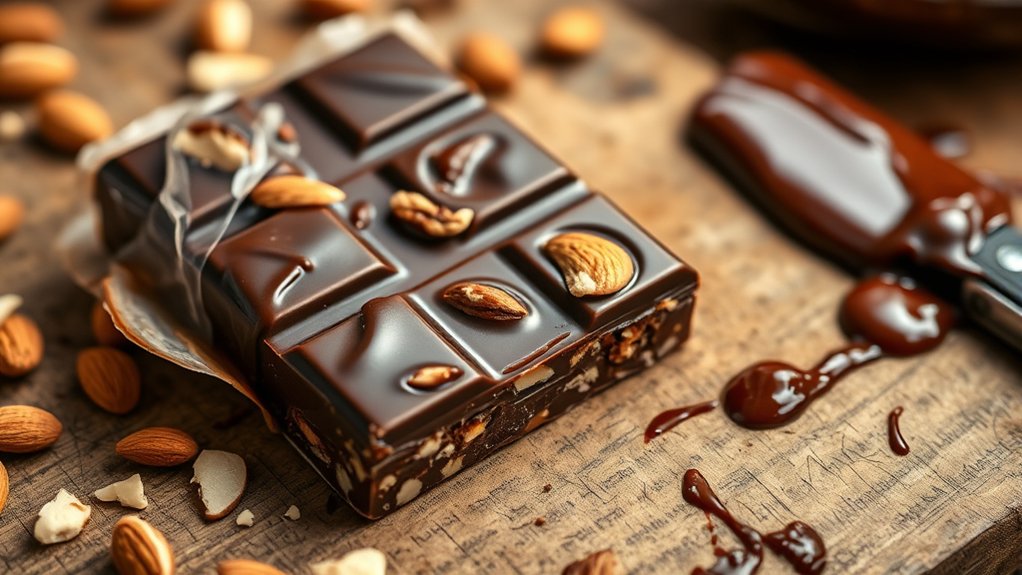
Incorporate crunchy elements such as toasted nuts, crisped rice, or dried fruit to add texture. For a richer experience, swirl in caramel, peanut butter, or marshmallow fluff before setting.
Consider layering different flavors for visual appeal. To make your gift stand out, explore packaging ideas like custom wrappers, decorative ribbons, or personalized tags.
These small touches elevate your homemade treats and showcase your creativity. Here are some flavor ideas to inspire you:
- Chili and sea salt
- Mint and crushed peppermint candies
- Dried berries and toasted almonds
- Caramel and sea salt swirl
- Espresso and dark chocolate blend
Troubleshooting Tips for Perfect Chocolate Bars
Want to make those chocolate bars look and taste amazing? The key is mastering proper tempering, melting, and keeping an eye on the temperature. If your chocolate isn’t smooth or it doesn’t set quite right, don’t worry—just tweak your technique a bit.
Here are some handy tips to troubleshoot common issues and get that professional finish you’re aiming for. With a little patience and practice, you’ll be turning out perfect chocolates every time!
Proper Tempering Techniques
Proper tempering is key to getting glossy, smooth chocolate bars with that perfect snap. You need to carefully control the temperature of your chocolate, which depends on the cocoa butter content from the beans.
When tempering, melt the chocolate first, then cool it down precisely before gently reheating it. This process helps the cocoa butter crystals align, giving you professional-quality chocolate.
Use a thermometer to keep track of the temperature accurately. Melt the chocolate slowly over gentle heat or a double boiler to avoid burning.
Cool the chocolate on a marble surface or in a cool room until it reaches the right temperature. Then, reheat it carefully to your working temperature without overheating.
Be sure to avoid water or steam contact, as this can cause the chocolate to seize and ruin the texture.
Mastering tempering makes your chocolate look flawless and ensures it snaps perfectly every time.
Correct Melting Methods
When melting chocolate, choosing the right method is key to avoiding overheating or seizing, which can ruin your entire batch. The best way is to use gentle heat, like a double boiler or microwave in short bursts, stirring often.
Avoid direct heat because it can cause uneven melting and hot spots. Proper melting makes the chocolate smooth and glossy, perfect for sculpting or adding flavor infusions.
If you’re adding flavorings or oils, do so once the chocolate is just melted and slightly cooled to prevent seizing. Keep your equipment dry and free of moisture since water can cause the chocolate to seize and turn grainy.
Using correct melting techniques helps you get a professional finish and a flawless texture in your homemade candy bars.
Handling Temperature Fluctuations
Temperature fluctuations can quickly ruin your chocolate bars, leading to blooming, cracking, or a gritty texture. To keep the temperature stable, control your environment and handle the cooling process carefully.
Sudden changes in room temperature or humidity can mess up the chocolate’s smooth finish. During cooling, make sure conditions stay consistent and cool. Avoid drafts or direct sunlight that can cause problems.
Use a thermometer to monitor your fridge or room temperature. For the best results, cool the bars slowly in a stable environment. Here are some tips:
- Keep your workspace at a steady temperature
- Use a temperature-controlled fridge or cool room
- Avoid opening the fridge often during cooling
- Place the mold on a flat, insulated surface
- Let the chocolate cool gradually without rushing
Following these steps will help you achieve flawless, well-tempered chocolate bars.
Frequently Asked Questions
Can I Use Dairy-Free or Vegan Chocolate Options?
Yes, you can definitely use dairy-free or vegan chocolate options. Look for vegan chocolate or dairy-free alternatives, which often contain plant-based ingredients like cocoa, coconut, or almond milk.
These options work well for making vegan or allergy-friendly candy bars. Just make sure the chocolate melts smoothly and pairs nicely with your fillings.
Using vegan chocolate guarantees your candy bars are dairy-free and suitable for those avoiding animal products.
How Long Do Homemade Chocolate Bars Last?
Your homemade chocolate bars usually last about 1 to 2 weeks if you store them properly.
To make them last longer, keep them in an airtight container in a cool, dry spot away from direct sunlight.
Wrapping them tightly or putting them in a sealed container helps keep moisture and air out, which keeps the chocolate fresh.
If you want them to stay fresh even longer, you can refrigerate or freeze them.
Just remember to let them come to room temperature before enjoying.
What Are Some Healthy Ingredient Substitutions?
Did you know that switching to healthy sweeteners can cut sugar intake by up to 50%? To make your homemade chocolate bars healthier, try using natural sweeteners like honey or maple syrup.
Swap traditional nut butter for options like sunflower seed or almond butter, which offer different nutrients and flavors. These substitutions not only improve nutrition but also add variety, making your treats both delicious and better for your health.
Can I Make Chocolate Bars Without Special Equipment?
Yes, you can make chocolate bars without special equipment by using simple mold options like silicone molds or even a parchment-lined dish.
Tempering techniques are optional but help achieve a glossy finish and proper snap. If you skip them, just melt and cool your chocolate carefully.
Pour the melted chocolate into your chosen mold, let it set at room temperature or in the fridge, then enjoy your homemade treat!
How Do I Store Chocolate Bars to Prevent Melting?
To prevent your chocolate bars from melting, store them in a cool, dry place with stable temperatures, ideally between 60-70°F.
Use airtight storage containers to protect them from humidity and temperature fluctuations. Keep them away from direct sunlight and heat sources.
Avoid refrigerating unless necessary, as it can cause condensation and affect the texture. Proper storage ensures your chocolate stays firm, glossy, and delicious until you’re ready to enjoy it.
Conclusion
Now that you know how to make chocolate candy bars at home, you can get creative and customize each one to your taste.
Imagine trying a batch with caramel and sea salt, like a secret recipe from a local chocolatier. It’s sure to delight friends and family with your homemade treats.
With patience and practice, you’ll craft perfect bars every time, turning simple ingredients into delicious, personalized confections that wow everyone.
Making chocolate candy bars at home means you can truly make them your own. Happy candy-making!