How to Melt Gummy Candy – A Step-by-Step Guide
Many people love the idea of melting gummy candies for fun recipes or treats, but it can be tricky to get it just right. If you’ve struggled with uneven textures or burnt candies, you’re not alone. Achieving smooth, vibrant melts takes a bit of know-how, but don’t worry — with the right steps, you’ll master it in no time.
To melt gummy candies, start by choosing soft, pliable gummies with simple ingredients. Use a microwave or stovetop set to low heat for gentle, controlled melting. Stir constantly to prevent burning or uneven textures, and consider using a double boiler for extra control.
Keep a close eye on the process and avoid overheating. If you want to master smooth, vibrant results, following detailed steps will help you get perfect melts every time.
Key Takeaways
- Choose soft, pliable gummies with a high gelatin content for smoother melting results.
- When using a microwave, place gummies in a microwave-safe bowl and heat in short 15-20 second bursts, stirring after each interval.
- For stove melting, set a heatproof bowl over low heat and keep stirring constantly.
- Keep the heat low and gentle, and avoid overheating to prevent burning or uneven melting.
- Continue stirring until the gummies are fully melted into a smooth, glossy mixture.
Why Melt Gummy Candies? Uses and Benefits
Melted gummy candies open up a variety of creative culinary possibilities, making them a popular choice for baking and decorating. Their gummy texture transforms into a smooth, pliable consistency, perfect for creating colorful sauces, glazes, or molds.
Melted gummies create vibrant sauces, glazes, and molds, adding colorful, playful touches to your desserts and treats.
This flexibility lets you experiment with candy flavors, infusing desserts and treats with vibrant, sweet notes. Melting gummies also makes it easier to incorporate their taste into other recipes, enhancing the overall flavor profile.
You can easily dip fruits, drizzle over baked goods, or craft candies with unique shapes. Using melted gummies adds a playful, eye-catching element to your desserts, while their candy flavors bring a familiar sweetness that’s appealing to all ages.
Plus, melting gummies offers a simple way to repurpose leftover candies, minimizing waste. Overall, melting gummy candies unlocks a world of possibilities, letting you customize flavors, textures, and designs for your culinary creations.
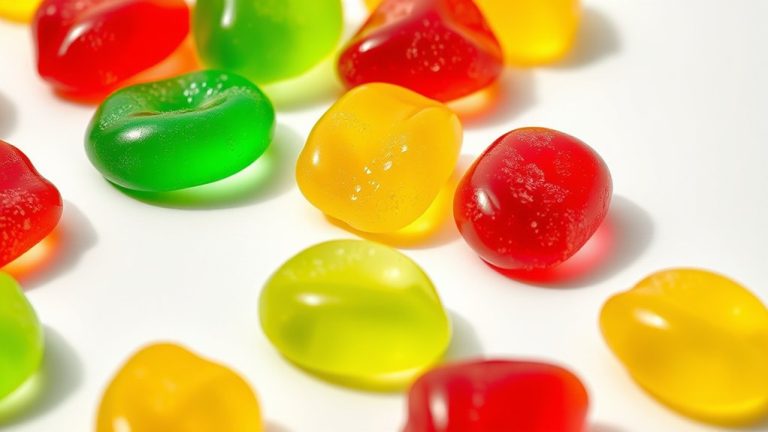
How to Choose the Best Gummy Candies for Melting
Choosing the right gummy candies for melting is key to getting smooth, glossy results without problems like clumping or burning. Look for candies with a soft, pliable texture, which melt more evenly and easily.
Hard or overly firm candies tend to resist melting and can cause uneven textures or burning. When picking candies, go for those made with simple ingredients—they tend to melt more smoothly without strange flavors or textures.
Fruit-flavored gummies usually work well because they have a softer consistency. But watch out for specialty or sugar-coated varieties—they might not melt evenly. Avoid candies with inclusions like nuts or hard centers, as these can mess up the melting process.
Checking the ingredient list for high gelatin content usually means better meltability. Overall, choose candies with a consistent, soft texture and straightforward ingredients for the best melting results in your recipes.
Preparing Your Workspace and Tools for Melting Gummies
First things first, find a flat, well-lit spot to set up your workspace. It’s always a good idea to keep things tidy and safe, so clearing the area beforehand makes everything easier.
Next, gather all the tools you’ll need—like a microwave-safe bowl and a spatula—so you’re ready to go when it’s time to start melting the gummies. And don’t forget about ventilation! Make sure the space is well-ventilated to keep the fumes from heating the gummies from becoming a problem.
Choose a Clear Workspace
Before you start melting gummy candies, make sure your workspace is clean, organized, and clutter-free. A clear area helps you focus on getting the perfect melted gummy texture without distractions.
Your environment can also affect the gummy flavor and overall result. Use a dedicated space to prevent cross-contamination and accidental spills.
Think about these aspects:
| Aspect | Importance | Tip |
|---|---|---|
| Cleanliness | Prevents sticking or contamination | Wipe surfaces beforehand |
| Organization | Saves time and keeps things tidy | Arrange tools nearby |
| Lighting | Helps you see clearly for precise work | Use bright, even lighting |
| Space | Allows comfortable movement | Clear a flat, open area |
| Safety | Reduces accidents and spills | Keep a fire extinguisher nearby |
A tidy workspace gives you better control over the melting process, helping ensure consistent flavor and texture in your gummies.
Gather Necessary Equipment
Gathering the right equipment guarantees you have everything you need at hand, making the melting process smooth and efficient. Start with a microwave-safe bowl or a double boiler to melt the gummies evenly. Keep a spatula or spoon nearby for stirring.
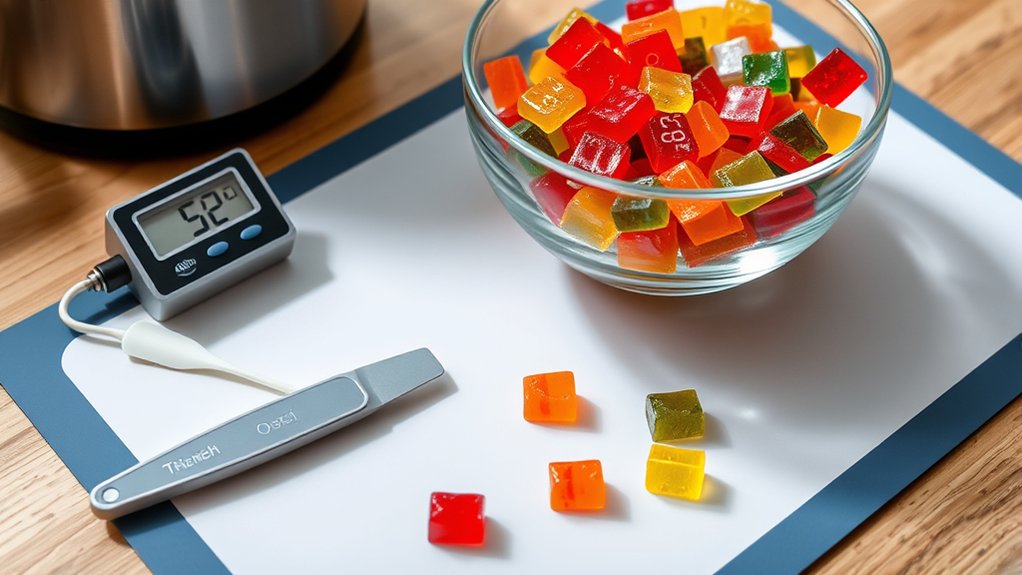
A timer can help prevent overheating, which affects the gummy shelf life. For precise control, consider using a thermometer, especially if you plan to heat the gummies gently. Prepare your workspace with a clean surface and good lighting.
Store any leftover gummies properly in an airtight container, respecting candy storage guidelines to maintain freshness. Having all these tools ready ensures a seamless melt, prevents messes, and helps you monitor the process closely, preserving the quality of your gummies.
Ensure Proper Ventilation
Since melting gummies can produce faint fumes or strong scents depending on the ingredients, making sure your space is well-ventilated is important for safety and comfort.
Good air quality helps prevent you from inhaling any potentially irritating fumes. Before you start, open windows or turn on exhaust fans to get the airflow going.
Using a well-ventilated area reduces health risks and keeps the environment comfortable. It’s also a good idea to avoid confined spaces and crowded work areas.
If you’re sensitive to smells or fumes, consider wearing a mask. Proper ventilation helps disperse strong odors quickly, making the process safer and more pleasant.
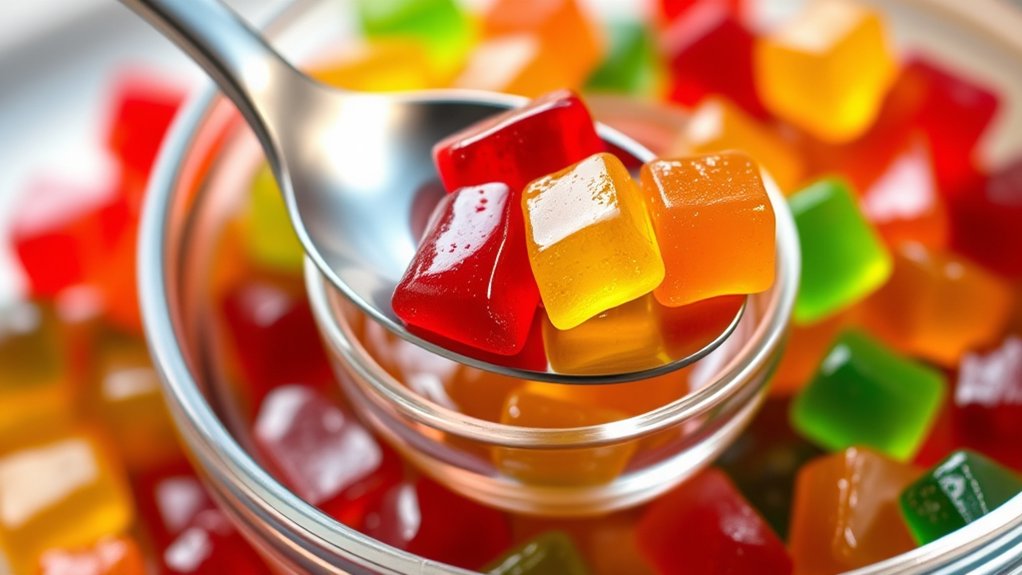
Understanding How Gummy Candies Melt and Why It Matters
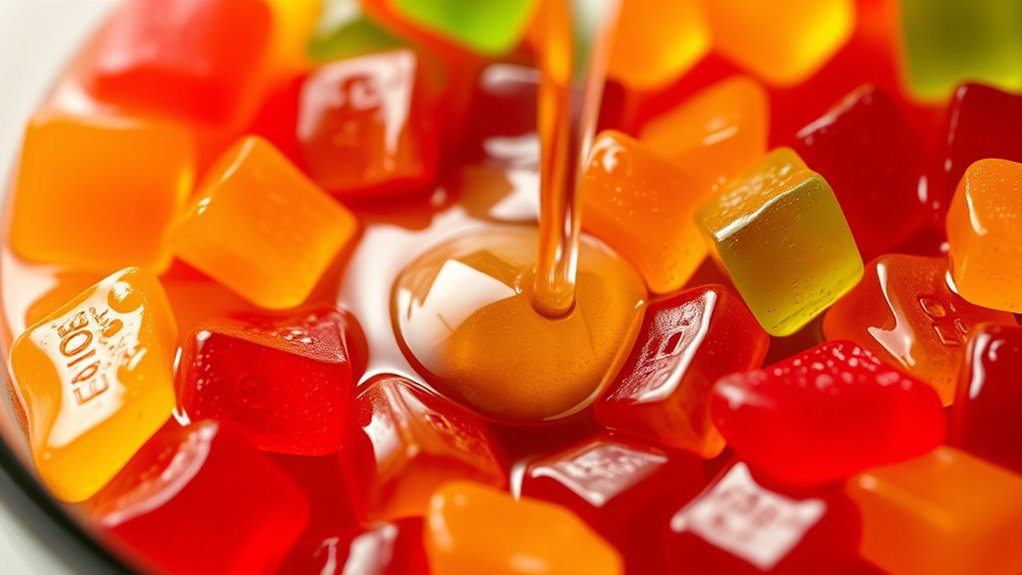
Understanding how gummy candies melt is important because it helps you control the process and get the texture you want. Gummy candies are made with gelatin, sugar, and flavorings, which all influence how they behave when heated.
When heated, the gelatin dissolves, causing the candy to soften and turn liquid. The melting point of gummies varies based on their ingredients, but it’s usually between 95°F and 105°F (35°C to 40°C).
Knowing this helps you avoid overheating, which can lead to uneven melting or burning. If you heat them too quickly or too much, the candies might become sticky or lose their shape.
By understanding these factors, you can better predict how your gummies will respond to heat. This gives you more control over the melting process, especially for recipes or projects that need melted gummies.
Having this knowledge ensures you get a smooth, consistent result every time, making your gummy melting efforts more successful.
How to Melt Gummy Candies in the Microwave
Melted gummy candies can be quickly and easily achieved using a microwave, making it a convenient method for many projects. To start, place your gummies in a microwave-safe bowl. Microwave in 15-20 second intervals, stirring gently after each burst. This prevents overheating and helps maintain the desired gummy consistency.
Be mindful that microwaving too long can cause the candies to become too runny or lose their candy flavor. Here’s a quick comparison:
| Effect of Heating Time | Result |
|---|---|
| Short (15 sec) | Slightly melted, retains gummy texture |
| Moderate (30 sec) | Fully melted, smooth consistency |
| Overheated (60+ sec) | Overly runny, potential flavor loss |
Stirring after each interval ensures even melting and prevents burning. Adjust the microwave power based on your appliance’s strength. Keep a close eye to preserve that perfect gummy texture and candy flavor.
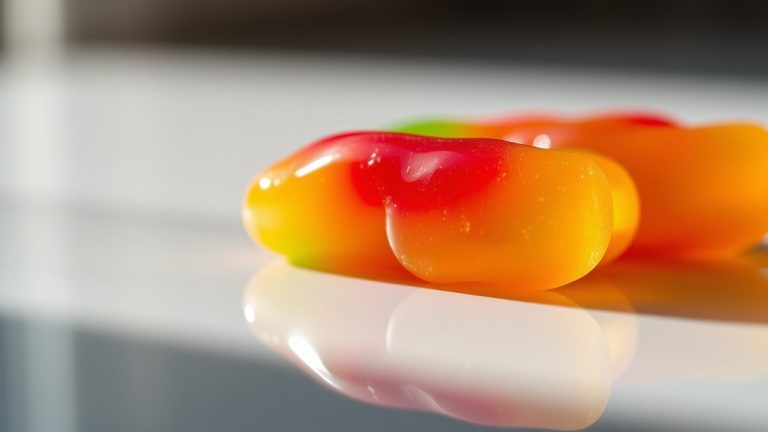
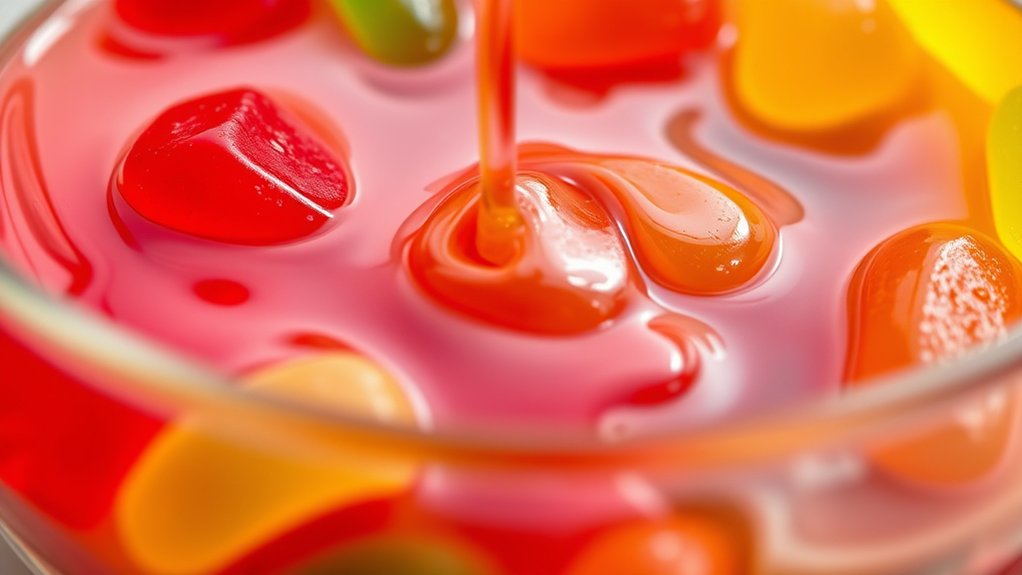
How to Melt Gummy Candies on the Stove
To melt gummy candies on the stove, start by placing them in a heatproof bowl or saucepan over low heat. As they warm, the gummy flavor begins to intensify, and their texture softens into a smooth, gooey consistency. Keep a close eye to avoid overheating or burning.
Follow these steps for the best results:
- Stir constantly to promote even melting and prevent sticking or burning.
- Add a small amount of liquid like water or cream if the mixture gets too thick. This helps keep it silky.
- Adjust the heat as needed; low and slow is the way to go for a uniform, glossy melt that preserves the gummy flavor.
Tips for Getting a Smooth, Even Gummy Mixture
Want your gummy mixture to turn out smooth and even? Just keep the heat low—that way, you won’t risk burning or uneven melting. It’s also super important to stir constantly. That helps the candies melt evenly and keeps those pesky clumps from forming.
And honestly, staying attentive and patient makes all the difference. If you take your time, you’ll end up with a silky, uniform consistency that’s just right. So, relax and enjoy the process—you’ll get there!
Use Low Heat
Using low heat is key to getting a smooth, even gummy mixture. Gentle heat helps prevent the candy from overheating and losing its perfect texture. Since gummies melt at a relatively low temperature, too much heat can cause uneven melting or burning.
To get the best results, keep the heat on the lowest setting on your stove or heat source. Using a double boiler or a heat-safe bowl over simmering water can help control the temperature better.
Just keep a close eye and remove the mixture from heat as soon as the gummies start to melt uniformly. This way, you’ll get that perfect, smooth consistency every time.
Stir Constantly
Stirring constantly guarantees that the gummy mixture melts evenly and prevents it from sticking or burning. As you stir, you’ll notice color variations in the melting process—some parts may melt faster—so continuous movement ensures uniformity.
This helps maintain a smooth, glossy texture and prevents lumps. Keep your heat low and stir gently but persistently to avoid scorching.
Once melted, transfer your mixture to a container for storage. Using airtight lids will keep it fresh and prevent crystallization.
Proper stirring also helps you monitor the consistency, ensuring it doesn’t overheat or become too thick.
For best results, stir regularly until completely smooth, and always follow storage tips to preserve the quality of your melted gummy candy for later use.
Common Mistakes When Melting Gummies and How to Avoid Them
One common mistake when melting gummies is overheating them, which can make the candies sticky or even burn, ruining their texture. To avoid this, pay close attention to melting temperature considerations since different gummy flavors might melt at slightly different rates.
Overheating can also diminish their flavor and change how they look. Here are some simple tips to help you prevent these mistakes:
Keep the heat low and use a double boiler to gently melt the gummies. This method helps prevent overheating and keeps the candies smooth.
Stir constantly to ensure even melting and avoid hot spots that could cause burning. Regular stirring keeps everything uniform.
Be mindful of how long you melt the gummies, especially since different flavors may need less heat or time. Adjust accordingly to get the perfect melt.
Creative Ways to Use Melted Gummy Candies in Recipes
Once you’ve melted your gummies, the fun really starts! You can get pretty creative with how you use them in your recipes. For example, a gummy glaze can give cakes and pastries a vibrant, sweet finish that’s both eye-catching and delicious.
You can also mix melted candies into sauces or fillings to add a fun pop of flavor and color. There are so many dessert ideas out there—think about turning your melted gummies into fun toppings, moldable candies, or even swirling them into ice cream or yogurt for a playful twist. The possibilities are endless when you let your imagination run wild!
Gummy Candy Glaze Ideas
Melted gummy candies can serve as a vibrant, flavorful glaze that transforms simple desserts into eye-catching treats. It’s a fun way to get creative with gummy candy art and add exciting flavors to your desserts. Here are some ideas to try:
Cake Glaze: Pour melted gummies over cakes or cupcakes for a shiny, colorful finish. It adds a sweet, fruity flavor and a glossy look that makes your desserts pop.
Fruit Topping: Drizzle melted gummy candy onto fresh fruit or fruit salads for a splash of color. It boosts the natural sweetness and infuses more flavor into the fruit.
Pastry Coating: Use gummy glaze on cookies, brownies, or donut tops. It creates a unique, chewy layer that’s both decorative and delicious.
These ideas can turn simple desserts into vibrant, flavorful masterpieces that everyone will love.
Creative Dessert Incorporations
Beyond using melted gummy candies as simple glazes or toppings, you can get creative by mixing them directly into your dessert recipes. Think about adding different gummy flavor combos into cake batters to create vibrant swirl effects.
You can also pour melted gummies into molds to make candies that add texture and color. Consider customizing candy packaging options for gifting or presentation to make your desserts even more appealing.
Here’s a quick idea table:
| Gummy Flavor Combinations | Dessert Ideas | Packaging Options |
|---|---|---|
| Strawberry & Lemon | Gummy-infused mousse | Clear plastic boxes |
| Blueberry & Raspberry | Swirled cheesecake | Decorative tins |
| Lime & Cherry | Gummy candy bark | Gift bags with ribbons |
Get creative and turn melted gummies into your dessert’s standout feature!
Troubleshooting Clumpy or Uneven Melted Gummies
Clumpy or unevenly melted gummies often happen when heat is applied too quickly or unevenly, causing the sugar and gelatin to seize up instead of melting smoothly. To fix this, try these tips:
Applying heat unevenly causes gummies to seize; use gentle heat or a double boiler for smooth melting.
- Lower the heat and stir constantly to promote even melting. Rapid heating causes clumps, so gentle warmth helps distribute heat evenly.
- Use a double boiler instead of direct heat. This prevents hot spots and ensures a consistent melt, especially if you’re experimenting with different flavor combinations or packaging options.
- Strain the mixture through a fine sieve if clumps persist. This smooths out uneven textures, making your gummies ideal for pouring into molds or blending flavors.
Frequently Asked Questions
Can I Melt Gummy Candies With Added Flavorings or Colorings?
Yes, you can melt gummy candies with added flavorings or colorings. When you do, you can customize the flavor and improve the color to match your preferences.
Just add your desired flavorings or colorings during the melting process, stirring well to ensure even distribution. This way, you can create personalized gummy treats with unique tastes.
Vibrant colors and flavors make them perfect for special occasions or creative projects. It’s a simple way to make your gummies even more fun and customized.
How Long Does It Take to Melt Gummies Completely?
It usually takes about 5 to 10 minutes to melt gummies completely, depending on the temperature and method you choose. Keep an eye on the process to get the best results.
Aim for a smooth, syrupy consistency. The key is maintaining the right melting temperature—around 95°F to 105°F—so the gummies soften evenly without becoming too runny or burning.
Stir occasionally to ensure even melting. This helps you achieve the consistency you’re after and prevents hotspots or uneven melting.
Is It Safe to Re-Melt Leftover Melted Gummy Mixture?
Re-melting leftover gummy mixture is usually safe if you handle it right, but you should think about candy preservation and food safety.
Reheat it thoroughly to kill bacteria and prevent contamination. Keep in mind, gummy candy may change texture and flavor when melted multiple times, so it might not taste as good.
Always store leftovers properly, refrigerate if needed, and only reheat when you’re ready to use it to ensure safety.
What Type of Container Is Best for Melting Gummies?
You should use a microwave-safe glass or silicone container for melting gummies. These types of containers handle heat well and spread it evenly, making the process safer and more efficient.
Avoid metal containers because they can cause uneven heating and pose safety risks. Silicone molds are great for shaping melted gummies, while glass bowls are perfect for melting in the microwave or double boiler.
Can I Use Melted Gummies for Dipping or Coating?
Yes, you can use melted gummies for dipping or coating. Their smooth, gooey texture makes them great for creating flavor-infused coatings or dipping treats like fruits or cookies.
Keep in mind, the gummy consistency might vary, which can affect the overall texture. To boost flavor, add extracts or flavoring before melting.
Just work quickly to coat your items before the gummies set again, so you get a tasty, colorful finish.
Conclusion
So, next time you find yourself with a stash of gummy candies, remember that melting them isn’t just a fun experiment. It’s a sweet surprise waiting to happen.
Whether you’re making treats or decorating desserts, melting gummies can turn simple candies into something special. Your new melting skills open up all kinds of creative possibilities.
Isn’t it funny how a small candy can lead to such exciting adventures? Now, go ahead and explore the delicious possibilities that melting gummy candies can bring to your kitchen!