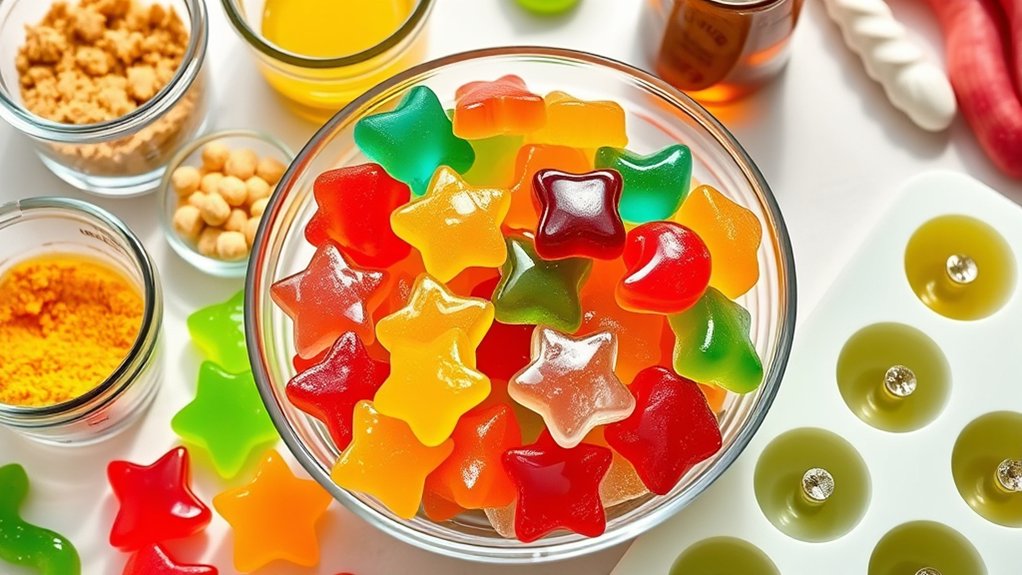
6 Simple Steps to Make Gummy Candy
Making your own gummy candy at home can feel overwhelming, especially if you’re new to candy crafting. Many people struggle with getting the texture just right or choosing the right ingredients. But don’t worry—you’re not alone, and with a few simple steps, you can create delicious gummies that impress everyone.
To make gummy candy in six simple steps, start by choosing high-quality ingredients like natural flavors and fresh fruit extracts, ensuring safety and taste.
Next, prepare your base with gelatin or vegetarian alternatives, then mix and pour into molds or pans, smoothing the surface. Allow the gummies to set properly before carefully removing them.
Finish by customizing with colors and shapes, and troubleshoot any issues along the way. Continue to investigate for detailed tips to perfect your gummies.
Key Takeaways
- Select high-quality, natural ingredients like gelatin or vegetarian alternatives, flavorings, and colorings for authenticity and safety.
- Mix ingredients thoroughly, making sure the gelatin and flavoring dissolve well for a smooth base.
- Pour the mixture into molds or pans, then tap gently to remove air bubbles and get an even spread.
- Let the gummies set completely at room temperature or in the fridge for a firm texture.
- Carefully remove the gummies using non-stick tools, then add your personal touch with colors, shapes, or extra flavors.
Select the Best Ingredients for Your Gummies
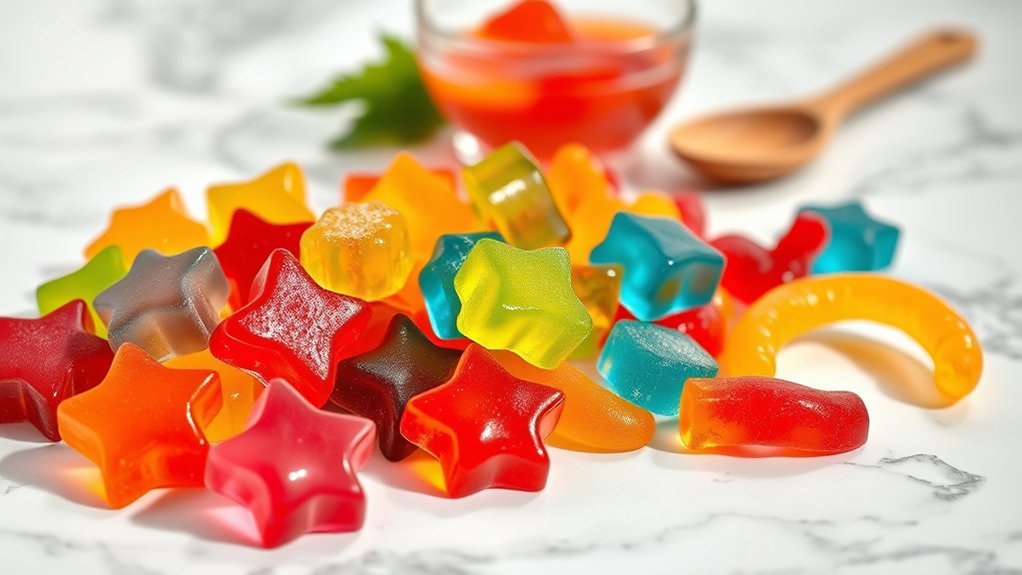
Choosing the right ingredients is key to making delicious, high-quality gummies. Your first step is to source ingredients carefully. Use reputable suppliers to ensure they meet safety standards and are fresh.
Whenever possible, go for natural flavors and real fruit extracts to boost flavor authenticity and appeal. When selecting sweeteners and gelling agents like pectin or gelatin, choose those with consistent quality and clear labels.
Remember, quality testing is essential. Inspect each ingredient for purity, freshness, and proper appearance. Skimping on quality can lead to off-flavors or texture issues in your gummies.
Keep detailed records of your sourcing and testing processes to maintain consistency. Focusing on ingredient quality and rigorous testing sets a strong foundation for your gummies.
This careful approach guarantees your gummies are tasty, safe, and appealing. It helps you craft a product you can proudly serve or sell.
Prepare the Gummy Candy Base
First things first, pick out your gummy base ingredients and give them a good mix. You want to make sure everything blends together smoothly, so your gummies will have that nice, even texture. Don’t forget to taste it and tweak the flavor or color if needed—this way, it’ll match what you’re envisioning.
Once your base is just right, you’re all set to start shaping and setting your gummies. Just a few more steps and you’ll have some delicious treats ready to enjoy!
Select Gummy Base Ingredients
To prepare your gummy candy base, gather the essential ingredients: gelatin, sweetener, and flavoring. You can explore substitutions like agar-agar or pectin if you prefer vegetarian options.
When choosing a sweetener, consider honey, maple syrup, or stevia for different nutritional needs. Keep in mind that some sweeteners might change the texture or taste of your gummies.
Pick flavoring extracts or natural fruit juices to customize your candies. Be mindful of nutrition—using less sugar or healthier substitutes can make your gummies more nutritious.
Once you’ve selected your ingredients, check that they’re fresh and of good quality. This step helps you create delicious, personalized gummies that suit your taste and dietary needs.
Mix Ingredients Thoroughly
Once you’ve gathered your ingredients, it’s time to combine them into a smooth, uniform mixture. Proper ingredient storage guarantees everything stays fresh and ready to use.
Use clean mixing tools, like a whisk or spatula, to blend the ingredients thoroughly. Start by pouring the gelatin, sweeteners, and flavorings into a mixing bowl, then gradually add warm water or other liquids.
Stir continuously, making sure no lumps or clumps remain. Keep mixing until the mixture is clear and consistent, with no streaks. This step is vital for achieving the right texture in your gummies.
Take your time, and make certain all ingredients are well incorporated. A thorough mix guarantees a smooth base that sets perfectly in the next stages of your gummy candy-making process.
Adjust Flavor and Color
After you’ve mixed your base ingredients thoroughly, now’s the time to tweak the flavor and color to get the look and taste you want. To improve flavor pairing, add extracts like lemon, raspberry, or vanilla, and taste as you go to find the perfect balance of sweetness and tang.
Think about color psychology—use vibrant reds for excitement, calming blues, or playful yellows to set the mood. Use natural or gel food coloring to intensify or customize your hues easily.
Add small amounts of flavor extracts gradually, tasting along the way to avoid overpowering your mix. Matching your colors with flavors can make your creation more appealing and cohesive.
Mix and Pour Your Gummy Mixture
Begin by carefully pouring your mixed gummy liquid into a prepared mold or a shallow pan. Make sure the surface is smooth and level so your gummies turn out even.
If you want to customize your recipe, ingredient substitutions like honey instead of corn syrup or fruit juice instead of water can work well.
Gently tap the mold or pan on the counter to remove air bubbles and help settle the mixture evenly. Use a spatula or spoon to spread the mixture if needed, making sure there are no gaps or uneven spots.
Once poured, cover the mold or pan with plastic wrap if you’re not setting it immediately. For storage, keep the gummies in an airtight container at room temperature for up to a week or refrigerate for longer freshness.
This step helps keep your gummy mixture fresh and ready for the next phase of setting.
Set and Carefully Remove Your Gummies
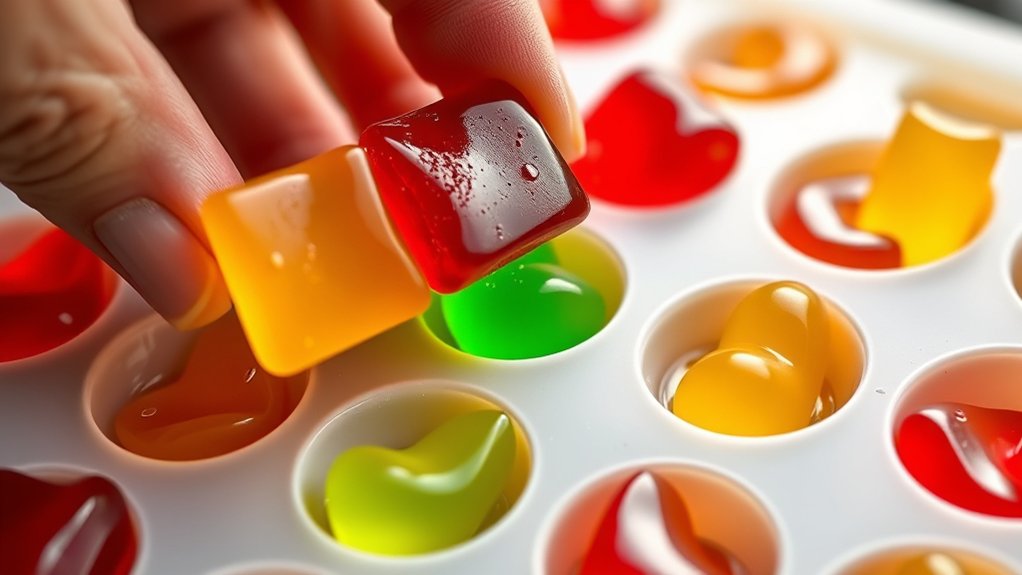
Once your gummies have fully set, it’s time to carefully remove them. Use non-stick tools, like a spatula or a butter knife, to gently lift them out. This way, you’ll avoid sticking or tearing the gummies.
Be gentle with each piece to keep their shape and texture just right. Taking your time here makes sure they look great and taste even better when you’re ready to enjoy them.
Properly Set Gummies
Have you ever wondered how to guarantee your gummies set perfectly without sticking or collapsing? Achieving the ideal gummy texture depends on proper setting techniques. Once your mixture cools, make sure it’s fully firm before removal.
To do this, consider these tips:
- Use a mold with smooth, non-stick surfaces to prevent sticking.
- Let the gummies sit at room temperature or in the fridge for the recommended time.
- Avoid rushing the process; patience ensures the gummies hold their shape.
Choosing the right mold is vital because it greatly impacts the final texture and ease of removal. When you’re ready, gently loosen the edges and carefully pop the gummies out. Proper setting and mold selection make all the difference for perfect gummies.
Use Non-Stick Tools
Using non-stick tools is essential to guarantee your gummies come out cleanly and keep their shape. Non-stick pans make it easy to pour and set the mixture without sticking, saving you time and effort.
Silicone molds are perfect for shaping your gummies and releasing them smoothly once they’re set. When you’re ready to remove the candies, gently flex the mold to loosen them—this prevents tearing or deformation.
For larger batches, non-stick pans help prevent sticking and make cleanup much easier. Always make sure your tools are clean and dry before using to avoid sticking issues.
Using these non-stick options ensures your gummies look perfect and are easy to handle, making the whole process more efficient and enjoyable.
Gentle Removal Techniques
To keep your gummies looking their best, it’s important to set them properly and remove them carefully. Gentle removal helps preserve their soft, gummy texture.
When lifting them from the mold or tray, use a gentle, steady tug. Avoid tearing or forcing the gummies out, as this can ruin their shape.
You might also find it helpful to lightly dust the molds with cornstarch or oil. This makes removal easier and helps prevent sticking.
Customize Flavors, Colors, and Shapes
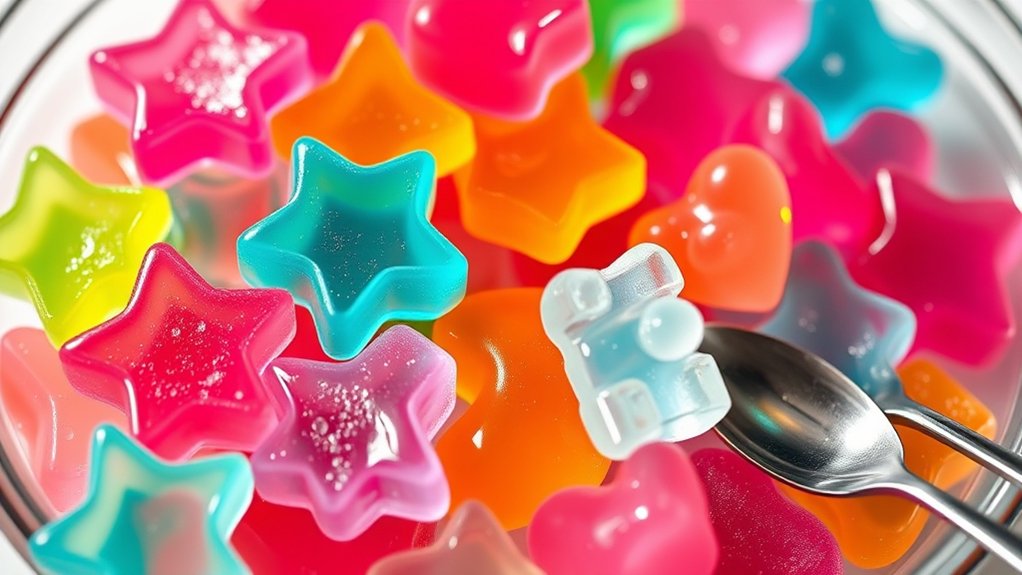
Adding your own flavors, colors, and shapes lets you personalize your gummy candies and make them more fun. Start by trying out different flavor combos—mix fruit juices, extracts, or even spices to create unique tastes.
Personalize your gummies with unique flavors, colors, and shapes for a fun, creative treat.
Color mixing is a great way to craft bright, eye-catching shades. Combine food gels or powders to get the perfect hue. You can match specific themes or favorite colors by blending shades or layering colors for a striking look.
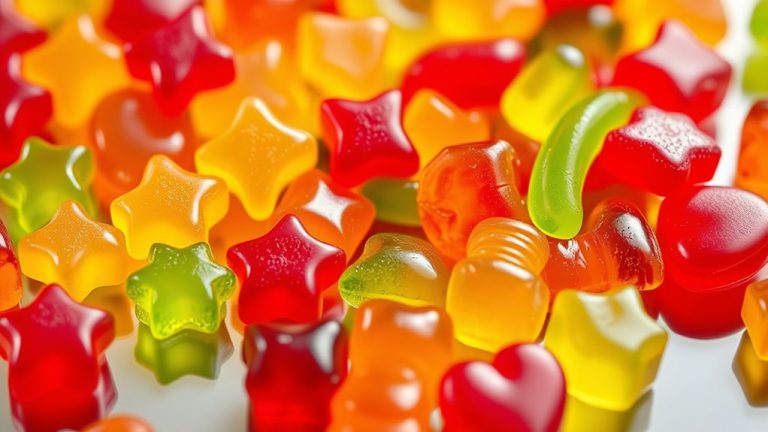
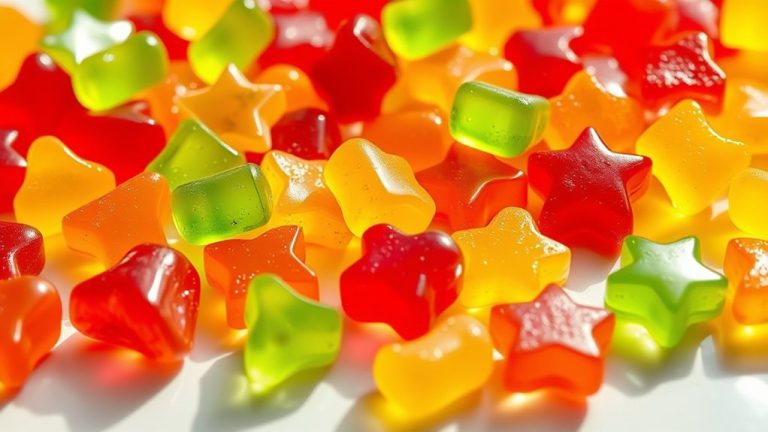
When shaping your gummies, use molds or cut them into fun forms like animals, stars, or hearts. This adds a playful touch to your candies. Customization is all about expressing your creativity, so don’t be afraid to try bold flavors or bright colors.
The more you personalize, the more your gummies will stand out and reflect your style. Have fun with the process and enjoy creating treats that are truly yours.
Troubleshoot Common Gummy Making Problems
Even experienced candy makers encounter issues when making gummies, but most problems are easy to fix with a little troubleshooting. If your gummies are too soft, it could be due to incorrect ingredient substitutions or not giving them enough time to set.
For gummies that don’t come out of the mold easily, check your storage tips. Adding a light dusting of cornstarch can help loosen them up. When gummies are sticky or tacky, make sure you’re using the right amount of gelatin and avoid over-heating the mixture.
Common problems include a lack of firmness, uneven texture, or flavor issues. To troubleshoot, try adjusting ingredient substitutions like using less liquid or more gelatin for firmness.
Improve storage by keeping gummies in an airtight container at room temperature. Also, ensure proper mixing and cooling to prevent uneven textures.
Frequently Asked Questions
Can I Make Vegan Gummy Candies?
Yes, you can make vegan gummy candies by using plant-based gelatin alternatives like agar-agar, carrageenan, or pectin. These options set similarly to gelatin and work really well in gummy recipes.
To make your candies look appealing, try using natural colors such as beet juice, spinach extract, or turmeric. Just heat your chosen thickener, mix in flavors and colors, pour into molds, and let it set.
How Long Do Homemade Gummies Last?
Like a treasure waiting to be uncovered, your homemade gummies can last about 5 to 7 days when stored properly. Keep them in an airtight container at room temperature or in the fridge.
Watch for spoilage indicators like mold, an off smell, or a slimy texture. If any of these appear, it’s time to toss them.
Proper storage guarantees your candies stay fresh and delicious longer.
What Are Alternative Sweeteners for Gummies?
You can use natural sweeteners like honey, agave nectar, or maple syrup as alternatives for gummies, giving you a more wholesome option.
Sugar substitutes such as stevia, erythritol, or monk fruit extract also work well, providing low-calorie sweetness without changing the taste too much.
When choosing, think about how each sweetener will affect the texture and flavor. Adjust the amounts accordingly to get the right level of sweetness and consistency in your gummies.
Can I Use Fruit Juice Instead of Water?
Yes, you can use fruit juice instead of water for your gummies. It boosts the fruit flavor, making your candies taste more authentic and vibrant.
Plus, it adds natural coloring, giving your gummies a beautiful hue without artificial dyes. Just remember to adjust the sweetness or the amount of gelatin to keep the right texture and flavor balance.
Using fruit juice really takes your homemade gummies to the next level!
How Do I Achieve a Chewier Texture?
To get a chewier texture, try adding more gelatin or using gelatin with higher bloom strength. This will give your gummies that firm, chewy bite you’re after.
You can also add a small amount of cornstarch or honey to boost the chewiness. Just a little goes a long way in improving the texture.
Let your gummies set longer at room temperature or pop them in the fridge. This helps them become firmer and more satisfying to bite into.
Adjusting these factors will help you achieve the perfect chewy gummy candies.
Conclusion
Now that you’ve mastered these steps, your gummy journey is just beginning. Think of it like painting on a blank canvas—you’re free to create vibrant colors and fun shapes that catch the eye and taste great.
Each batch can be a little masterpiece, blending science with your creativity. So, embrace the process, experiment with flavors and designs, and turn simple ingredients into sweet, irresistible gummies.
Your gummy adventure is waiting—colorful, fun, and totally your own.