10 Easy Steps to Make Chocolate Bark Candy
Many people love the idea of making their own sweet treats at home but often feel overwhelmed by complicated recipes or unsure where to start. If you’ve ever wanted to create delicious chocolate bark candy without the fuss, you’re not alone.
The good news is, it’s actually pretty simple to make a tasty, homemade chocolate bark with just a few easy steps.
To make chocolate bark, start by gathering your favorite toppings like nuts, dried fruit, or candies. Choose high-quality chocolate—dark, milk, or white—and melt it carefully using a double boiler or microwave, stirring frequently.
Spread the melted chocolate evenly on a prepared baking sheet, then sprinkle or press your toppings on top.
Let it cool and set completely. Once firm, break it into pieces and store properly.
Keep going for tips and variations that will enhance your homemade treat.
Key Takeaways
- Select high-quality chocolate and melt it gently using a double boiler or microwave with short, stirring intervals.
- Prepare a flat, lined baking sheet and gather your favorite toppings for easy layering and decoration.
- Spread the melted chocolate evenly on the prepared surface, then quickly add toppings for flavor and visual appeal.
- Let the chocolate cool completely on a flat surface without disturbance to set and avoid cracks.
- Break the hardened bark into pieces, then store in an airtight container or gift-wrap for freshness.
Gather Your Favorite Toppings and Flavors
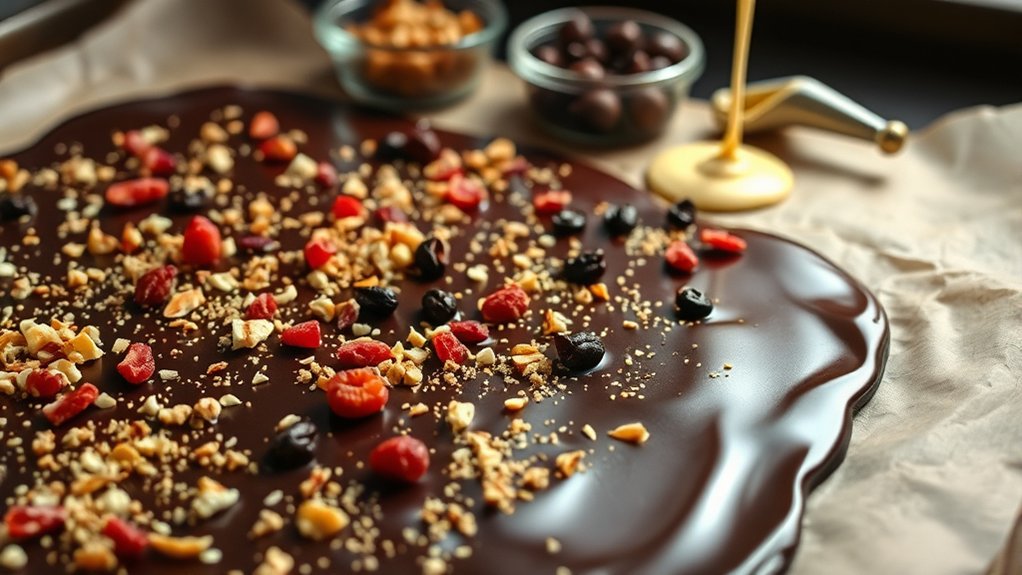
Before you start melting your chocolate, gather all your favorite toppings and flavors. This keeps you organized and ready to go when it’s time to assemble your bark.
Think about flavor combos that go well together—like dark chocolate with sea salt and caramel or white chocolate with dried fruit and nuts. The options are endless: chopped nuts, dried berries, crushed cookies, coconut flakes, or even candy pieces.
Consider textures and colors to make your bark both tasty and visually appealing. Mixing sweet, salty, crunchy, and chewy toppings creates a balanced treat your friends will love.
Keep a variety of toppings nearby so you can customize each batch or layer. Planning ahead makes the process smoother and ensures your chocolate bark turns out just how you want—full of flavor and perfect for sharing or gifting.
Choose the Best Chocolate for Your Homemade Bark
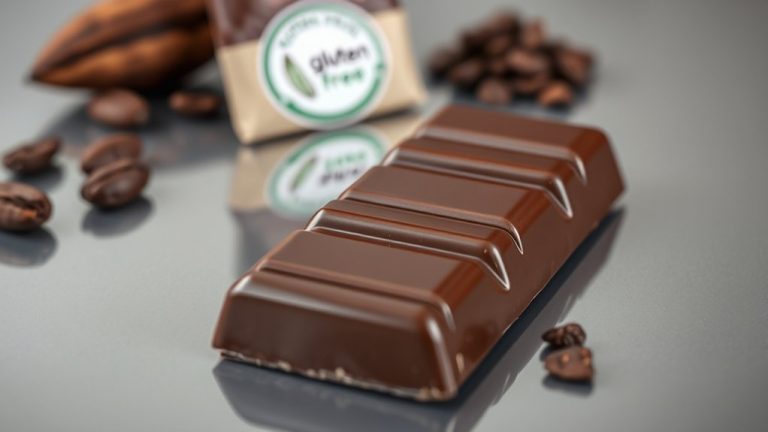
When you’re picking out chocolate for your homemade bark, think about whether you want dark, milk, or white chocolate—whichever suits your taste buds best. It’s a good idea to go for high-quality options that have a smooth texture and decent cocoa content. That way, they’ll melt nicely and set perfectly.
Choosing the right chocolate really makes a difference. It helps ensure your bark ends up looking glossy, tasting delicious, and being easy to work with while you’re making it. So, don’t rush—pick the one that feels right for your flavor adventure!
Types of Chocolate
Choosing the right type of chocolate is key to making delicious homemade bark. Different chocolates have unique flavor profiles that affect the final taste.
Milk chocolate offers a sweet, creamy flavor with lower cocoa percentages, usually around 30-40%. It’s perfect for a milder, sweeter bark.
Dark chocolate has higher cocoa content—typically 60-85%. It provides a richer, more intense flavor for those who prefer less sweetness.
Semisweet chocolate falls somewhere in between, giving a balanced taste that works well in many recipes.
White chocolate isn’t technically chocolate but has a creamy, vanilla-forward flavor that adds a different twist.
When choosing your chocolate, think about the flavor profile you want and the cocoa percentage that suits your taste. This will help you make the perfect homemade bark.
Quality Indicators
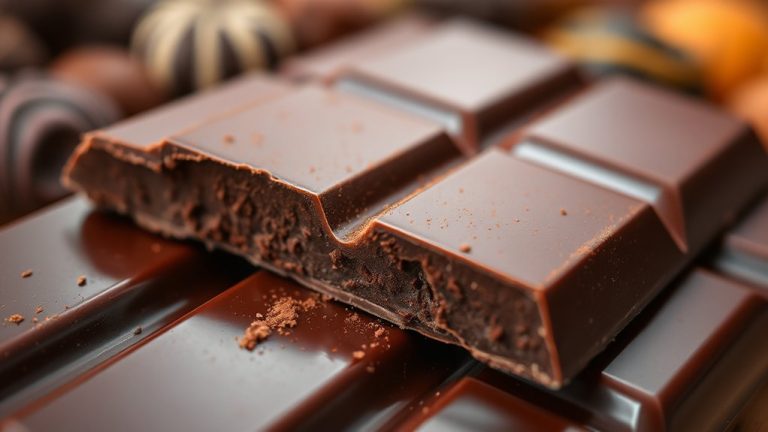
Selecting high-quality chocolate makes all the difference in creating delicious bark. Look for chocolate with a smooth, glossy appearance and a firm texture. These are signs of good quality.
The chocolate’s texture affects how it melts and sets, which impacts the overall finish of your candy. Quality chocolate also has a well-balanced flavor, with a nice blend of sweetness, bitterness, and cocoa richness.
Avoid chocolates that feel waxy or dull, as they can ruin both the texture and taste. Checking the cocoa content helps confirm you’re getting the right flavor strength. Higher cocoa percentages usually mean a deeper, more complex flavor.
Melting Compatibility
To guarantee your chocolate melts smoothly and sets perfectly, it’s important to choose a type that works well with your melting method. Different chocolates have unique melting points and behaviors that affect flavor and texture.
For instance, pure cocoa or dark chocolate offers a rich flavor and a firm set, making it great for a sturdy bark. Milk chocolate gives a sweeter taste and smoother texture but can be more prone to melting or blooming if not handled carefully.
White chocolate melts quickly and creates a creamy, delicate texture, but it doesn’t have the bold flavor of darker chocolates. Picking the right chocolate helps ensure your bark has the flavor you want and the right texture, making it look professional and taste delicious.
Prepare Your Baking Surface and Tools
First things first, pick out the perfect baking sheets that won’t stick or warp when things heat up. Lining them with parchment paper is a smart move — it makes removing the chocolate bark a breeze and keeps your sheets in good shape.
Next, gather all the tools you’ll need, like spatulas, knives, and maybe a spoon. Having everything within reach means you can work smoothly without scrambling for supplies in the middle of a step.
Getting your surface and tools ready right from the start really helps everything go more easily — from melting the chocolate to decorating your beautiful bark.
Select Proper Baking Sheets
Choosing the right baking sheet is key to making your chocolate bark turn out perfectly. The sheet you pick affects how evenly the chocolate melts and sets.
Go for a sheet with a flat, smooth surface to avoid uneven edges. The material matters too; metal sheets, especially those with a shiny or non-stick coating, heat quickly and help the chocolate melt evenly.
Avoid glass or ceramic pans, as they can cause uneven heating and change the texture. Stainless steel baking sheets are durable and heat efficiently, making them a solid choice.
Make sure the sheet is sturdy and has low sides. This makes spreading and handling much easier. Picking the right baking sheet helps you get a smooth, professional-looking chocolate bark every time.
Use Parchment Paper
Use parchment paper for easy release of the candy coating. It creates a smooth, non-stick surface that makes spreading and removing the candy much simpler.
Parchment paper also prevents the chocolate or candy coating from sticking, which helps you get clean, neat edges. Plus, it makes lifting the finished bark effortless once it’s set.
Using parchment paper keeps cleanup quick and easy and means you don’t need extra greasing. When working with candy coating, the non-stick surface really helps prevent cracks or breaks when transferring the bark.
Just make sure to cut the parchment to fit your baking sheet perfectly for the best results.
Gather Necessary Utensils
Before you start melting and spreading your chocolate, gather all the necessary utensils to keep things smooth and organized. Pick a heatproof bowl for melting, a spatula for stirring, and a spoon or spatula for spreading.
Have a sturdy baking sheet lined with parchment paper ready. It’s also important to wash your tools thoroughly beforehand to prevent contamination.
Check that your utensils are in good shape, free from cracks or rust, to ensure kitchen safety. Keep oven mitts nearby so you can handle hot bowls safely.
Having everything prepared helps avoid mishaps and makes the process more efficient. Clear your workspace so you can focus on melting and spreading the chocolate evenly, making everything safer and cleaner.
Melt the Chocolate Without Burning
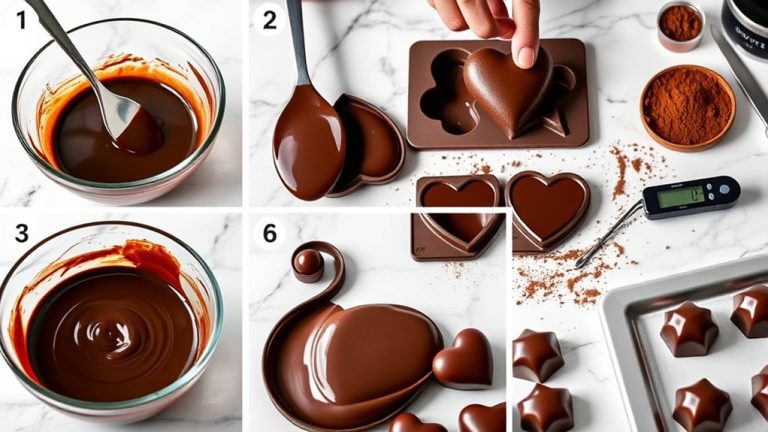
To melt chocolate without burning it, do it gently and carefully. Use low heat and take your time. Whether you’re melting over a double boiler or in the microwave, gentle heat helps prevent scorching and keeps the quality high.
When melting, consider tempering techniques to get that glossy finish and smooth texture. If you want to add flavor infusions, do so after the chocolate is fully melted and smooth, so the flavors blend evenly.
Here are some tips to help:
- Use a double boiler or microwave in short bursts, stirring frequently.
- Keep the heat low and avoid direct contact with high heat sources.
- Stir constantly to prevent hotspots and promote even melting.
Following these steps will help you achieve smooth, melted chocolate perfect for spreading on your bark. Patience and gentle heating are key to avoiding burnt chocolate and getting that beautiful, glossy look.
Spread and Layer the Melted Chocolate
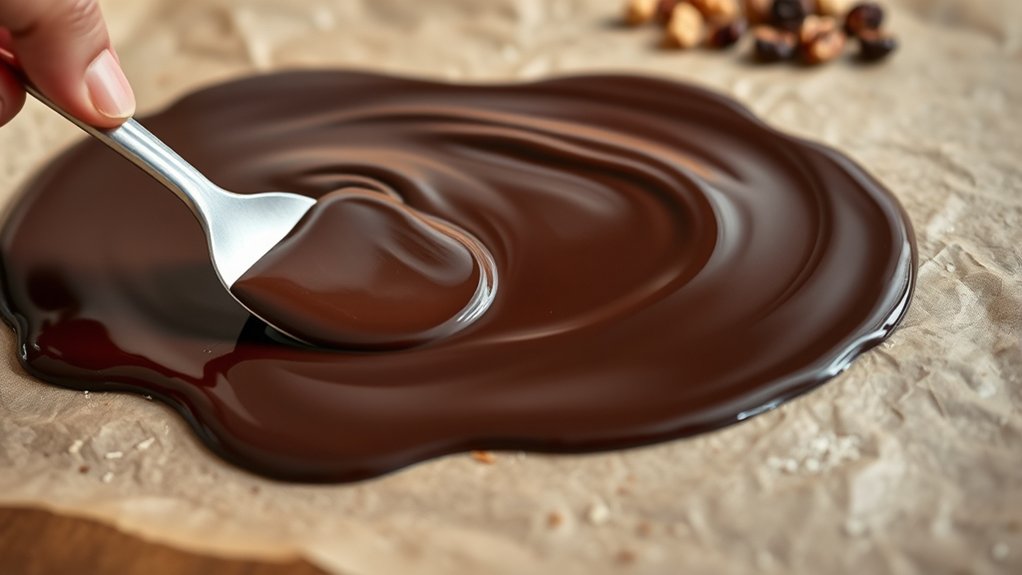
Once your chocolate has melted smoothly, it’s time to spread it onto your prepared surface. Use a spatula or the back of a spoon to evenly distribute the melted chocolate, ensuring a consistent thickness. The chocolate should be smooth and glossy, which shows it’s ready for layering.
When spreading, think about flavor pairing—consider adding subtle hints like sea salt or vanilla into the chocolate for a better taste.
Here’s a quick guide to the spreading process:
| Step | Tip | Purpose |
|---|---|---|
| 1 | Use a spatula | For even spreading |
| 2 | Work quickly | To prevent the chocolate from setting too soon |
| 3 | Keep a steady hand | For a smooth, flat layer |
| 4 | Cover all edges | Ensures uniform thickness |
| 5 | Chill briefly | Sets the layer for the next step |
This method helps you achieve a beautiful, even chocolate layer ready for what comes next.
Add Toppings for Visual Appeal and Flavor
Adding toppings is a quick way to improve both the look and flavor of your chocolate bark. Toppings add visual interest and elevate the taste, making your treat more appealing.
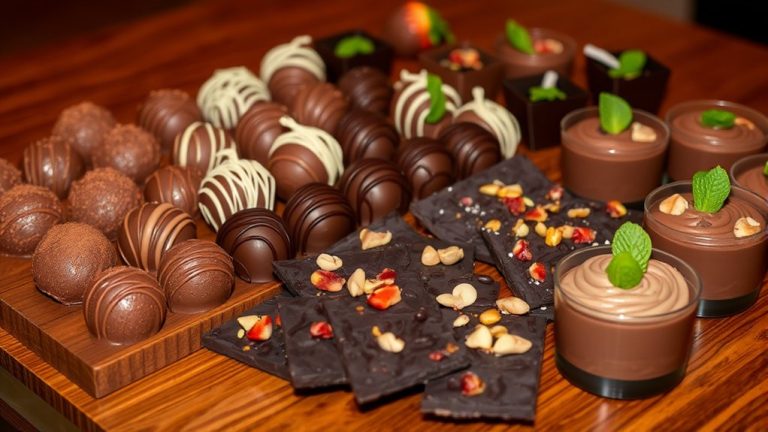
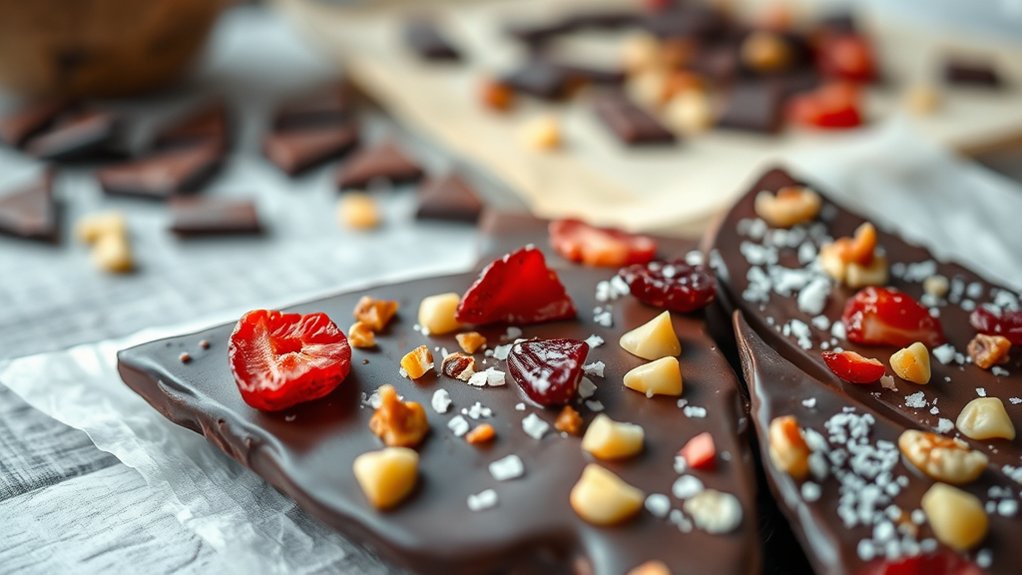
You can sprinkle fruit toppings like dried berries, chopped candied ginger, or fresh slices to add a burst of color and natural sweetness. Nut combinations such as chopped almonds, pistachios, or hazelnuts give crunch and rich flavor.
For an extra touch, sprinkle sea salt or drizzle with white or dark chocolate for contrast. When adding toppings, do so immediately after spreading the melted chocolate so they stick well.
Keep in mind, less is more—choose a few toppings that complement each other and your flavor profile. Experiment with different fruit toppings and nut combinations to create unique, beautiful, and delicious chocolate bark every time.
Let Your Chocolate Bark Harden Completely
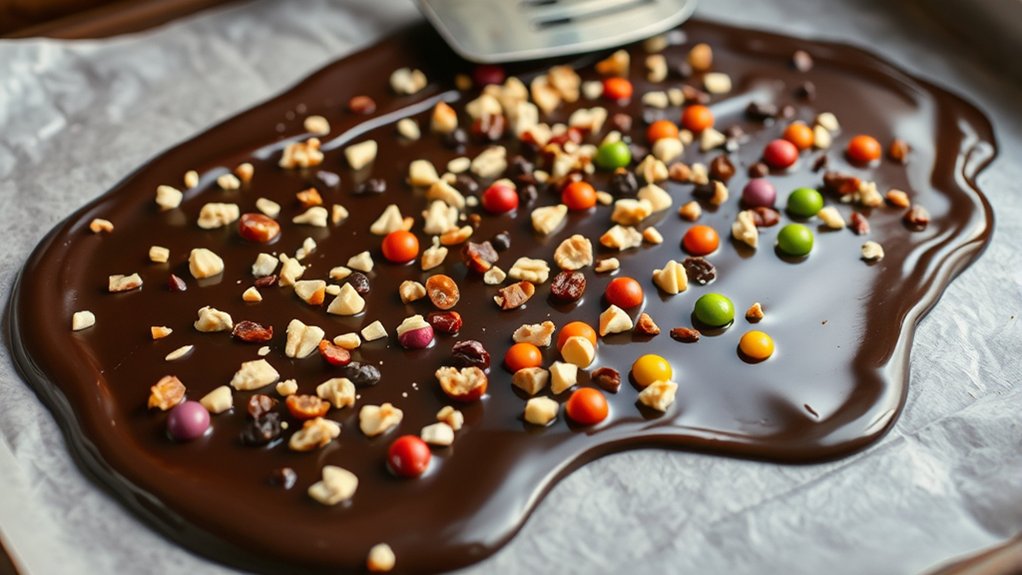
Once you’ve poured your chocolate onto a baking sheet lined with parchment paper, give it a little time to cool and set completely. It’s best to let it sit undisturbed on a proper cooling surface to ensure it hardens evenly.
Try not to move or touch the bark while it’s still cooling down, because that can cause cracks or smudges. Just be patient and wait until it’s fully hardened before breaking it into pieces or handling it. That way, you’ll get the best-looking, most professional finish!
Use Proper Cooling Surface
To guarantee your chocolate bark sets properly, it’s essential to use a proper cooling surface. A stable, flat surface helps ensure even cooling, which is key for a smooth, professional finish.
Proper cooling techniques involve controlling temperature and avoiding fluctuations that can cause cracks or bloom. Choose a cool, dry surface like a marble slab or a sturdy baking sheet lined with parchment paper.
These surfaces help dissipate heat quickly and keep the temperature steady. Make sure to avoid placing your bark near heat sources or direct sunlight for the best results.
Finally, ensure the cooling surface is level. This prevents uneven setting and helps your chocolate look perfect.
Avoid Disturbing Bark
One of the most common mistakes is disturbing the chocolate before it’s fully set, which can cause cracks, smears, or uneven bark texture. If you move or touch the bark prematurely, it can also affect the flavor, making it less smooth and uniform.
To guarantee a glossy finish and consistent texture, let the chocolate cool completely without interference. Patience is key—resist the urge to check on it or move the tray.
Interrupting the setting process creates imperfections that compromise the visual appeal and taste. When you leave it undisturbed, the chocolate develops a professional-looking bark texture, and the flavor remains balanced and rich.
Proper patience ensures a beautiful, delicious chocolate bark with a perfect finish.
Wait Until Fully Set
Waiting until your chocolate bark is fully set is key to getting those clean, crisp edges and a professional look. If you rush, the chocolate flavor might not develop fully, and your toppings could smudge or shift. Patience helps the bark harden evenly, making it easier to break into neat pieces.
To ensure it’s completely set:
- Don’t move the tray until the chocolate is firm to keep toppings in place.
- Gently tap the surface—if it feels solid and doesn’t jiggle, it’s ready.
- For the best results, let it sit at room temperature or in the fridge for about an hour.
Waiting patiently keeps your chocolate rich and your toppings perfectly in place. This gives your bark a polished, professional finish.
Break Into Pieces and Store Properly
Once your chocolate bark has fully cooled and set, carefully break it into irregular pieces using your hands or a sharp knife. This gives it a nice, rustic look and makes serving easier.
After breaking, think about packaging ideas to keep your bark fresh. Use airtight containers or resealable bags to prevent moisture and keep the quality high.
Wrapping individual pieces in cellophane or decorative paper adds a festive touch and helps with portion control. Proper storage is key to making it last longer.
Keep your chocolate bark in a cool, dry place away from direct sunlight. Avoid humid areas, as moisture can cause blooming or spoilage.
Label your containers with the date so you can track freshness. When stored correctly, your homemade bark can stay delicious for up to two weeks.
Following these steps ensures your treats stay fresh, flavorful, and ready whenever you want a sweet snack.
Get Creative With Your Chocolate Bark Variations
Get creative by experimenting with different toppings and mix-ins to make your chocolate bark truly unique. This is your chance to explore new flavor combinations and discover exciting taste sensations.
You can mix crunchy nuts, dried fruits, or even sprinkle sea salt for a savory touch. Using unique toppings turns simple chocolate into a memorable treat.
Think outside the box and try combining sweet, salty, and spicy elements for bold flavor profiles. Here are some ideas to get you started:
- Chopped toasted almonds and dried cranberries
- Crushed crispy cookies with a pinch of chili flakes
- White chocolate drizzles with colorful sprinkles
Troubleshoot Common Problems When Making Chocolate Bark
Even with careful preparation, you might encounter common issues when making chocolate bark, but most problems have simple solutions. One frequent problem is chocolate not setting properly, often caused by improper chocolate tempering. To fix this, re-melt the chocolate gently and temper it using a microwave or double boiler, making sure it reaches the right temperature for a glossy, firm finish.
If your bark is streaky or dull, it’s probably a tempering issue too. Proper tempering creates that smooth, shiny look everyone loves. When adding flavor infusions, avoid overmixing, which can cause the chocolate to seize or become grainy. Instead, stir gently to blend the flavors evenly.
If your toppings sink or don’t stick, press them lightly into the surface before the chocolate cools. Taking these simple steps will help your chocolate bark turn out beautifully, with a perfect texture, flavor, and glossy finish every time.
Frequently Asked Questions
How Long Does Homemade Chocolate Bark Typically Last?
Homemade chocolate bark usually lasts about 2 to 3 weeks if you store it properly. To keep it fresh longer, put it in an airtight container and keep it away from heat and humidity.
Storing it right helps prevent melting and keeps the flavor intact. If you see a white coating, known as bloom, or smell something off, it’s best to throw it out.
For the best taste and texture, enjoy your chocolate bark within this time frame.
Can I Freeze Chocolate Bark for Later Use?
Did you know that freezing can extend chocolate’s shelf life by up to six months? Yes, you can freeze chocolate bark for later use.
Use proper storage options like airtight containers or wrapping it tightly in plastic wrap to prevent moisture and odors.
When freezing, place the bark in a single layer on a baking sheet. Then, transfer it to a sealed bag or container to keep it crisp and fresh until you’re ready to enjoy it.
What Are Some Allergy-Friendly Topping Options?
If you’re looking for allergy-friendly topping options, avoid nuts and opt for gluten-free toppings like dried fruits, seeds, or shredded coconut.
You can also try crushed gluten-free pretzels or allergy-friendly candies. These options add flavor and texture without triggering nut allergies or gluten sensitivities.
Always double-check labels to make sure ingredients are safe for your specific allergies. Feel free to experiment to find the perfect combination for your chocolate bark.
How Do I Prevent the Chocolate From Cracking When Breaking?
Like breaking glass with care, you can prevent cracks in your chocolate bark by mastering gentle breaking techniques. First, make sure your chocolate has cooled completely for a firm, smooth texture.
Use a sharp, heated knife to score the surface before breaking. When breaking, apply even pressure along the score lines and avoid sudden force.
This careful approach helps preserve the chocolate’s texture, giving you clean, beautiful pieces without cracks.
Is It Necessary to Temper the Chocolate for Bark?
You don’t need to temper the chocolate for bark, but doing so guarantees a shiny finish and prevents melting at room temperature.
Tempering helps you get a crisp, crack-free break and a better texture overall.
If you’d like, you can add flavor variations like vanilla or mint during melting.
Once your bark is ready, store it in an airtight container to keep it fresh and preserve its quality, especially if you’re gifting or saving it for later.
Conclusion
And there you have it—your foolproof guide to making chocolate bark candy. Who knew that a simple melt-and-spread could turn into such a fun and rewarding project?
Just remember, even if things don’t go perfectly, you’re still creating something delicious and maybe a little magical.
So go ahead, embrace the quirks, enjoy the process, and savor every imperfect, irresistible piece you make.
After all, the best treats often come from the sweetest little mishaps, especially when making chocolate bark.