7 Simple Steps to Make Chocolate Curls From a Candy Bar
Many people love adding elegant touches to their desserts, but making perfect chocolate curls from a candy bar can feel tricky. You’re not alone—getting those beautiful, glossy curls just right takes some practice and the right techniques.
To make chocolate curls from a candy bar, start by choosing the right tools like a sharp knife or spatula. Gently melt and temper the chocolate to keep it glossy and workable. Use steady pressure and quick movements to create even curls, working at the right temperature to prevent sticking.
Shape and handle the curls carefully for the best look, and get creative with how you display them. Keep exploring for more tips to perfect your technique!
Key Takeaways
- Temper the chocolate by melting and cooling it to the right temperature for smoothness and shine.
- Use a sharp spatula or knife to gently soften the chocolate without overmelting.
- Hold the candy bar at an angle and slide the utensil along its surface to make curls.
- Work quickly so the curls don’t harden before you shape them.
- Carefully lift and arrange the curls on your dessert or packaging for a polished look.
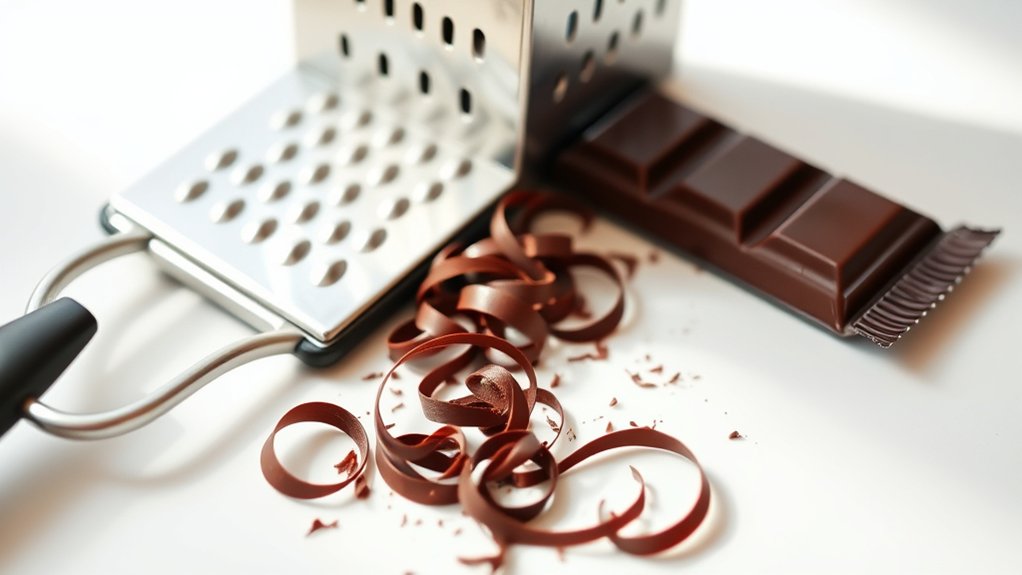
Gather the Right Tools to Make Chocolate Curls
Before you start curling your chocolate, gathering the right tools is essential. You need to select tools that help you work smoothly with the chocolate flavor and various candy bar brands.
Gather the right tools to ensure smooth, neat, and beautiful chocolate curls every time.
A good-quality, sharp vegetable peeler or a paring knife is vital for creating thin, uniform curls. These tools allow you to control the shape and size of your chocolate curls, no matter which candy bar brand you choose.
A silicone mat or parchment paper keeps your chocolate from sticking and makes cleanup easier. Keep a steady hand and a steady temperature; a warm cloth or heat gun can help slightly soften the chocolate if needed.
Also, have a chilled surface or tray ready to support the chocolate as you work. Picking the right tools guarantees your curls will be clean, neat, and beautiful.
Proper preparation makes all the difference in achieving perfect chocolate curls.
Prepare and Temper Your Candy Bar for Curling
To guarantee your chocolate curls come out smooth and manageable, you need to prepare and temper your candy bar properly. First, choose the right candy bar type, like milk, dark, or semi-sweet, depending on your preferred flavor.
Break the candy bar into small, uniform pieces to ensure even melting. Gently melt the chocolate using a double boiler or microwave in short bursts, stirring constantly to prevent burning.
Once melted, you must temper the chocolate for curling. To do this, cool the melted chocolate to about 82°F (28°C) by stirring in small amounts of unmelted chocolate or spreading it on a cool surface.
Then, reheat it slightly to around 88-90°F (31-32°C). Proper tempering guarantees the chocolate is glossy, smooth, and firm enough to curl without cracking.
This process helps your chocolate maintain its structure and boosts its flavor, making your curls easier to shape.
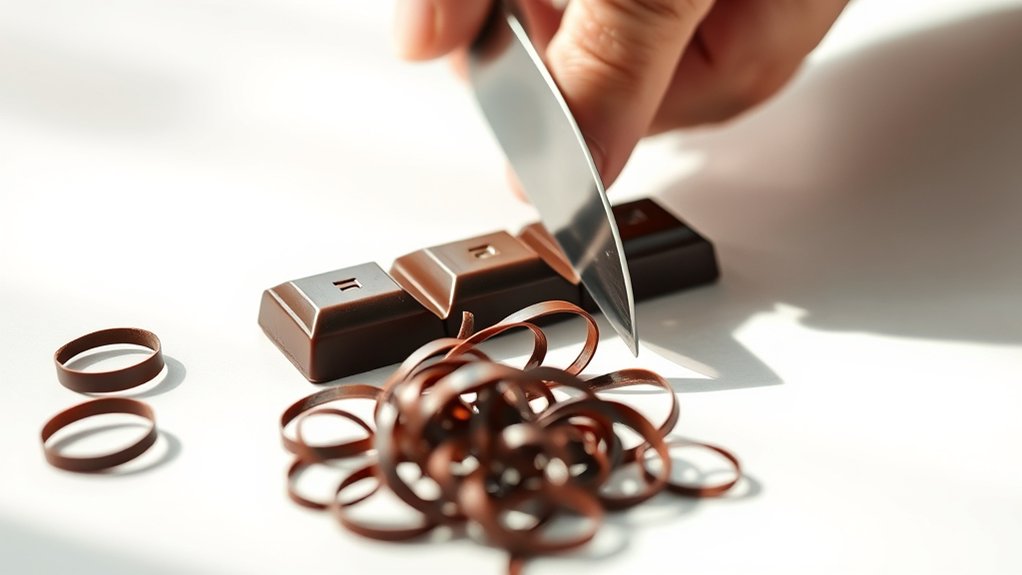
Step-by-Step: How to Create Perfect Chocolate Curls
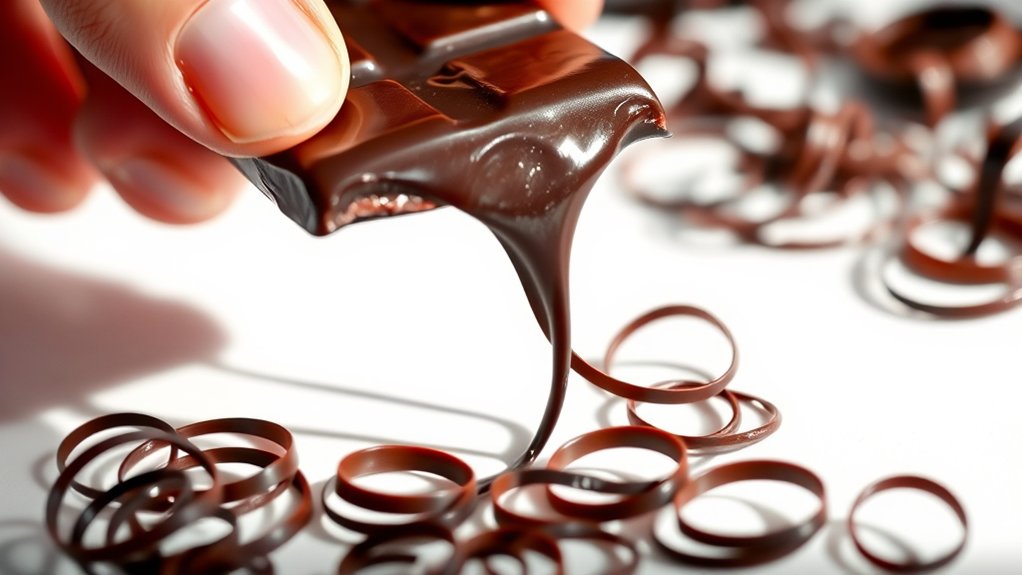
Creating perfect chocolate curls starts with choosing the right tool—usually a warm, sturdy spatula or the edge of a strong knife. Gently hold the candy bar at a slight angle and slide your tool along the softened chocolate surface, applying steady pressure.
As the chocolate warms just a bit, it becomes flexible enough to form elegant curls. Keep in mind the chocolate flavor; richer, darker chocolates tend to produce more defined curls, while milk chocolates may be softer.
Remember the nutritional facts—if you’re going for a healthier treat, opt for dark chocolate with higher cocoa content, which also offers antioxidant benefits. Work quickly but carefully to avoid melting the chocolate too much, which can cause irregular shapes.
With a bit of practice, you’ll develop a steady hand that creates beautiful, consistent curls. These are perfect for garnishing desserts or adding an elegant touch to your presentation.
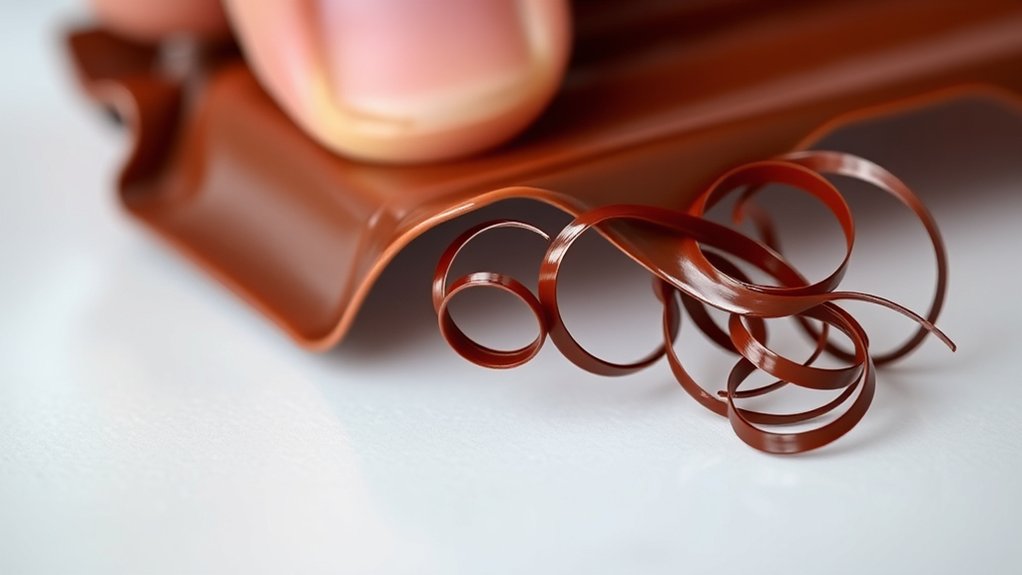
Tips for Making Uniform, Elegant Chocolate Curls
Achieving uniform, elegant chocolate curls requires attention to technique and consistency. To guarantee even curls, use a warm, clean knife or a dedicated chocolate shaver, keeping the blade at a steady angle.
Chilling the chocolate slightly helps create cleaner, more uniform curls, so don’t hesitate to refrigerate the candy bar briefly. When choosing chocolate, think about flavor pairing—dark, milk, or white chocolate can all work depending on your dessert’s flavor profile.
Decorative techniques like varying curl sizes or adding a drizzle of contrasting chocolate can really boost the visual appeal. Practice steady, even pressure to produce smooth, consistent curls, and work quickly if the chocolate begins to soften.
Troubleshooting Common Issues With Chocolate Curls
Having trouble getting those chocolate curls just right? Well, the trick usually comes down to temperature control. Making sure your chocolate is at the right temperature can make all the difference—too warm, and it melts or cracks; too cold, and it won’t curl properly. So, taking the time to handle it carefully is key.
Choosing the right type of chocolate and handling it gently helps prevent melting or cracking as well. When you’re ready to shape your curls, using gentle techniques to remove them from the tool keeps them looking sleek and perfect. By paying attention to these little details, you’ll be able to create beautiful chocolate curls every single time.
Temperature Control Tips
Temperature is a key factor when making chocolate curls because even small changes can make the chocolate too soft or too hard to work with. To get the best curls and keep the flavor, keep the candy bar at a steady temperature—around 70°F (21°C).
If it’s too warm, the chocolate will melt and lose its shape. If it’s too cold, curling becomes tricky. For better control, refrigerate the candy bar briefly before working with it, but don’t let it get too cold.
Different candy bar brands might have slight differences in their chocolate, which can affect how they respond to temperature. Use a thermometer if needed, and work in a cool, dry space to prevent melting or cracking.
Proper Chocolate Selection
Choosing the right type of chocolate makes a big difference in how successful your curls turn out. For the best results, go for chocolate that has a smooth, glossy finish and a solid, firm texture.
The chocolate flavor also matters—pick a candy bar with a high cocoa content if you want richer, more defined curls. For softer looks, choose milder flavors.
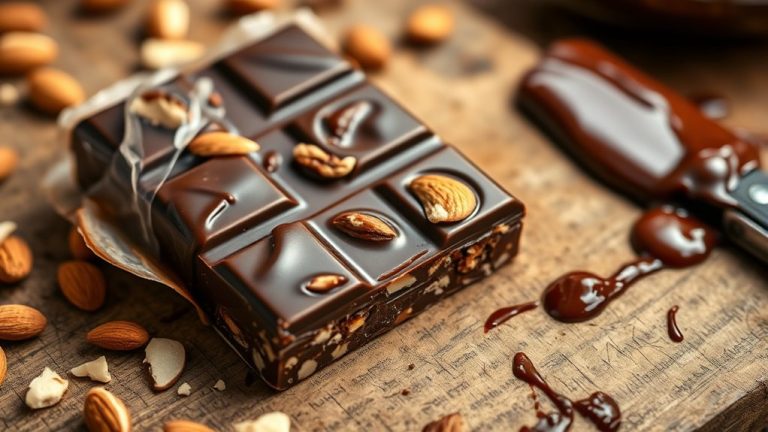
Popular brands like Hershey’s, Dove, or Ghirardelli offer quality options that melt well and set nicely. Avoid chocolates with added ingredients like nuts or caramel, as they can cause uneven curls or breakage.
Keep in mind that chocolates with a higher cocoa percentage tend to produce more elegant, well-formed curls. Proper selection ensures your curls look professional and stay in shape longer.
Curl Removal Techniques
Even with careful technique, you might run into issues when removing chocolate curls from your work surface. If the curls break or stick, try gently warming the surface or your hands a little to soften the chocolate.
Using a thin spatula or knife can help lift the curls without breaking them. Different candy bar brands like Hershey’s or Ghirardelli have varying flavors and textures, which affect how easily the curls come off.
| Soft Chocolate | Hard Chocolate |
|---|---|
| Easier to mold and remove | More fragile, prone to breaking |
| Requires gentle handling | Needs slightly warmer conditions |
| Better for delicate curls | Suitable for firm, sturdy curls |
| Allows smoother removal | May need quick work to prevent cracking |
Creative Ideas for Using and Displaying Your Chocolate Curls
Once you’ve perfected your chocolate curls, the fun really begins with how you use and display them. You can elevate desserts by sprinkling curls on cakes, cupcakes, or ice cream for a sophisticated touch that highlights the chocolate flavor.
For gifts or party favors, think about packaging ideas like small clear boxes or cellophane bags tied with ribbons, showcasing the beautiful curls inside. Use them to top layered parfaits or mousse cups, adding both texture and visual appeal.
You can also create edible decorations by shaping curls into flowers or other designs, which are perfect for elegant desserts. Display your curls on a dessert platter for a chic centerpiece or arrange them along a cake border for extra elegance.
Get creative—use your chocolate curls to add contrast to colorful confections or as garnishes for hot beverages like coffee or hot cocoa. Their versatility makes them a delightful finishing touch in any sweet presentation.
Wrap-Up: Final Tips and Tricks for Beautiful Chocolate Curls
To guarantee your chocolate curls look their best, pay close attention to temperature control and proper technique throughout the process. Keep the chocolate at the right temperature—slightly warm but not melted—to create smooth, glossy curls.
Keep chocolate slightly warm for glossy, smooth curls with perfect technique and temperature control.
Using high-quality candy bar brands with rich chocolate flavor makes a noticeable difference in both appearance and taste. Work quickly but carefully to avoid the chocolate hardening before you shape it.
Use a clean, sharp utensil to help achieve clean, even curls. Maintain a consistent temperature for smooth curls and choose the right tool, like a fork or knife, for shaping.
Practice patience to perfect your technique. Following these tips ensures your chocolate curls are beautiful, flavorful, and professional-looking every time.
Frequently Asked Questions
Can I Use Any Type of Candy Bar for Chocolate Curls?
You can use many candy bar varieties for chocolate curls, but not all will give the same flavor or texture.
Choose bars with a smooth, firm chocolate coating like milk, dark, or semi-sweet chocolate.
Avoid candies with fillings or coatings that are too soft or sticky, as they won’t curl neatly.
Picking the right candy bar makes sure your chocolate curls look good and taste great, really elevating your dessert.
How Long Do Chocolate Curls Stay Fresh and Crispy?
Your chocolate curls can stay fresh and crispy for about 1 to 2 days if you take good care of them.
To keep them from curdling, store them in an airtight container at room temperature or in the fridge. Just remember, humidity and heat can make them lose their crunch quickly.
For the best experience, enjoy your chocolate curls within this time frame and store them carefully to keep their perfect texture.
Is It Possible to Make Chocolate Curls in a Warm Environment?
Yes, you can make chocolate curls in a warm environment, but controlling the temperature is really important.
To prevent the chocolate from melting, use gentle melting methods like a double boiler or quick bursts in the microwave.
Keep the chocolate slightly cooler than the room temperature and work quickly to shape the curls before they soften.
Using cooler surfaces or refrigerating the chocolate briefly can also help keep the shape during warm conditions.
What’s the Best Way to Store Leftover Chocolate Curls?
Think of your leftover chocolate curls as delicate snowflakes—you want to protect their beauty.
Store them in an airtight container, ideally in a cool, dry place. To curb melting, avoid humidity and temperature fluctuations.
If you need to keep them longer, refrigerate but place a paper towel at the bottom to absorb moisture.
This way, your chocolate stays pristine, ready to add elegance to any dessert.
Can I Reuse Chocolate Scraps for More Curls?
Yes, you can reuse chocolate scraps for more curls. First, gently reheat the scraps using chocolate tempering techniques to ensure they stay smooth and shiny.
Once tempered, you can use a spoon or piping bag to create new curls. Keep in mind that re-melted chocolate might not be as glossy or firm, so tempering is essential to get beautiful, professional-looking curls again.
Conclusion
Now that you know how to make beautiful chocolate curls, you’re all set to impress your friends and family.
Did you know that chocolate curls can add both texture and visual appeal to your desserts?
With just a few simple steps, you can turn a regular candy bar into a stunning garnish.
Practice makes perfect, so don’t be discouraged if your first few attempts aren’t flawless.
Keep experimenting, and soon you’ll be a chocolate curling pro!
Mastering how to make chocolate curls from a candy bar is a fun way to elevate your dessert game.