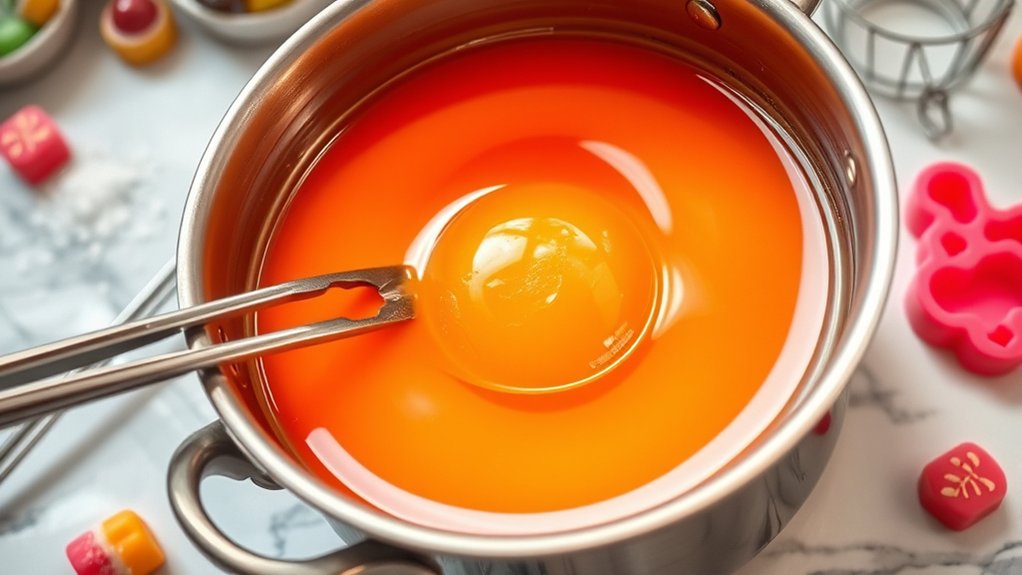
10 Easy Steps to Make Hard Candy at Home
Many people dream of making their own hard candy at home but feel overwhelmed by the process. You’re not alone—crafting perfect candy can seem tricky, especially if you’re new to it.
The good news is, with a few simple steps, you can create delicious, professional-looking treats right in your kitchen.
To make hard candy at home, start by gathering your ingredients—sugar, water, corn syrup—and tools like a saucepan, thermometer, and spreading surface.
Prepare a clean, safe workspace lined with foil and keep safety gear close.
Combine the ingredients, heat thoroughly, and monitor the temperature until it reaches 300°F.
Quickly pour, spread, score, and let it cool before breaking into pieces.
Proper steps guarantee your candy turns out perfect. Keep going, and you’ll be amazed at how easy and rewarding homemade hard candy can be!
Key Takeaways
- Measure and prepare all ingredients, tools, and workspace for safety and efficiency.
- Combine sugar, corn syrup, and water; heat to a rolling boil while monitoring temperature carefully.
- Cook mixture to 300°F (hard crack stage), then add flavoring and coloring quickly before pouring.
- Pour onto a prepared surface, spread evenly, and let cool completely.
- Score, break into pieces, and store in airtight containers to maintain freshness.
Gather Your Ingredients and Equipment
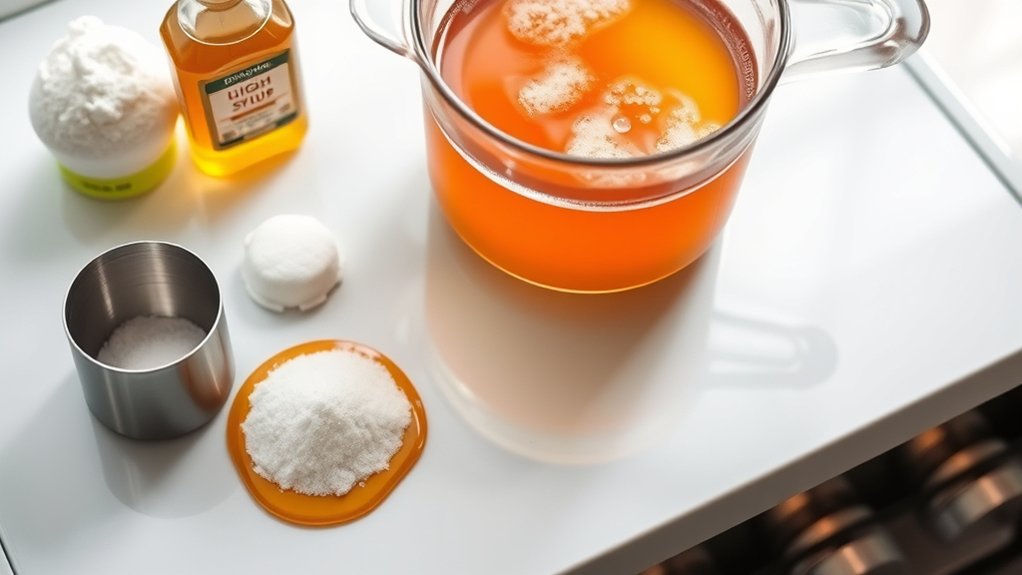
Prepare ingredients and tools in advance for a smooth, safe candy-making experience.
Before you start making hard candy, gather all your ingredients and equipment to ensure a smooth process. Measure out 3¾ cups of white sugar, 1½ cups of light corn syrup, and 1 cup of water in advance so you can add them quickly during cooking.
Have your flavoring oils, like LorAnn, and liquid food coloring ready in small containers for easy mixing after boiling. Prepare a heat-proof surface lined with aluminum foil dusted with powdered sugar—this prevents sticking when pouring the hot candy.
Use a candy thermometer to monitor the mixture’s temperature, aiming for 310°F (hard crack stage) for the perfect candy texture. Also, gather tools like a wooden spoon, whisk, and a knife or pizza cutter to work efficiently once the mixture is ready to pour and score.
Proper preparation of ingredients and equipment helps you stay organized, making the process safer and more successful.
Set Up a Safe Workspace for Candy Making
Setting up a safe workspace is key to keeping your candy making smooth and accident-free. Start by clearing your workstation of clutter so you have enough space and prevent spills.
Good ventilation is a must to avoid steam buildup and to handle hot syrup safely. Cover nearby surfaces with aluminum foil or parchment paper to catch drips and spills during cooking and pouring.
Keep a bowl of ice water nearby for quick temperature tests and to reduce the risk of burns. Use heat-resistant utensils like a wooden spoon and a candy thermometer to monitor temperatures precisely.
Always wear protective gear, such as oven mitts or heat-resistant gloves, when handling hot equipment or pouring hot syrup. Follow safety precautions carefully to prevent burns and accidents.
A well-organized, ventilated workspace with the right tools and protective gear makes candy making safer and more enjoyable.
Combine Sugar, Water, and Corn Syrup in a Pan
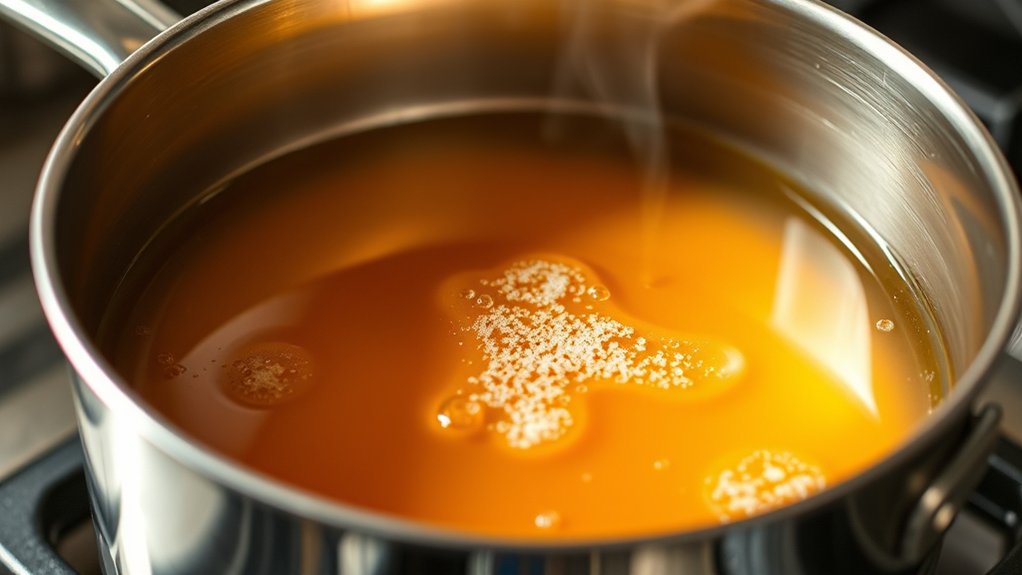
Start by adding 3¾ cups of white sugar, 1½ cups of light corn syrup, and 1 cup of water to a medium heavy-bottomed saucepan.
Stir the mixture gently over medium heat until the sugar dissolves completely. It’s important to avoid splashing or stirring too vigorously, which can cause crystallization.
Once everything is fully combined and smooth, stop stirring. Increase the heat to bring the mixture to a boil.
Attach a candy thermometer to the side of the pan, making sure it doesn’t touch the bottom, and monitor the temperature closely.
As the mixture heats, it will start to boil steadily. Keep an eye on the thermometer, watching for it to reach 310°F, which indicates the hard crack stage.
Maintaining the correct temperature is essential for achieving the right texture in your hard candy. Once it hits 310°F, you’re ready to move on to the next step.
Cook the Mixture to the Hard Crack Stage (300°F)
Once the mixture reaches a rolling boil, stop stirring and focus on closely monitoring the temperature with your candy thermometer. Keep an eye on the thermometer as the sugar and corn syrup mixture boils, making sure the temperature climbs steadily toward 300°F.
Don’t stir during this stage, as stirring can cause crystallization and affect the final texture. Watch the thermometer closely, adjusting the heat if needed to keep a steady boil.
When the temperature hits exactly 300°F, indicating the hard crack stage, remove the saucepan from heat immediately to prevent overcooking or burning. This precise temperature is key for getting the perfect hard candy texture.
The sugar mixture should be clear and boiling vigorously. Once you reach 300°F, the mixture is ready for the next step, ensuring your candy will set with that satisfying snap.
Monitor Temperature With a Thermometer or Ice Water Test

To make sure your candy hits that perfect hard crack stage, you’ll want to keep a close eye on the temperature. Using a good candy thermometer is usually the easiest way to do this—just clip it onto your pot and watch as it climbs. If you don’t have one handy, there’s a quick trick you can try with ice water. Just dip a spoon into the hot syrup and then into a glass of ice water; if the syrup hardens into brittle threads, you’re good to go.
Of course, you can also learn to recognize visual clues. When the syrup reaches the right stage, it’ll turn a deep amber color and have a certain shimmer. Getting familiar with these cues can help you tell when your syrup is ready to become that perfect hard candy.
Using a Candy Thermometer
Using a candy thermometer is the most reliable way to make sure your syrup hits the perfect hard crack stage at 300°F. Just insert the thermometer into the boiling syrup, making sure it doesn’t touch the bottom of the pan for an accurate reading.
This helps you control the temperature during candy making and prevents overcooking. Keep a close eye on the thermometer as the temperature gets near 300°F since syrup can quickly go from perfect to burnt.
Don’t forget to calibrate your candy thermometer regularly by boiling water and making sure it reads 212°F at sea level. This way, you can be confident in your temperature readings every time.
- Avoid contact with the pan’s bottom for precise readings
- Monitor closely as temperature nears 300°F
- Calibrate thermometer regularly for reliable temperature control
Ice Water Testing Method
The ice water testing method is a simple, hands-on way to see if your candy syrup has reached the hard crack stage, especially if you don’t have a thermometer. Just drop a small amount of hot syrup into cold water and watch what happens.
When the syrup forms brittle, hard threads that snap easily in the ice water, it’s around 310°F. That’s the perfect moment to pour and shape your candy. It’s a quick way to check if the syrup has cooled enough without needing a thermometer.
| Stage | Texture in Ice Water | Temperature |
|---|---|---|
| Soft Ball | Forms a soft, pliable ball | 235°F – 240°F |
| Firm Ball | Forms a firm, but pliable ball | 245°F – 250°F |
| Hard Ball | Forms a hard, but chewable ball | 260°F – 266°F |
| Soft Crack | Forms soft, brittle threads | 300°F – 305°F |
| Hard Crack | Forms brittle, snapping threads | 310°F and above |
Recognizing Visual Cues
Monitoring visual cues is a good way to tell when your candy syrup reaches the right stage, especially if you don’t have a thermometer. As it heats up, the syrup will turn a clear, golden amber, showing it’s getting close to the hard crack stage.
When you drizzle the syrup from a spoon, look for thin, shiny threads that break easily—that’s a sign it’s at the right temperature. The mixture should also smell fragrant and have a slight yellow tint, which are good signs it’s ready to come off the heat.
Keep watching these cues to avoid overcooking, which can lead to dark, burnt flavors. Recognizing these visual signs will help you get the perfect consistency and color every time.
Add Food Coloring and Flavored Oils at the Right Time
After removing the hot sugar mixture from the heat, wait about a minute before adding your food coloring and flavored oils. This cooling step helps prevent rapid evaporation and ensures even distribution.
Once cooled slightly, the hot sugar mixture will be around 310°F or at the hard crack stage. Add a few drops of liquid or gel food coloring to get your desired hue, then stir thoroughly with a whisk or wooden spoon.
This thorough mixing guarantees the color disperses evenly throughout the mixture. For flavored oils, such as LorAnn, add 3-4 drops now to enhance the candy’s flavor without affecting its consistency.
Stir well to incorporate the flavoring uniformly. Timing is key—adding the coloring and flavor oils during this cooling stage prevents clumping or uneven coloring, giving you vibrant, evenly colored candy with consistent flavor.
Pour Hot Candy Onto Your Prepared Surface Quickly
Once you’ve added your food coloring and flavor oils, it’s time to pour the hot candy onto your prepared surface. Act quickly, since the molten candy will start to cool and harden in just a few minutes.
Pour the hot candy evenly to avoid thick spots. Use a heatproof spatula or wooden spoon to spread it swiftly before it begins to set. Spreading quickly keeps the candy smooth and ready for the next steps.
Be cautious and wear oven mitts or gloves because molten candy is extremely hot and can cause burns. As you pour, try to cover the entire surface evenly, avoiding thick piles that will take longer to cool.
Score and Cool the Candy Before Breaking Into Pieces
Score and cool the candy before breaking into pieces.
To get clean, even pieces, let the candy cool completely at room temperature for about 30 minutes before handling. Once it’s fully hardened, it’s time to score the surface into small, even sections.
Use a sharp knife or pizza cutter to make shallow cuts. This helps prevent cracking or uneven breaking. Scoring while the candy is still slightly warm and pliable makes it easier to control the shape and size of each piece.
Be careful not to cut too deeply, as deep cuts can cause the candy to crack or break unevenly, ruining its shape. After scoring, let the candy cool further until it is completely hardened.
When the temperature is right, gently break the candy along the scored lines. This method ensures your pieces are uniform, clean, and well-shaped. It makes your homemade candy look professional and appealing.
Proper scoring and cooling are key steps before breaking the candy into perfect, bite-sized pieces.
Store Your Hard Candy for Freshness and Longevity
Proper storage is key to keeping your homemade hard candy fresh and maintaining its perfect texture. To get the longest shelf life, store your candies in airtight containers at room temperature.
Avoid refrigeration because humidity can make the candy sticky or cause surface moisture, ruining the texture. Keep the candies away from direct sunlight and heat sources to prevent melting or discoloration.
Adding moisture-absorbing materials like silica gel packets or rice bags inside the containers helps maintain dryness. These items help fight humidity and keep your candies fresh longer.
Choose large jars with tight-fitting lids for better protection. Regularly check the storage environment to catch any signs of moisture or spoilage early.
If stored properly, your homemade hard candy can stay fresh and enjoyable for up to 12 months. Follow these simple steps to preserve the flavor, texture, and overall quality of your treats long-term.
Troubleshoot Common Hard Candy Problems
If your homemade hard candy turns out sticky or soft, the likely culprit is not cooking to the correct temperature. To get the right consistency, you need to reach the hard crack stage at 300°F.
Undercooking results in a chewy texture, while overcooking can darken the candy and make it bitter. Use a calibrated candy thermometer to monitor the temperature closely, removing the pot promptly at 310°F or when the mixture tests brittle in cold water.
Proper cooling is essential; let the candy cool completely at room temperature before handling. Rapid cooling or handling before fully hardening can cause cracks or uneven surfaces.
Adding flavorings after reaching 300°F and cooling slightly helps prevent bubbling and surface imperfections. Troubleshooting these common problems involves paying careful attention to temperature, cooling, and timing, ensuring your candy develops the perfect hard, glassy texture every time.
Frequently Asked Questions
Can I Make Hard Candy Without a Candy Thermometer?
Yes, you can make hard candy without a thermometer by watching for certain signs like the sugar melting and changing color, such as turning a light amber shade.
You can also do the cold water test to see if the syrup forms brittle, hard threads. Just drop a small amount into cold water and check if it hardens quickly.
Flavor infusion can be added during boiling to give your candy a tasty twist.
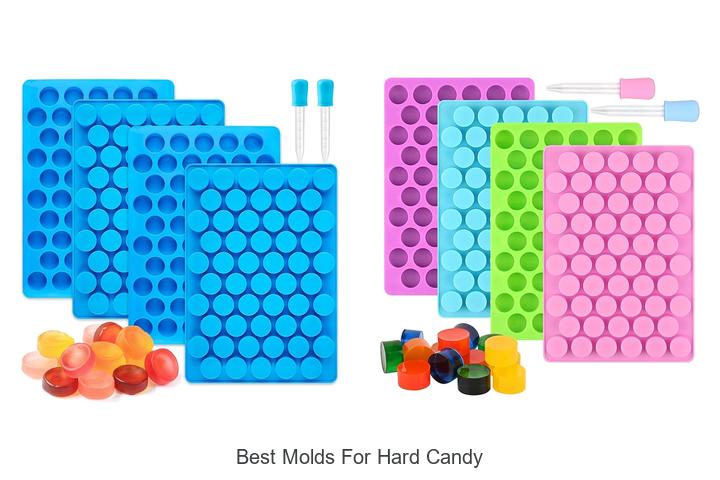
Use cooling techniques to shape your candy and choose suitable molds for the best results.
Adding decorative toppings can make your candy more appealing.
Store your finished candy properly to keep it fresh and crispy.
Feel free to experiment with ingredient substitutions to create different flavors and textures.
How Do I Prevent My Candy From Crystallizing?
Think of sugar crystallization like a snowball rolling downhill. If you don’t control it, it’ll grow uncontrollably.
To prevent this, keep the temperature steady and avoid stirring once it’s boiling. Use clean, dry tools to manage your syrup’s consistency.
Adding ingredients like cream of tartar can help, and make sure to keep moisture away during cooking and storage.
Also, be precise with your cooking time to prevent unwanted crystals from forming.
These steps will help your candy stay smooth, shiny, and crystal-free.
What’s the Best Way to Achieve Vibrant Food Coloring?
To get vibrant food coloring, use gel or high-quality liquid dyes for a more intense color. These give you the best results without needing too much.
Add the food coloring after reaching the hard crack stage, stirring well to get even coverage. Avoid overusing drops, as too much can mess with the texture.
Experiment with blending colors to create your own shades. Natural dyes can work, but they might not be as bright and vivid.
Always keep safety in mind and control how much color you add. This way, you’ll get the best, most vibrant results.
How Long Does Homemade Hard Candy Stay Fresh?
Your homemade hard candy stays fresh for up to 12 months if you follow proper storage tips. Keep it in airtight containers in a cool, dry place, and avoid humid conditions.
Using candy wrapping and moisture-absorbing packets can help maintain its freshness.
For the best flavor and texture, try to enjoy your candy within 6 to 8 months. After that, it might become softer or duller.
Proper storage really helps extend its shelf life and keeps it tasting great.
Can I Customize Flavors for Different Candies?
Yes, you can definitely customize flavors for different candies. You can experiment with flavor combinations like herbal blends or gourmet accents, and incorporate seasonal infusions or exotic tastes to keep things exciting.
Adding fruit essences or spices like cinnamon creates spiced varieties, while mixing fruit juices or Kool-Aid powders offers vibrant, unique flavors.
Combining these options allows you to craft personalized candies that suit any occasion or taste preference.
Conclusion
Making hard candy at home is simple, yet it demands attention and care. Just like a delicate sculpture needs precision, your candy requires patience and focus.
When you master the process, you’ll enjoy the sweet reward of your efforts — crisp, colorful, irresistible treats. So, embrace the challenge, stay vigilant, and enjoy the process.
The best part is waiting for that perfect, shiny piece of homemade candy to cool and shine. After all, the hardest part is patience, but the result is truly worth it.