Quick Guide to Make Gummy Candy With Jello in 6 Steps
Many people love making their own gummy candy with Jello but often find it tricky to get the perfect texture and flavor. If you’ve struggled with achieving that ideal chewy treat, you’re not alone.
Luckily, with a few simple steps, you can create delicious homemade gummies that taste just right.
To make gummy candy with Jello in 6 simple steps, start by gathering your favorite Jello flavor, unflavored gelatin, sweeteners, and molds. Mix your ingredients thoroughly, heating gently if needed, and pour the mixture into clean molds.
Let the gummies set at room temperature or in the fridge for a couple of hours. Once firm, store them properly, and if you want to customize or troubleshoot, there’s more to investigate for perfect results.
Key Takeaways
- Mix flavored Jello with unflavored gelatin and water or juice, making sure to blend everything thoroughly.
- Heat the mixture gently until it’s completely dissolved, but avoid boiling.
- Pour the liquid into molds, filling them evenly and gently removing any air bubbles.
- Refrigerate for 1-2 hours until the gummies are firm.
- Carefully remove the gummies from the molds, then store them in an airtight container and enjoy!
What Ingredients Do You Need to Make Gummy Candy With Jello?
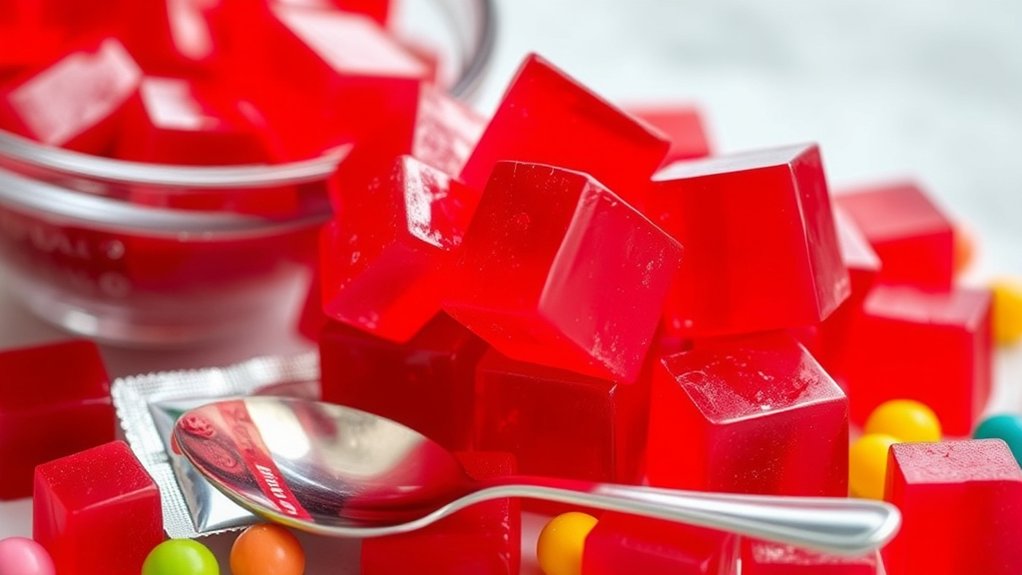
To make gummy candy with Jello, you’ll need just a few simple ingredients. First, grab a box of Jello in your favorite candy flavor—strawberry, lime, or orange work great. You’ll also need unflavored gelatin to give your gummies their chewy texture.
Create chewy gummies using Jello in your favorite flavors, combined with unflavored gelatin for the perfect texture.
Sugar or honey can sweeten the mixture further, but you can substitute with agave or stevia for a healthier option. To help the gummies set, you’ll require a small amount of water, though fruit juice can be used for added flavor.
For ingredient substitutions, consider using coconut milk or almond milk instead of water for a dairy-free version. You might also add a splash of lemon juice to boost the flavor or experiment with different gelatin brands.
Keep in mind, the candy flavor is customizable by choosing different Jello colors and flavors, while ingredient substitutions let you tailor the recipe to your dietary needs or taste preferences.
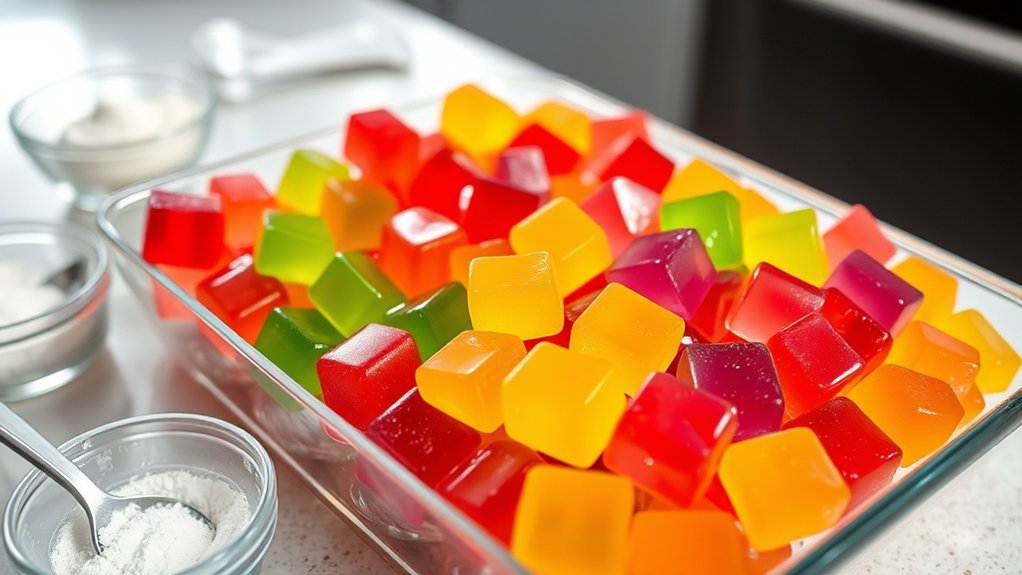
Gather Supplies and Choose Your Favorite Jello Flavor
Gathering your supplies is the first step toward making delicious gummy candies with Jello. Start by choosing your favorite flavors since they set the foundation for tasty treats. Think about flavor combos like cherry and lime or orange and pineapple for something fun and unique.
You’ll also need basic supplies like a mixing bowl, a saucepan, and silicone molds or a baking dish. Picking the right tools makes the whole process easier and more enjoyable.
To help you decide, here’s a quick guide:
| Flavor Options | Packaging Ideas |
|---|---|
| Cherry, Lime | Clear plastic bags |
| Orange, Pineapple | Small jars or tins |
| Grape, Lemon | Decorative boxes |
Choosing fun flavor combos and attractive packaging makes your homemade gummies even more exciting. Pick flavors that excite your taste buds and packaging that makes your treats look appealing—whether you’re gifting or just enjoying them yourself.
Mix Up Your Gummy Ingredients and Get Ready to Pour
Before pouring your mixture into molds, you’ll want to carefully combine your flavored Jello with water and any additional ingredients like gelatin or sweeteners. Stir thoroughly to guarantee everything dissolves evenly, creating a smooth, vibrant mixture.
Thoroughly mix Jello with water and extras for a smooth, vibrant candy blend before pouring into molds.
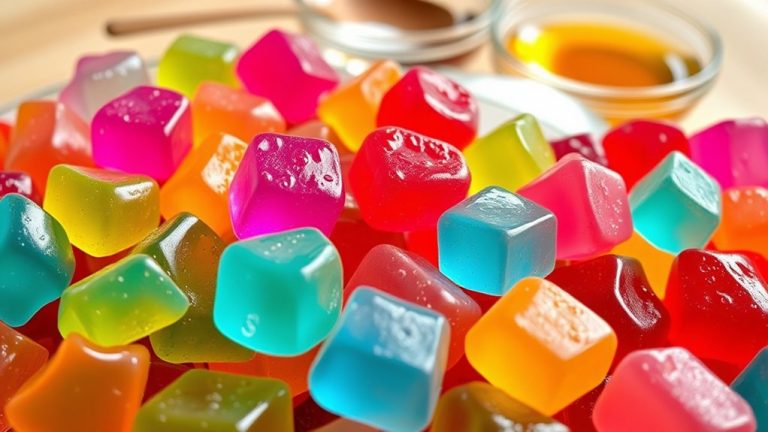
When considering flavor pairing, think about complementary tastes—like mixing citrus Jello with a splash of vanilla or adding fruit juice for extra depth. Don’t forget about color variations; combining different Jello flavors can produce eye-catching, layered gummies.
If you want a more complex color palette, consider adding food coloring drops to achieve specific shades or blending two different flavored Jellos before pouring. Mix until your ingredients are fully integrated, giving your candy a consistent flavor and hue.
Once everything is combined, you’ll be ready to pour the mixture into your molds, confident that your gummy candies will turn out colorful and delicious.
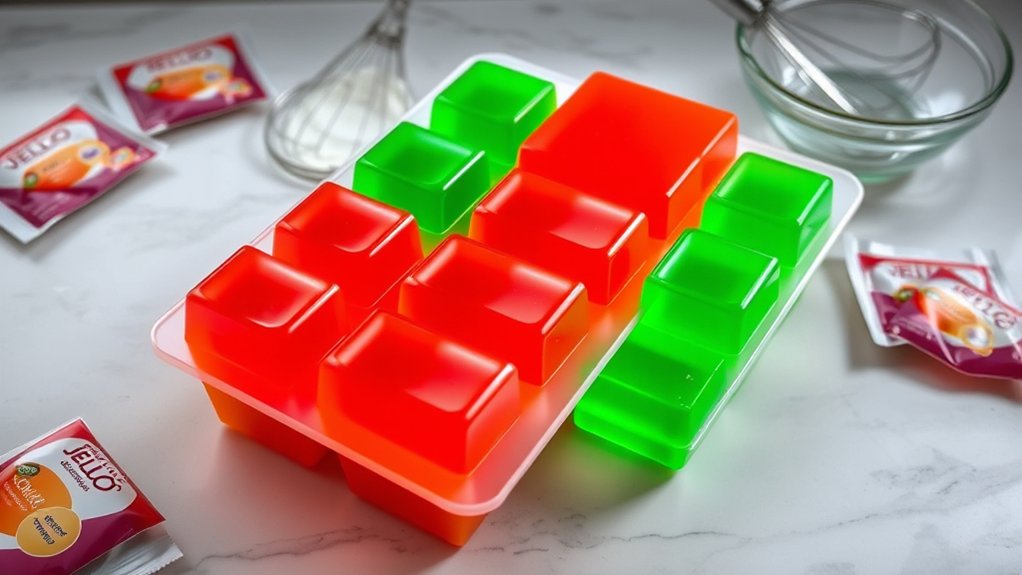
Pour the Mixture Into Molds and Let It Set
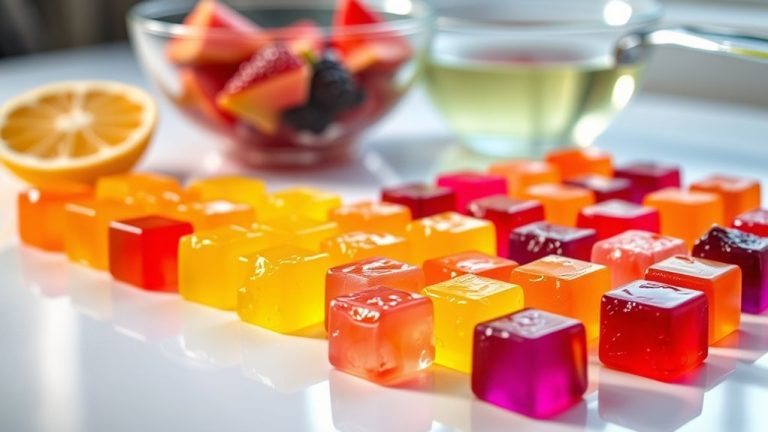
Once your mixture is smooth and ready, carefully pour it into your chosen molds, filling each cavity evenly. Pick molds based on the shape you want, whether classic bears, fun stars, or intricate designs. Think about flavor combos that go well together, like citrus with berry or tropical fruit with coconut.
To make sure the gummies set properly, pour slowly to avoid spills and air bubbles. Use a spoon or squeeze bottle for more precise pouring. Gently tap the molds to settle the mixture and get rid of air pockets.
Let the molds sit undisturbed at room temperature or pop them in the fridge for faster setting. This step is key for getting the right texture and flavor distribution. With the right molds and flavor ideas, your gummies will look great and taste delicious once they’re set.
How Long Do Gummies Take to Set and How to Store Them?
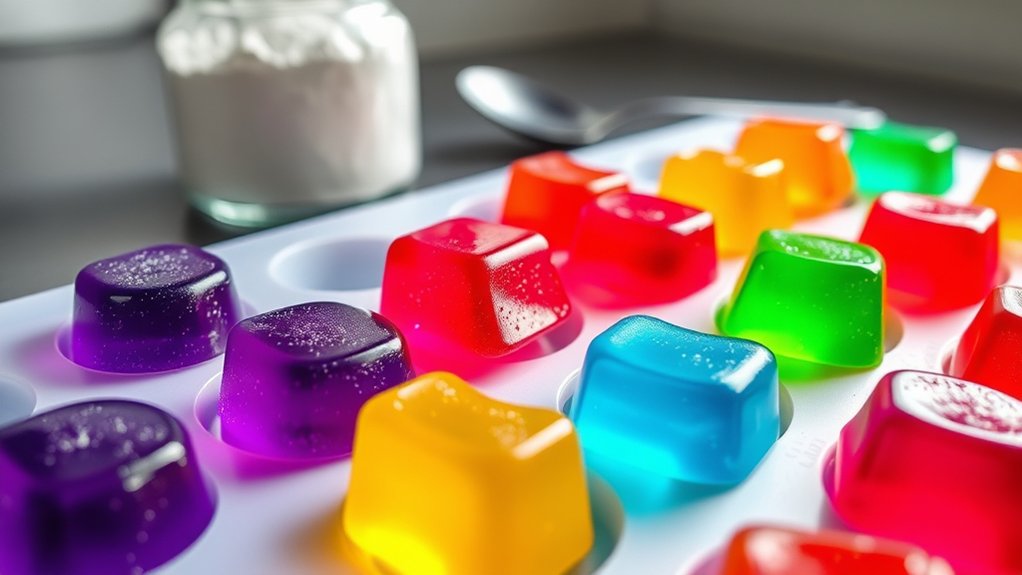
Gummies usually take about 1 to 2 hours to set at room temperature. For a firmer texture, it’s best to refrigerate them for at least 2 hours or overnight.
Storing your gummies properly helps prevent melting and keeps their colors and flavors looking and tasting great. Keep them in an airtight container to stay fresh.
Store gummies in a cool, dry place away from direct sunlight. Here’s a quick visual guide:
| Temperature | Effect |
|---|---|
| Room temperature | Soft, chewy texture |
| Refrigerated | Firmer, longer-lasting |
| Freezer | Extends shelf life, slightly harder |
Customize Your Gummies and Fix Common Problems
Want to make your gummies just right? You can easily tweak them by adjusting the sweetness or adding your favorite flavors to match your taste buds. It’s pretty simple and makes your gummies truly personalized.
If your gummies end up being too chewy or too soft, don’t worry. You can fix that by playing around with the texture ingredients a bit. Small adjustments can really make a big difference in getting the perfect bite.
And if they’re turning out too firm or not setting properly, try making a few tweaks to your recipe or the way you’re processing them. Sometimes, just a tiny change is all it takes to get that ideal firmness!
Adjusting Sweetness Levels
Adjusting the sweetness level of your gummy candies is an easy way to customize them to your taste or fix common issues like blandness or being too sweet. Proper calibration helps balance flavors, so your gummies aren’t dull or overwhelming.
To fine-tune sweetness, add more sweetener or fruit juice during the boiling stage for a sweeter taste. If they turn out overly sugary, reduce sugar or sweetening agents.
You can also add a splash of lemon or lime juice to counterbalance excess sweetness and boost flavor depth. These steps help you get the perfect flavor profile, making your gummies more enjoyable and tailored to your preferences.
Adjusting sweetness is key to mastering flavor balancing in your homemade treats.
Enhancing Texture Consistency
Achieving the right texture in your gummy candies can make all the difference between a chewy delight and a disappointing result. For texture improvement, consider adjusting the amount of gelatin or agar-agar you use. More thickening agents create a firmer consistency, while less results in a softer bite.
To refine consistency, make sure your ingredients are fully dissolved and evenly distributed during mixing. Using cold water to bloom gelatin before heating helps avoid clumps, leading to a smoother texture.
Adding a small amount of corn syrup or honey can also boost chewiness and elasticity. Be mindful not to overheat, as excessive heat can weaken gelling agents.
With these tips, you’ll achieve consistent, perfect gummies every time—just tweak the ingredients and technique for the ideal texture.
Troubleshooting Setback Issues
Troubleshooting setback issues means figuring out what’s causing common problems and fixing them quickly. If your gummies are too soft, overpouring or using too much liquid might be the culprit—try tweaking the recipe.
For flavor combos that aren’t vibrant enough, make sure you’re using fresh Jello and consider adding extracts or fruit purees to boost the taste. If mold prevention is a concern, switch to silicone molds with non-stick coatings or use parchment paper liners to avoid sticking and contamination.
To improve your process:
- Adjust the liquid-to-gelatin ratio to get firmer or softer gummies.
- Experiment with different flavor pairings to enhance taste.
- Choose mold options like silicone or food-grade plastic to prevent sticking and mold growth.
These steps can help you troubleshoot setbacks and get consistent, tasty results.
Frequently Asked Questions
Can I Use Sugar Substitutes Instead of Sugar in Gummy Recipes?
Yes, you can use sugar substitutes instead of sugar in gummy recipes, but results might vary.
Substitutes like stevia or erythritol can change the texture and flavor, so you may need to experiment with amounts to get it just right.
For better taste, try adding natural extracts or fruit juices, especially since some substitutes can alter how sweet they taste.
Always start with small batches to test how it turns out before making larger ones.
What Are Some Creative Ways to Flavor Homemade Gummies?
You can get creative with flavoring your homemade gummies by experimenting with unique flavor combinations like citrus and berry, or mint and chocolate. Use natural extracts such as vanilla, lemon, or peppermint to add depth.
Mix different extracts for customized flavors, or infuse fruit juices for a fresh twist. Remember, balancing sweet and tangy notes can make your gummies truly delightful. Have fun customizing your flavors to match your taste and creativity!
How Can I Make Vegan or Gelatin-Free Gummy Candies?
To make vegan or gelatin-free gummies, you should use plant-based alternatives like agar-agar or carrageenan instead of traditional gelatin. These ingredients come from seaweed and give a similar, firm texture.
Just dissolve the agar-agar or carrageenan in boiling water or juice, then add your favorite flavorings. Pour the mixture into molds and chill until it’s set.
These vegan gelatin options create delicious, chewy candies that everyone can enjoy.
Can I Add Vitamins or Supplements to My Gummies?
Yes, you can add vitamins or supplements to your gummies. Just mix them into the liquid before pouring it into molds to make sure they’re evenly incorporated.
Use finely ground powders for even distribution and to prevent clumping. Avoid high heat, as it can break down the nutrients and reduce their effectiveness.
Stir thoroughly so everything blends well, and store your gummies properly to keep the supplements fresh and effective.
This way, you can make tasty, customizable treats that give you the health benefits you’re looking for.
What Are Tips for Removing Gummies Easily From the Molds?
To easily remove gummies from molds, start by preparing the molds properly. Lightly grease them or use a non-stick spray for best results.
Next, try gentle release techniques like flexing the mold or softly tapping it on a surface. This helps the gummies come out smoothly without breaking.
Chilling the molds briefly can also do wonders. It firms up the gummies, making them easier to pop out cleanly.
Carefully work around the edges with a toothpick or silicone spatula. Be gentle to minimize breakage and achieve a clean, professional look.
Conclusion
Now that you’ve nailed the art of making gummy candies, you’re basically the Willy Wonka of your kitchen—minus the mysterious factory. Just keep in mind, patience is key, unless you love the chaos of sticky countertops and questionable flavor experiments.
With your new skills, you can turn simple Jello into edible art or a fun, mischievous snack. So go ahead, pour, set, and customize—your gummy empire is ready to take shape. Just don’t blame me when your friends start demanding “Gummy-Gate” parties!