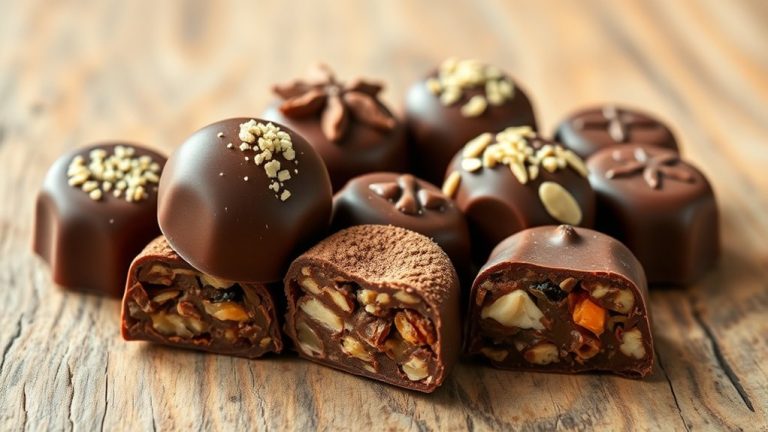
7 Simple Steps to Make Dark Chocolate Candy
Many people love indulging in homemade dark chocolate candy but get overwhelmed by the process. You’re not alone—making perfect, glossy chocolate treats can seem tricky at first.
To make dark chocolate candy, start by choosing high-quality chocolate and prepping your ingredients, adding flavors or mix-ins as desired. Melt and temper the chocolate carefully, maintaining proper temperatures for a glossy finish.
Pour into molds or dishes, then let it set in a cool, undisturbed spot. Use airtight containers for storage, keeping conditions steady to prevent bloom.
For tips and troubleshooting, stick with this guide to perfect your homemade dark chocolate confections.
Key Takeaways
- Choose high-quality dark chocolate that’s 70% cacao or higher, and measure your ingredients carefully.
- Melt the chocolate gently using a double boiler or microwave, stirring constantly to prevent overheating.
- Temper the chocolate by cooling it to 82°F, then reheating it to 88-90°F for that shiny, professional look.
- Pour the chocolate into molds or dishes, add any extras you like, then tap gently to release air bubbles.
- Let the chocolate set in a cool, undisturbed spot, then store it in airtight containers away from heat.
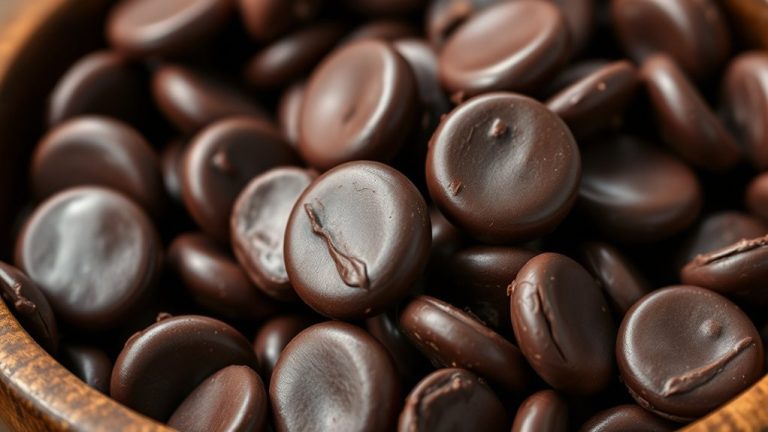
Prepare Your Ingredients for Dark Chocolate Candy
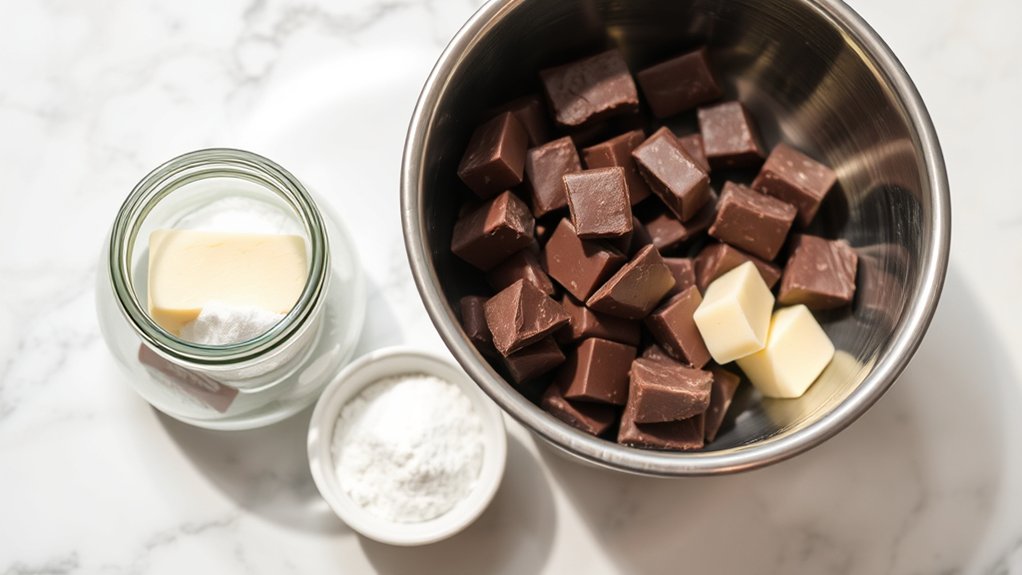
Before you start making your dark chocolate candy, it’s important to gather and prepare all your ingredients. Begin with ingredient sourcing—choose high-quality dark chocolate, ideally with at least 70% cocoa content for the best flavor. Look for reputable brands or specialty stores to ensure purity and freshness.
If you’re adding extras like nuts, dried fruits, or spices, pick ones that complement the rich bitterness of dark chocolate through thoughtful flavor pairing. Using fresh, well-sourced ingredients will really boost your candy’s taste and texture.
Be sure to measure everything carefully so you can keep your recipe consistent. Think about flavor pairing when choosing fillings or toppings—ingredients like sea salt, chili, or citrus zest can really elevate the overall experience.
Preparing your ingredients ahead of time makes the process smoother, letting you focus on crafting perfect, delicious dark chocolate candy. Good ingredient sourcing and smart flavor pairing lay a strong foundation for successful results.
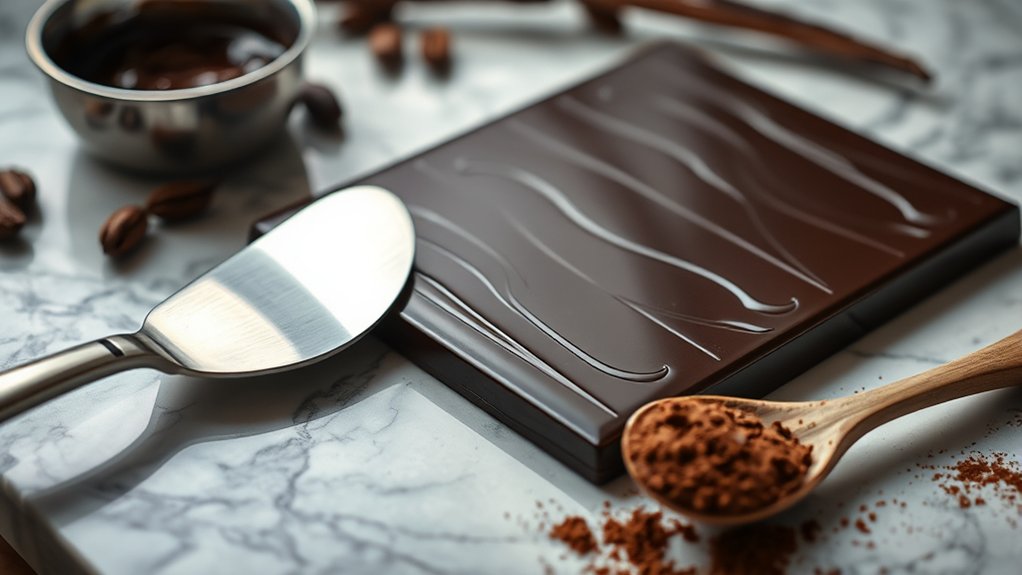
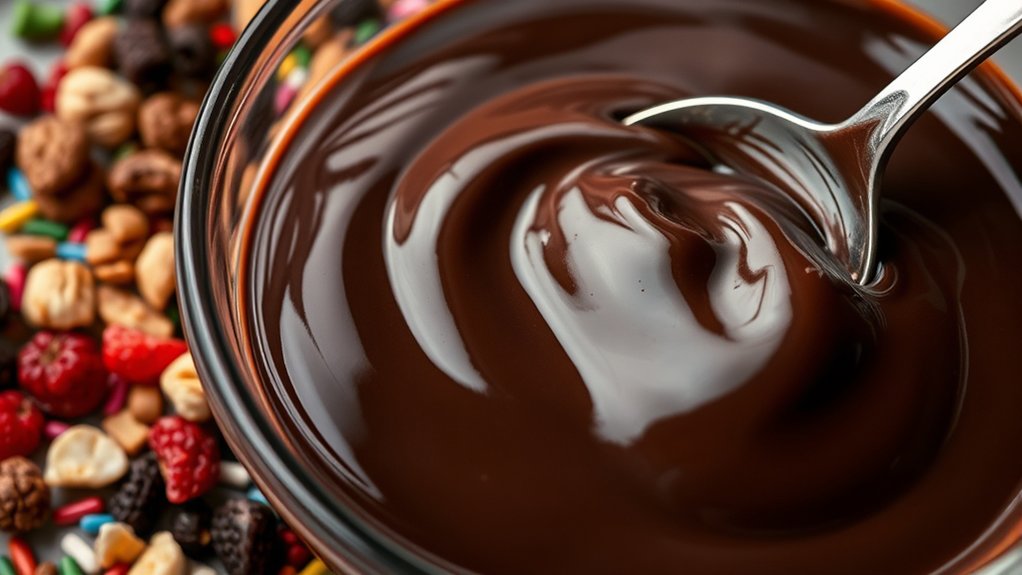
Melting and Tempering Dark Chocolate the Right Way
If you want your dark chocolate to turn out just right, melting it carefully is the way to go. You definitely want to avoid overheating because that can mess up its texture and make it grainy or dull.
Getting the perfect temper is all about controlling the temperature precisely. Using a thermometer is super helpful here—keep a close watch on it to make sure your chocolate hits that ideal temperature. That way, you’ll end up with smooth, shiny chocolate that’s just perfect!
Proper Melting Techniques
Mastering proper melting techniques is key to getting smooth, glossy dark chocolate that sets perfectly. Start by choosing high-quality chocolate from trusted sources because good chocolate melts more evenly and tastes better.
Use gentle heat methods like a double boiler or microwave in short bursts, stirring constantly to prevent overheating. Avoid direct heat, which can scorch the chocolate and ruin its texture.
Keep the temperature around 115°F to 120°F, using a thermometer for accuracy. Proper melting creates a velvety consistency, making it easier to pour or mold.
Achieving the Right Temper
Achieving the right temper is key for making glossy, firm dark chocolate that snaps when broken. Proper tempering makes sure your chocolate tastes great and looks smooth and attractive.
To do this, you need to carefully melt and cool the chocolate, aligning the cocoa butter crystals for the best structure. Using high-quality ingredients will also make the flavor richer and more intense.
Tempering helps prevent streaks or dull spots, giving your candy a professional finish. It’s a precise process that needs careful control of temperature and timing, but the results are definitely worth it.
When you master tempering, your dark chocolate will have the perfect shine, snap, and delicious flavor.
Using a Thermometer Correctly
Have you ever struggled to get your dark chocolate to melt smoothly or achieve that perfect temper? Using a thermometer correctly is key to keeping the right temperature and getting consistent candy texture. Always use a reliable digital or candy thermometer to monitor your chocolate closely.
When melting, keep the temperature between 115°F and 120°F to prevent overheating. For tempering, you’ll want to cool the chocolate to about 82°F and then gently reheat it to 88°F–90°F. Regularly check the thermometer to stay within these ranges.
Precise temperature control helps your chocolate develop that glossy finish and smooth, firm texture. It ensures your candies turn out perfect every time. With practice, using a thermometer becomes second nature, leading to beautifully tempered dark chocolate candies.
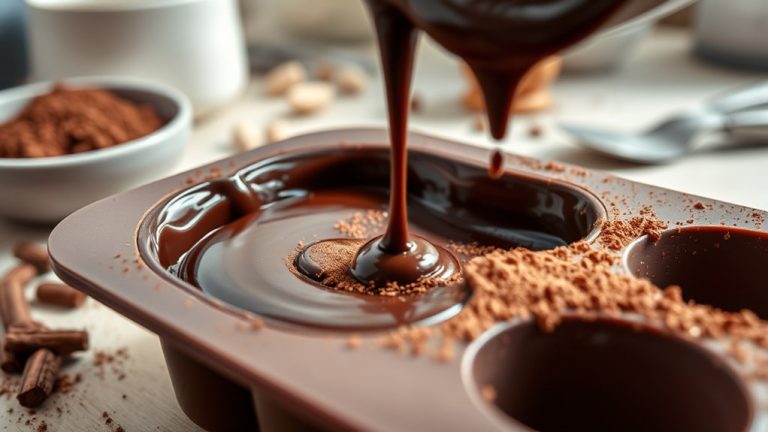
Pour and Set Your Chocolate Mixture
Once your chocolate mixture is smooth and well combined, it’s time to pour it into your mold or container. Pick a clean, dry mold or a shallow dish for easy removal later. To get even filling, pour slowly and carefully, avoiding spills or air bubbles.
After pouring, gently tap the mold on the counter to release trapped air and help settle the chocolate. Here are some tips to make this step perfect: fill just below the top to prevent overflow, and use a spatula to spread the chocolate evenly if needed.
You can smooth the surface with a spatula or the back of a spoon. If you want to add decorative toppings, do so immediately to help them stick. Once everything is poured and leveled, place the mold in a cool, undisturbed place to set.
Getting the pouring and setting right is key to achieving shiny, professional-looking chocolates.
Add Flavors and Mix-ins to Customize Your Candy
Adding flavors and mix-ins is a great way to personalize your dark chocolate candy and improve its taste and texture. You can experiment with different flavor combinations to create unique treats that suit your preferences.
Popular options include dried fruits like cherries or apricots, nuts such as almonds or hazelnuts, and spices like cinnamon or chili powder. Mix-ins can also include crushed cookies, toasted coconut, or sea salt for extra contrast.
When choosing your mix-ins, think about how they’ll complement the richness of the dark chocolate. Add small amounts either before pouring into molds or after it’s partially set to ensure they stick well.
Be creative and carefully balance flavors so each bite is a tasty mix of textures and tastes. Personalizing your candy with thoughtful mix-ins will make your homemade dark chocolate treats truly special.
Cut and Shape Your Homemade Dark Chocolate
After your dark chocolate has fully set, it’s time to cut and shape it into your desired forms. This step helps highlight the chocolate flavor and creates visually appealing pieces. Use a sharp knife or cookie cutter for clean cuts and consistent shapes.
Here are some ideas to consider:
- Slice into bars or squares for easy snacking and neat wrapping.
- Use cookie cutters to make fun shapes that add a playful touch.
- Break into irregular pieces for a rustic, artisanal look.
- Mold into silicone trays or molds for customized shapes and sizes.
Make sure your cuts are firm and precise so the chocolate keeps its shape. Once shaped, you can wrap individual pieces or store them in an airtight container. Proper cutting and shaping showcase the chocolate flavor and prepare your candies for packaging or gifting.
Store and Package Your Dark Chocolate Candy Properly
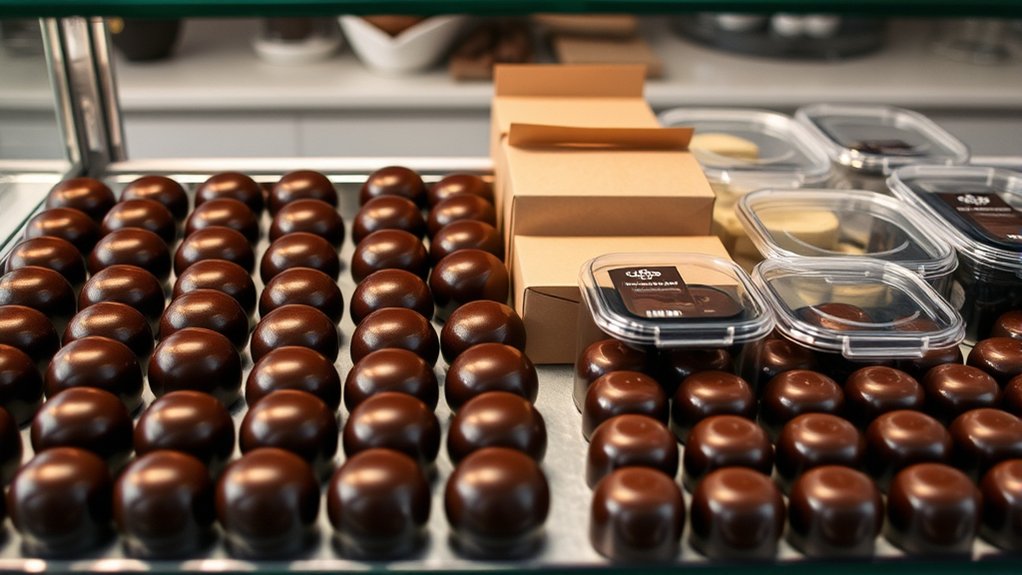
Want to keep your dark chocolate candy tasting its best? The key is choosing the right storage containers that protect and preserve it. Think airtight jars or resealable bags—they’ll keep moisture and odors out, helping your candy stay fresh longer.
Also, pay attention to where you store it. Aim for a cool, consistent temperature—somewhere between 60-70°F is ideal. Too warm, and your chocolate might melt or develop that dull bloom; too cold, and it could get weird textures. So, find a spot that’s steady and cool, and your dark chocolate will stay delicious for longer!
Proper Storage Containers
Choosing the right storage containers is key to keeping your dark chocolate candy fresh and tasty. Good containers also help organize your kitchen and keep moisture or air from spoiling your treats.
Consider these options:
Airtight glass jars seal in freshness and keep humidity out.
Plastic food storage containers are lightweight and stackable, making storage easier.
Metal tins are great for short-term storage and portable gifts.
Vacuum-seal bags remove air, which is perfect for long-term storage, especially in bulk.
Make sure to pick containers that are food-safe, durable, and seal tightly. Clear containers let you see your candy easily, while opaque ones block light. Proper packaging helps your dark chocolate stay fresh longer and keeps your kitchen tidy.
Maintain Ideal Temperature
Ever wondered how temperature affects your dark chocolate candy? Proper temperature control is key to keeping your chocolate just right and avoiding bloom or melting.
Keep your storage area between 60-70°F (15-21°C) and try to avoid fluctuations. Sudden changes can make the chocolate seize or look dull.
If it gets too warm, the chocolate becomes soft and sticky, losing its shape. Too cold, and it might develop a whitish coating called bloom, which affects both texture and appearance.
Use a thermometer to check the conditions regularly. Keeping the temperature even and cool helps maintain that glossy finish and firm texture you want.
Consistent temperature control makes sure your treats stay fresh, tasty, and look great for longer.
Use Airtight Packaging
Using airtight packaging is essential to keep your dark chocolate candy fresh and flavorful. Proper storage prevents moisture, air, and odors from affecting quality.
To maximize freshness, consider these tips:
- Use airtight containers or resealable bags to seal in flavor and prevent exposure to air.
- Store your chocolate away from direct sunlight and heat, which can cause blooming or melting.
- Label packages with the date made and ingredients, especially if you’ve made substitutions or sourced chocolate from different vendors.
- Keep the chocolate in a cool, dark place to maintain texture and taste. This also helps preserve your sourcing decisions and ingredient choices.
Proper packaging ensures your homemade dark chocolate stays delicious longer.
Troubleshoot Common Problems When Making Dark Chocolate Candy
When making dark chocolate candy, problems can pop up that affect the final result, but many are easy to fix. If your chocolate isn’t setting properly, check that you’re cooling it at the right temperature and avoiding moisture, which can cause blooming or a dull look.
A common issue is a grainy texture, often caused by overheating or improper tempering. Use a thermometer and follow the tempering steps carefully to get that smooth, glossy finish. When trying out new flavors, inconsistent results might happen if ingredients aren’t mixed evenly or if flavors don’t work well together—so test small batches first.
Improper storage can cut your candy’s shelf life and lead to bloom or spoilage. Keep your candies in airtight containers, away from heat and humidity. If your chocolate develops a whitish surface, it’s probably bloom but still safe to eat. You can improve texture with proper tempering.
Troubleshooting these common problems makes it easier to create beautiful, tasty dark chocolate candies that last longer.
Frequently Asked Questions
Can I Use Milk or White Chocolate Instead of Dark Chocolate?
Yes, you can use milk or white chocolate instead of dark chocolate. Milk chocolate tends to be sweeter and creamier, while white chocolate offers a rich, buttery flavor.
Keep in mind, these swaps will change the taste and texture of your candy. Adjust the sweetness if needed and melt them carefully to avoid burning.
Experimenting with different chocolates lets you create treats that suit your preferences and taste better for you.
What Are Some Healthy Add-Ins for Dark Chocolate Candy?
Did you know that adding healthy nuts and dried fruits can boost your dark chocolate candy’s nutritional value?
You can easily include almonds, walnuts, or hazelnuts for healthy fats, and dried cranberries or apricots for natural sweetness. These add-ins improve flavor and texture while providing antioxidants, fiber, and vitamins.
Just incorporate them into your melted chocolate before it sets, and you’ll have a tasty, healthful treat that satisfies your sweet tooth.
How Long Does Homemade Dark Chocolate Last?
Homemade dark chocolate usually lasts about 2 to 3 weeks if you store it correctly. Keep it in an airtight container in a cool, dark spot away from sunlight and humidity.
Proper storage helps prevent blooming and keeps the flavor fresh. If you want it to last longer, you can put it in the fridge for up to a month.
Just keep in mind that refrigeration might change the texture a bit. But overall, these tips will help your homemade chocolate stay tasty longer.
Is It Necessary to Temper Chocolate for All Recipes?
Coincidentally, whether you need to temper chocolate depends on your recipe and presentation goals. You don’t always have to temper chocolate, but if you want a glossy finish and crisp texture, it’s crucial for candy presentation.
Proper chocolate storage prevents blooming and maintains quality, especially if you plan to dip or mold. Tempering ensures your dark chocolate stays smooth, shiny, and professional-looking, making your homemade treats truly impressive.
Can I Make Dark Chocolate Candy Without a Thermometer?
Yes, you can make dark chocolate candy without a thermometer, but it’s a bit trickier to get the flavor and texture just right.
Focus on melting the chocolate slowly over low heat or using a double boiler, then cool it gradually.
By paying close attention to how the chocolate changes, you can still achieve a good candy texture and rich flavor.
Just be patient and attentive during the melting process!
Conclusion
Don’t worry if your first batch isn’t perfect—practice makes perfect! With these simple steps, you’ll master the art of homemade dark chocolate candy in no time.
Even if your chocolate doesn’t turn out as expected initially, each attempt teaches you something new. Keep experimenting with flavors and techniques, and soon you’ll be creating delicious, professional-looking treats that everyone will love.
So go ahead, indulge your sweet tooth and enjoy the sweet reward of your efforts with homemade dark chocolate candy!