How to Make Chocolate Candy With Cocoa Powder
Many people love the idea of making their own chocolate candies at home but feel overwhelmed by the process or unsure where to start. You’re not alone—crafting homemade chocolates with cocoa powder can seem tricky, but with a few simple steps, you can create delicious treats right in your kitchen.
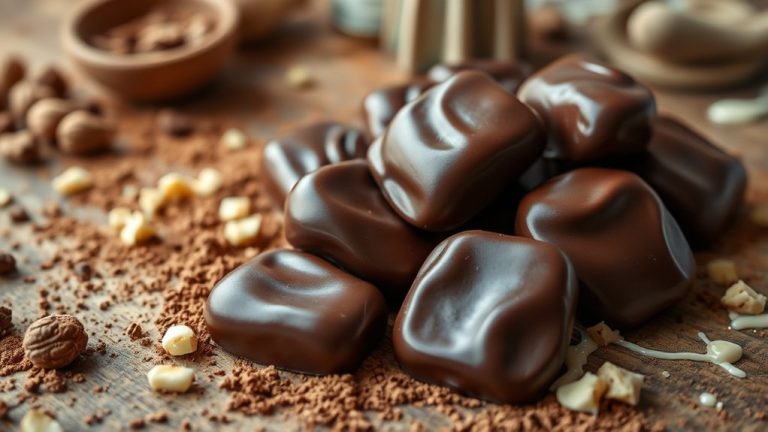
To make chocolate candy with cocoa powder, start by gathering fresh cocoa powder, fat (butter or oil), sweetener, and flavorings like vanilla. Gently melt the fat and gradually whisk in cocoa powder until smooth and glossy.
Add sweeteners and flavors, then pour the mixture into molds or onto parchment paper. Cool until firm, then package creatively.
If you keep practicing, you’ll uncover tips to perfect your homemade chocolates step by step.
Key Takeaways
- Gently melt cocoa powder with fat and sweetener, stirring continuously until smooth and glossy.
- Mix in flavorings and textures like nuts or dried fruits to add some variety.
- Pour the mixture into molds, tap to get rid of air bubbles, and let it cool at room temperature or pop it in the fridge.
- Properly temper the chocolate to get that shiny finish and a stable texture.
- Store your finished candies in a cool, dry place, wrapped or packaged nicely if you’re giving them as gifts.
Gather the Right Ingredients and Tools for Chocolate Candy
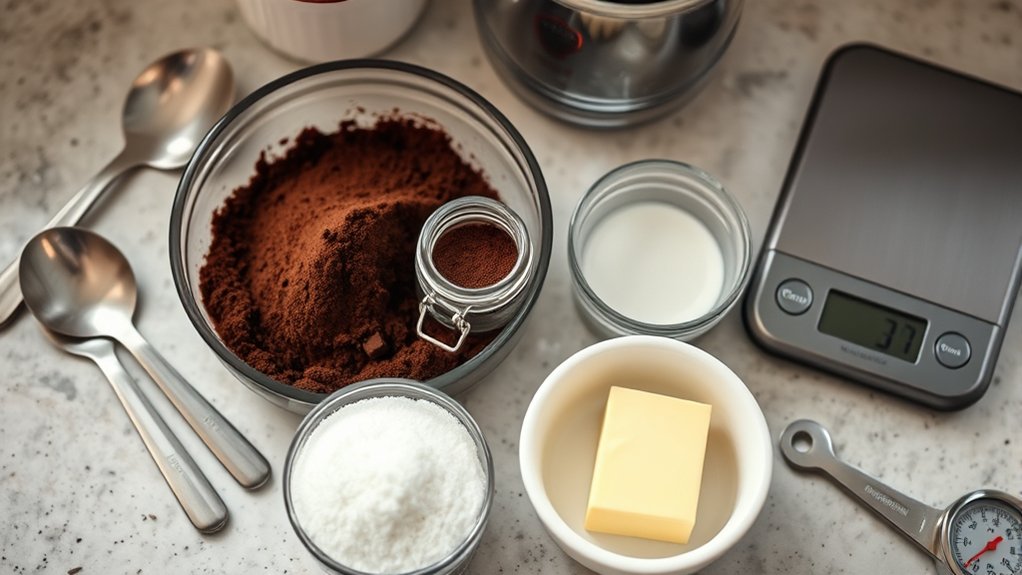
Before you start making chocolate candy, it’s important to gather all the ingredients and tools you’ll need. Having the right ingredients ensures your candy turns out just right, so double-check for substitutions if necessary, like using cocoa powder instead of melted chocolate.
Make sure your ingredients are fresh and measured accurately. The tools you choose are just as important; a reliable double boiler, silicone spatulas, and a good-quality mixing bowl are essential for smooth results.
Proper tool maintenance is key—clean them thoroughly to prevent contamination and make melting easier. If you don’t have specific equipment, look for suitable substitutes that can do the job, like a microwave-safe bowl instead of a double boiler.
Preparing everything beforehand helps you work efficiently and minimizes interruptions. With the right ingredients and well-maintained tools, you’re setting a solid foundation for making delicious chocolate candy.
Master Melting and Mixing Cocoa Powder Smoothly
Getting your cocoa powder melted and mixed smoothly is key to making a silky, well-blended chocolate candy. The trick is knowing the right melting temperature and how to handle the cocoa powder’s texture.
Achieve smooth, glossy chocolate by mastering gentle heat and careful mixing of cocoa powder.
Use gentle heat to avoid burning or clumping, which helps keep the temperature just right. Whisk constantly to break up lumps and create a smooth cocoa paste. This ensures a uniform, glossy mixture.
Add liquids slowly, like warm milk or water. Doing so helps incorporate the cocoa powder evenly and prevents seizing or graininess. Take your time with each step.
Controlling the melting temperature and managing the cocoa’s texture are essential. Too high heat can cause bitterness or separation, while too low might leave lumps. Keep the heat moderate and work steadily.
This careful approach guarantees a smooth, glossy mixture ready for the rest of your chocolate candy recipe.
Combine Ingredients to Achieve a Glossy Chocolate Mixture
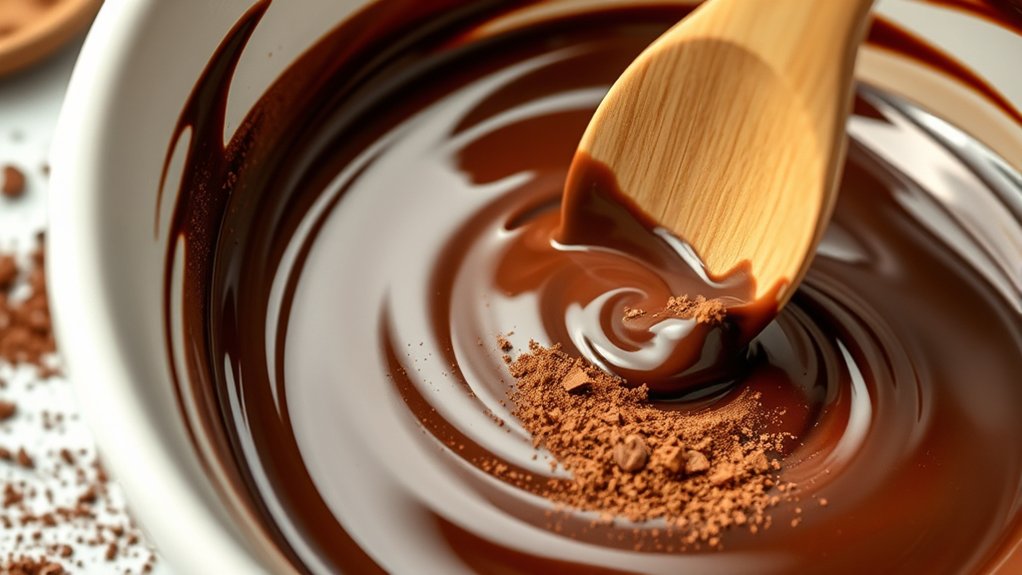
To get that smooth, glossy chocolate mixture, you need to combine your melted cocoa paste with the other ingredients carefully. Start by slowly adding your cocoa powder to the melted paste, stirring constantly to keep everything smooth. This helps develop a rich flavor and keeps the mixture from getting lumpy.
Once it’s blended, add a small amount of sweetener and fat, like butter or cream. This improves the texture and gives it a shiny finish. Mix thoroughly so everything comes together into a silky, cohesive consistency.
To achieve that glossy look, avoid overworking the mixture, as this can make it dull or grainy. Instead, stir gently until all ingredients are well combined and the mixture reflects light with a shiny appearance. Properly combining everything ensures your chocolate has bold flavor and an eye-catching shine that looks professional and tempting.
Add Flavors and Textures to Customize Your Chocolates
Once you have your basic chocolate mixture ready, you can start customizing it by adding flavors and textures to suit your taste. Experimenting with flavor combinations allows you to create unique chocolates that stand out.
You might add a splash of vanilla, a pinch of cinnamon, or a hint of chili for a spicy kick. To introduce texture variations, consider mixing in chopped nuts, dried fruits, or crispy rice for crunch and contrast.
These additions give your chocolates a delightful complexity and a personalized touch. Remember, balancing flavors is key—start small and adjust to your preference.
With creative flavor combinations and texture variations, you can craft chocolates that are not only delicious but also tailored to your unique palate. Whether you prefer smooth and creamy or crunchy and bold, customizing your chocolates is the fun part of candy making.
Pour and Shape Your Chocolate Mixture Into Molds
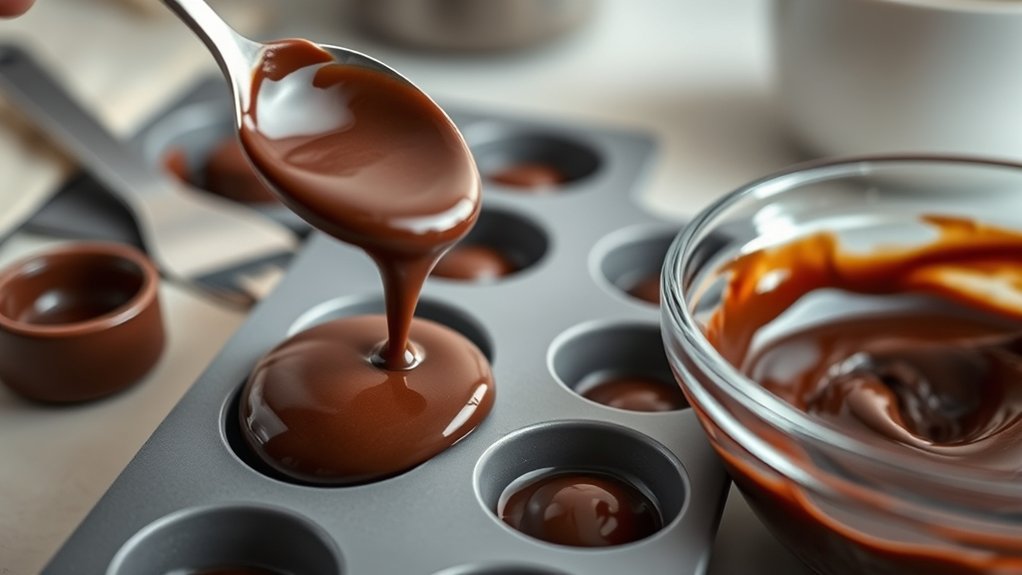
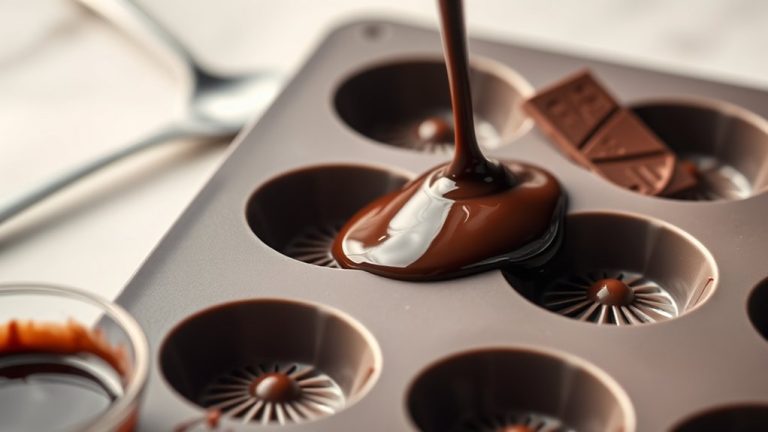
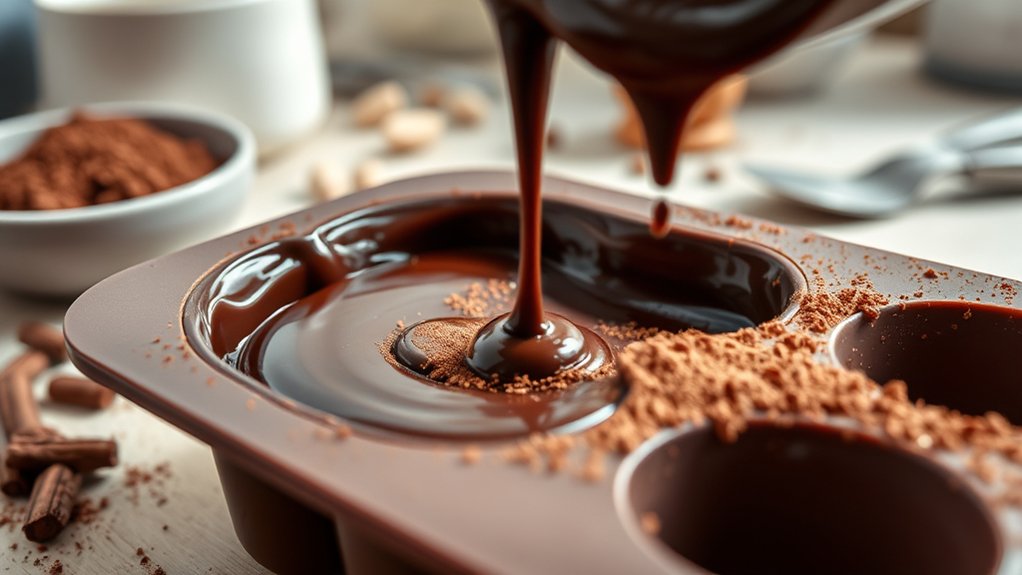
After preparing your chocolate mixture, the next step is to pour it into molds. Pick molds that match your desired shape and size, and make sure they’re clean and dry.
The texture of your chocolate affects how smoothly it flows. Well-mixed, melted chocolate with a glossy finish pours easily without splattering. Pour slowly and steadily to avoid air bubbles and uneven filling.
Use a spatula or gently tap the mold on the counter to settle the mixture and remove trapped air. Fill molds just below the rim to prevent overflow for a sleek finish.
Think about the mold material—silicone molds are flexible and easy to remove. Plastic or metal molds might need a light coating of non-stick spray. Carefully pouring and shaping your chocolate helps give it a professional look and the perfect texture.
Cool and Set Your Homemade Cocoa Powder Chocolates
To get your chocolates perfectly set, start by letting them sit at room temperature. This gentle cooling helps them firm up evenly without any cracks or melting. Once they’ve cooled down a bit, pop them into the fridge for a short while. Just a quick chill is enough to speed things up without compromising the texture or shine. Following this little routine will give you chocolates that are both firm and glossy—just how you want them!
Proper Cooling Techniques
Cooling your chocolates properly is essential to guarantee they set perfectly and develop the right texture. Focus on temperature control and humidity management to get the best results. A stable, cool environment helps prevent bloom and ensures a smooth, glossy finish.
Place your chocolates on a cooling rack in a cool, dry area away from direct sunlight. Keep the room temperature steady, ideally between 60-65°F (15-18°C), to avoid rapid temperature changes. Use a dehumidifier if humidity levels are high, as excess moisture can affect the setting process.
These steps help your chocolates cool evenly, preventing cracks or streaks. Proper cooling techniques ensure your homemade candies come out beautifully glossy and perfectly set.
Achieving Perfect Setting
Once your chocolates have cooled to the right temperature, focus on giving them enough time to set completely. Proper mold preparation guarantees your chocolates release easily once set. Make sure your molds are clean and dry before pouring.
Achieving perfect setting depends on correct chocolate tempering. This process stabilizes the cocoa butter, giving your chocolates a glossy finish and firm snap. After pouring the tempered chocolate into molds, gently tap to remove air bubbles.
Allow the chocolates to cool at room temperature or in a cool, undisturbed environment. Avoid rushing the process by refrigerating, as it can cause bloom or surface dullness. Patience is key—wait until the chocolates are firm and set before removing them from the mold for the best results.
Decorate and Personalize Your Confections
Decorating and personalizing your chocolate confections lets you add a unique touch that shows off your style and creativity. You can turn simple chocolates into stunning treats with just a few easy techniques.
Start by using fondant to create shapes, flowers, or intricate designs that sit beautifully on your candies. Edible glitter adds a sparkling finish, making your confections eye-catching and festive.
To up your decorating game, try color-coordinated fondant or metallic edible paints for a more professional look. Experiment with textures and patterns like marbling or embossed designs to give your chocolates more depth.
Troubleshoot Common Chocolate Making Issues
Even with careful decorating, you might run into some common issues when making chocolate, but most are easy to fix. If your chocolate doesn’t taste as rich as you’d like, it could be because you’re using low-quality cocoa powder or didn’t temper it properly.
Try choosing high-quality cocoa powder made from fresh, well-roasted cocoa beans to boost the flavor. If your chocolate seizes or becomes grainy, it’s usually because moisture or heat was added too quickly.
Gently reheat and stir until smooth, making sure to avoid water contact. For a dull or matte finish, your chocolate might not be tempered correctly. Reheating and cooling it carefully will help restore its shine.
Sometimes, the flavor profile can be off if the natural bitterness of the cocoa bean isn’t balanced. Adding a pinch of salt or a little sweetener can fix that. Troubleshooting these issues will help your homemade chocolates taste as good as they look.
Store and Preserve Your Homemade Chocolates
Proper storage is essential to keep your homemade chocolates fresh, shiny, and delicious. To maintain the ideal chocolate flavor, store your chocolates in a cool, dry place away from direct sunlight and strong odors. Proper temperature control prevents blooming and preserves the texture.
When choosing your storage container, go for airtight options to keep moisture out and maintain cocoa quality. Keep chocolates at a consistent temperature, ideally between 60-70°F (15-21°C), to prevent melting or blooming.
Use airtight containers or wrapping to lock in freshness and prevent absorption of unwanted flavors. Store chocolates away from strong-smelling foods, as they can easily absorb odors, affecting the flavor.
Creative Packaging and Gifting Ideas for Your Chocolates
Creative packaging can turn your homemade chocolates into memorable gifts that impress and delight. Using creative ideas adds a personal touch and makes your chocolates feel extra special as thoughtful presents.
Consider using decorative boxes, clear cellophane bags, or small Mason jars to showcase your treats. Add a handwritten label or ribbon for a charming finishing touch that helps your gift stand out.
You can also use cupcake liners or paper cups to separate chocolates, creating a colorful and appealing presentation. For a unique look, try wrapping chocolates in fabric like tiny cloth bags or burlap pouches for a rustic feel.
Reusing vintage tins or decorative cardboard boxes adds a nostalgic vibe. Incorporating themed packaging for holidays or special occasions makes your gift even more memorable.
With a little creativity, your packaging becomes part of the gift, making your homemade chocolates a delightful surprise for anyone lucky enough to receive them.
Frequently Asked Questions
Can I Use Dark or Milk Chocolate Instead of Cocoa Powder?
Yes, you can use dark or milk chocolate as ingredient substitutions for cocoa powder, but it will change the flavor of your candy. Since chocolate has added fats and sugars, you’ll need to adjust other ingredients to balance the recipe.
Keep in mind that using chocolate might change the texture and sweetness. It’s a good idea to taste as you go so you can get the flavor just right.
How Long Does Homemade Chocolate Last Before It Expires?
Homemade chocolate is like a fleeting sunset—beautiful but temporary. Usually, it lasts about two weeks to a month if stored properly in an airtight container in a cool, dark place.
The shelf life depends on ingredients and storage conditions, so keep an eye out for signs of spoilage like a whitish coating or off smell.
For longer freshness, you can refrigerate or freeze it. Just remember to enjoy it before it loses its delightful flavor.
Is It Safe to Add Alcohol or Liquid Extracts to Cocoa Powder?
Yes, you can add alcohol or liquid extracts to cocoa powder, but it’s important to think about safety when doing so. Adding small amounts of alcohol can boost the flavor, but too much may affect the texture or cause spoilage.
Make sure to use food-grade extracts, and keep the mixture dry enough to prevent mold or bacteria from growing. Moderation is key, and proper storage helps keep your homemade chocolate safe and tasty.
What Are Some Healthy Mix-Ins I Can Add to My Chocolates?
You’ll turn your chocolates into a powerhouse of health with just a few simple mix-ins! Think healthy nuts like almonds, walnuts, or pistachios that add crunch and boost your energy.
Dried fruits like cranberries, apricots, or cherries bring sweetness and antioxidants, making every bite feel like a superfood explosion!
These mix-ins transform your chocolates into a delicious, nutritious treat that’s impossible to resist—your taste buds and body will thank you!
Can I Make Chocolate Candies Without a Mold or Special Tools?
Yes, you can make chocolate candies without a mold or special tools. Just pour the melted chocolate into a parchment-lined tray or silicone muffin cups for easy removal.
Once the chocolate is set, you can break or peel it into pieces. To add a personal touch, try DIY packaging or experiment with flavors like nuts or spices before cooling.
This method makes creating and sharing your candies simple and totally customizable.
Conclusion
Now that you’ve mastered making chocolate candy with cocoa powder, your kitchen will never be the same! Imagine creating irresistibly smooth, luscious chocolates that wow everyone and turn everyday moments into unforgettable celebrations.
With just a little effort, you hold the power to craft divine confections that could bring tears of joy and make you the hero of any gathering.
Get ready to indulge and share your sweet masterpiece with the world. Your chocolate empire starts now!