Easy Recipes to Make Chocolate Candy at Home
Many people dream of making their own chocolate candies at home but feel overwhelmed by complicated recipes or hard-to-find ingredients. You’re not alone—creating delicious homemade chocolates can seem tricky at first.
Luckily, with a few simple tips, you can craft irresistible treats without the stress.
To make easy chocolate candies at home, start with high-quality chocolate, like couverture or premium semi-sweet, for the best flavor and smooth melting.
You can create classic truffles by melting, cooling, and shaping the chocolate into balls, then coating or decorating as you like.
For a quick treat, try making chocolate bark with your favorite toppings.
With simple techniques and creative ideas, you’ll craft delicious candies perfect for any occasion.
Keep exploring to learn more tips and tricks.
Key Takeaways
- Use high-quality, melting-friendly chocolate like couverture or premium semi-sweet for the best results.
- Create simple treats like chocolate bark by melting the chocolate, adding your favorite toppings, and refrigerating until it’s set.
- Make classic truffles by melting chocolate, mixing in cream or butter, chilling the mixture, and then rolling it into balls.
- Be sure to properly temper and gently melt your chocolate to avoid blooming, seizing, or texture problems.
- Package your candies in airtight containers with decorative wrapping for easy gifting and to keep them fresh.
How to Choose the Best Chocolate for Homemade Candy
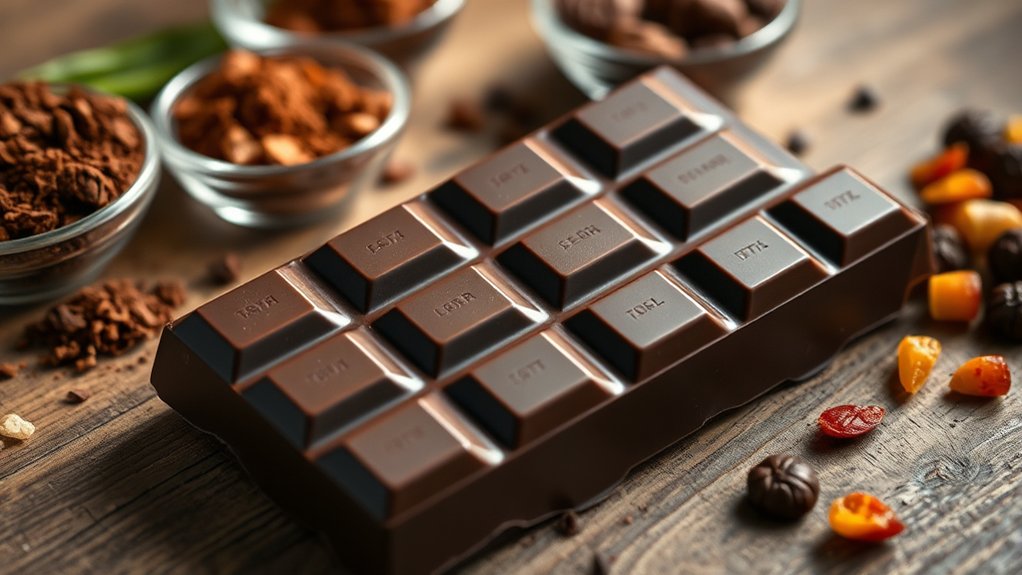
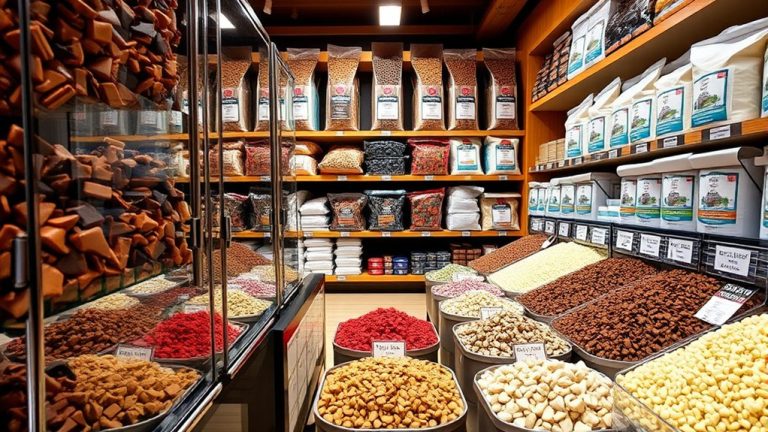
When selecting chocolate for homemade candy, it’s important to go for high-quality options that melt smoothly and have rich flavor. The chocolate you choose directly affects the taste of your final treat.
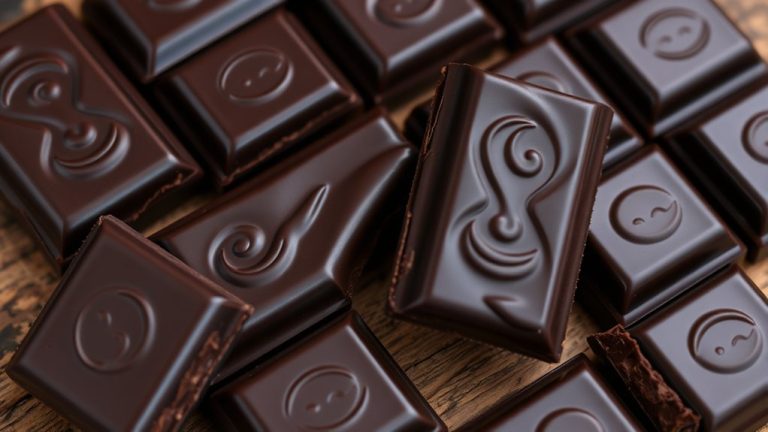
Look for chocolates with a high cocoa content, like couverture or premium semi-sweet and dark chocolates. These give a deep, authentic flavor that really stands out.
Ingredient quality is just as important. Avoid chocolates with cheap fillers, vegetable fats, or artificial additives. Instead, pick products made with real cocoa butter and minimal ingredients.
Always read labels carefully to ensure you’re getting pure, high-quality ingredients. This not only boosts flavor but also helps your chocolate melt better and results in a smoother texture.
Good chocolate makes a noticeable difference in your homemade candies. It can elevate them from simple treats to gourmet delights.
Key Ingredients for Easy Chocolate Treats
To create delicious, easy chocolate treats, selecting the right ingredients is key. High-quality chocolate gives your candies that rich, irresistible flavor. Whether you choose unsweetened or semisweet depends on how sweet you want your treats to be.
You’ll also need a reliable sweetener like confectioners’ sugar or honey to improve the taste and help achieve smooth, glossy textures. For extra flavor and texture, think about adding nuts, dried fruit, or flavor extracts.
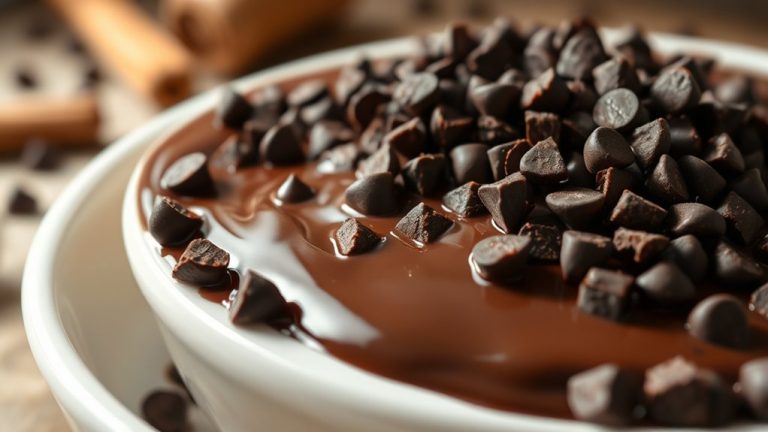
These ingredients can raise your candies with subtle crunches or bursts of flavor. To get the perfect textures, use ingredients that melt smoothly and set firmly, such as chocolate chips or cacao butter.
The right combination of ingredients ensures your chocolates are not only tasty but also have appealing textures—creamy, chewy, or crunchy—depending on your recipe. Choosing quality ingredients from the start makes all the difference in creating professional-looking, delicious treats at home.
How to Make Classic Chocolate Truffles
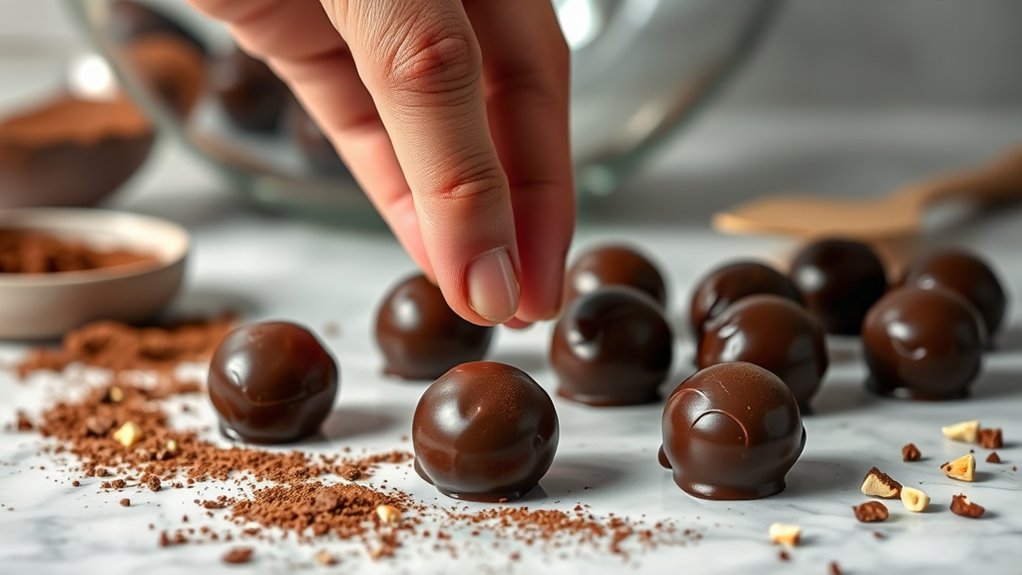
Making classic chocolate truffles is simple. Start by melting high-quality chocolate until smooth and glossy. Once melted, let it cool slightly before stirring in cream or butter for a rich, velvety texture.
Chill the mixture until it’s firm enough to handle. Then, use a spoon or melon baller to scoop small portions and roll them into balls for a perfect candy look.
To boost the chocolate flavor, dust the truffles with cocoa powder, powdered sugar, or dip them in melted chocolate.
For a more polished appearance, roll them in crushed nuts or sprinkle with edible glitter.
Storing these truffles in an airtight container in the fridge keeps their texture at its best.
Creating Delicious Chocolate Bark at Home
Have you ever wanted a quick, customizable treat that combines rich chocolate with your favorite toppings? Making delicious chocolate bark at home is easy and fun.
Start by melting your preferred chocolate—dark, milk, or white—until smooth. Pour the melted chocolate onto a parchment-lined baking sheet and spread it into an even layer.
While it’s still soft, add toppings like nuts, dried fruit, or sprinkles for extra texture and flavor. For decorative designs, melt contrasting chocolates and drizzle or pipe them over the surface for a pretty pattern.
You can also get creative with stencils or tools to make intricate shapes. Once everything looks good, refrigerate until the bark is fully hardened.
Break it into rustic, irregular pieces for a casual look or cut into neat bars for a polished vibe. Homemade chocolate bark is perfect for snacking, gifting, or customizing for any occasion.
How to Make Chocolate-Covered Nuts and Fruits
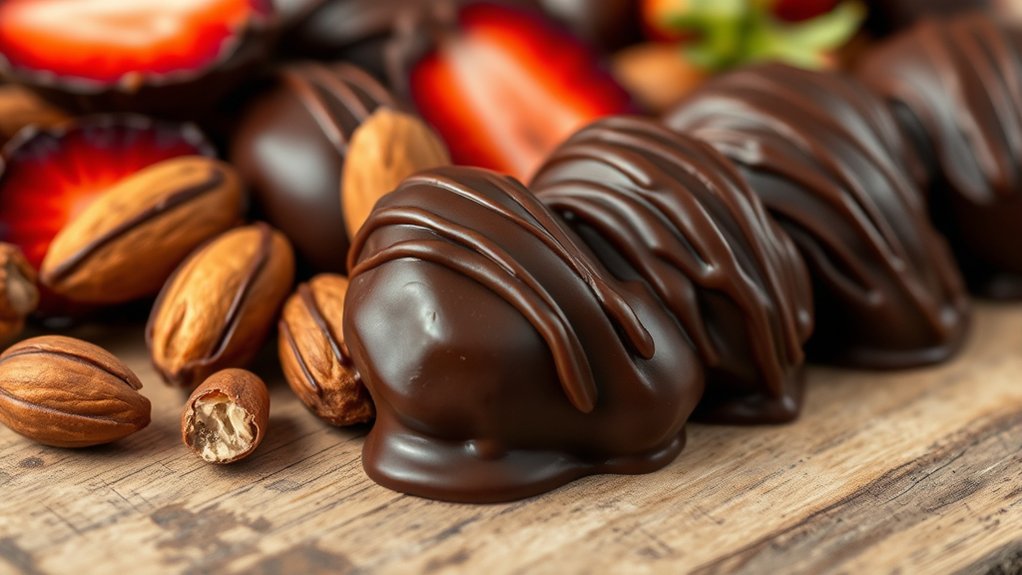
Want to make some delicious chocolate-covered nuts and fruits? The secret is to start with fresh, high-quality ingredients—that way, you’ll get the best flavor in every bite. Once you’ve got your goodies ready, it’s all about melting the chocolate just right. Use gentle heat and keep stirring so it melts smoothly without burning.
Getting these steps down will help you whip up irresistible treats every single time. Just take your time, and soon you’ll be enjoying homemade chocolates that look and taste amazing!
Selecting Fresh Fruits and Nuts
When selecting fresh fruits and nuts for your chocolate treats, quality is key to achieving the best flavor and texture. Start by choosing ripe berries that are plump, vibrant, and free of mold or wrinkles. This ensures they’re sweet and juicy.
When picking crunchy almonds, look for firm, whole nuts without cracks or discoloration. They’ll give you the perfect crunch every time. Freshness really matters, so avoid dried or stale options.
To help you pick the best ingredients, here are some tips. Check for ripeness and brightness in berries. Opt for nuts that are uniform in size and color. Smell the nuts to make sure they’re fresh—avoid any musty odors.
Finally, select fruits and nuts that feel firm and unblemished. This way, you’ll get the best texture and flavor in your chocolate creations.
Proper Chocolate Melting Techniques
Melting chocolate properly is key to creating smooth, glossy coatings that stick well to your nuts and fruits. Use the best equipment, like a double boiler or microwave, to keep the flavor intact without burning or seizing.
A double boiler heats the chocolate gently, preventing overheating and giving you a silky, smooth coating. Microwaving is quick and convenient but needs short bursts and regular stirring to avoid scorching.
Keep the temperature low to preserve the chocolate’s shine and texture. For gentle melting and flavor preservation, a hot water bath or a heatproof bowl over a pot works great.
How to Temper Chocolate for a Smooth, Glossy Finish
Achieving a smooth, glossy finish on your chocolate candies starts with proper tempering. Tempering chocolate involves heating and cooling it carefully to stabilize the cocoa butter, which gives you a shiny surface and a perfect snap. This process also enhances the flavor, letting you explore various chocolate flavor combinations confidently. Using the right tempering techniques will ensure your chocolates look professional.
Proper tempering ensures shiny, crisp chocolates with enhanced flavor and professional appearance.
Here are the key steps:
- Heat the chocolate to a specific temperature depending on whether you’re working with dark, milk, or white chocolate.
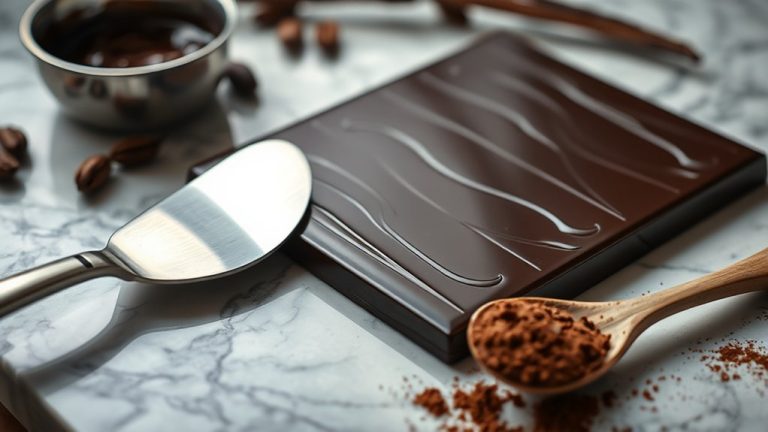
- Cool it down by adding small amounts of unmelted chocolate or using a marble slab.
- Reheat slightly to reach your working temperature.
- Test the temper by spreading a small amount on parchment paper. If it hardens quickly with a glossy finish, you’re ready.
Mastering these steps will guarantee a beautiful finish and help you create chocolates that look stunning and taste great.
Decorate Your Homemade Chocolates for Special Occasions
Decorating your homemade chocolates can turn simple treats into beautiful party favors or heartfelt gifts for special occasions. Using festive edible decorations like colorful sprinkles, edible glitter, or tiny sugar flowers instantly adds a cheerful touch.
You can also get creative with elegant presentation ideas, such as piping fine lines of contrasting chocolate or drizzling white chocolate for a sophisticated look. For weddings or anniversaries, consider adding gold or silver leaf accents to make your chocolates stand out.
Personal touches like writing custom messages with edible ink or stamping them with personalized stamps make your treats even more special. Remember, simple decorations often have the biggest impact.
Troubleshooting Common Chocolate-Candy Problems
Making chocolate candies at home can sometimes lead to common issues like blooming, seizing, or uneven textures, but most problems have simple fixes. Blooming, which causes grayish streaks, happens when chocolate cools too quickly or moisture gets in. To fix it, gently reheat and stir the chocolate until smooth.
Seizing occurs when moisture or hot liquids contact the melted chocolate, turning it grainy. To prevent this, keep liquids away and work in a dry environment. Uneven textures often result from inconsistent tempering or improper stirring. Use a thermometer to ensure correct tempering and stir thoroughly.
Here are some troubleshooting tips:
- Reheat gently to fix blooming.
- Keep water away to prevent seizing.
- Maintain proper tempering for a smooth texture.
- Experiment with flavor combinations to hide imperfections.
Also, think about packaging ideas that protect your candies from moisture and temperature changes. This helps keep them looking professional and stays fresh longer.
Creative Ways to Customize Your Chocolate Candies
Once you’ve mastered troubleshooting common chocolate-candy issues, you can start exploring creative ways to personalize your treats. One fun method is adding unique flavor infusions, like a splash of vanilla, chili, or peppermint oil, to give your chocolates a distinctive taste.
You can also experiment with mix-ins such as crushed nuts, dried fruit, or sea salt to boost flavor and texture. To make your chocolates even more special, consider using personalized gift packaging.
Wrap your candies in decorative wrappers or place them in custom boxes for a polished look. Adding labels or custom stickers can turn your homemade chocolates into thoughtful gifts for friends and family.
These simple touches help your candies stand out and reflect your personal style. Whether you’re making treats for a celebration or just indulging yourself, customizing with flavor infusions and personalized packaging transforms your chocolates into memorable, one-of-a-kind delights.
Storing and Packaging Your Homemade Chocolates
Proper storage and packaging are key to keeping your homemade chocolates fresh, flavorful, and looking great. Picking the right packaging helps prevent melting, moisture, and flavor transfer. Store chocolates in an airtight container to keep them fresh, and layer with parchment paper to stop sticking.
Keep your chocolates in a cool, dry spot away from direct sunlight, ideally between 60-70°F. If you need to store them longer, refrigeration is an option but can cause condensation. Wrap chocolates tightly to avoid moisture damage.
Here are some handy storage tips:
- Use airtight containers to lock out air and humidity.
- Wrap each chocolate with wax or parchment paper for extra protection.
- Label containers with the date so you know how fresh they are.
- For gifting, go for decorative boxes or clear tins to show off your treats.
Following these tips will keep your chocolates delicious and beautiful until you’re ready to enjoy them.
Frequently Asked Questions
Can I Use Dairy-Free or Vegan Chocolate Options?
Yes, you can definitely use dairy-free options or vegan substitutes. Many vegan chocolates are made with plant-based ingredients and work great for dairy-free recipes.
When making chocolate candies at home, look for dairy-free or vegan chocolate bars or chips. These options work just as well, so your treats are suitable for vegans or anyone avoiding dairy.
Just melt and mold the chocolate as usual, and enjoy your delicious, cruelty-free candies!
How Long Do Homemade Chocolates Stay Fresh?
Did you know homemade chocolates are best enjoyed within a week? For the best freshness, store them in an airtight container in a cool, dry place away from direct sunlight.
Proper storage helps prevent blooming and keeps their flavor and texture in top shape. Usually, homemade chocolates stay fresh for about 1-2 weeks if stored correctly.
But for the best taste, it’s better to eat them sooner rather than later.
Are There Substitutes for Traditional Sweeteners?
Yes, you can use sweetener alternatives or natural sugar substitutes in your homemade chocolates. Options like honey, maple syrup, agave nectar, or coconut sugar work well and add unique flavors.
These substitutes can often be used in equal amounts, but it’s best to adjust for sweetness and texture.
Experimenting with different natural sugar substitutes allows you to create healthier treats without sacrificing taste or consistency.
What Are Some Quick Recipes for Beginners?
Think of your kitchen as a playground for simple chocolate candy recipes. To start, melt chocolate and mix in your favorite flavor combinations, like peppermint or peanut butter.
Use candy presentation techniques, such as drizzling or layering, to make your treats appealing. With just a few ingredients and minimal effort, you can whip up delicious chocolates perfect for beginners.
Turning simple steps into delightful confections is easier than you think!
How Can I Make Chocolates Mold-Free?
You can make chocolates mold-free by using a simple method like chocolate tempering directly on parchment paper. First, melt and temper your chocolate for a glossy finish.
Pour it onto parchment, spread evenly, and let it set. Once hardened, break into pieces or cut into shapes. Then, wrap your homemade chocolates in candy wrappers for a neat presentation.
This way, you avoid molds while still getting professional-looking treats.
Conclusion
Now that you’ve learned how to choose the best chocolate, master classic treats, and get creative with decorations, you’re all set to make delicious chocolates at home.
Welcome experimentation and enjoy the process. Every try is a chance to learn and improve. With patience and passion, you’ll craft chocolates that delight, impress, and satisfy every sweet tooth.
So, gather your ingredients, let your creativity flow, and turn your kitchen into your personal chocolate wonderland. Happy candy making with your homemade chocolate candy!