How You Use Candy Melts in a Chocolate Fountain
Planning to impress your guests with a stunning chocolate fountain? Many people struggle with getting that perfect, smooth flow of chocolate, especially when using candy melts. You’re not alone—achieving the right consistency can be tricky, but with a few tips, you’ll be a pro in no time.
To use candy melts in your chocolate fountain, start by melting them gradually until smooth—either in a microwave with short bursts or a double boiler, stirring constantly. Make sure they reach around 115°F to 120°F for a glossy, flowing consistency.
Maintain the correct temperature during use by gently reheating and adding melts if needed. Want to learn more about perfecting your fountain experience? Keep exploring for expert tips and tricks.
Key Takeaways
- Melt candy melts gradually using a microwave or double boiler, stirring frequently for smooth, even consistency.
- Keep the temperature between 115°F and 120°F for the best flow and shine in your fountain.
- If the melts are too thick, add small amounts of vegetable oil or Paramount Crystals to help them pour smoothly.
- During use, check and gently reheat the melts as needed to prevent clogging and keep the flow steady.
- Use heatproof bowls or melting devices to handle the melts safely and avoid overheating or moisture contact.
What Are Candy Melts and Why Use Them in Your Fountain?
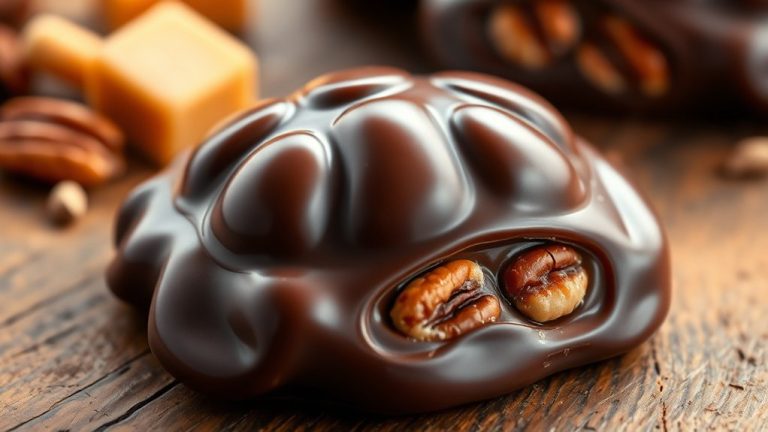
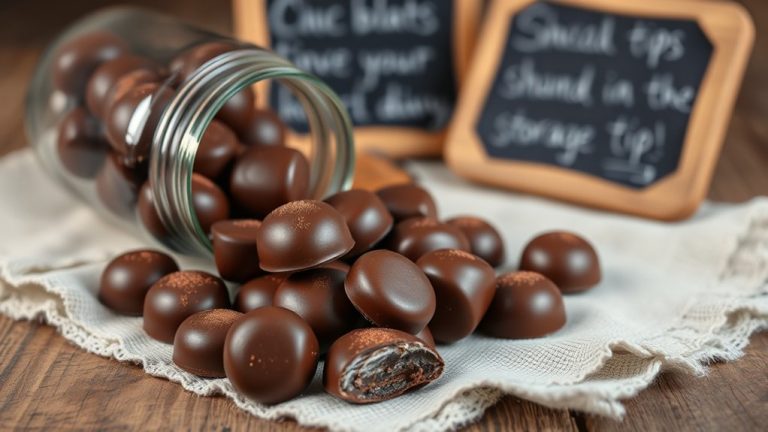
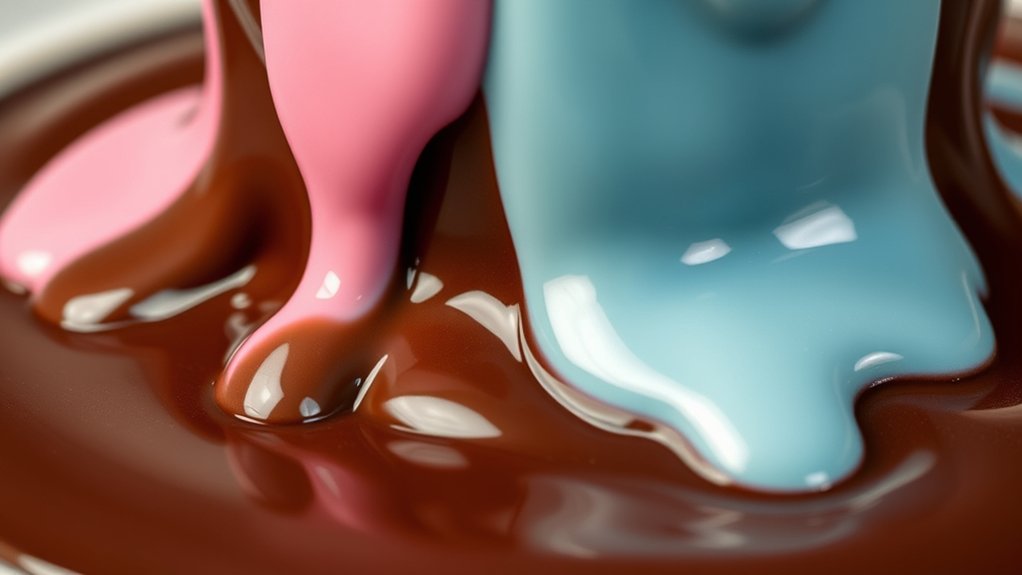
Candy melts are a popular choice for chocolate fountains because they melt smoothly and evenly, creating a glossy, velvety flow. Their versatility comes from the wide variety of candy melt options available, including different colors, flavors, and textures. This variety allows you to customize your fountain for any event, from birthdays to sophisticated parties.
Candy melts are designed specifically for melting, making them easier to work with than traditional chocolate. Proper storage is essential; keep them in a cool, dry place to prevent melting or clumping before use. If stored correctly, they maintain their quality and melt consistently, ensuring a beautiful, seamless cascade.
Their ability to melt uniformly and their vibrant appearance make candy melts an excellent choice for enhancing your fountain display. Whether you’re aiming for a simple chocolate look or something more colorful and fun, understanding the variety and storage of candy melts helps you achieve the best results.
Choosing the Best Candy Melts for Your Chocolate Fountain
Looking for the best candy melts for your chocolate fountain? Well, you’ll want to pick ones that melt smoothly and have that nice, silky texture – it really makes a difference in how well your fountain flows. Nobody wants a sluggish or clumpy flow, right? So, pay attention to the quality; good melts will keep everything looking great and working effortlessly.
And don’t forget about the fun stuff – the flavors and colors! There are tons of options out there, so you can match your candy melts to your event’s theme or just go wild with your favorite colors. When you choose high-quality melts, your fountain will not only look more appealing but will also run smoothly, making your whole setup a hit!
Melt-Ability and Smoothness
Achieving a smooth, melt-in-your-mouth texture is key for a great chocolate fountain experience. Picking the right candy melts is crucial since they should melt evenly and flow smoothly.
Look for melts made specifically for fountains—they tend to melt better and have a silky, glossy consistency. To prevent clumping, choose melts with a consistent texture and low melting points.
| Feature | Benefit |
|---|---|
| High melt-ability | Ensures smooth, fluid flow and easy melting |
| Good color blending | Creates vibrant, uniform appearance |
| Low melting point | Prevents burning and makes pouring smooth |
| Consistent texture | Avoids lumps and keeps everything looking elegant |
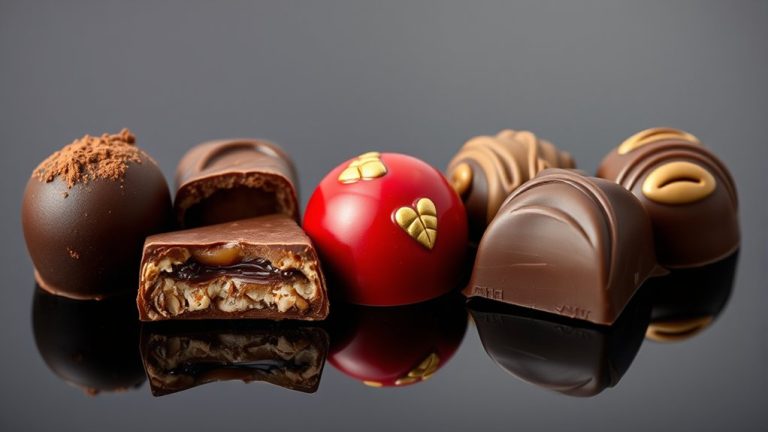
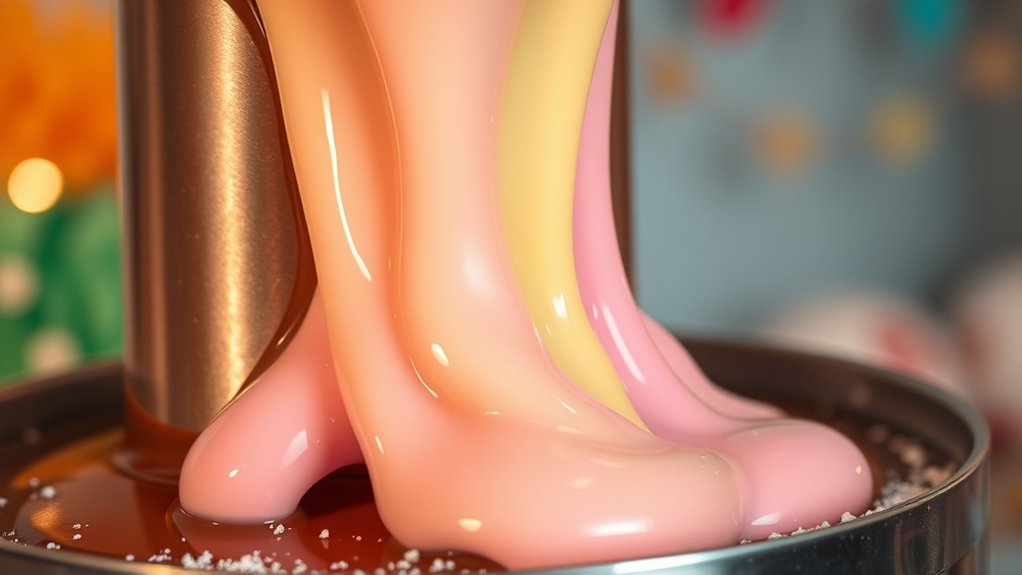
Flavor and Color Options
Choosing the right flavor and color options can really boost your chocolate fountain experience, making it more fun and personalized. You can stick with classic milk, dark, or white chocolate melts or explore candy melt alternatives like fruit-flavored or specialty-colored options.
To add unique flavors, try infusion techniques like mixing in extracts or oils before melting. This allows you to create custom combinations that fit your event or taste buds. Bright colors can be achieved with pre-colored melts or by adding gel colorings designed for confections.
Just keep in mind that some colorings might affect the texture or consistency, so it’s a good idea to test small batches first. By carefully choosing flavors and colors, you’ll enhance your presentation and make your fountain truly memorable.
How to Melt Candy Melts Perfectly Every Time
Want to melt candy melts perfectly every time? It’s all about using the right techniques. Start by melting them gradually and make sure not to overheat. Keeping an eye on the temperature is key — aim for around 115°F to 120°F, and you’ll be good.
And don’t forget to stir constantly! That helps it become smooth and even, making it all set for your chocolate fountain or whatever treat you’re making. Just a little patience and attention, and your candy melts will turn out just right every time.
Proper Melting Techniques
Melt candy melts carefully to guarantee smooth, glossy results every time. Using the right melting equipment and techniques ensures they work well in your chocolate fountain.
Avoid overheating by melting in short bursts and stirring constantly for even heat distribution. For the best results, use a microwave or double boiler designed for gentle heat.
| Equipment | Melting Method | Tips |
|---|---|---|
| Microwave | Short intervals | Stir after every 20-30 seconds |
| Double boiler | Gentle simmer | Keep water below boiling |
| Slow cooker | Low setting | Stir periodically |
| Heat-safe bowl | Over simmering water | Prevent direct contact with heat |
Proper melting techniques make your candy melts smooth, ensuring a perfect flow in your chocolate fountain.
Ideal Temperature Settings
Getting the temperature right is key to achieving perfectly melted candy melts that flow smoothly in your chocolate fountain. For the best results, aim to melt them between 115°F and 120°F.
If the temperature gets too high, the candy melts can become thick or burn, which can cause clogs and affect safety. On the flip side, too low a temperature means uneven melting and poor flow.
Use a double boiler or microwave in short bursts, stirring often to keep the temperature steady. Always keep a close eye to avoid overheating.
Staying within this ideal temperature range helps ensure your candy melts melt evenly, flow nicely, and stay safe for everyone to enjoy. Proper temperature control is the secret to a successful and smooth chocolate fountain experience.
Stirring and Consistency
Achieving the perfect consistency with your candy melts depends largely on how you stir them during the melting process. As you melt candy melts for your fountain setup, keep stirring gently and continuously to promote even heat distribution.
This helps prevent hotspots that can cause burning or thickening. Use a spatula or spoon to scrape down the sides of your melting container regularly. If the candy melts become too thick, add small amounts of vegetable oil or shortening and stir until smooth.
Consistent stirring ensures a smooth, fluid texture ideal for a chocolate fountain. Proper mixing not only helps achieve the right consistency but also prevents clumping, ensuring your fountain runs smoothly and the candy melts flow evenly for an appealing presentation.
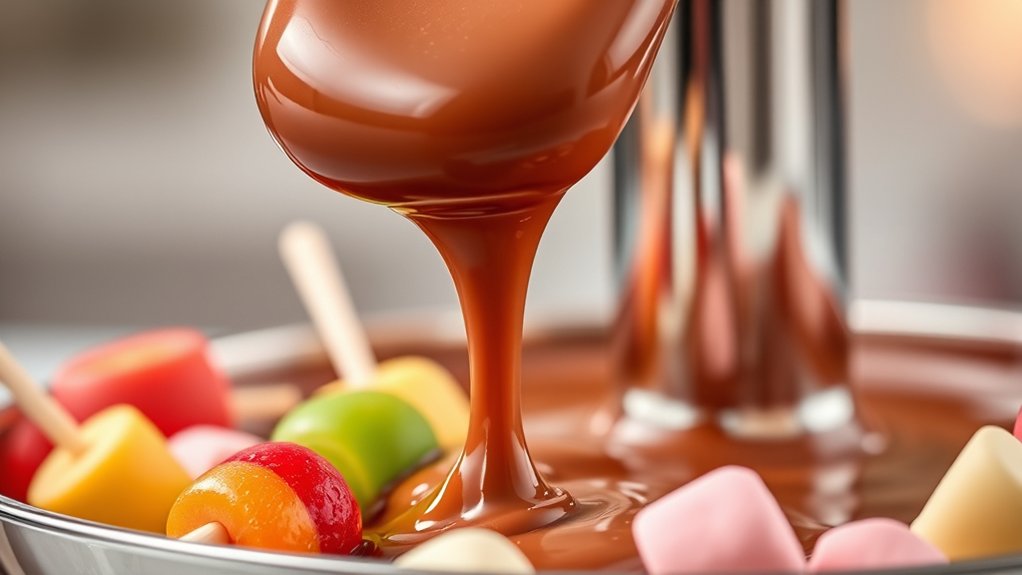
Achieving a Smooth, Glossy Flow With Candy Melts
To guarantee your Candy Melts flow smoothly and look glossy, it’s important to heat them to the right temperature and stir consistently. Proper heating prevents lumps and helps achieve a shiny, even coating.
Use a double boiler or microwave in short bursts, stirring between each. This keeps the texture smooth and prevents overheating. If your Candy Melts are too thick, add a few drops of vegetable oil or paramount crystals to make them more fluid and glossy.
If you’re exploring alternatives like tempered chocolate or pre-made ganache, keep in mind they might need different heating methods. Proper storage is key too—keep Candy Melts in an airtight container in a cool, dry place to prevent melting or hardening.
When stored correctly, they melt more evenly, making it easier to get that smooth, glossy flow in your chocolate fountain.
How to Combine Candy Melts With Traditional Chocolate for Unique Flavors
Thinking about mixing candy melts with traditional chocolate? It’s a fun way to create some really exciting flavor combinations and add a little extra flair to your fountain. When you combine the two, you can experiment with different pairings that bring out the best in each, making your treats even more delicious.
To get the smoothest pour and the best flavor, it’s helpful to adjust the texture a bit. Sometimes, you might want to melt the chocolates separately and then blend them together, or add a tiny bit of shortening to help everything combine smoothly. With just a few simple tricks, you can come up with unique and tasty combinations that are sure to impress everyone at your gathering.
Flavor Pairing Ideas
Blending candy melts with traditional chocolate opens up exciting flavor possibilities for your fountain. To create unique tastes, try using candy melt substitutes like white chocolate or flavored melts, which can be easily mixed with regular chocolate for a custom blend.
You can also experiment with flavorings like orange zest, peppermint extract, or espresso powder to enhance the overall flavor profile. Combining fruity or spicy additions with the melts creates a vibrant, personalized experience.
For a richer taste, add a splash of liqueur or flavored syrup. These pairings not only elevate your fountain but also let you cater to different preferences and themes.
Feel free to mix and match various flavorings to craft the perfect, memorable dipping experience.
Texture and Consistency Tips
Achieving the right texture when combining candy melts with traditional chocolate is key for a smooth, flowing fountain. To prevent clumping or separation, store your candy melts in a cool, dry place.
When blending, adding a small amount of vegetable oil or cocoa butter can help improve consistency. Melt the candy melts slowly and evenly, then mix thoroughly with melted chocolate for the best results.
Here are some tips:
- Use about 1 part candy melts to 2 parts chocolate for balanced flow.
- Incorporate a teaspoon of vegetable oil or cocoa butter to refine smoothness.
- Stir constantly during melting to avoid overheating and ensure even blending.
Adjusting these factors will help you create a silky, uniform mixture perfect for your fountain.
Troubleshooting Candy Melts Flow and Texture Problems
If your candy melts aren’t flowing smoothly or have an odd texture, the problem usually comes down to temperature or moisture issues. Too much heat can make the melts thin and runny, while not enough heat makes them thick and slow to flow.
Make sure you’re heating the melts gradually and stirring regularly. If you keep having trouble, you might try using alternatives like almond bark or vanilla-flavored coating, which can sometimes flow more easily.
Moisture is a common problem too; even a tiny bit can cause clumping or seizing. Keep your fountain clean and dry, and follow cleaning tips to prevent residue buildup that can block the flow.
If your melts are too thick, you can thin them out with a small amount of vegetable shortening or paramount crystals. Just avoid adding water, as that can cause more issues.
Getting the temperature right and keeping your equipment clean are key to achieving smooth, flowing candy melts in your chocolate fountain.
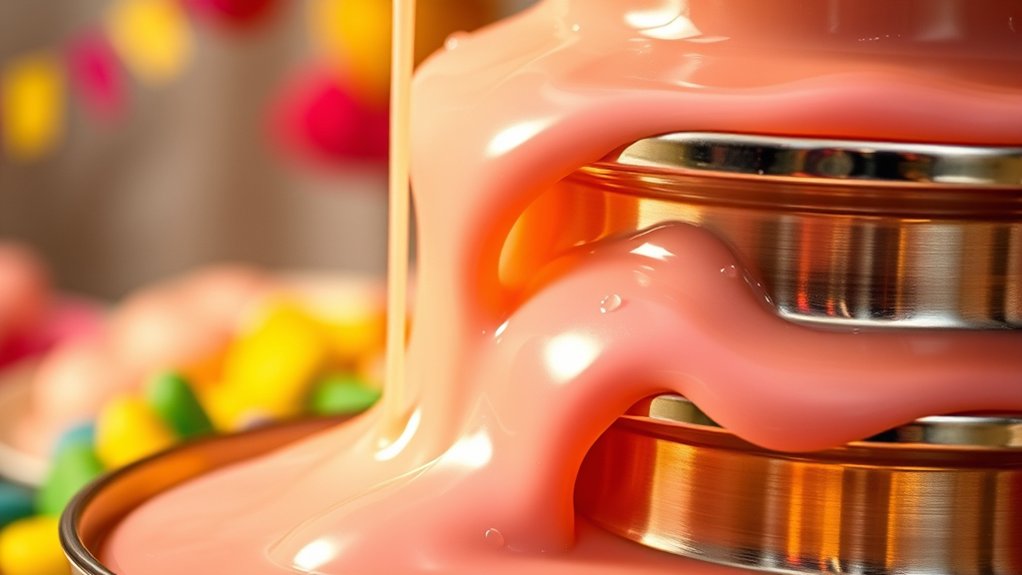
Coloring and Flavoring Candy Melts for Themed Events
Once you’ve mastered the basics of getting candy melts to flow smoothly, you can start customizing their appearance and flavor to match your themed event. Coloring and flavoring candy melts add a fun, personalized touch, especially for special occasions.
Master candy melt customization with vibrant colors and flavors for a personalized, festive touch.
To create stunning candy melt art or achieve seamless color blending, consider using gel food colors or flavor extracts. Gel colors work best because they won’t thin out your melts, helping them stay smooth and easy to work with.
For flavoring, add extracts like peppermint, vanilla, or almond to enhance taste without changing the texture. When coloring, start with small amounts and mix thoroughly until you reach your desired shade.
For more vibrant results, layer different colors or blend shades gradually. Use gel colors for vibrant, consistent hues and mix flavors directly into melted candy melts. Experiment with color blending to create your own custom shades.
Tips for Maintaining Your Fountain When Using Candy Melts
Maintaining your fountain during use is essential to guarantee a smooth, continuous flow of candy melts. First, regularly check the consistency of the melts, making sure they stay smooth and fluid.
If the candy starts to harden or clog, gently add warm, not hot, candy melts to keep the flow steady. Keep an eye on the fountain’s temperature because overheating can cause the melts to burn or thicken, affecting how it looks.
When handling candy melts, think about their nutrition info, especially if guests have dietary restrictions. Properly stored candy melts in their packaging help keep them fresh and prevent moisture from affecting their consistency.
If you notice clumping, it might be because of moisture or improper storage. In that case, reheat gently and stir well. Regular upkeep keeps your fountain looking good and working properly, giving you delicious, smooth candy melts for your event.
Safety Tips for Melting and Handling Candy Melts
Handling candy melts safely is really important to prevent accidents and ensure your melting process goes smoothly. Always use microwave-safe or heatproof bowls, and melt in short intervals, stirring between each to avoid overheating.
Be cautious with hot, melted candy because it can cause burns if spilled or touched directly. Keep in mind that candy melts can trigger allergies, so check ingredient labels if you’re serving guests with food sensitivities.
Also, store candy melts properly—keep them in an airtight container in a cool, dry place to prevent spoilage and clumping.
Remember these safety tips:
- Use microwave-safe or heatproof bowls for melting.
- Stir frequently to prevent overheating and burning.
- Be aware of candy melt allergies and check labels carefully.
Creative Ideas for Using Candy Melts in Event Decorations and Displays
After mastering safety when melting candy melts, you can get creative by using them to enhance your event decorations and displays. Candy melt sculptures are a fantastic way to wow your guests; you can mold them into flowers, animals, or custom shapes that match your theme.
These sculptures make eye-catching centerpieces or cake toppers that really stand out. Edible decorations made from candy melts also elevate your presentation—think draped ribbons, ornate borders, or intricate accents to complement your desserts.
You can use silicone molds or freehand piping to create detailed designs, turning simple treats into artistic displays. Incorporate vibrant colors to match your event palette, and experiment with layering for added depth.
These edible decorations not only look stunning but also double as sweet treats for your guests. Overall, candy melts offer endless opportunities to craft unique, memorable decorations that impress and delight.
Frequently Asked Questions
Can I Use Homemade or DIY Candy Melts in a Fountain?
You can use homemade or DIY candy options in a chocolate fountain, but you should be cautious. Homemade alternatives might not melt smoothly or flow properly, which can cause clogging or uneven coating.
If you decide to try making your own, make sure your DIY candy melts have a similar consistency to store-bought ones. Experiment with ingredients to get the right texture.
Straining and melting carefully can help improve the flow, but for the best results, it’s recommended to use commercial candy melts. They ensure a seamless fountain experience.
How Long Can Candy Melts Stay Melted in the Fountain?
You can keep candy melts melted in your fountain for about 1 to 2 hours, but they might start to thicken or seize over time.
To prevent this, stir gently and keep an eye on the melting temperature, which can vary depending on the flavor.
If they begin to harden, just add a splash of vegetable oil and reheat carefully.
Staying attentive will make sure your fountain runs smoothly and your treats stay luscious and flowing.
Are Candy Melts Suitable for Outdoor Events?
Candy melts aren’t ideal for outdoor events, especially if temperatures rise. Outdoor temperatures matter because heat can make them melt too quickly or become sticky, ruining your display.
If you want to add some variety, consider flavor variations, but keep them cool and shaded to maintain their consistency. For the best results, use them indoors or in controlled environments to keep your treats perfect.
What Are the Best Cleaning Methods for My Fountain After Using Candy Melts?
After using candy melts, it’s important to clean your fountain thoroughly. Start by disassembling it and using cleaning brushes to reach all the nooks and crannies.
Rinse everything with warm water, then apply a water-based cleaner to get rid of any leftover sugar or grease. Scrub gently with the brushes, then rinse again.
Make sure to let it dry completely before reassembling. Regular cleaning helps keep your fountain in great shape for next time.
Can I Reuse Leftover Candy Melts From the Fountain?
Yes, you can reuse leftover candy melts from your fountain if you store them properly. Keep the remnants in an airtight container and store it in a cool, dry place away from direct sunlight.
When you’re ready to reuse, make sure your fountain is at the right temperature. This helps melt the leftovers smoothly without burning them.
Reusing candy melts saves you money and reduces waste. Just be sure they stay fresh and at the proper temperature before re-melting.
Conclusion
Now that you know how to wield candy melts like a pro, your chocolate fountain will become the star of every event. Think of it as your magic wand, transforming simple ingredients into a mesmerizing cascade of color and flavor.
With a little practice and creativity, you’ll turn your fountain into a dazzling display that delights all senses. Get ready to make sweet memories that will melt hearts and leave everyone craving more—especially when you use candy melts to create stunning, tasty treats.