5 Simple Steps to Make Chocolate Turtles Candy at Home
Many people love the idea of making their own treats at home but often feel overwhelmed by complicated recipes or unsure where to start. If you’ve ever wanted to craft delicious chocolate turtles but didn’t know how, you’re not alone. Creating perfect homemade candy can seem tricky, but with a few simple steps, you’ll be amazed at what you can achieve.
To make chocolate turtles at home, start by gathering high-quality chocolate, caramel, and your favorite nuts. Melt the chocolate carefully using a double boiler or microwave. Then, dip caramel-filled pieces and coat them with melted chocolate.
Assemble the turtles by attaching the parts with additional chocolate and decorate with drizzles or nuts. Store your treats properly to keep them fresh.
If you want to perfect your technique, keep going and learn more tips for perfecting your homemade candy.
Key Takeaways
- Gently melt high-quality chocolate using a double boiler or microwave until smooth and glossy.
- Prepare caramel and scoop small amounts onto each chocolate base, then top with nuts.
- Dip the assembled turtles in melted chocolate, letting the excess drip off for an even coating.
- Decorate with drizzles or crushed nuts for a festive look and a polished appearance.
- Store in an airtight container in a cool place, wrapping each one individually for freshness or gifting.
Gather Ingredients for Homemade Chocolate Turtles

Before you start making your homemade chocolate turtles, make sure you gather all the ingredients you need. Pick high-quality chocolate, paying attention to where it’s sourced, and choose a cocoa percentage that gives you a rich flavor. You can go with dark, milk, or white chocolate based on what you like.
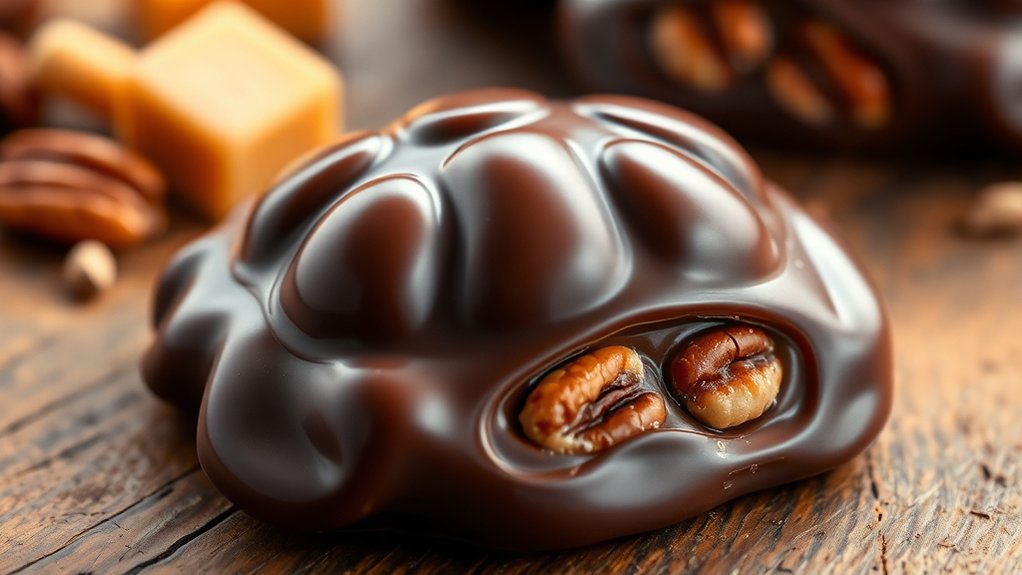
You’ll also need caramel for that gooey center—store-bought or homemade both work fine. For toppings, traditional choices are pecans or walnuts, but you can swap in almonds or hazelnuts if you prefer.
If you don’t have brown sugar for making caramel, honey or maple syrup can be good substitutes. Make sure you have a sturdy baking sheet or silicone molds ready to shape your turtles.
Having all your ingredients gathered before you start will make the process much smoother. Remember, using the best ingredients and knowing your substitutions will really boost the flavor and texture of your homemade turtles.
Melt and Coat Your Chocolates Perfectly
To get that smooth, glossy look on your chocolate turtles, you’ll want to melt your chocolates carefully and coat each piece evenly. Use a microwave or double boiler to melt the chocolate slowly, stirring often to prevent burning and keep the melt consistent.
For a glossy finish, melt chocolate gently and coat each turtle evenly for a professional look.
This gentle approach helps preserve the chocolate flavor and keeps the candy texture smooth. Once melted, stir well to remove lumps and maintain a silky consistency.
When coating, use a spoon or fork to dip each turtle, letting the excess chocolate drip off for an even coat. For a shiny finish, gently tap or shake off the extra chocolate before placing the turtle on parchment paper.
Proper melting and coating techniques make a big difference. They help you achieve a professional look with rich flavor and a firm, satisfying texture. Taking your time ensures every turtle is coated evenly, improving both appearance and taste.
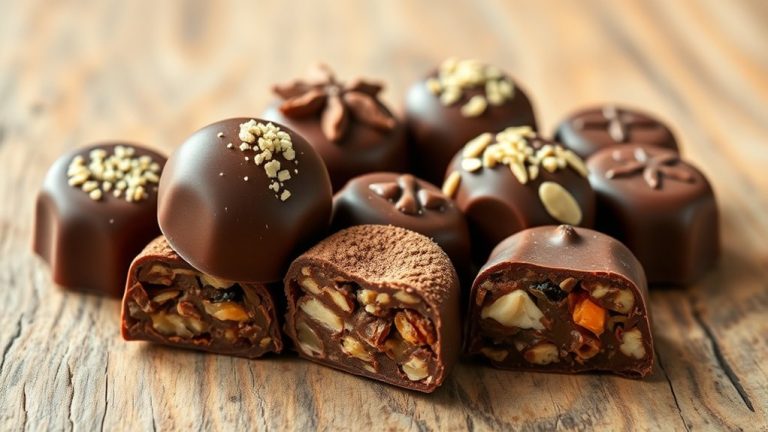
Assemble and Decorate Your Chocolate Turtles
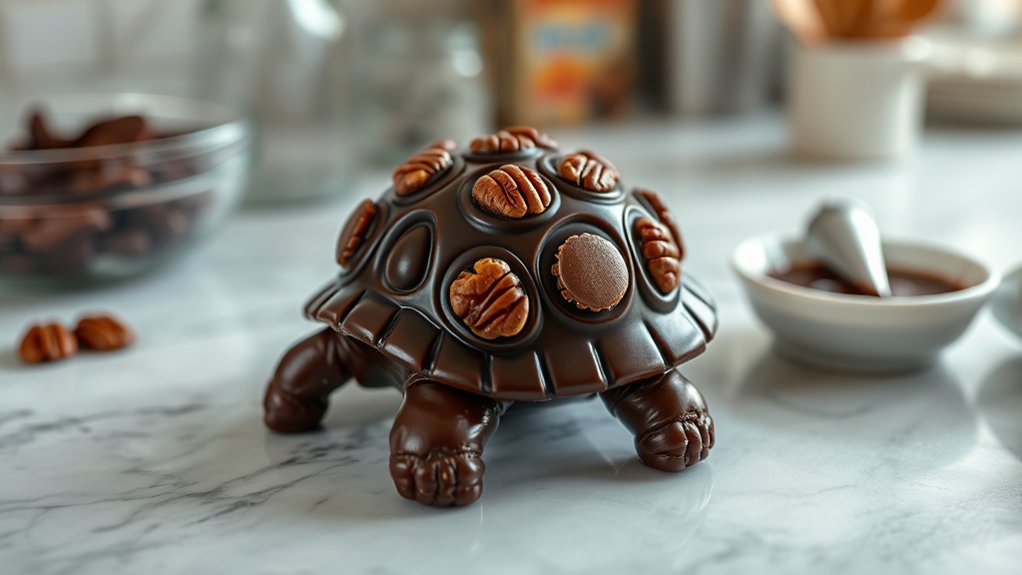
Once your chocolate shells are ready, it’s time to assemble and decorate your turtles for a polished, professional look. Place a small dollop of melted chocolate or caramel inside each shell to secure the turtle’s head, limbs, and tail.
Use decorating techniques like piping for fine details or simple drizzles for an elegant touch. To enhance presentation, consider adding a dusting of cocoa powder or a sprinkle of crushed nuts on top.
For a more festive look, drizzle white or colored chocolate over the dark shells. Take your time to arrange the turtle parts neatly, making sure they stay attached and look appealing.
Proper assembly and thoughtful decorating will elevate your homemade turtles, making them look store-bought and irresistible. This step gives you a chance to add personal flair and creativity.
Turn simple candies into attractive treats perfect for gifting or entertaining.
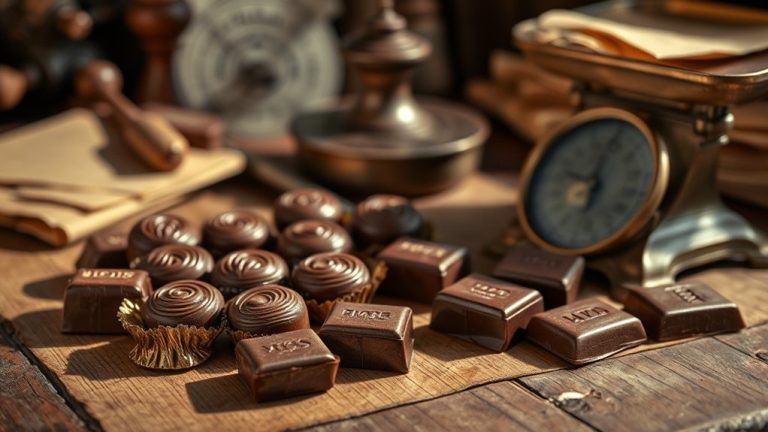
Store and Serve Your Homemade Treats
After assembling and decorating your chocolate turtles, it’s important to store them properly to keep their texture and flavor intact. Use airtight containers or resealable plastic bags to prevent moisture and keep them fresh.
Store your chocolate turtles in airtight containers to preserve their flavor and texture.
Wrapping individual turtles in wax paper or cellophane bags works well, especially if you plan to give them as gifts. Store the treats in a cool, dry place away from direct sunlight, which can cause melting or blooming of the chocolate.
If you want to extend their shelf life, consider refrigerating them. Just make sure they’re well wrapped to avoid moisture and odors. When you’re ready to serve, bring the candies to room temperature for the best flavor and texture.
Proper storage tips will help your homemade chocolate turtles stay delicious and attractive, whether you’re keeping them for yourself or sharing with friends. Proper packaging and careful storage make all the difference in maintaining their quality.
Troubleshoot Common Candy-Making Problems

Even with careful storage, you might run into some common issues when making homemade chocolate turtles. One frequent problem is sugar crystallization, which makes the texture gritty. To avoid this, don’t stir the sugar mixture once it starts boiling, and use a clean, dry utensil.
Tempering chocolate can be tricky too. If your chocolate isn’t smooth or sets too dull, it’s probably not tempered properly. To fix this, gently reheat it and cool it to the right temperature for a shiny finish and a firm snap.
If your chocolate isn’t coating the nuts evenly, it’s likely due to improper melting or temperature. Use a double boiler or microwave in short bursts, stirring constantly, to melt the chocolate smoothly.
Summary:
- Prevent sugar crystallization by stirring as little as possible.
- Re-temper chocolate for a glossy, firm finish.
- Melt chocolate carefully for even coating.
Frequently Asked Questions
Can I Use Dairy-Free Chocolate for Homemade Turtles?
Yes, you can definitely use dairy-free chocolate for homemade turtles. There are plenty of dairy-free options and vegan alternatives available that work just as well as regular chocolate.
Look for dark chocolate or specifically labeled vegan chocolate, which melts smoothly and pairs perfectly with caramel and nuts. Using these options lets you create delicious dairy-free turtles that everyone can enjoy, no matter their dietary restrictions.
How Long Do Homemade Chocolate Turtles Stay Fresh?
Homemade chocolate turtles stay fresh for about one to two weeks when stored properly. To get the most out of their shelf life, keep them in an airtight container in a cool, dry place away from direct sunlight.
Avoid refrigerating them because moisture can change their texture. If you want them to last longer, you can freeze them for up to three months. Just make sure to wrap them well to prevent freezer burn.
What Are Alternative Fillings if I Don’t Like Caramel?
If caramel isn’t your thing, you can try filling your chocolates with flavor options like peanut butter, Nutella, or fruit preserves for added taste.
For texture variety, consider using crushed cookies, toasted coconut, or chopped nuts.
These alternatives keep your chocolate turtles delicious and customizable, so you can enjoy a range of flavors and textures without relying on caramel.
Feel free to experiment until you find your perfect combination.
Can I Make Chocolate Turtles Without a Microwave?
Yes, you can make chocolate turtles without a microwave. Instead, melt your chocolate using a double boiler, which involves placing a heatproof bowl over simmering water.
Once melted, temper the chocolate for a glossy finish and better texture. After assembling your turtles, store them in an airtight container to keep their texture and flavor fresh.
This method guarantees you avoid microwave use while creating delicious, professional-looking candies.
How Do I Prevent Chocolate From Blooming or Developing a White Film?
To prevent chocolate from blooming or developing a white film, focus on proper tempering. Tempering ensures the cocoa butter crystallizes correctly, giving your chocolate a shiny finish and smooth texture.
Keep the chocolate at a consistent temperature during melting and cooling. Also, avoid exposing it to moisture, which can cause blooming.
Proper tempering is key to preventing bloom and will make your homemade turtles look professional and appealing.
Conclusion
Now that you’ve mastered making chocolate turtles at home, you’re like a chef with a magic touch, turning simple ingredients into a delectable treat.
With these easy steps, you can impress friends or indulge yourself anytime. Each bite will be as satisfying as a hug from an old friend.
So go ahead, get creative, and enjoy your homemade chocolates—delicious, personalized, and just as tempting as store-bought but way more special.