The Ultimate Guide to Melt Chocolate for Candy
Many people struggle with melting chocolate perfectly for candy making. It’s a common challenge to get that smooth, glossy finish without burning or seizing the chocolate.
To melt chocolate perfectly for candy, choose the right type—preferably high-quality chocolate with at least 60% cocoa. Use gentle methods like the double boiler or microwave with short bursts, stirring frequently to avoid burning or seizing.
Keep your workspace clean and tools dry, and never add water during melting. For glossy, smooth results, monitor temperature carefully and add flavors or colors after melting.
Continue exploring for expert tips on troubleshooting and storage.
Key Takeaways
- Use gentle, consistent heat through a double boiler or microwave, stirring often to keep the chocolate smooth and glossy.
- Pick the right type of chocolate with the appropriate cocoa content for candy-making to get the best texture and flavor.
- Set up your workspace with clean, heatproof tools and protective surfaces to make melting easier and reduce mess.
- Add flavorings and colorings after melting, and mix well to distribute them evenly for vibrant, tasty results.
- Store and reheat melted chocolate carefully, avoiding moisture and temperature changes to keep it in top shape.
Which Is the Best Method for Melting Chocolate?
When it comes to melting chocolate, you might wonder which method works best. The double boiler method is a top choice because it gently melts chocolate, helping you achieve a smooth chocolate texture without burning. You place a heatproof bowl over simmering water, stirring constantly. This controlled heat prevents scorching and preserves flavor *improvement*.
Alternatively, using a microwave is quick and convenient. You heat in short bursts, stirring after each, which guarantees even melting and avoids overheating. Both methods allow you to control the chocolate’s temperature, ensuring a silky consistency perfect for coating or mixing.
Proper melting preserves the chocolate’s rich flavor and smooth texture, making your final product more appealing. Whichever method you choose, patience is key. Slow, gentle melting minimizes the risk of seizing or developing a grainy texture, keeping your chocolate ideal for candy-making.
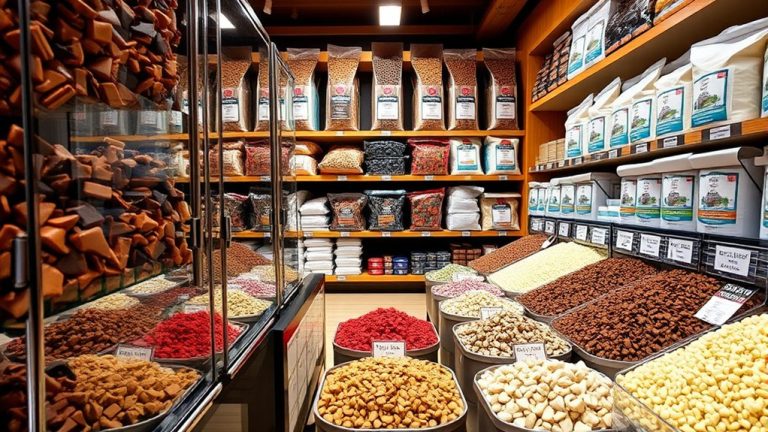
Choosing the Right Type of Chocolate for Melting
When you’re picking out chocolate to melt, it’s good to think about the different types available—like chocolate chips, bars, or melts. Each one is better suited for different recipes, so choosing the right kind can make all the difference.
Don’t forget to check the cocoa content, either. The higher the percentage, the richer the flavor and the better the consistency you’ll get when melting. It’s a simple way to ensure your chocolate turns out smooth and tasty.
Also, it’s important to know the difference between coating chocolate and baking chocolate. Coating chocolate is formulated to melt smoothly and stay glossy, making it perfect for dipping and coating. Baking chocolate, on the other hand, is usually unsweetened and best for recipes where you’ll be adding other ingredients or sweeteners. Picking the right type helps you get the best results for your candy or dessert!
Types of Melting Chocolate
Choosing the right type of melting chocolate is key to getting smooth, shiny results in your candy-making. Different chocolates have unique flavors, so pick one that matches your taste.
For example, dark chocolate gives a rich, intense flavor, while milk chocolate adds sweetness and creaminess. White chocolate offers a sweet, buttery note.
When choosing melting chocolate, think about your melting method. Some melt better with gentle heat or a double boiler, while others are made for microwave melting.
High-quality chocolate melts evenly and gives a glossy finish. Investing in good melting chocolate is worth it to get perfect candies every time.
Cocoa Content Importance
Cocoa content plays a crucial role in how well your chocolate melts and the quality of your finished candies. Higher cocoa content usually means a richer flavor and a smoother melt, which is key for professional-looking results.
When choosing chocolate, pay attention to its cocoa percentage. Chocolates labeled as couverture typically have 60% or higher, making them ideal for melting and coating.
The cocoa origin also influences the flavor. African chocolates tend to be bold and robust, while South American varieties are often more complex and fruity.
Selecting the right cocoa content guarantees your candies have the perfect texture and taste. Understanding these factors helps you pick the best chocolate for melting, coating, or molding.
Coating vs. Baking Chocolate
Different types of chocolate serve different purposes in candy making, especially when it comes to melting. Coating chocolate, often called confectionery or candy melts, melts smoothly and sets with a shiny finish. It’s perfect for coating and dipping.
Baking chocolate has a higher cocoa content and less fat. It’s better suited for baking and recipes that need melting into batters. When melting coating chocolate, tempering helps achieve a glossy look and a firm snap.
Baking chocolate might need extra fat or flavor additions to improve taste and texture. Use coating chocolate for a clean, professional look, and baking chocolate for richer, more complex flavors.
Knowing these differences helps you pick the right chocolate for your candy projects.
Preparing Your Workspace for Melting Chocolate
Before you start melting chocolate, it’s essential to prepare your workspace to guarantee a smooth process and clean results. First, tidy up your kitchen to ensure good organization, giving you enough space to work comfortably. Clear countertops and remove any clutter that could accidentally get into your chocolate or cause spills.
Proper chocolate storage helps prevent moisture and temperature fluctuations, so keep your chocolate in a cool, dry place until you’re ready to melt. Use separate bowls and utensils to avoid cross-contamination and make cleanup easier. Gather all your tools beforehand, including spatulas, measuring cups, and heatproof bowls.
Protect your work surface with parchment paper or a silicone mat to catch drips. These preparations minimize messes, reduce distractions, and keep your workspace efficient. This way, your melting process will go smoothly from start to finish.
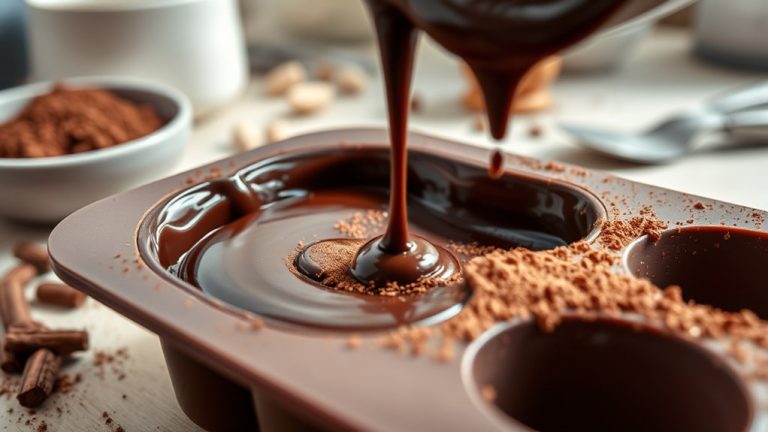
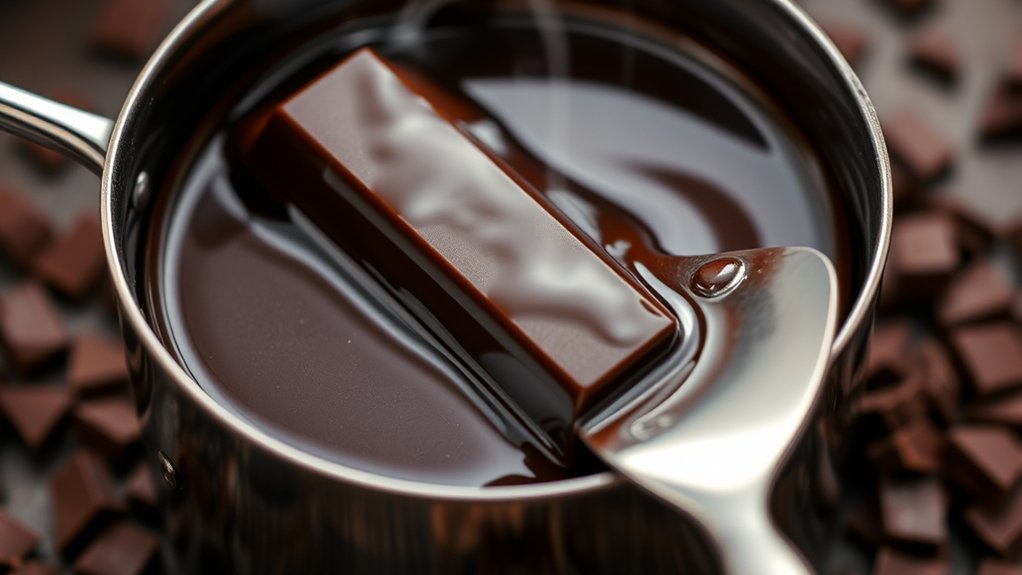
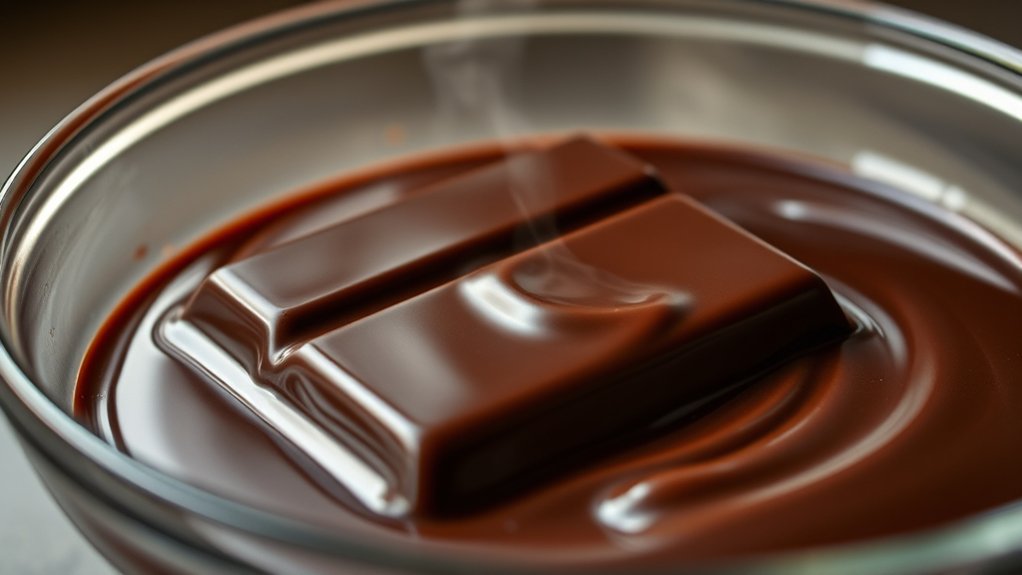
How to Melt Chocolate Using a Double Boiler
Sure! Here’s a more conversational version of the text:
If you’re melting chocolate with a double boiler, first make sure your pot and bowl fit together nicely and are nice and clean. It’s best to use gentle heat, so keep the stove on low and avoid cranking it up. As the chocolate melts, give it a good stir every now and then to help it melt evenly and stay smooth. That way, you’ll get perfect, glossy melted chocolate every time!
Prepare Your Equipment Properly
Setting up your equipment properly is key to melting chocolate smoothly and avoiding mishaps. First, check that your double boiler is in good shape, with no cracks or damage that could cause leaks.
Make sure the top bowl fits snugly over the simmering water and is securely placed to prevent steam or water from splashing into the chocolate. Safety is really important here.
Before you start, clean all your utensils thoroughly to remove any residue or oils that could affect the chocolate’s texture. Good cleaning also helps prevent contamination or unwanted flavors.
Always keep water away from the chocolate to stop it from seizing. When your equipment is clean and set up correctly, you’ll have a safer, more efficient melting process and better control over your chocolate.
Use Gentle Heat Settings
Using gentle heat is crucial when melting chocolate in a double boiler because it helps prevent scorching or seizing. Keeping the temperature low and steady is key to getting a smooth melt.
Set your stovetop to the lowest heat and make sure the water stays below boiling. This way, the chocolate won’t come into direct contact with hot water, which can cause problems.
Always keep an eye on the heat to make sure it stays consistent. Overheating can ruin your chocolate, so gentle, controlled heat is best.
If you have a heat diffuser, use it for even temperature control. Remember, you only need a gentle simmer—no boiling water. Keep the bottom of the bowl just above the water, not in it.
Stir Continuously for Smoothness
As you melt the chocolate, keep stirring constantly to ensure it melts evenly and stays smooth. Stirring helps prevent scorching and is key for proper chocolate tempering, giving you that glossy finish and a firm snap.
Stirring also helps distribute the heat evenly, so you can better control the temperature. This steady movement allows flavors to infuse smoothly, enhancing your candy’s taste profile.
Keep your spatula or spoon in constant motion, especially as the chocolate nears its melting point. Proper stirring during the double boiler process gives you a silky consistency, perfect for coating or molding.
Can You Melt Chocolate in the Microwave? Here’s How
Yes, you can melt chocolate in the microwave, and it’s a quick, convenient method when you’re short on time. To do it effectively, use a microwave-safe bowl and melt the chocolate in short bursts of 20-30 seconds, stirring thoroughly each time.
This helps prevent overheating and ensures you get smooth, melted chocolate perfect for tempering or flavor infusion. Keep a close eye on it because chocolate can burn easily if left unattended.
For the best results, use low power settings and stir often to promote even melting. Once smooth, you can easily add extra flavors or temper the chocolate for a glossy, professional finish.
- Use a microwave-safe bowl and short bursts of heat
- Stir thoroughly to prevent hot spots and burning
- Incorporate flavor infusions after melting for improved taste
Common Mistakes When Melting Chocolate and How to Avoid Them
A lot of people make the mistake of overheating the chocolate, and that usually causes it to seize up and turn grainy. It’s pretty easy to do if you’re not careful. Using the wrong containers or not keeping an eye on the temperature can also lead to burning or uneven melting.
Overheating Causes Seizing
Overheating chocolate is a common mistake that leads to seizing, which ruins its smooth texture. When chocolate gets too hot, its fats separate, causing clumps and a grainy consistency. This makes it impossible to properly temper or get that glossy finish you want.
To avoid this, use gentle heat and keep a close eye on the temperature. Overheating also stops the chocolate from developing rich, smooth flavors. So, controlling the heat is key.
Use a double boiler or microwave in short bursts, stirring constantly. Keep the heat low to stay in control and prevent overheating. This way, your chocolate stays smooth and perfect for candy making.
Using Wrong Containers Risks Burning
Have you ever noticed how using the wrong container can cause your chocolate to burn? Container safety is super important when melting chocolate because not all containers can handle high heat.
Using a container that isn’t heat-resistant increases the risk of overheating your chocolate, which can lead to burning or scorching. Always opt for heat-resistant glass or metal containers for melting.
Avoid plastic or thin-walled options, as they can warp or melt when exposed to heat. Make sure your container is sturdy and safe for indirect heat, whether you’re using a double boiler or microwave.
Choosing the right container helps maintain even heat and prevents hot spots, reducing the chance of burning. Prioritizing container safety keeps your chocolate smooth, glossy, and perfectly melted.
Ignoring Temperature Control
Do you pay close attention to the temperature when melting chocolate? Ignoring temperature control can ruin your chocolate’s flavor and texture.
Overheating causes it to seize or burn, ruining the smooth melt needed for perfect candy. Using improper melting techniques like microwaving on high or skipping a double boiler can lead to inconsistent results.
To avoid this, monitor the temperature carefully with a thermometer, keep the heat low, and melt gently. Proper temperature control helps preserve the chocolate’s rich flavor and glossy finish.
Using high heat can cause chocolate to burn and lose flavor. Rapid temperature changes lead to seizing or blooming.
Skipping gentle melting techniques affects both the consistency and taste of your chocolate.
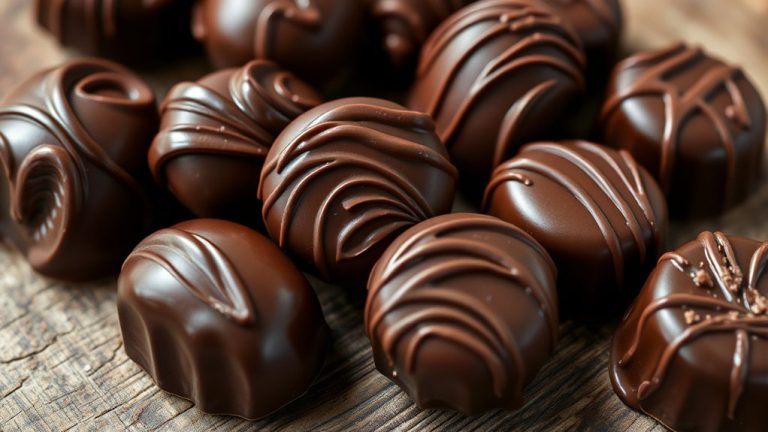
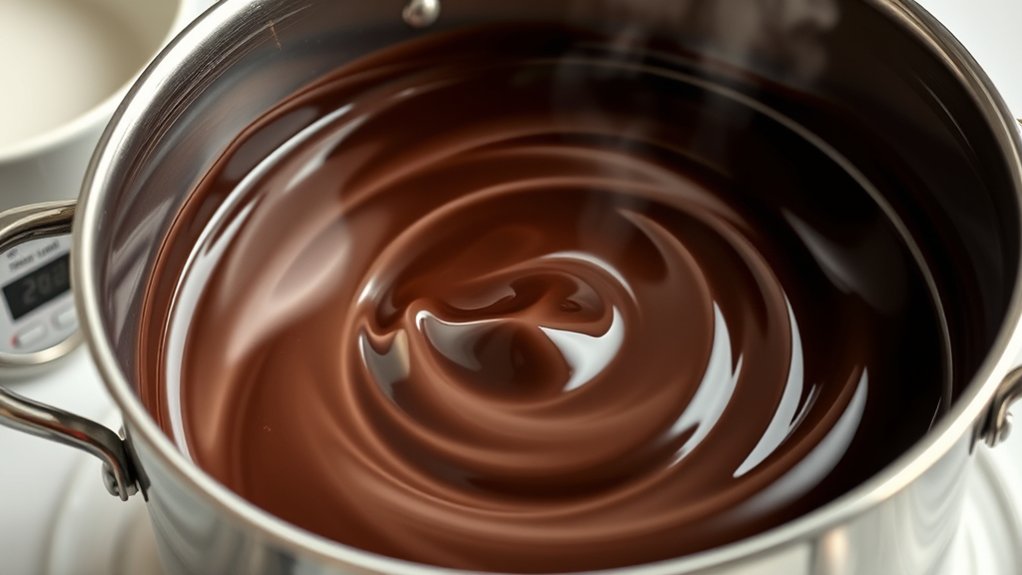
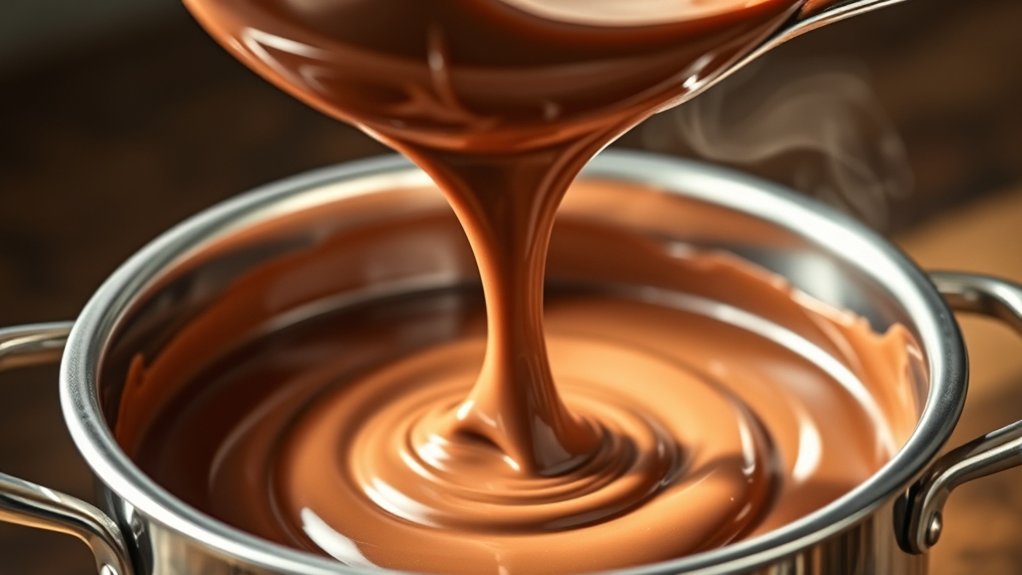
How to Get Smooth, Glossy Melted Chocolate Every Time
Achieving smooth, glossy melted chocolate starts with gentle, consistent heat and careful attention to technique. Use a double boiler or microwave in short bursts to prevent overheating, which can cause dullness or seizing.
Stir constantly to guarantee even melting and prevent hot spots. For the best shine, avoid adding water or moisture, as these can cause the chocolate to seize.
Incorporate chocolate flavorings carefully, mixing them in smoothly without overhandling. Once melted, keep the chocolate warm but not hot, as temperature fluctuations can dull its gloss.
If you plan to add candy decorations, do so immediately to preserve the chocolate’s shine and workability. Properly melted chocolate with a smooth, glossy finish makes your candies look professional and appealing.
Practicing these steps ensures every batch is perfect, with that enticing, mirror-like finish that’s essential for beautiful candy creations.
Troubleshooting Seized or Hardened Chocolate
Even with careful melting techniques, sometimes chocolate can seize or harden unexpectedly, throwing off your entire process. Seized chocolate happens when moisture or sudden temperature changes cause the cocoa solids to clump together.
Chocolate can seize unexpectedly from moisture or temperature shifts, disrupting your smooth melting process.
Hardened chocolate may result from overcooling or incomplete melting. To fix seized chocolate, try adding a small amount of vegetable oil or shortening and gently stirring until smooth. If your chocolate has hardened, gently reheat it using a double boiler or microwave in short bursts, stirring frequently.
Consider these common issues:
- Adding water or moisture during melting
- Overheating the chocolate
- Cooling too quickly or unevenly
Prevent future problems by making sure all utensils are dry, melting at controlled temperatures, and avoiding sudden temperature shifts. Recognizing these signs early helps save your melted chocolate from becoming unusable, so you can keep your candy-making on track.
Adding Flavors, Colors, and Mix-Ins to Melted Chocolate
Once your chocolate is melted smoothly, you can enhance its flavor and look by adding ingredients like extracts, colorings, and mix-ins. Trying out different flavor combos is a fun way to create unique tastes, like adding mint extract for a fresh note or vanilla for a rich depth.
When adding color, focus on blending. Start with small amounts of food coloring and add more gradually until you reach your desired shade. This helps you avoid overpowering the chocolate with too much color at once.
Mix-ins such as chopped nuts, dried fruit, or crushed cookies add texture and visual appeal. Be sure to distribute them evenly so they don’t clump or cause uneven coloring.
Keep in mind that some flavorings or mix-ins can change the consistency of your chocolate. It’s best to add these gradually and stir well to keep everything smooth.
Storing and Reusing Melted Chocolate Safely
To store melted chocolate safely, keep it at the right temperature in an airtight container. Proper storage helps prevent it from hardening or looking dull.
When reusing melted chocolate, always make sure it’s free of moisture and contaminants to avoid spoilage or seizing. Gently reheat it using a double boiler or microwave at low power, stirring often.
Use a clean, airtight container to keep out air and moisture. Reheat in short bursts to prevent overheating or burning. Before reusing, check that it’s smooth—discard if it’s grainy or lumpy.
Frequently Asked Questions
How Long Does Melted Chocolate Stay Usable?
Melted chocolate stays usable for about 24 hours if stored properly, but for the best results, it’s best to reheat it gently before using.
To keep it in good shape, store it in an airtight container at a consistent temperature. This helps prevent it from seizing or blooming.
Can I Re-Melt Leftover Chocolate Multiple Times?
Think of leftover chocolate as a treasure chest, waiting to be opened again. Yes, you can re-melt it multiple times, but keep in mind—its quality can fade like a sunset each time.
Proper storage and gentle reheating help keep its shine and texture intact. Just remember, patience and careful melting preserve the chocolate’s magic.
Be gentle when reheating to avoid it becoming gritty or dull. A little care goes a long way in making sure your leftover chocolate stays delicious.
Is It Safe to Melt Chocolate Using a Slow Cooker?
Yes, you can melt chocolate using a slow cooker, but it’s not the best choice for tempering. It heats unevenly, which can cause issues with the chocolate’s texture and shine.
You can use it as a backup method when you’re in a pinch, but keep a close eye on the temperature to prevent burning. Traditional double boiling is usually a better option for smooth, glossy results.
Slow cookers are convenient, but they might not be ideal for delicate tasks like tempering or achieving that perfect finish.
What’s the Best Way to Prevent Chocolate From Blooming?
To prevent chocolate from blooming, focus on proper tempering. This means heating and cooling it carefully to stabilize the cocoa butter crystals.
This process helps reduce the chances of bloom and keeps your chocolate looking glossy and smooth. Avoid exposing it to temperature swings, humidity, or water, as these can cause bloom too.
Store your chocolate in a cool, dry place and handle it gently. Following good tempering and storage habits will keep your chocolates looking perfect.
Can I Melt Chocolate With Alcohol or Liquids?
Did you know that around 70% of chocolate flavor comes from cocoa solids? When you melt chocolate with alcohol or liquids, it can change the texture and flavor, making it hard to get smooth results.
Alcohol interacts with the cocoa fats, which can cause the chocolate to seize or become grainy. It’s usually best to add alcohol after melting or use only a small amount to keep the chocolate’s glossy finish and flavor.
Conclusion
Now that you’ve uncovered the secrets to perfectly melting chocolate, your candy creations are about to reach a new level.
But don’t stop here—there’s always more to explore, more flavors to try, and tricks to master.
As you dive into your next project, remember: the real magic happens when you get a little daring.
Are you ready to see how far your chocolate skills can go? The sweet journey with melting chocolate has only just begun.