6 Simple Steps to Make Chocolate Candy From Scratch
Making chocolate candy from scratch can seem intimidating, especially if you’re worried about getting that perfect shine and texture. You’re not alone—many people struggle with achieving professional-looking chocolates at home. But don’t worry, with a few simple steps, you’ll be able to create delicious treats that look and taste amazing.
To make chocolate candy from scratch, start by gathering high-quality ingredients and tools like molds and a thermometer. Melt the chocolate gently using a double boiler or microwave, then temper it for a glossy finish.
Add fillings or flavors before pouring into molds and shaping your candies. Allow them to cool and set completely in a cool place.
Store and package your chocolates properly to keep them fresh and shiny. If you keep going, you’ll uncover all the steps in detail.
Key Takeaways
- Gather high-quality chocolate and essential tools like molds, a thermometer, and mixing bowls. Having everything ready makes the process smoother.
- Carefully melt and temper the chocolate to get that smooth, glossy finish you want. It takes patience, but it’s worth it for that perfect shine.
- Pour the melted chocolate into molds, add any fillings or decorations you like, and tap the molds to get rid of air bubbles. This helps your chocolates look flawless.
- Let the chocolates cool in a controlled environment until they’re fully set. This ensures they’re shiny and firm when you’re ready to enjoy them.
- Store and package your chocolates in airtight containers, keeping them away from heat and light to maintain their quality.
Gather Ingredients and Tools for Making Chocolate Candy
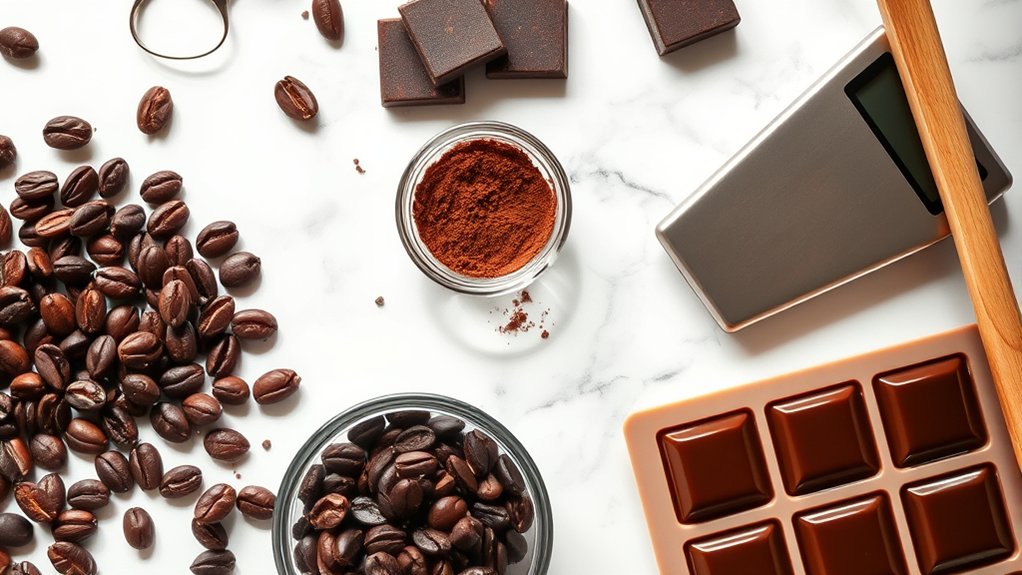
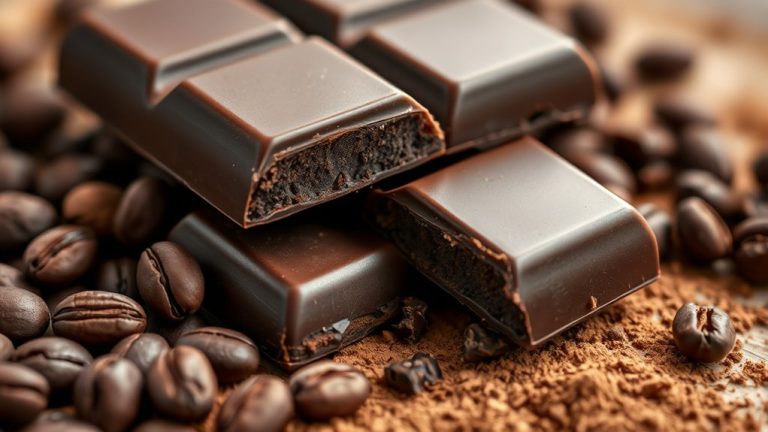
Before you start making your chocolate candy, it’s important to gather all the ingredients and tools you’ll need. Start by choosing high-quality chocolate, whether you prefer dark, milk, or white. Good-quality ingredients really make a difference in flavor and texture.
Next, collect your tools like a heatproof mixing bowl, a spatula, a thermometer, and silicone molds. Having the right tools ensures even melting and shaping of your candies. You’ll also want a double boiler or microwave-safe container for melting chocolate safely.
Don’t forget measuring spoons and a cutting board for any additional ingredients like nuts or dried fruit. Having everything ready beforehand makes the process smoother and helps prevent interruptions.
Carefully sourcing your ingredients and choosing the right tools sets you up for a successful candy-making experience and delicious results.
Learn How to Melt and Temper Chocolate for a Shine
Want that beautiful, glossy finish on your chocolates? The trick is in mastering the right melting techniques so your chocolate doesn’t burn or seize up. When you melt it properly, you set the foundation for a shiny, professional-looking finish.
Once your chocolate is melted, the next step is tempering. It might sound fancy, but it’s basically just heating and cooling the chocolate carefully to get that perfect shine and snap. Keeping an eye on the temperature throughout the process is key—you want it just right to ensure your chocolates look as good as they taste!
Proper Melting Techniques
Melt chocolate carefully to guarantee a smooth, glossy finish, as improper techniques can lead to streaks or a dull appearance. To preserve the chocolate flavor and achieve the right melting temperature, use gentle heat methods like a double boiler or microwave in short bursts.
Stir frequently to promote even melting and prevent overheating, which can cause the chocolate to seize or burn. Keep the temperature below 115°F (46°C) for dark chocolate and around 110°F (43°C) for milk or white chocolate.
Avoid direct heat or high temperatures, as they can alter the chocolate’s texture and shine. Patience is key—slow, controlled melting ensures the chocolate remains smooth, glossy, and perfect for your candy-making process.
Achieving Perfect Tempering
Achieving a perfect tempering process is key to giving your chocolate that beautiful shine and ideal texture. Proper temperature control helps prevent unwanted sugar crystallization, making sure your chocolate stays smooth and glossy.
To temper chocolate, melt it carefully and then cool it to specific temperatures that stabilize the cocoa butter crystals. Here’s a visual guide to help you through the stages:
| Stage | Temperature Range |
|---|---|
| Melting | 45–50°C (113–122°F) |
| Cooling | 27–28°C (80–82°F) |
| Re-heating | 31–32°C (88–90°F) |
Keeping your chocolate within these temperatures prevents issues with sugar crystallization. This results in a shiny finish and a firm snap. Make sure to use a reliable thermometer and stir constantly for the best outcome.
Maintaining Chocolate Shine
Maintaining a beautiful shine on your chocolate requires careful attention during the melting and tempering process. Proper tempering ensures the cocoa butter crystallizes correctly, giving your candy a glossy finish.
Avoid overheating, which can cause chocolate bloom—those dull, grayish streaks—by melting in gentle heat. Once tempered, work quickly and keep the chocolate at the right temperature.
Good storage conditions are also essential. Store your finished candies in a cool, dry place away from humidity, which can dull the shine and cause bloom over time.
If you notice a dull appearance or whitish streaks, it’s likely due to improper storage or temperature fluctuations. Proper handling and storage help preserve that beautiful, professional-looking shine throughout your chocolate’s shelf life.
Add Fillings and Flavors to Customize Your Chocolates
Have you ever wondered how to make your chocolates uniquely yours? Adding fillings and flavors lets you do just that.
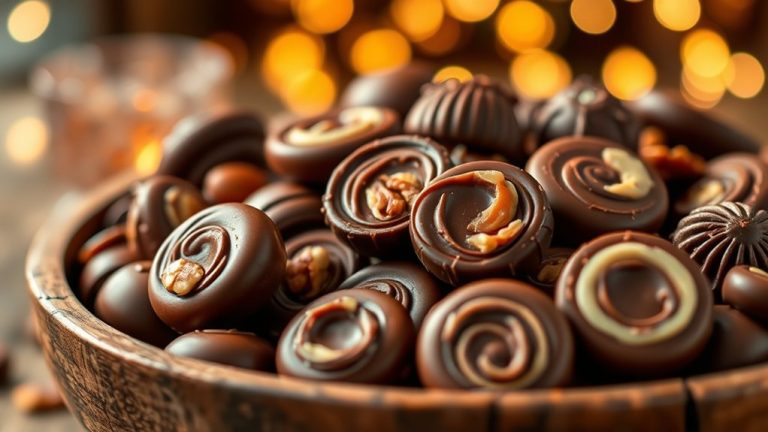
Start by choosing filling options like caramel, fruit preserves, nuts, or ganache to create delightful surprises inside. For flavor combinations, consider pairing dark chocolate with sea salt or milk chocolate with hazelnut spread for rich, contrasting tastes.
When adding fillings, use a piping bag or small spoon to place them carefully into the melted chocolate before it hardens. You can also infuse your chocolates with flavors like vanilla, coffee, or spices by mixing extracts or aromatic ingredients into the chocolate itself.
Experimenting with different filling options and flavor combinations helps you craft personalized chocolates that suit your taste or make thoughtful gifts. Remember to keep fillings at a consistent temperature to prevent melting or leakage, ensuring your chocolates stay neat and delicious.
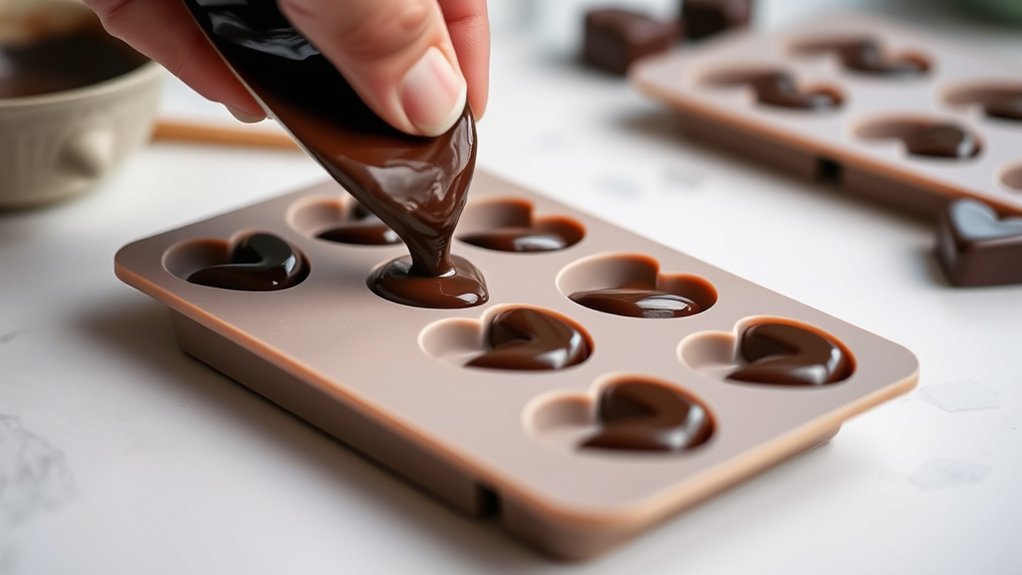
Shape and Mold Your Chocolate Candies
When you’re selecting molds for your chocolates, it’s really about finding the ones that match the shape you’re going for. Picking the right mold can make your candies look even more appealing and professional.
As you shape your chocolates, try techniques like tapping the mold gently to release any air bubbles—that helps keep your candies smooth and shiny. You can also use a spatula to smooth out the tops and edges, giving your chocolates that polished, finished look.
With just a few simple steps, you’ll be able to create beautiful, well-formed chocolates that not only taste great but also look like they came from a pro.
Choosing the Right Molds
Selecting the right molds is essential for shaping your chocolate candies perfectly. Your choice influences the appearance and how easily the candies come out.
Consider decorative mold patterns to add unique designs that make your candies stand out. Mold material options include silicone, plastic, or metal—each offering different benefits like flexibility or durability.
Silicone molds are popular for their non-stick surface, making them very easy to work with. Plastic molds are affordable and simple to use. Metal molds give crisp details but can be a bit more challenging to handle.
Here’s a quick comparison:
| Mold Material | Durability | Design Detail | Ease of Use |
|---|---|---|---|
| Silicone | High | Flexible | Very easy |
| Plastic | Moderate | Moderate | Easy |
| Metal | Very high | Crisp | Challenging |
Choose based on your design needs and what feels comfortable for you.
Techniques for Shaping
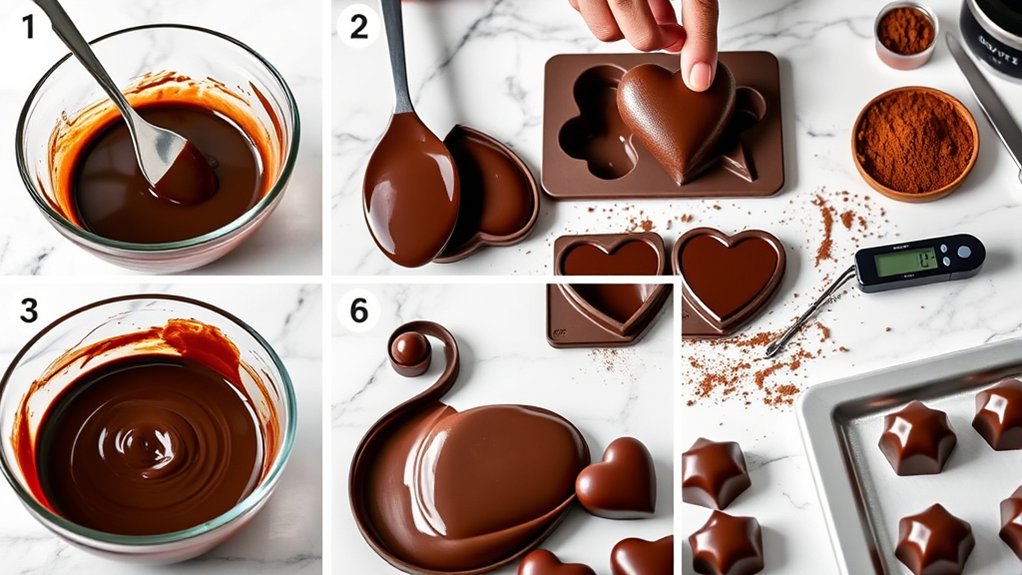
Once you’ve picked the perfect molds, it’s time to bring your chocolate shapes to life. Start by pouring tempered chocolate into your molds, tapping gently to remove air bubbles, and making sure the coating is even.
For decorative touches, try adding layers of contrasting chocolate or edible glitter before the chocolate sets. To create more intricate designs, explore advanced molding techniques like embedding fillings or adding textured surfaces.
Carefully remove the chocolates once they’ve cooled and hardened, handling them gently so they don’t break. You can also use silicone molds for flexible shaping or silicone mats for freeform designs.
Experiment with techniques like brushing on cocoa butter or dusting with edible powders to add depth and visual interest. With these shaping methods, your chocolates will look as stunning as they taste.
Cool and Set Your Chocolates for Perfect Texture
Have you ever wondered why perfectly cooled chocolates have a smooth, glossy finish? The secret lies in how you cool and set your chocolates. Once you’ve poured the mixture into molds or onto a tray, let them cool at room temperature or in a cool, draft-free area.
Avoid rushing the process, as rapid cooling can cause dull spots or cracks. Proper cooling ensures your chocolates develop that appealing shine and firm texture. During this stage, think about how you’ll store your chocolates afterward.
Using an airtight container in a cool, dark place helps maintain their quality. Good chocolate storage not only preserves flavor but also keeps your candies looking professional. When the chocolates are fully set, they’ll have a satisfying snap when broken or bitten into, perfect for presentation.
Taking the time to cool your chocolates correctly guarantees a beautiful, glossy finish and a delightful eating experience.
Package and Store Your Homemade Chocolates
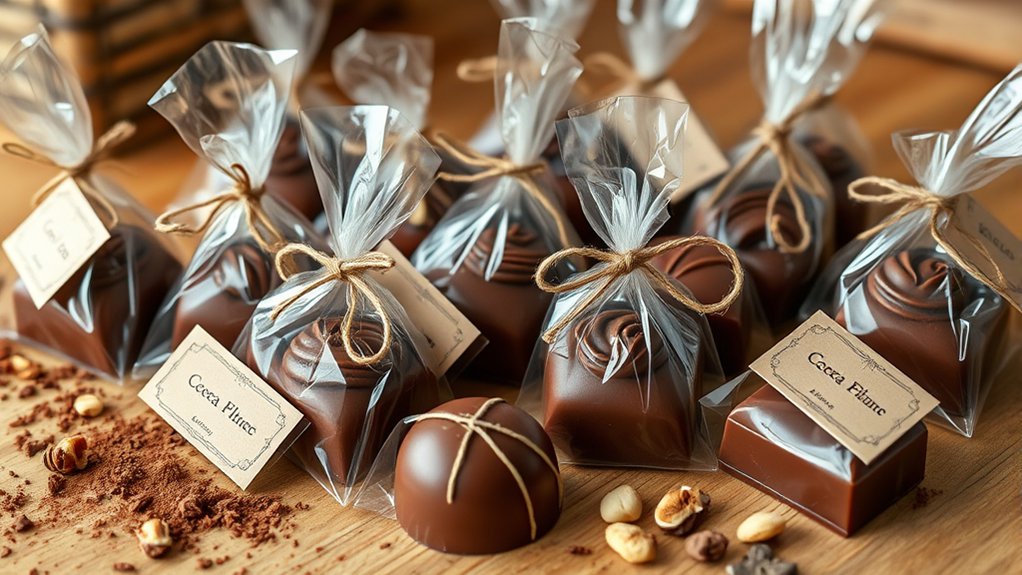
After your chocolates are fully cooled and set, proper packaging is key to keeping them fresh and looking professional. Thoughtful packaging not only protects your candies but also makes them more appealing as gifts or treats.
To keep them fresh, consider placing each piece in individual paper cups or wrapping them in wax paper. Store them in an airtight container to prevent moisture and odors from affecting their flavor.
For extra protection, line the container with tissue paper or bubble wrap. Keep your chocolates in a cool, dark place away from sunlight and temperature changes.
Here are some handy storage tips:
- Use airtight containers or resealable bags
- Keep chocolates away from direct sunlight and heat sources
- Label your packages with the date to track freshness
Frequently Asked Questions
Can I Use Vegan or Dairy-Free Chocolate for Homemade Candy?
Yes, you can use vegan or dairy-free chocolate for homemade candy. Vegan options usually have plant-based ingredients like cocoa solids and coconut oil, so they work well as dairy-free choices.
Just pick a good-quality dairy-free chocolate, and you’re good to go. Keep in mind that the flavors and textures might be a little different, but these chocolates still make delicious, allergy-friendly candies that everyone can enjoy.
How Long Does Homemade Chocolate Candy Stay Fresh?
You’ll find your homemade chocolate candy stays fresh for about one to two weeks if stored properly.
Don’t worry—using airtight containers and keeping it in a cool, dark place can help extend its shelf life. Proper storage tips prevent melting and preserve flavor.
If you want it to last longer, consider refrigerating or freezing. Just keep in mind, this might change the texture a bit. Enjoy your tasty treats at their best within this timeframe!
What Are Some Healthy Filling Options for Chocolate Candies?
You can make your chocolate candies healthier by choosing fillings like healthy fruit fillings, such as pureed berries or citrus zest, which add natural sweetness and nutrients. Nut-based centers, like almond or walnut pastes, provide healthy fats and protein.
These options not only improve flavor but also boost the nutritional value of your homemade candies. Incorporate fresh ingredients for a tasty, guilt-free treat your friends and family will love.
Can I Make Chocolate Candies Without a Mold?
You absolutely can make chocolate candies without a mold! Just pour your melted chocolate onto parchment paper or a silicone baking sheet, then spread it out using a spatula.
Add your favorite chocolate flavoring and toppings, then let it set. Once it’s hardened, break or cut it into pieces.
For a nice presentation, use simple candy packaging or wrap them in foil. No mold needed—just your creativity and a little patience!
How Do I Prevent Chocolates From Developing a White Film?
To prevent chocolates from developing a white film, which is often sugar bloom, you need to properly temper your chocolate. Proper tempering creates a stable crystal structure, helping to keep your chocolates smooth and shiny.
Avoid temperature fluctuations and humidity during cooling. If moisture gets in, it can cause a white film known as sugar bloom.
If you notice a white film, it’s likely caused by moisture. Store your chocolates in a cool, dry place to keep them looking their best.
Diligently temper your chocolate for glossy, smooth results that last.
Conclusion
Now that you’ve mastered these simple steps, you’re ready to create delicious, personalized chocolates at home. Remember, practice makes perfect, and patience is key to achieving that glossy finish and perfect shape.
Don’t be discouraged by small setbacks. Every mistake is a step toward mastery. As the saying goes, “Rome wasn’t built in a day,” so keep experimenting.
Soon, you’ll be turning out beautiful chocolates that impress everyone. Enjoy the process and have fun making your own chocolate candies from scratch!