How to Make Chocolate for Candy Molds
Many people struggle with getting their chocolates to look perfect—smooth, shiny, and professional. If you’ve ever been frustrated by dull or uneven candies, you’re not alone. Making beautiful chocolates for candy molds can feel tricky at first, but with the right tips, you can master it.
To make smooth, glossy chocolate for candy molds, start with high-quality chocolate like couverture. Gently melt it using a double boiler or microwave in short bursts, stirring often.
Properly temper the chocolate to get a shiny finish and crisp texture by heating and cooling it carefully.
Pour the tempered chocolate into molds, tap out air bubbles, and cool in a cool, stable environment.
For more tips on perfecting your chocolates, keep exploring this guide to master every step.
Key Takeaways
- Use good-quality chocolate like couverture and melt it gently in a double boiler or with short bursts in the microwave.
- Properly temper the chocolate to get a shiny finish and a nice, crisp snap.
- Make sure your molds are clean, dry, and at room temperature before pouring in the chocolate.
- Pour the chocolate slowly into the molds and gently tap them to help remove any air bubbles.
- Let the chocolates cool and set on a marble surface or in the fridge for a smooth, professional look.
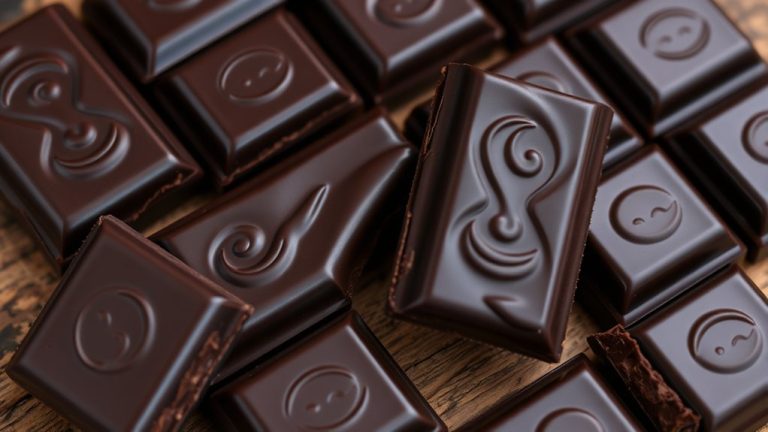
Pick the Best Chocolate for Candy Molds
Choosing the right chocolate is essential for successful candy mold creations. You want a flavor that complements your design and appeals to your taste buds.
Look for high-quality chocolate like couverture, which melts smoothly and produces shiny, professional-looking results.
When considering mold materials, make sure your chocolate pairs well with the surface. Silicone molds are forgiving, but some harder plastics may require specific chocolate types to prevent sticking.
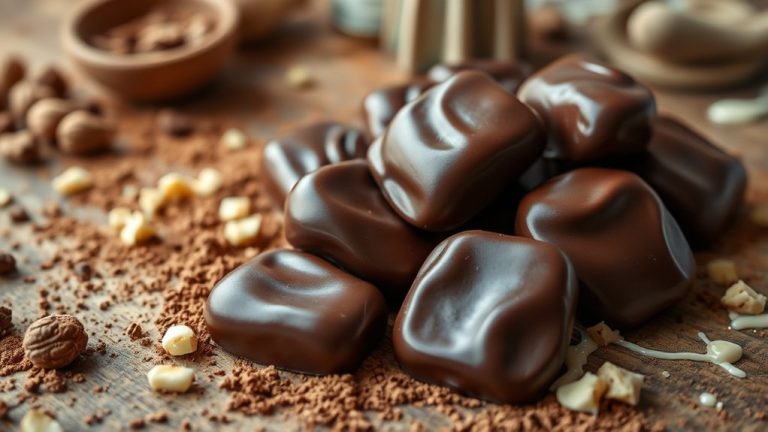
Dark chocolate offers rich flavor and is versatile, while milk chocolate provides a sweeter taste and creamier texture. White chocolate can add a delicate touch but is more sensitive to heat.
Always check the packaging for ingredients and melting instructions. Using the right chocolate flavor and choosing compatible molds will make your candy-making easier.
This will help you create beautifully formed chocolates with great taste.
Set Up Your Workspace and Gather Your Tools
Before you start melting and pouring your chocolate, it’s important to set up a clean, organized workspace. Proper organization helps you work efficiently and prevents accidents. Clear your surface of clutter, wipe it down, and gather all necessary tools before you begin.
Set up a clean, organized workspace to work efficiently and prevent accidents.
When choosing tools, pick items that make the process easier, like a spatula, a heat-resistant bowl, and a silicone scraper. Having the right tools on hand ensures smooth chocolate handling and accurate pouring.
Key points to focus on include organizing your workspace so everything is within reach, selecting reliable tools suited for your task, and creating a clutter-free environment to keep your workflow smooth.
A well-prepared workstation minimizes distractions and helps you focus on making beautiful chocolates. When everything is in place, your process becomes more efficient, and your chocolates will turn out perfect.
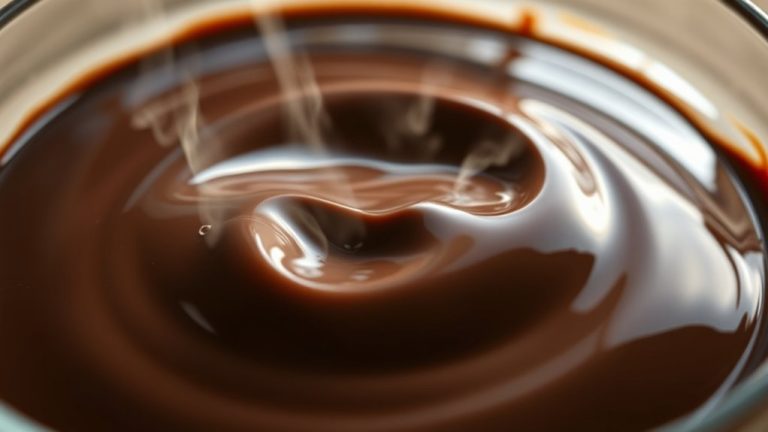
Learn Safe and Smooth Chocolate Melting Techniques
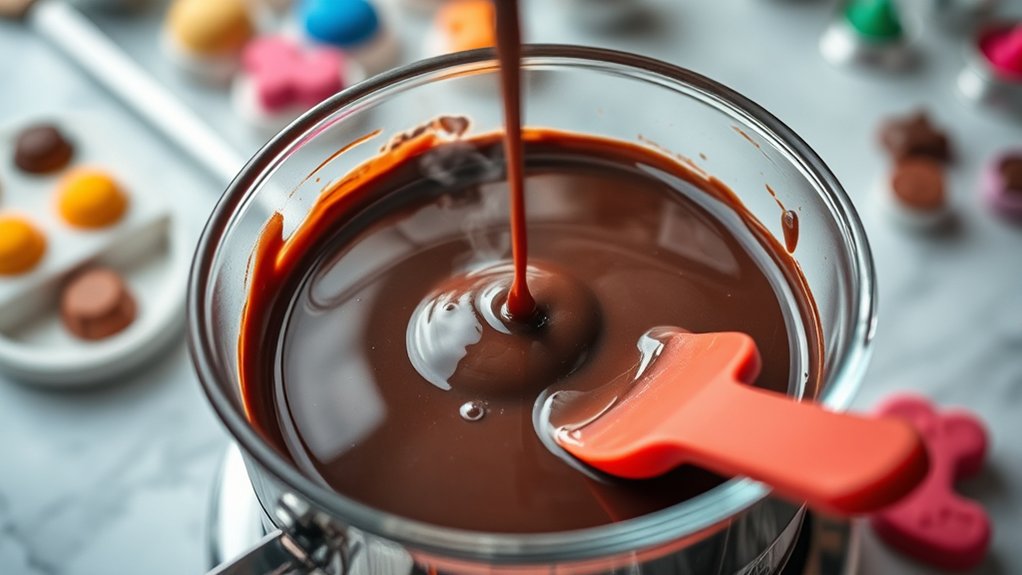
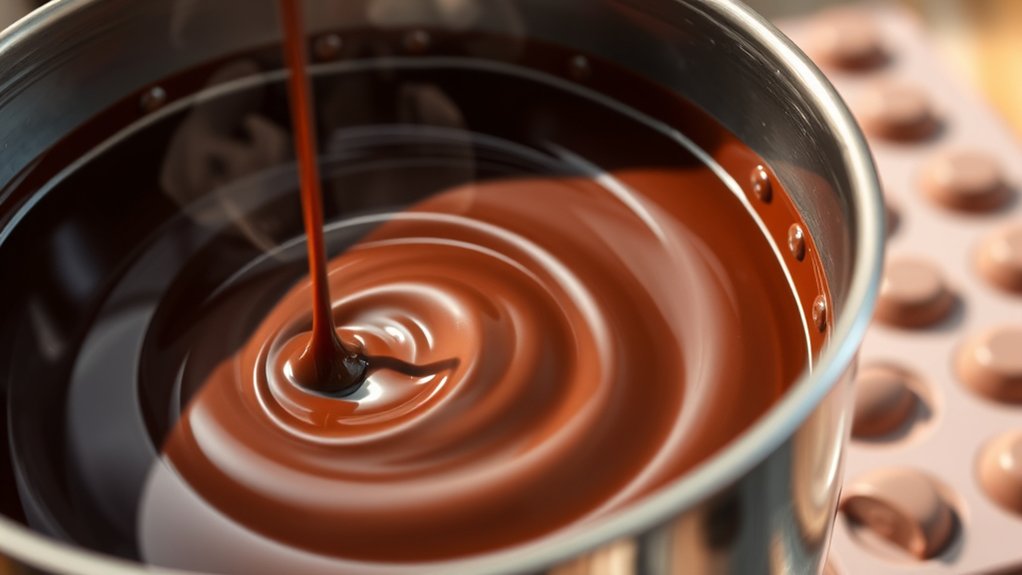
To melt chocolate safely and smoothly, you need to control the heat carefully and avoid direct contact with high temperatures that can scorch or seize the chocolate. Use a double boiler or microwave in short bursts, stirring frequently to distribute heat evenly.
When adding chocolate flavoring, do so gradually to prevent altering the melting process or causing seizing. Proper melting ensures your chocolate remains glossy and easy to work with, which is vital for achieving a smooth finish in your mold design.
Keep the chocolate at a gentle, consistent temperature, avoiding overheating, as this can compromise its texture and flavor. If you notice any dullness or thickening, gently reheat, but never overheat.
This careful approach guarantees your chocolate melts evenly, maintains its flavor integrity, and flows smoothly into your molds. The result is professional-looking candies that showcase your mold design perfectly.
Master How to Temper Chocolate at Home Without a Thermometer
Once your chocolate is melted smoothly, the next step is to get that glossy, firm finish through tempering. You don’t need a thermometer—just a few simple tricks for perfect chocolate.
Start by spreading the melted chocolate onto a cool, smooth surface like a marble slab or countertop. Use a spatula to spread and scrape, cooling the chocolate while working quickly.
Spread melted chocolate on a cool surface, then scrape and cool quickly for perfect tempering.
When it thickens and starts to lose its shine, gather the chocolate into a mound and knead it gently until it’s smooth and shiny again. This helps you control the temper without tools, letting you experiment with flavors.
Keep in mind:
- Test by spreading a small amount on parchment; it should set quickly and look glossy.
- Use the cooled, tempered chocolate immediately for molds.
- Practice this technique to perfect your skills and try new flavor combinations.
This method guarantees professional-looking results and a satisfying chocolate experience at home.
Pour and Fill Candy Molds for Flawless Results
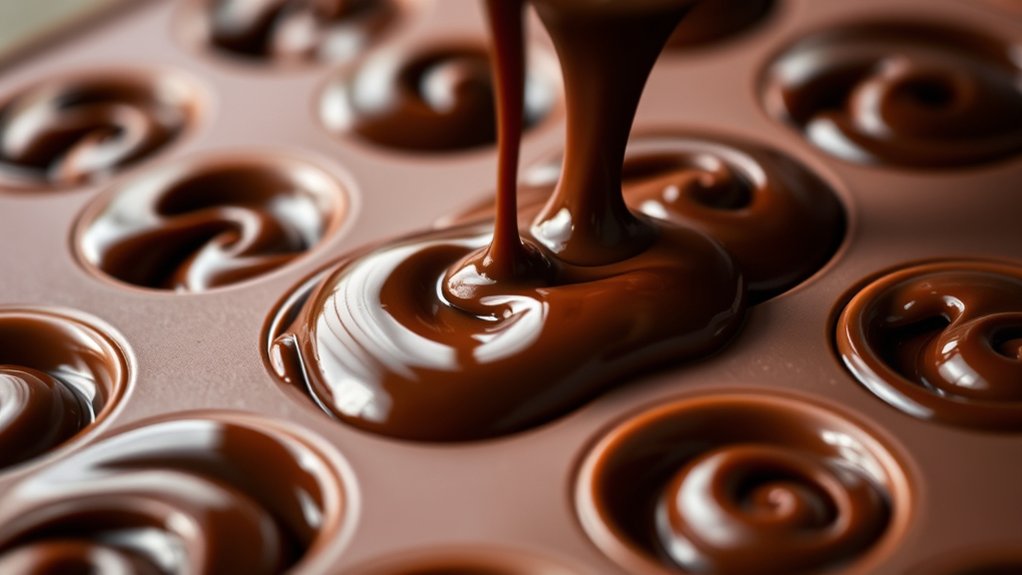
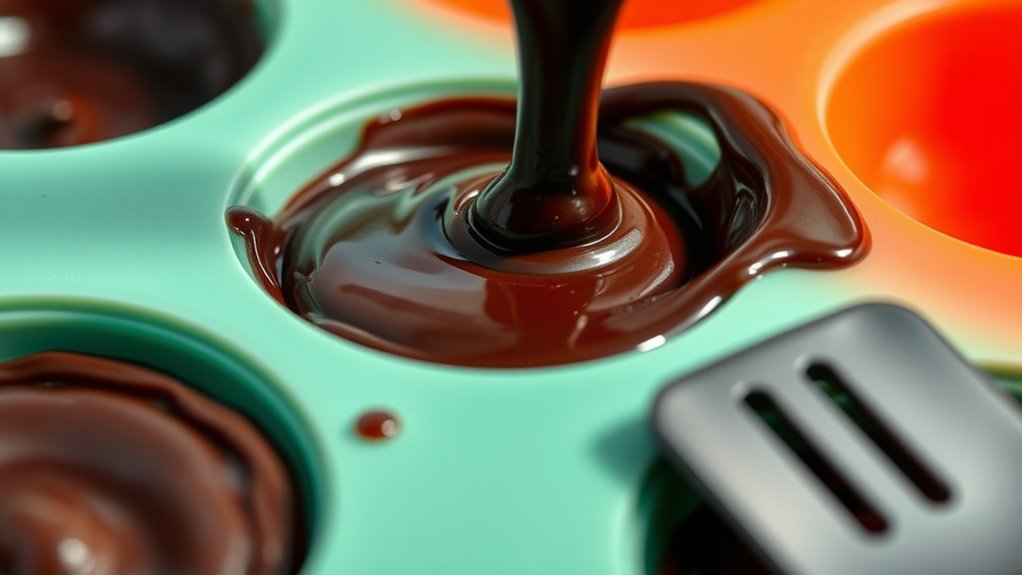
Pouring and filling your candy molds might seem straightforward, but getting flawless results takes some attention to detail. First, make sure your chocolate is properly tempered for a smooth pour and a shiny finish.
When filling the molds, use a spatula or piping bag to control the flow and reduce air bubbles. Gently tap the mold on the counter to release trapped air and help the chocolate settle evenly.
Keeping your molds clean between uses is crucial—residue can ruin the surface of your candies. Also, choosing compatible chocolates can improve flavor and texture, making your candies even more appealing.
Pour slowly to avoid overfilling, and wipe away any excess chocolate for a neat, clean edge. This careful process helps you achieve candies that look professional, with no imperfections from uneven filling or leftover residue.
Mastering these pouring and filling techniques sets the foundation for beautiful, high-quality chocolates that everyone will love.
How to Achieve a Glossy Finish and Perfect Texture
Want that beautiful glossy finish and perfect texture? It’s all about mastering a few key techniques. First, proper tempering is essential—getting your chocolate to the right temperature will help it set smoothly and shine brightly.
Also, make sure to keep your chocolate cool and in the right environment so it doesn’t develop any unwanted streaks or dull spots. Using high-quality ingredients makes a big difference too; they’ll give your chocolate a richer flavor and a better finish.
When you focus on these simple steps, your chocolates will look professional and have that irresistible glossy shine. It’s all about paying attention to the details—trust me, it really makes a difference!
Proper Tempering Techniques
Achieving a glossy finish and a perfect texture in your chocolates starts with proper tempering, a precise heating and cooling process that aligns the cocoa butter crystals. This guarantees your chocolate hardens smoothly with a shiny surface and ideal snap.
To succeed, focus on using high-quality molds to prevent imperfections, storing chocolate properly to maintain temper consistency, and carefully monitoring temperature stages with a reliable thermometer.
Proper tempering involves heating chocolate to a specific temperature, then cooling it at the right rate, and finally reheating slightly. This process creates stable crystals that give your chocolates their characteristic gloss and firm texture.
Optimal Cooling Conditions
Cooling conditions are key to making sure your chocolates turn out shiny and have a nice, firm texture. Proper cooling helps set the chocolate’s consistency and prevents streaks or dullness.
You can cool your chocolates by placing the molds in a cool, dry spot or briefly refrigerating them. Just be careful not to go too cold, as extreme cold can cause condensation or bloom.
Keep the temperature steady around 65-70°F (18-21°C) for the best results. Rushing the cooling process can cause cracks or a matte finish, so gentle, controlled cooling is best.
If you’re in a warm place, using a fan or air conditioning can help keep things cool. Consistent, gentle cooling will give your chocolates that glossy look and perfect texture you want.
Using Quality Ingredients
Using high-quality ingredients makes a noticeable difference in the final look and feel of your chocolates. When sourcing ingredients, choose couverture chocolate with a high cocoa content for a glossy finish and smooth texture. Good-quality chocolate melts evenly, which helps reduce streaks and dullness.
Focus on flavor pairing by selecting ingredients that complement each other, enhancing both taste and aroma. To get a perfect finish, consider using fresh, premium ingredients for richer flavor and better consistency.
Incorporate tempered chocolate techniques to improve gloss and snap, making your chocolates look professional. Mixing in natural flavorings can also amplify the chocolate’s richness without overpowering it.
High-quality ingredients ensure your chocolates taste exceptional and have a polished, professional appearance. All your effort will be worth it when the final product looks stunning and tastes incredible.
Common Mistakes in Chocolate Molding and How to Avoid Them
One common mistake in chocolate molding is not properly preparing the molds, which can cause sticking or surface imperfections. To prevent this, make sure your molds are thoroughly cleaned and dried before pouring chocolate.
Ensure molds are thoroughly cleaned and dried to prevent sticking and surface imperfections in your chocolates.
Cleaning molds is essential because even tiny residues can affect the finish of your chocolates. Avoid harsh chemicals; instead, wash them with warm water and a gentle detergent, then dry completely.
Proper chocolate storage is also important. Keep your chocolate in a cool, dry place to prevent moisture from causing bloating or dull surfaces. If your chocolate has been exposed to humidity, it may seize or develop surface flaws.
Always work in a clean environment and handle molds with care to prevent scratches or dust from contaminating the surface. By paying attention to mold preparation and storage, you’ll achieve smoother, shinier chocolates free of imperfections.
Troubleshoot Dull or Dished Chocolate: Fixes and Tips
If your chocolate ends up looking dull or dished, don’t worry – it’s usually because of some tempering or temperature hiccups. Getting the tempering right is key, so make sure you’re following the proper techniques and keeping an eye on your temperatures.
Also, controlling the mold temperature and being careful to avoid air bubbles can make a big difference. These small adjustments will help your chocolate come out smooth, shiny, and perfect-looking. Just a few tweaks, and you’ll improve both its appearance and texture!
Proper Tempering Techniques
Dull or dished chocolate often results from improper tempering, but you can fix these issues with the right techniques. Proper tempering is key for creating a glossy finish and a satisfying crisp snap. To get it right, focus on controlling the temperature during melting and cooling.
Here’s how to do it: Use a thermometer to monitor precise temperatures at each stage. Stir consistently to ensure even heat distribution. Cool the chocolate on a cool surface, like marble, to help promote proper crystal formation.
Mastering tempering not only improves your chocolate’s appearance and texture but also makes it ideal for intricate molds. Plus, well-tempered chocolate lets you experiment with flavors, elevating your confections to professional standards.
Preventing Air Bubbles
Proper tempering sets the stage for glossy, crisp chocolates, but even when done correctly, air bubbles can still mar the finish. To prevent this, focus on your mold design; choose molds with smooth, well-made surfaces to minimize trapped air.
When pouring the chocolate, do so slowly and steadily, allowing excess air to escape naturally. Tapping the mold gently on the counter also helps dislodge air bubbles that may cling to the sides.
Avoid overfilling molds, as excess chocolate increases the risk of air pockets. Using a toothpick or skewer to pop visible bubbles immediately after pouring can further improve the surface finish.
Correct Molding Temperatures
Maintaining the correct molding temperatures is essential to prevent chocolate from becoming dull or dished. Proper temperature control ensures your chocolate flows smoothly into molds and sets with a shiny finish.
To achieve this, focus on mold preparation and temperature management. Start by slightly preheating molds to prevent temperature shock, which can cause dullness.
Work within the recommended temperature range for your chocolate type, usually between 88-91°F (31-33°C). Avoid overheating during tempering, as this can lead to dished or uneven surfaces.
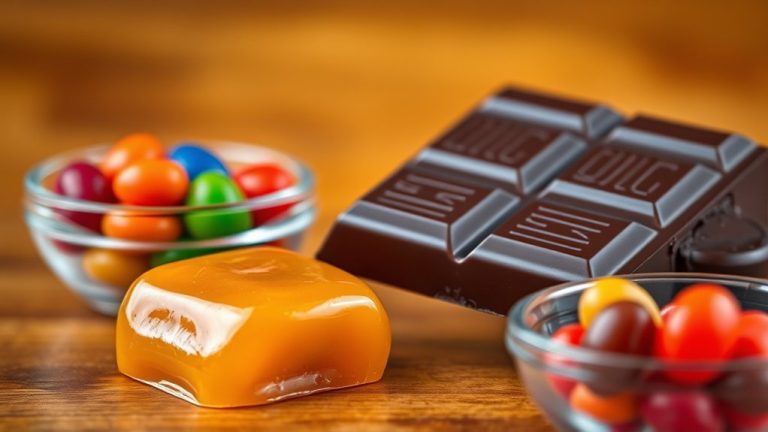
Get Creative: Flavors and Decorations for Homemade Chocolates
Getting creative with flavors and decorations can turn simple homemade chocolates into stunning treats. Try flavor combos like sea salt and caramel, chili and dark chocolate, or orange and vanilla to add interest. You can also infuse your chocolates with extracts, liqueurs, or pureed fruits for a personal touch.
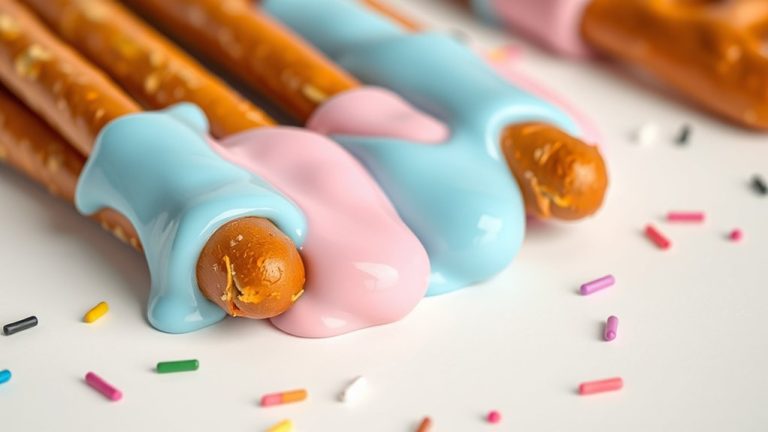
For decorating, melt white or colored chocolate to create drizzles, swirls, or intricate patterns. Edible gold leaf, sprinkles, nuts, or dried fruit can add texture and visual appeal. Silicone molds are great for adding decorations directly into the chocolates, like tiny flowers or stars.
Store and Package Your Chocolates for Maximum Freshness
Once your homemade chocolates are decorated to perfection, the next step is to store and package them so they stay fresh and delicious. Proper storage is key to keeping their flavor and texture intact. Use airtight containers to prevent moisture and odors from affecting your treats.
When packaging chocolates, try wrapping each piece in wax paper or foil to protect them from air exposure. Clear boxes or trays are great for presentation, but always line them with parchment or tissue paper to prevent sticking.
Keep your chocolates in a cool, dark place, ideally between 60-70°F, to avoid melting or bloom. To keep them fresh longer, don’t stack chocolates directly on top of each other without protective layers.
These simple packaging techniques will help your chocolates stay vibrant, flavorful, and ready to enjoy or give as a gift.
Frequently Asked Questions
Can I Use Vegan or Dairy-Free Chocolate for Candy Molds?
Yes, you can definitely use vegan or dairy-free chocolate for candy molds. They’re great options, especially if you want plant-based treats.
Just melt the vegan or dairy-free chocolate carefully until it’s smooth, then pour it into your molds. It’s that simple!
These chocolates work really well and make delicious candies. Plus, you get a variety of flavors without using any dairy.
Enjoy creating your vegan-friendly confections!
How Long Does Homemade Chocolate Take to Fully Set?
Think of your homemade chocolate as a seed planted in fertile soil; it needs time to grow strong.
Typically, after proper tempering and mold preparation, your chocolates take about 30 minutes to an hour to fully set at room temperature.
For faster results, you can refrigerate them, but avoid freezing. Patience is key to ensure the chocolate bonds perfectly.
This will give you glossy, crisp candies that are ready to enjoy.
Is It Necessary to Refrigerate Chocolates After Molding?
You don’t have to refrigerate chocolates after molding, but it can help with storage. To keep your chocolates fresh, store them in a cool, dry place away from direct sunlight.
Temperature control is key—aim for around 65-70°F (18-21°C). If your environment is warm or humid, refrigeration can prevent melting or blooming. Just make sure to package them tightly to avoid moisture exposure.
What Are the Best Natural Flavor Additions for Homemade Chocolates?
You can enhance your homemade chocolates with natural extracts like vanilla, almond, or mint, which bring rich, authentic flavors. For a more unique twist, try adding a splash of citrus extract such as orange or lemon.
Infusing your chocolate with spices like cinnamon or cardamom can also add interesting layers of flavor. Just remember to use these natural extracts sparingly so they don’t overpower the chocolate.
Be sure to stir well to evenly distribute the flavors throughout your mold, giving you a deliciously balanced treat.
How Do I Clean and Reuse Silicone Molds Safely?
To clean and reuse silicone molds safely, start by rinsing them with warm water to remove residue. Use gentle cleaning techniques like soft sponges or brushes with mild soap, avoiding abrasive materials that could damage the mold.
Make sure you thoroughly dry the molds before storing. Silicone’s flexible and durable nature makes it easy to clean, so proper care extends their lifespan and keeps their non-stick properties for future use.
Conclusion
Think of making chocolate like painting a masterpiece—you need the right tools, patience, and a bit of practice. When I first started, I struggled with dull chocolates, feeling like I’d ruined my work. But with persistence, I learned to fix and perfect every batch.
Now, each homemade treat is a colorful, glossy creation. With these tips, you’ll turn your kitchen into a chocolate studio, crafting candies that are as beautiful as they are delicious.
Using quality chocolate and proper tempering techniques is key to making chocolate for candy molds. Practice makes perfect, and soon you’ll be creating stunning, professional-looking chocolates at home.