How to Make Chocolate Covered Pretzel Rods With Candy Melts
Many people love the idea of making their own sweet treats, but the process can sometimes feel tricky or messy. If you’ve ever struggled with getting that perfect chocolate coating or felt unsure about decorating, you’re not alone.
Luckily, making chocolate-covered pretzel rods with candy melts is easier than you think—and it’s a fun way to get creative in the kitchen.
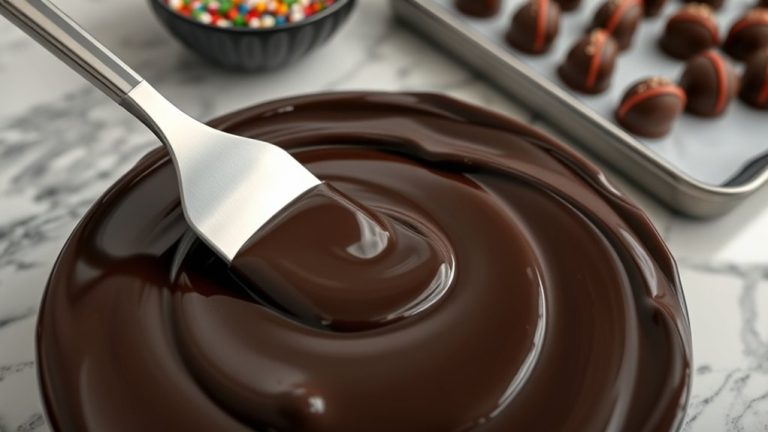
To make chocolate-covered pretzel rods with candy melts, start by melting the candy melts in short bursts, stirring until smooth, and keeping the temperature around 90-95°F.
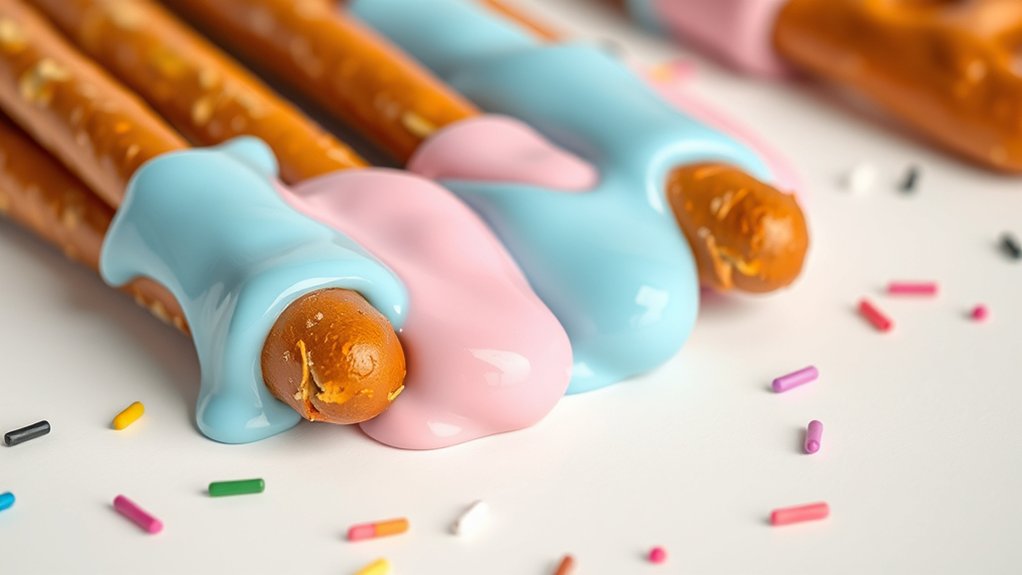
Dip the pretzels fully and lift quickly to create an even coating, then place them on parchment paper to set at room temperature.
Decorate with sprinkles or drizzles for extra flair.
If you want to perfect your technique and dive into creative ideas, there’s more to uncover.
Key Takeaways
- Use high-quality pretzels and candy melts for a smooth coating and better flavor.
- Melt candy melts in short bursts at low microwave power, stirring until smooth.
- Fully submerge pretzels in the melted candy, then lift and let the excess drip off for an even coat.
- Place dipped pretzels on parchment paper and let them set at room temperature to avoid streaks.
- Decorate with sprinkles or drizzles before the coating hardens for added visual appeal.
What You Need to Make Chocolate-Covered Pretzel Rods
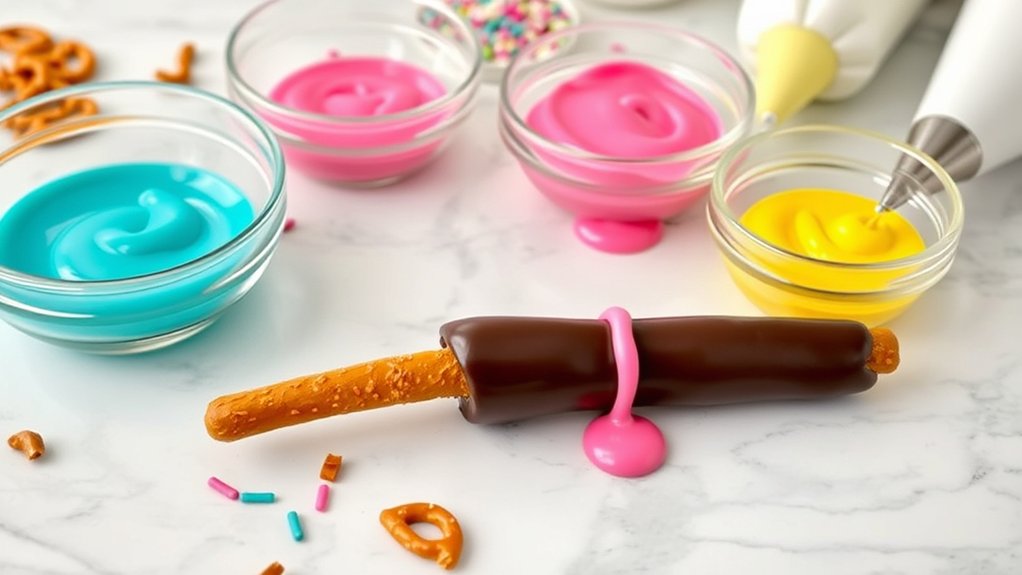
To make delicious chocolate-covered pretzel rods, you’ll need a few simple ingredients and tools. First, choose sturdy pretzels—preferably pretzel rods—since their nutrition offers a good balance of carbs and protein, making them a satisfying snack.
Choose sturdy pretzel rods for a tasty, balanced snack perfect for coating.
For the coating, candy melts are ideal. They have a rich history dating back to the 1960s when they became popular as a versatile and colorful alternative to traditional chocolate.
You’ll need a microwave-safe bowl or double boiler to melt the candy melts smoothly. Keep a spatula or spoon handy for stirring.
Moreover, parchment paper or a silicone baking mat provides a non-stick surface for setting the pretzels. To add flavor or decoration, consider sprinkles or chopped nuts.
Having these ingredients and tools ready ensures you can easily create perfectly coated pretzel rods with a shiny finish and delicious taste, making your snack both appealing and satisfying.
Choosing the Best Pretzels and Candy Melts
Picking the right pretzels and candy melts really can change the game for your treats. It’s a good idea to go for sturdy pretzels that won’t break easily and come in fun shapes like rods or twists—whatever you think will look best and hold up well when dipped.
When it comes to candy melts, don’t be afraid to try different flavors and colors. Mixing things up can make your pretzels pop and give them a personalized touch that everyone will love. So, have fun experimenting and find what works best for your sweet creations!
Pretzel Type Selection
Selecting the right pretzels and candy melts is key to getting the best flavor and appearance in your chocolate-covered pretzel rods.
For pretzel flavor, go for high-quality pretzels with a mild, salty taste that pairs well with the sweetness of the coating. Classic pretzels usually work best, but feel free to try flavored varieties if you want something different.
When it comes to pretzel shapes, standard rod shapes are easiest to dip and decorate. They give you a smooth surface for a clean finish. Avoid very thick or irregular pretzels, as they can be harder to coat and handle.
Choosing pretzels that are uniform in shape and flavor, along with the right candy melts, will help you create pretzels that look great and taste amazing.
Candy Melt Varieties
Different candy melt varieties can really change the look and flavor of your pretzel rods. The color options let you customize your treats, while the flavor of the candy melts can complement or contrast with your pretzel’s taste.
For a classic flavor, go with vanilla or white melts and add food coloring for a vibrant finish. Chocolate-flavored melts are great for a rich, indulgent taste.
Candy melt textures range from smooth and glossy to slightly crumbly. Smoother melts give you sleek coatings, while thicker textures add a bit of crunch.
Think about your pretzel flavor when choosing melts. If you want something sweet and subtle, stick with traditional vanilla. For more adventurous ideas, try mixing flavors or adding extracts.
The right candy melts will boost both the appearance and the taste of your treats.
How to Melt Candy Melts Properly
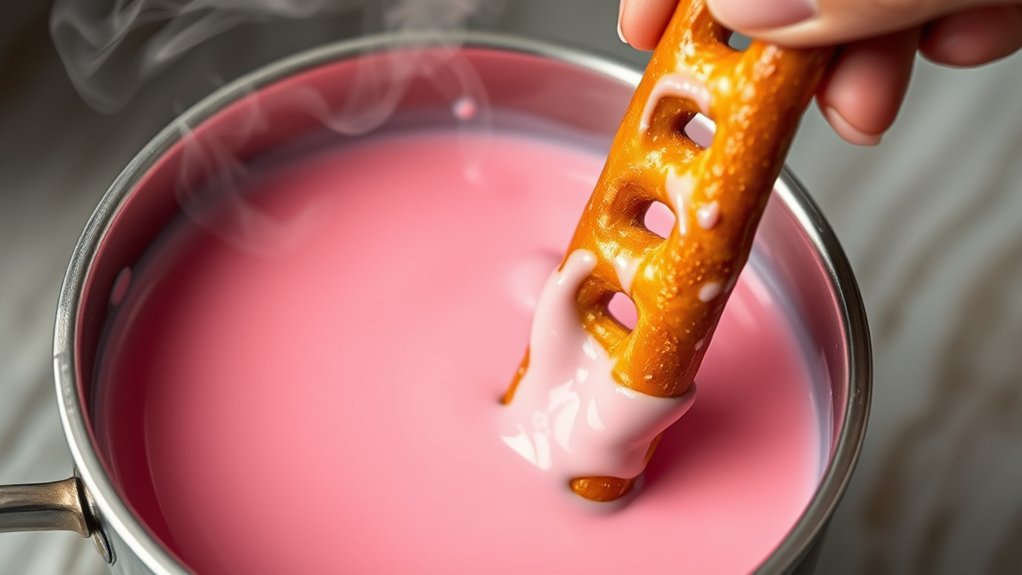
Want to melt your candy melts the right way? First off, it’s best to use your microwave on medium power. This helps prevent them from burning or overheating. As they start to melt, give them a gentle stir every now and then. It keeps everything smooth and ensures they melt evenly. Oh, and a quick tip—keep water away from the melts. Even a tiny splash can cause them to seize up and become unusable. So, handle with care and enjoy your perfectly melted candy!
Use Proper Microwave Settings
Melt the candy melts in short bursts, stopping to stir after each one, to ensure smooth, even heating. Use the microwave’s low or medium power setting—high power can cause uneven melting or burning.
Different candy melt colors may heat at slightly different rates, so keep an eye on the process. For a rich, consistent pretzel flavor, proper microwave settings are key to preventing the candy melts from overheat or seizing.
If your microwave has a turntable, use it to help distribute heat evenly. Always check the consistency after each burst and avoid rushing the process.
Proper microwave settings help you get smooth, glossy melts perfect for coating your pretzel rods, no matter which colors you choose.
Stir Gently and Often
Gently stirring the candy melts as they heat prevents them from overheating or seizing up, guaranteeing a smooth, glossy coating for your pretzels. Keep the heat low and stir frequently to maintain an even melt, which preserves the candy melt’s consistency and color.
This gentle process is key because overheating can cause the candy to become thick or grainy, making it difficult to coat your pretzel rods evenly. Understanding candy melt history helps you appreciate its unique properties—designed for easy melting and vibrant color.
While focusing on melting, remember pretzel nutrition. Though tasty, pretzels are often low in fat but can be high in carbs. Stirring often ensures your candy melts stay perfect, giving your pretzels that professional, shiny finish.
Avoid Water Contamination
Water contamination is the biggest enemy when melting candy melts, as even a tiny splash can cause the coating to seize and become lumpy. To keep your candy melts safe from water, follow these simple precautions:
Use a dry, heatproof bowl and make sure your workspace is free of moisture.
Keep water away from your candy melts—never add water directly or splash it into the melting container.
When melting, use a double boiler or microwave in short bursts, stirring often. Be careful to prevent steam or condensation from touching the candy melts.
How to Dip and Coat Pretzel Rods Smoothly
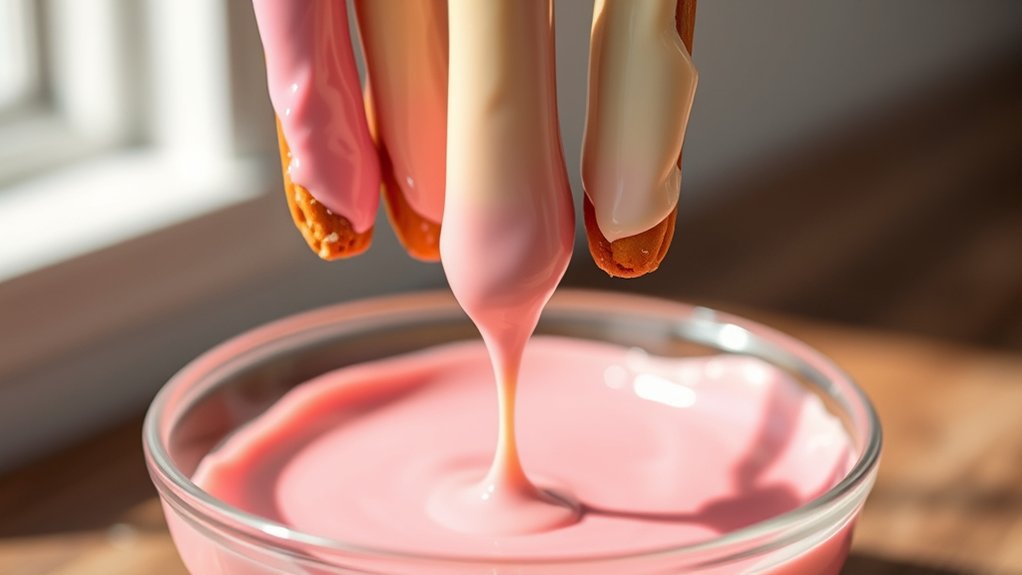
To get a smooth coating, make sure your chocolate is at the right temperature and consistency before dipping. Warm the candy melts until fully melted, but be careful not to overheat, which can cause clumping.
The right consistency should flow easily but not be too runny. When dipping, the pretzel should be coated evenly without drips or gaps, so the pretzel flavor and vibrant candy melt color stand out.
Think of this like a palette:
| Pretzel flavor | Candy melt color | Coating consistency | Dipping speed |
|---|---|---|---|
| Classic pretzel | Bright red | Smooth and shiny | Quick but controlled |
| Honey mustard | Deep blue | Slightly thick | Steady and gentle |
| Cheddar | Mint green | Pourable but thick | Swift and steady |
Visualize dipping at a steady pace, fully submerging the pretzel, then lifting to let excess drip off for a flawless finish.
Decorate Your Pretzels With Toppings and Colors
Once you’ve coated your pretzels with smooth, melted chocolate, the fun really begins—adding toppings and colors to create eye-catching designs. You can boost the flavor by choosing candy decorations that go well with the chocolate and pretzels, making each piece unique.
Add colorful toppings and drizzles to transform your pretzels into fun, flavorful treats.
Here are some ideas to personalize your pretzels:
- Sprinkles: Use colorful sprinkles to add a pop of color and texture, perfect for a festive look.
- Crushed Candies: Sprinkle crushed candies like peppermint or toffee for extra flavor and crunch.
- Colored Drizzle: Melt different colored candy melts and drizzle them over the pretzel for a vibrant, artistic touch.
These toppings let you customize your pretzels for any occasion, making them as visually appealing as they are tasty. Have fun experimenting with different candy decorations to match your pretzel flavor and style!
Tips for Perfect Chocolate Coating and Proper Setting
Achieving a smooth, shiny chocolate coating requires paying attention to temperature and technique. Keep your candy melts or chocolate at the right temperature, usually around 90°F to 95°F, by gently reheating if needed. Stir constantly to prevent lumps and ensure an even coat.
Dipping the pretzels in a single, swift motion helps create a clean, uniform finish. Once coated, place the pretzels on parchment paper and let them set at room temperature. Avoid refrigeration, which can cause streaks.
For flavor pairing, consider adding a pinch of sea salt or a dash of vanilla to amplify taste. When it’s time to package, use clear cellophane bags or decorative boxes to showcase your work and keep the pretzels fresh.
Incorporating these tips will give you beautifully coated pretzels with a glossy finish, ready for gifting or sharing.
Troubleshooting Common Chocolate Pretzel Problems
Even with careful technique, you might run into common issues when making chocolate-covered pretzels. One problem is the chocolate not sticking well, which can happen if the pretzels are greasy or moist. To fix this, make sure the pretzels are completely dry and at room temperature before dipping.
Second, chocolate can seize or get lumpy if it’s overheated or if water splashes into it. Melt candy melts gently in short bursts, and avoid any water contact. This helps keep the chocolate smooth and glossy.
Third, the coating might crack or break if the pretzels are too cold or if you handle them too much after dipping. To prevent this, let the chocolate set fully at room temperature, and handle the pretzels carefully. Also, choose quality ingredients that melt smoothly and hold their shape.
Creative Ideas for Custom Pretzel Rods for Parties and Gifts
Adding a personal touch to your pretzel rods can make them perfect for parties or gifts. Start by choosing a variety of pretzel flavors, like classic salted, honey mustard, or spicy jalapeño, to suit different tastes.
When it comes to candy melts, go for colorful, themed options such as pastel shades for Easter or bold hues for birthdays. You can dip your pretzels in different melts and decorate with sprinkles, edible glitter, or even write messages with icing.
Try layering flavors or creating patterns to make each pretzel unique. For a festive look, add small candies or nuts before the melts set. These personalized pretzel rods not only taste great but also look appealing, making them perfect party favors or thoughtful gifts for friends and family.
How to Store and Serve Your Homemade Pretzel Treats
Once you’ve made your customized pretzel rods, the next step is to store and serve them properly to keep them fresh and tasty. Proper storage tips will help your treats stay crisp and flavorful.
Store pretzel rods in an airtight container to keep them fresh and flavorful.
If you plan to enjoy the pretzels within a few days, keep them in an airtight container at room temperature. For longer storage, place them in an airtight container and refrigerate to prevent melting or spoilage.
When serving, try placing the pretzels on a decorative platter or in small cups for easy grabbing. To make your presentation more eye-catching, add some sprinkles or edible glitter as decorative touches.
Here are some simple serving ideas:
- Serve on a colorful platter for parties.
- Arrange in clear cups as favors.
- Pair with a small dip or a drizzle of chocolate for extra flair.
Flavor Variations and Next-Level Pretzel Ideas
Looking to take your pretzel game to the next level? Why not try mixing things up with some fun flavor combos like caramel and sea salt or peanut butter and pretzels? It’s a great way to surprise your taste buds and make your treats a bit more special.
And don’t forget about presentation! Get creative by stacking, layering, or even decorating your pretzels. A little extra effort can turn a simple snack into a show-stopping dessert that everyone will love. These ideas will definitely help your pretzels stand out and wow anyone lucky enough to try them.
Unique Flavor Combinations
Experimenting with unique flavor combinations can turn your chocolate-covered pretzel rods from simple snacks into impressive desserts. Trying out different pairings creates memorable taste experiences.
Incorporate contrasting textures, like crunchy pretzels with smooth chocolate or chewy add-ins, to add depth.
Here are some ideas to elevate your pretzel rods:
- Dark chocolate with sea salt and crushed pistachios offers a perfect balance of bitterness, salty crunch, and nutty flavor.
- White chocolate with dried cranberries and toasted coconut provides sweetness along with tartness and chewy, crispy textures.
- Milk chocolate with caramel bits and crushed pretzels combines creamy richness with crunchy bites and chewy caramel.
These combinations highlight flavor pairing and texture contrast, making each pretzel rod a delightful treat.
Creative Pretzel Presentations
Creative pretzel presentations can turn your treats from simple snacks into eye-catching desserts that impress. You can elevate your pretzels with fun shapes or themed sculptures, making them more than just a snack.
Use edible decorations like sprinkles, drizzles, or colored melting wafers to add vibrant details. For a standout display, create intricate designs or mini scenes right on the pretzels for a more artistic look.
Try layering flavors or using contrasting colors to add visual interest. You could even craft mini pretzel sculptures as edible art pieces, perfect for parties or gift boxes.
These next-level ideas transform your chocolate-covered pretzels into memorable treats that showcase your creativity and wow your guests.
Frequently Asked Questions
How Long Do Homemade Chocolate-Covered Pretzel Rods Stay Fresh?
Homemade chocolate-covered pretzel rods usually stay fresh for about 2 weeks if you store them properly.
To keep them fresh longer, put your pretzels in an airtight container. Store them in a cool, dry place away from direct sunlight.
Good storage helps keep the pretzels crispy and the chocolate coating looking great.
This way, they stay tasty and fresh for as long as possible.
Can I Use Alternative Coating Options Besides Candy Melts?
You can definitely use alternative coatings besides candy melts; in fact, many bakers like to experiment with different options.
Chocolate is a popular choice, but you can also try white chocolate, almond bark, or even chocolate chips. These all work well and can add a tasty twist.
Just melt them carefully and dip your pretzels for a delicious treat that’s both customizable and fun to make.
What’s the Best Way to Prevent the Chocolate From Cracking?
To prevent cracking in your chocolate, you should temper your chocolate or candy melt alternatives properly. Tempering helps create a smooth, stable coating that resists cracking as it cools.
If you’re using candy melt alternatives, choose brands that are formulated for easy melting and setting. Make sure to melt slowly and evenly, avoiding overworking the coating.
Let it set at room temperature or in a cool, dry place for the best results.
Are There Vegan or Gluten-Free Options for Candy Melts?
Imagine dipping your pretzels into a smooth, vibrant coating—yes, vegan alternatives and gluten-free options exist! You can find vegan candy melts made from coconut oil or cocoa butter, offering rich flavor without dairy.
For gluten-free options, look for brands that specify they’re free from wheat and gluten. These alternatives let you create delicious, allergy-friendly treats that everyone can enjoy without sacrificing taste or texture.
How Can I Make Pretzel Rods More Flavorful Using Fillings or Dips?
To make pretzel rods more flavorful, try adding fillings like peanut butter, caramel, or cream cheese inside or as a dip. These fillings add a delicious surprise in every bite.
You can also explore flavor combos like salty-sweet with chocolate and sea salt, or spicy with a touch of cayenne for a kick. It’s all about mixing and matching to suit your taste.
Dipping your pretzels in flavored melts or drizzling them with colorful icing can boost both the flavor and the look. These simple tweaks turn plain pretzels into irresistible treats.
Conclusion
Now that you’ve mastered making chocolate-covered pretzel rods, you can enjoy the simple joy of creating something delicious and beautiful. The process might get a little messy at times, but those glossy, perfect pretzels make every sticky finger worth it.
Embrace the chaos, get creative with toppings, and share your tasty creations. Homemade treats like these are all about having fun and making something special with love.
After all, the sweetest moments often come from imperfect, homemade chocolate-covered pretzel rods you craft yourself. Enjoy the process and the tasty results!