8 Simple Steps to Make Molded Chocolate Candy
Many people dream of creating beautiful, homemade chocolate candies but feel overwhelmed by the process. You’re not alone—making molded chocolate treats can seem tricky at first.
Luckily, with a few simple steps, you can craft stunning chocolates right at home.
To make molded chocolate candy, start by gathering high-quality ingredients and choosing clean, flexible silicone molds. Carefully melt and temper your chocolate to get a glossy, snap-ready finish. Fill the molds smoothly with a piping bag or spoon, then tap to release air bubbles.
Chill until firm, then carefully unmold. Finish with creative decorations for a professional look.
If you want to perfect each step, you’ll find helpful tips as you investigate the entire process.
Key Takeaways
- Gather high-quality chocolate, clean silicone molds, and the necessary tools before you start.
- Melt and temper the chocolate to get that shiny, firm finish.
- Pour or pipe the chocolate into the molds, tapping gently to remove air bubbles.
- Chill in the refrigerator until the chocolate is set and firm.
- Carefully unmold the chocolates, then add any decorations or finishing touches you like.
Gather Ingredients and Tools for Molded Chocolate
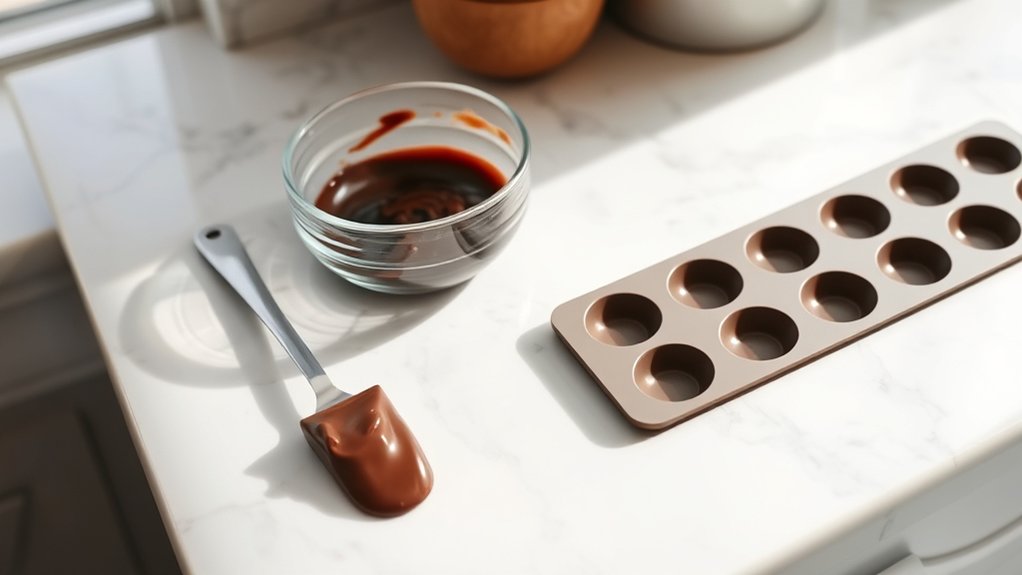
Before you start molding your chocolate, it’s important to gather all the ingredients and tools you’ll need. First, pick out your mold—silicone molds are a popular choice because they’re flexible and easy to work with. Make sure the molds are clean and dry before you use them.
For ingredients, you’ll want good-quality chocolate. Melt it carefully using a microwave or double boiler. Remember to store your chocolate in a cool, dry place away from sunlight to keep it fresh. Have a spatula ready for stirring as you melt.
You’ll also need a piping bag or a small spoon to fill the molds precisely. Keep paper towels nearby for quick cleanup. Gathering everything upfront makes the process smoother and helps prevent interruptions.
Choosing the right mold and storing your chocolate properly will help you achieve smooth, professional-looking molded candies.
Choose the Best Chocolate for Molded Candy
Choosing the right chocolate is key to making beautiful, smooth molded candies. The best chocolate depends on the flavor and texture you want.
For a rich, deep chocolate flavor, go for couverture chocolate. It melts smoothly and gives a glossy finish that really stands out.
Milk chocolate is sweeter and creamier, making it perfect for a softer, lighter treat. It’s great if you want a milder, more approachable flavor.
Dark chocolate has a bold, intense flavor with a firmer texture. It’s ideal for more sophisticated candies that pack a punch.
White chocolate offers a creamy, mellow flavor with a smooth, velvety feel. It’s perfect for a subtle sweetness and a delicate look.
Use this chart as your guide:
| Chocolate Type | Flavor Profile | Texture |
|---|---|---|
| Couverture | Rich, deep chocolate | Smooth, glossy |
| Milk | Sweet, creamy | Soft, melt-in-mouth |
| Dark | Intense, bittersweet | Firm, dense |
| White | Mild, vanilla notes | Velvety, creamy |
Choose your chocolate based on your preferred flavor and texture to make sure your candies turn out just right.
Prepare and Clean Your Molds Properly
When it comes to cleaning your molds, it’s best to pick gentle supplies like mild soap and warm water. You want to make sure you’re not using anything too harsh that could damage the molds. After washing, give them a good rinse to get rid of any soap residue.
And don’t forget to dry them completely before you start filling with chocolate. A thorough dry helps prevent sticking or any unwanted imperfections in your treats. Taking these simple steps will keep your molds in great shape for all your sweet creations!
Choose Appropriate Cleaning Supplies
Selecting the right cleaning supplies is essential to guarantee your molds are thoroughly sanitized and ready for your chocolate work. Using appropriate cleaning routines helps prevent residue buildup and keeps the molds in good condition.
Opt for mild dish soap and warm water, which effectively remove oils and debris without damaging the mold material. Avoid harsh chemicals that could harm the mold’s surface or impact the flavor of your chocolates.
When cleaning, focus on the crevices and details of the molds. Use soft brushes or cloths to reach tight spots and ensure a thorough clean. Rinse thoroughly and make sure no soap remains.
Following these tips and using the right supplies will keep your molds clean, safe, and ready for consistent, high-quality chocolate creations.
Ensure Complete Drying
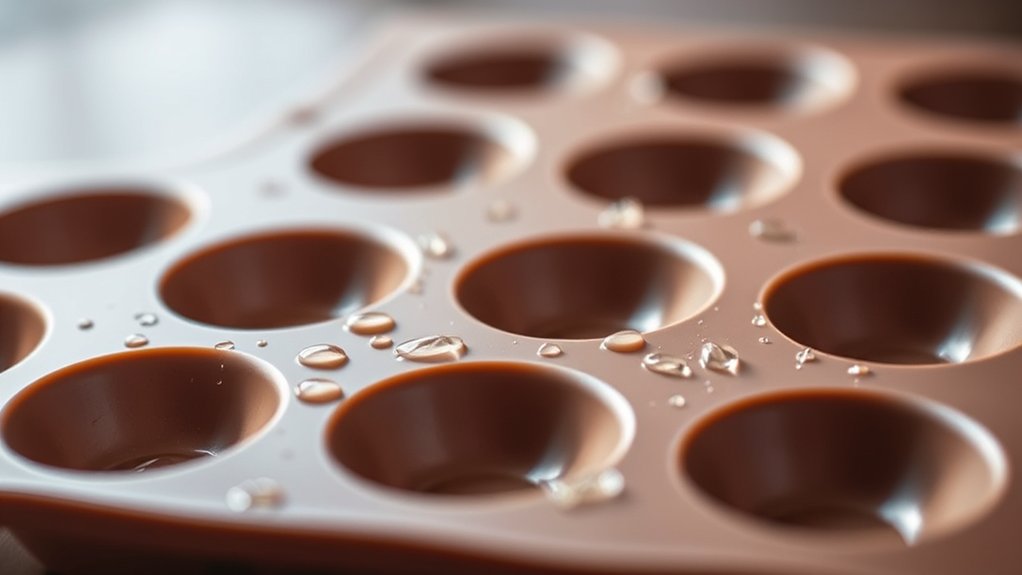
Have you ever noticed how moisture can ruin your molded chocolates? Making sure your molds are completely dry is crucial to prevent dampness and keep your candies looking perfect.
After cleaning, dry each mold thoroughly with a lint-free towel or let them air dry in a well-ventilated space. Moisture control is key; even a tiny bit of dampness can cause imperfections in your chocolates.
Don’t rush the drying process, especially in humid conditions. Humidity can leave mold surfaces moist, leading to sticking or bloom issues.
Check that all crevices are dry before pouring in your chocolate. Proper drying helps ensure your chocolates release smoothly and gives them a professional finish.
Melt and Temper Chocolate for Shine and Snap
To get that shiny, professional look and that satisfying snap in your molded chocolates, you need to melt and temper the chocolate properly. Good tempering not only makes the chocolate taste better but also helps it set with a gorgeous finish.
Here’s a quick guide to help you out:
- Choose the Right Chocolate: Use good-quality chocolate that’s suitable for molding, and consider your mold material.
- Melt Carefully: Use a double boiler or microwave, and heat in short bursts to avoid overheating.
- Temper the Chocolate: Cool the melted chocolate on a marble surface or with a tempering machine until it hits the right temperature.
- Test for Shine: Dip a spoon—if it’s shiny and snaps when broken, your chocolate is perfectly tempered.
Mastering this process means your chocolates will look professional, taste rich, and have that perfect crunch when you bite into them. Proper melting and tempering are the secrets to perfect molded chocolates.
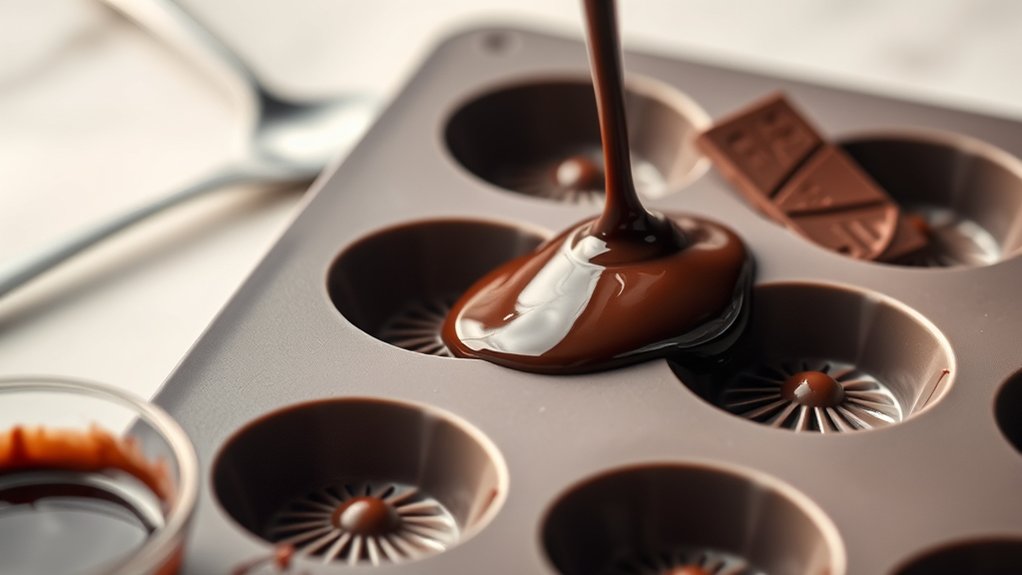
Fill the Molds Without Making a Mess
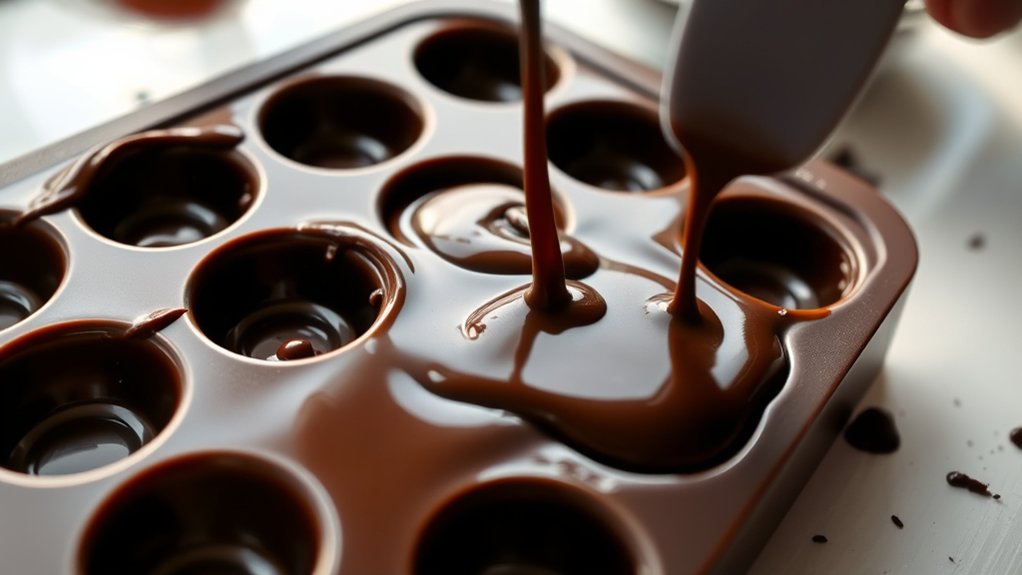
Filling your molds carefully is key to getting clean, professional-looking chocolates without making a mess. Using the right filling techniques helps you avoid overflows and air bubbles.
Start by using a piping bag or a small spoon to control the flow. Fill each cavity about three-quarters full, then gently tap the mold to release trapped air and settle the chocolate.
| Filling Technique | Mold Filling Tips |
|---|---|
| Use a piping bag for precision | Fill slowly to prevent spills |
| Tap mold after filling | Keep your workspace clean and dry |
| Avoid overfilling | Use a spatula to level if needed |
| Work in small batches | Clean around edges immediately |
Stick to these mold filling tips, and you’ll keep your workspace tidy while ensuring your chocolates turn out perfect and professional-looking.
Cool and Unmold Your Chocolates Perfectly
Wondering how to get that shiny, professional look on your chocolates? The secret is in proper chilling techniques and keeping your molds in good shape. Cooling the chocolates correctly helps them come out smoothly and look flawless.
Here are four easy tips:
- Put your molds in the fridge, not the freezer, to avoid sudden temperature shifts.
- Chill until the chocolates are firm but not too cold, about 10-15 minutes.
- Don’t open the fridge too often to keep the temperature steady.
- Gently tap the mold to get rid of air bubbles and smooth out the surface.
If you follow these steps, your chocolates will cool evenly and won’t crack or look dull. When they’re ready, carefully unmold by gently flexing the silicone or tapping on a soft surface.
Storing your molds properly in a cool, dry place keeps the shine intact and prevents melting or sticking. Use these techniques and your chocolates will turn out shiny, perfect, and ready to impress!
Decorate and Add Creative Touches to Your Chocolates
Now that your chocolates are all molded and cooled, it’s the fun part—adding your personal touch! You can get creative with edible decorations like sprinkles, gold leaf, or tiny edible flowers to make each piece pop. Don’t be afraid to experiment with different color techniques, such as painting with edible luster dust or creating marbled effects.
And if you want to add some interesting textures, try piping on decorative designs or using textured tools to create patterns on the surface. These little touches will really make your chocolates look professional and totally unique. Have fun with it and let your personality shine through in every piece!
Use Edible Decorations
Adding edible decorations is a fantastic way to give your molded chocolates a professional and personalized touch. You can easily enhance their appearance and make them more appealing with simple additions.
Consider using edible glitter to add a shimmering effect that catches the light and adds elegance. Candy sprinkles are great for a fun, colorful splash that creates a playful vibe.
Gold or silver leaf can give your chocolates a luxurious, sophisticated look. Tiny edible flowers introduce natural beauty and delicate details.
These decorations are easy to apply—just sprinkle or lightly press them onto your chocolates before they set. Using edible glitter and candy sprinkles lets you customize your chocolates for any occasion, making your treats truly stand out.
Incorporate Color Techniques
Once you’ve added edible decorations, enhancing your chocolates with color techniques can really make them pop. Start by experimenting with color blending to create smooth transitions between shades, which adds depth and interest.
Use fine brushes or toothpicks to carefully blend colors on the surface, giving your chocolates a marbled or gradient look. Layer colors intentionally, letting each dry slightly before adding the next to achieve vibrant, layered effects that add dimension.
You can also dip or drizzle chocolates with contrasting hues for bold accents. Keep your palette simple for a more sophisticated vibe, or go bold with multiple colors for a playful, eye-catching design. These techniques turn your chocolates into stunning treats.
Experiment With Textures
Have you ever thought about how textures can boost your chocolate designs? Textural contrasts add visual interest and delight the senses.
To experiment with textures, try using embossed molds for intricate patterns and raised designs. Incorporate fillings like crunchy nuts or chewy caramel for surprising bites.
Add edible metallic or glitter accents for a shimmering surface. Garnish with toppings like toasted coconut or crushed cookies for varied textures.
Mixing smooth chocolate with rough or bumpy elements creates dynamic visual and tactile experiences. Playing with textures turns simple molds into artful confections.
Keep exploring different techniques to develop unique, memorable chocolates that captivate both the eyes and palate.
Troubleshoot Common Molded Chocolate Issues
Are you having trouble with your molded chocolates not turning out quite right? Common issues include chocolates sticking to the mold or getting a dull finish. To fix this, make sure you’re using the right mold release techniques. A light coat of vegetable oil or cocoa butter can help prevent sticking.
Check your chocolate consistency too. If it’s too thick, it won’t flow smoothly into the mold. If it’s too thin, it might not hold its shape well. Here’s a quick troubleshooting guide:
| Issue | Solution | Tip |
|---|---|---|
| Chocolate sticks in mold | Apply mold release evenly | Use a soft brush for even coating |
| Dull or rough surface | Adjust chocolate consistency, temper properly | Proper tempering gives a shine |
| Bubbles or cracks | Tap mold gently, avoid overfilling | Use a toothpick to pop bubbles |
This will help ensure your chocolates come out looking perfect every time.
Frequently Asked Questions
How Long Does It Take for Molded Chocolates to Fully Set?
Molded chocolates usually take about 20 to 30 minutes to fully set if you’ve tempered the chocolate properly and used a good mold release.
To speed things up, you can pop them in the refrigerator for 10-15 minutes. Proper tempering gives your chocolates that shiny finish and satisfying snap, while a mold release helps prevent sticking.
Avoid rushing the process—patience pays off with a smooth, professional look for your chocolates.
Can I Use Silicone Molds for Hot or Cold Storage?
Using silicone molds for hot or cold storage isn’t ideal, just like trying to store a floppy disk in the cloud. Silicone molds are meant to handle freezing or room temperatures, but they aren’t designed for long-term storage of chocolates or other foods.
Silicone safety guarantees your chocolates stay safe from chemicals, but keep the molds out of the fridge or freezer for extended periods. This helps prevent warping or damage to the molds over time.
What Are Tips for Making Chocolates With Intricate Designs?
To create chocolates with intricate designs, start with proper mold preparation. Make sure to thoroughly clean and lightly grease the molds to help the chocolates release easily.
Use decorating techniques like piping or dusting with cocoa powder to add extra detail and depth to your designs. Working with tempered chocolate is essential for sharp, clean lines.
Pour the chocolate carefully into the molds to avoid trapping air bubbles. Patience is key—let the chocolates set completely before demolding to keep the detailed patterns intact.
Allowing the chocolates to fully set helps preserve the intricate designs and gives you a professional finish.
How Do I Prevent Air Bubbles in My Molded Chocolates?
Imagine tiny bubbles as unwanted guests ruining your chocolate masterpiece. To prevent air bubbles, make sure your chocolate is properly tempered for a smooth, glossy finish. This helps it flow evenly into the molds without trapping air.
After pouring, tap or gently shake the mold to release any trapped air bubbles. Using a mold release spray can also help create a clean surface, reducing bubbles and making it easier to unmold flawless chocolates.
Patience and attention to detail are key. With these steps, you’ll turn out perfect, bubble-free chocolates every time.
Is It Safe to Reuse Plastic Molds for Food?
Yes, you can reuse plastic molds for food if you make sure to clean them properly. Always wash them thoroughly with warm, soapy water and sanitize with a food-safe disinfectant before using again.
Check for cracks or damage, as broken molds can harbor bacteria. Proper cleaning and inspection help prevent contamination, making reuse safe.
If you’re unsure, choose molds labeled as food-grade. That way, you can be confident they’re safe and durable for your chocolate creations.
Conclusion
Now that you’ve mastered these steps, your chocolates will shine brighter than a starry night. Think of each molded piece as a tiny masterpiece, bursting with your creativity and effort.
With patience and practice, your candy will tell a sweet story, enchanting everyone who tastes it. So, embrace the process, experiment with flavors and decorations, and let your chocolate creations dance on the palate like a symphony of flavor and artistry.
Remember, perfecting your molded chocolate treats takes time. Keep practicing, and soon your chocolates will become the star of any occasion.