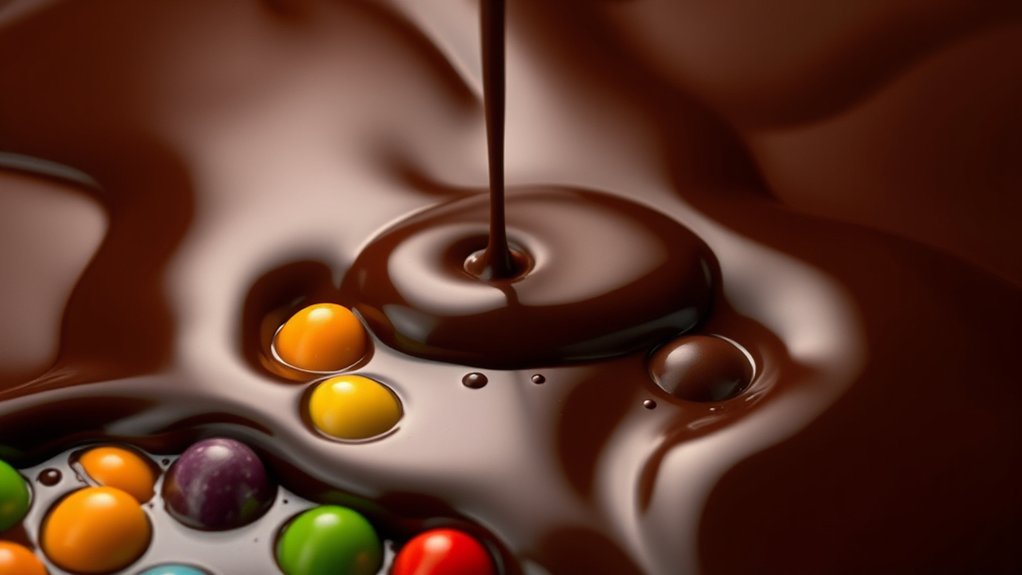
How to Make Perfect Chocolate Coating for Candy
Many people struggle with creating that perfect, shiny chocolate coating for their candies. It can be frustrating to get the right texture and finish without it streaking or blooming. If you’re aiming for a smooth, glossy shell, you’re not alone—this is a common challenge in candy making.
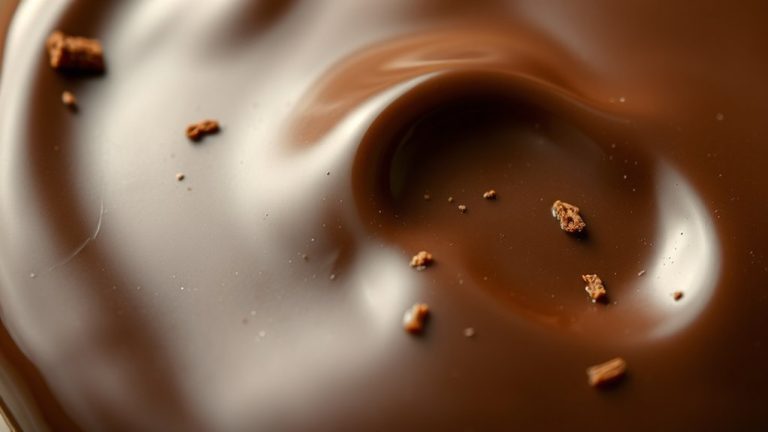
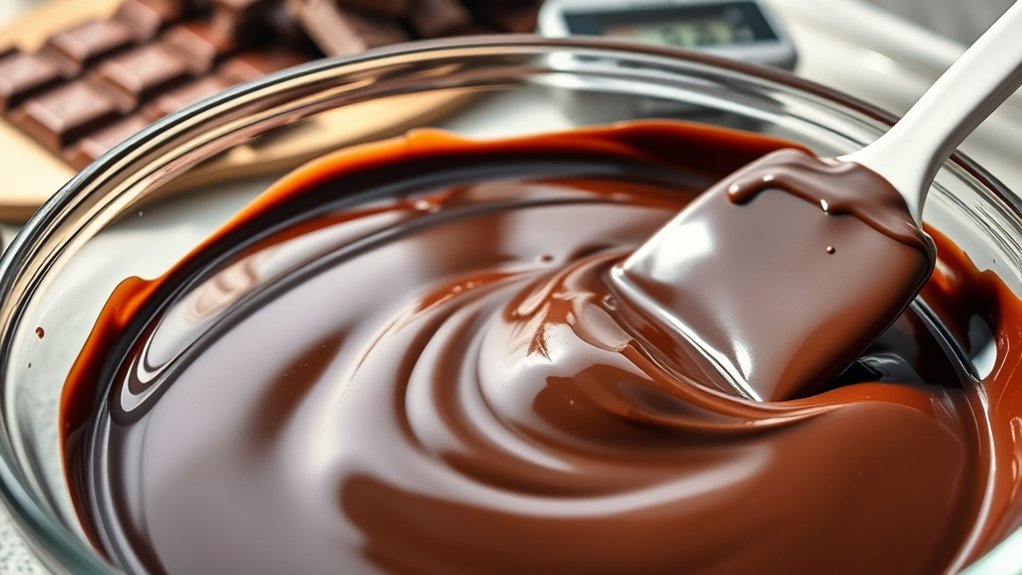
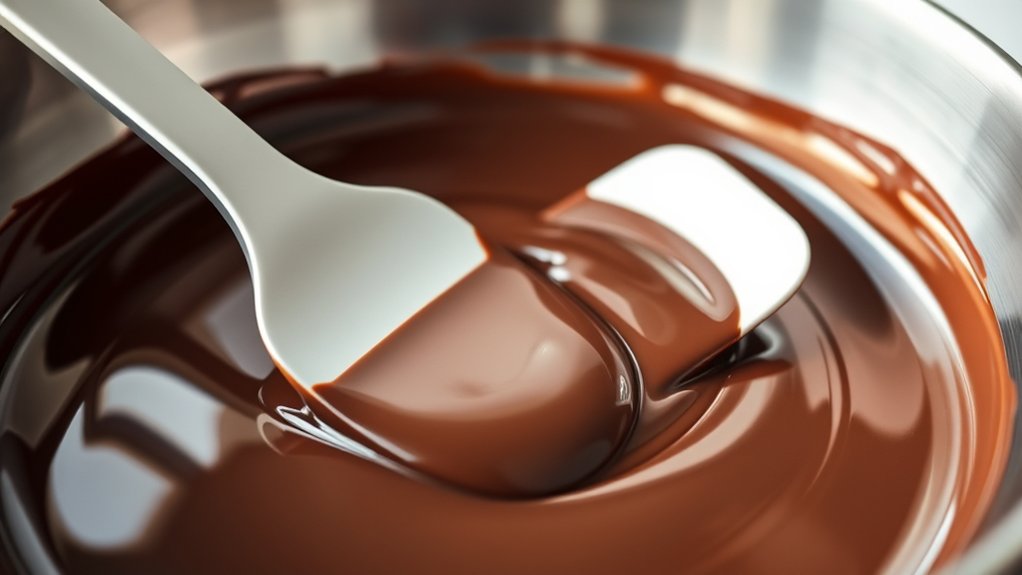
To make perfect chocolate coating for candy, start by choosing high-quality chocolate with plenty of cocoa butter for a shiny finish. Melt it gently using a double boiler or microwave, stirring constantly to prevent burning or seizing.
Temper the chocolate to the right temperature for a smooth, glossy shell. This ensures the coating is at the right consistency for dipping or pouring.
Carefully apply the coating, then cool in a stable environment to avoid streaks or blooms. Keep exploring to learn even more tips and tricks.
Key Takeaways
- Use high-quality, properly tempered chocolate for a glossy, smooth coating that flows easily and sets firmly.
- Melt chocolate gently with a double boiler or microwave, stirring constantly to prevent burning or seizing.
- Keep a close eye on the temperature during melting and cooling to ensure the perfect consistency and avoid bloom.
- Dip candies slowly and evenly, tapping off excess chocolate to prevent drips and get a nice, uniform shell.
- Store your coated candies in a cool, dry place to keep the shine, prevent blooming, and get that professional look.
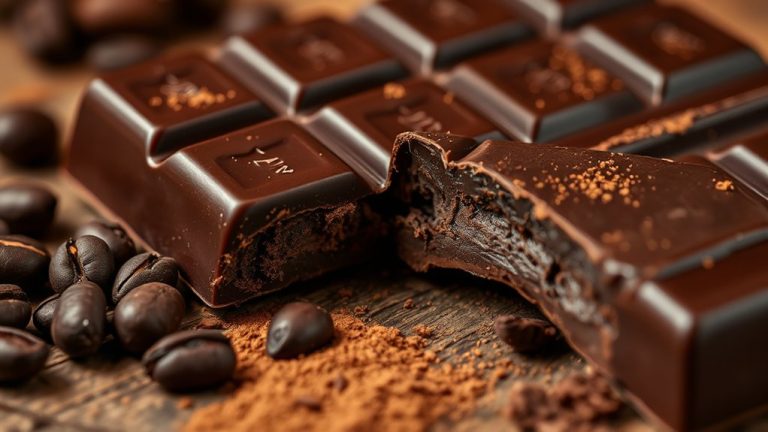
How to Choose the Best Chocolate for Candy Coating
Choosing the right chocolate is essential for achieving a smooth, glossy coating on your candies. You want to select chocolate that melts evenly and creates a professional finish.
Consider flavor combinations when picking your chocolate; dark, milk, and white chocolates each bring distinct tastes that can complement or contrast your candies.
For a richer flavor, opt for high-quality couvertures or baking chocolates designed for coating. These chocolates typically have a higher cocoa butter content, ensuring a smooth, shiny finish.
Packaging ideas also matter—you can choose chocolates in bars, discs, or chips, which influence how easily they melt and coat your candies.
If you plan to add flavorings or fillings later, pick a chocolate that pairs well with those ingredients to *boost* taste.
The right chocolate not only improves appearance but also *heightens* the overall flavor profile of your candies, making them more appealing and delicious.
Preparing Ingredients and Equipment for a Smooth Finish
To get a smooth, shiny chocolate coating, start with properly prepared ingredients and clean equipment. Use fresh chocolate for even melting and keep moisture out, as it can cause streaks.
Make sure your tools—spoons, spatulas, and bowls—are spotless and dry to prevent seizing. Consider adding flavor pairings like sea salt or spices to enhance the taste.
Plan your packaging options early to protect your finished candies. Proper prep helps ensure a flawless finish, making your candies both beautiful and delicious.
| Ingredient / Equipment | Preparation Tips |
|---|---|
| Chocolate | Chop into uniform pieces for even melting |
| Double boiler or microwave | Use gentle heat to avoid burning |
| Thermometer | Keep an eye on temperature for smoothness |
| Spatula | Use silicone or rubber for easy mixing |
| Storage containers | Airtight and moisture-free to keep quality |
Taking the time to prepare properly makes all the difference in your final product.
How to Temper Chocolate for a Glossy, Professional Look
Want that beautiful, glossy shine on your chocolate? The key is to control the temperature carefully while tempering. When you melt and cool the chocolate just right, it develops the perfect structure and that professional-looking sheen we all love.
Just remember, sticking to consistent melting techniques makes all the difference. It helps your chocolate stay smooth, shiny, and ready for that polished finish. With a little practice, you’ll be creating candy that looks as good as it tastes!
Proper Temperature Control
Achieving a glossy, professional look in your candy coating depends on precise temperature control during tempering. When you control the heat properly, the chocolate sets with a smooth, shiny finish—perfect for appealing flavors and attractive packaging tips.
To keep the temperature just right, use a reliable thermometer to monitor your chocolate as it melts and cools. This helps you avoid overheating or underheating.
Make sure to keep the chocolate within the ideal temperature range for your type—around 88–90°F for dark, 86–88°F for milk, and 84–86°F for white chocolate. Staying in these ranges is key.
Stir consistently to distribute heat evenly. This prevents hotspots that can cause dullness or bloom, ensuring your chocolate looks and tastes perfect.
Consistent Melting Techniques
Consistent melting is key for a smooth, glossy chocolate coating, and getting this right guarantees professional results every time.
To do this, melt your chocolate gently using a double boiler or microwave in short bursts, stirring constantly to prevent overheating.
Proper tempering helps the chocolate stay stable, which boosts flavor pairing and gives your candies a polished look.
Keep the temperature steady, avoiding fluctuations that can cause streaks or dullness.
Once melted, pour the chocolate onto a cool surface to cool slightly before working with it.
For packaging, use airtight containers to keep the shine and prevent moisture absorption.
Following these melting techniques makes your coating glossy, flavorful, and visually appealing, taking your homemade candies to the next level.
How to Melt Chocolate Without Burning or Seizing
When you’re melting chocolate, it’s best to keep the heat low and take your time. Rushing the process can easily lead to burning or seizing up the chocolate, so patience is key.
And don’t forget to stir it constantly! This helps it melt evenly and prevents any spots from getting too hot and burning. Oh, and a quick tip—make sure no water gets into the chocolate. Even a tiny drop can cause it to seize up and turn lumpy, which nobody wants!
Use Low Heat Settings
Melting chocolate with low heat is key to avoiding burning or seizing, which can ruin that smooth texture you want. Using gentle heat keeps the chocolate’s flavor intact and gives you that silky finish.
When you heat slowly, you stay in control and help the chocolate melt evenly. Picture this: a double boiler softly warming with steam swirling around the bowl, or a microwave on low, pulsing to melt chunks evenly.
It’s also smart to keep an eye on the temperature with a thermometer, so you don’t get any sudden heat spikes. These methods make sure your chocolate melts smoothly and brings out its full flavor.
Low heat helps you get the right texture, giving your coating a shiny, luxurious look. Patience and gentle heating keep your chocolate luscious, prevent seizing or burning, and make for a perfect coating every time.
Stir Constantly During Melting
As you gently heat your chocolate, keep it moving with constant stirring to prevent hot spots from forming. This steady motion helps ensure even melting and reduces the chance of burning or seizing.
Stirring also keeps the chocolate smooth and glossy, which is key for professional-looking coatings. While working, think about flavor combos—adding a pinch of spice or extract can really enhance your treats.
Consistent stirring makes it easier to control the temperature, giving you a perfect finish for your chocolates. Once melted, you can use your smooth coating for dipping or drizzling without worrying about uneven texture.
Regular stirring helps keep the chocolate fluid, making it easier to work with during decorating or coating. In the end, this leads to a polished, delicious result.
Avoid Water Contact
Water is one of the main enemies when melting chocolate, so always keep it away from your ingredients. Water contamination can cause your chocolate to seize, making it lumpy and unworkable.
To avoid this, follow these steps for humidity control:
- Use a dry, clean bowl and utensils, making sure no water droplets are present.
- Keep the melting area dry and avoid steam or humid environments that could introduce moisture.
- When melting over a double boiler, ensure the water doesn’t touch the chocolate and that the bowl stays dry throughout.
Achieving the Perfect Consistency for Dipping and Pouring
To get the perfect consistency for dipping and pouring, focus on controlling the temperature and texture of your chocolate. Tempered chocolate should flow smoothly but not be too thick or runny.
Use a thermometer to keep your chocolate between 88°F and 90°F for dark chocolate, or 86°F and 88°F for milk and white chocolates. Stir gently to mix in flavor infusions evenly without disrupting the smooth texture.
When your chocolate is ready, use proper packaging techniques to keep it consistent during storage or transfer. Visualize your chocolate as:
| Texture & Temperature | Visual Effect |
|---|---|
| Thick but pourable | Coats evenly, no drips |
| Smooth and glossy | Reflects light, appealing sheen |
| Slightly cooled | Holds shape without cracking |
Mastering these steps guarantees your coating will be ideal for dipping and pouring, with a velvety finish every time.
Tips to Prevent Cracks and Blooming in Your Chocolate Coating

Cracks and blooming are common issues that can ruin the smooth finish of your chocolate coating, but you can prevent them with proper techniques. To avoid cracks, keep a stable temperature by properly tempering your chocolate. Rapid temperature changes cause stress, leading to cracks.
Prevent cracks and blooming by tempering chocolate carefully and maintaining proper storage conditions.
For blooming, it’s important to prevent moisture exposure and avoid overheating. Sugar or fat bloom creates a dull, white surface that ruins the appearance. Here are three tips to help:
- Temper your chocolate carefully, ensuring it cools slowly for a glossy, crack-free finish.
- Store in a cool, dry place away from humidity, which helps prevent moisture from causing bloom.
- Choose complementary flavor combinations that balance richness, so you don’t need to coat with too much chocolate.
Additionally, use packaging ideas that protect your candies from temperature fluctuations. This helps preserve your coating’s flawless look and flavor. Proper handling and storage keep your chocolates looking professional and tasting delicious.
How to Apply an Even, Smooth Chocolate Shell
Achieving a smooth, even chocolate shell requires careful technique and attention to detail. Make sure your chocolate is tempered properly, which helps it flow smoothly and set without streaks.
Dip your candies slowly, rotating them gently to coat all sides evenly. Use a fork or dipping tool to lift the candy out, letting excess chocolate drip back into the bowl. This prevents thick, uneven layers.
For a polished finish, gently tap the candy on the edge of the bowl to remove any drips. When applying the chocolate, think about flavor pairings, like dark, milk, or white chocolate with complementary fillings or toppings.
Once coated, place candies on a parchment-lined tray for an even set. Consider packaging ideas that highlight your craftsmanship, like clear boxes or decorative wraps, to make your confections irresistible.
Troubleshooting Common Issues in Chocolate Coating
Having trouble with your chocolate coating not setting quite right? It’s usually due to temperature problems during tempering or cooling. The key is to keep the chocolate within the right temperature range and cool it properly. If you don’t, you might end up with streaks or that unappealing white bloom on the surface. Let’s take a look at how you can troubleshoot these common issues and get your chocolate looking perfect.
Tempering Temperature Troubles
When your chocolate coating doesn’t set properly or looks dull, temperature issues during tempering are usually the culprit. Make sure you’re keeping the right temperature range for the type of chocolate you’re using.
If the chocolate gets too hot, it can lose its shine and flavor, turning dull and soft. On the other hand, if it’s not warm enough, it won’t melt smoothly, leading to uneven texture and poor sticking to your candies.
Rapid cooling or uneven temperature control can cause streaks or spots, affecting the final look. Proper tempering gives you a shiny finish, smooth texture, and better packaging, making your candies look and taste even better.
Proper Cooling Techniques
Proper cooling techniques are essential to guarantee your chocolate coating sets with a glossy finish and smooth texture. When cooling, avoid sudden temperature changes that can cause streaks or dull spots, which impact the chocolate flavor and appearance.
Use a cool but not cold environment to let the chocolate set gradually. Keep an eye on temperature accuracy—cooling too fast may cause blooming, while cooling too slow can lead to uneven coating.
To prevent issues, place your coated candies on a parchment-lined tray and let them cool at room temperature or in a controlled environment. This careful approach ensures your chocolate stays rich in flavor and glossy in finish, resulting in a professional-looking, perfectly coated treat.
Creative Ideas for Decorating Your Chocolate-Covered Candies
Decorating your chocolate-covered candies is a fun way to add personality and make them really stand out. You can enhance their look with creative packaging ideas and flavor infusions.
For example, try using colorful sprinkles or edible glitter to create eye-catching designs that sparkle in the light. Drizzling contrasting chocolate or caramel in zigzag patterns can give a sophisticated touch.
Adding tiny edible flowers or chopped nuts on top not only boosts texture but also makes your treats visually appealing. These decorations also open up opportunities for creative packaging, like personalized wrappers or themed boxes.
Flavor infusion is easy—incorporate subtle hints of spices, citrus zest, or flavored extracts into the coating or toppings. With these ideas, your candies will look irresistible and taste even better, delighting friends or customers.
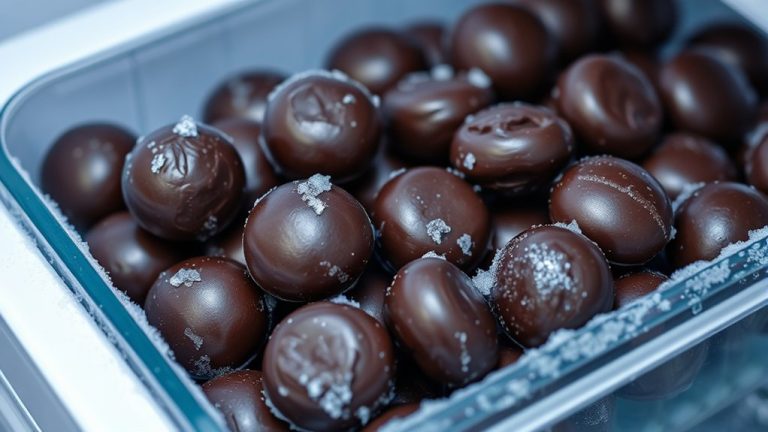
How to Store and Preserve Your Perfect Chocolate Coating
To keep your chocolate coating fresh and shiny, proper storage is key. It helps preserve its texture, flavor, and overall look.
Use airtight containers like glass jars or plastic containers with tight lids to keep out moisture and air. Store them in a cool, dark place away from sunlight and heat, which can cause blooming or melting.
If you’ve added flavors like spices or extracts, be sure to label the container so you don’t forget what’s inside. For longer storage, refrigeration is an option, but just bring it back to room temperature before using to avoid condensation.
Avoid freezing your chocolate coating, as it can change the texture and flavor. Here’s a quick overview:
| Storage Option | Benefit |
|---|---|
| Airtight glass jar | Keeps it fresh and prevents moisture |
| Plastic container | Lightweight and easy to store |
| Refrigerator | Extends shelf life, especially with flavors |
Frequently Asked Questions
How Long Does Homemade Chocolate Coating Stay Fresh?
Homemade chocolate coating usually stays fresh for about two to three weeks if you store it properly. Keep it in an airtight container and place it in a cool, dry spot away from direct sunlight.
Good storage is key to extending its shelf life. If you notice any changes in smell, texture, or appearance, it’s best to toss it out.
For longer storage, you can refrigerate or freeze it. Just keep in mind that doing so might change the coating’s texture a bit.
Can I Use Alternative Sweeteners in Chocolate Coating?
Yes, you can use alternative sweeteners like sugar substitutes and natural sweeteners in your chocolate coating. Options like stevia, erythritol, or agave syrup work well, but they might change the texture or flavor a bit.
To get the best results, try small batches first and adjust the quantities as needed. Just make sure your chosen sweetener melts smoothly and keeps the coating’s shiny, glossy look.
What Are Common Mistakes to Avoid When Tempering Chocolate?
Think of tempering chocolate as orchestrating a delicate dance—you don’t want to rush or stumble.
Avoid common mistakes like overheating, which burns the chocolate, or not stirring enough, leading to uneven consistency.
Keep the tempering process steady by controlling the temperature precisely.
If you rush or ignore these steps, your chocolate may seize or lose its shine.
Patience and precision are your best friends for creating a glossy, perfect coating.
Is It Possible to Re-Melt Chocolate Coating After It Has Cooled?
Yes, you can re-melt chocolate coating after it cools, but it’s best to do so carefully.
Store it properly to prevent moisture and flavor loss, which can affect its texture and taste. When re-melting, gently warm it to avoid burning or seizing, and stir well.
This helps preserve the chocolate’s flavor and ensures a smooth coating. Just keep in mind, re-melted chocolate may not have the same glossy finish as fresh, properly tempered chocolate.
How Do I Fix a Runny or Thick Chocolate Coating?
To fix a runny or thick chocolate coating, focus on controlling the temperature to get the right consistency. If it’s runny, gently reheat the chocolate over low heat or in short bursts in the microwave, stirring constantly.
If it’s too thick, add a small amount of vegetable oil or shortening to loosen it up. Keep stirring and watch the temperature closely to make sure your coating stays just right for dipping or drizzling.
Conclusion
Now that you’ve mastered the art of perfect chocolate coating, you realize it’s not just about the candy but about the patience and care you put into each step. Sometimes, it’s the smallest detail, like the way the chocolate glistens, that transforms a simple treat into something special.
Remember, just as chocolate needs gentle handling, so does your passion for creating. With each perfect coat, you’re not just making candy—you’re crafting moments of joy. And that’s what makes your chocolate coating truly exceptional.