5 Simple Steps to Melt Chocolate Candy Melts Perfectly
Many people struggle with melting chocolate candy melts smoothly, and you’re not alone. Achieving that perfect, glossy finish can feel tricky, especially if you’re new to baking or decorating.
To melt chocolate candy melts perfectly, start by breaking them into small, uniform pieces for even melting. Use a microwave in short bursts, stirring well between each, or melt over a double boiler for better control. Keep your workspace dry to prevent clumping, and add color gradually if needed.
Stir gently to maintain a glossy finish, and reheat only if necessary. Want to master these techniques and more? Keep exploring for expert tips.
Key Takeaways
- Break Candy Melts into small, uniform pieces for even melting.
- Melt in short microwave bursts, stirring thoroughly between each to prevent overheating.
- Use a double boiler or heat-safe bowl over simmering water for gentle, controlled melting.
- If the melts are thick or stubborn, add a small amount of vegetable oil or paramount fat.
- Stir continuously until smooth, glossy, and free of lumps for perfect consistency.
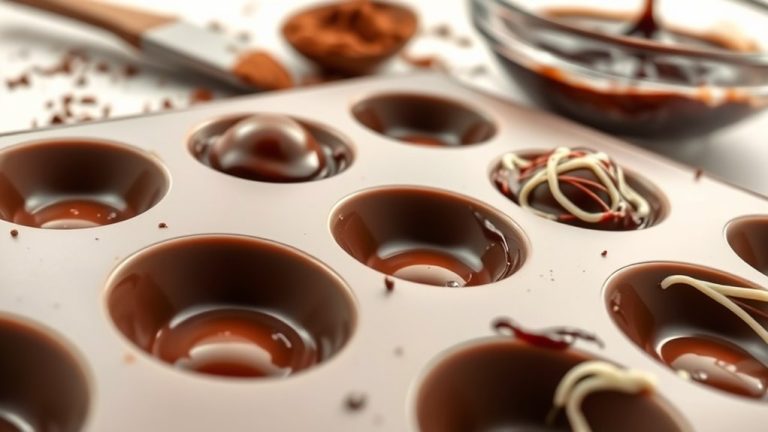
Preparing Candy Melts for Smooth Melting
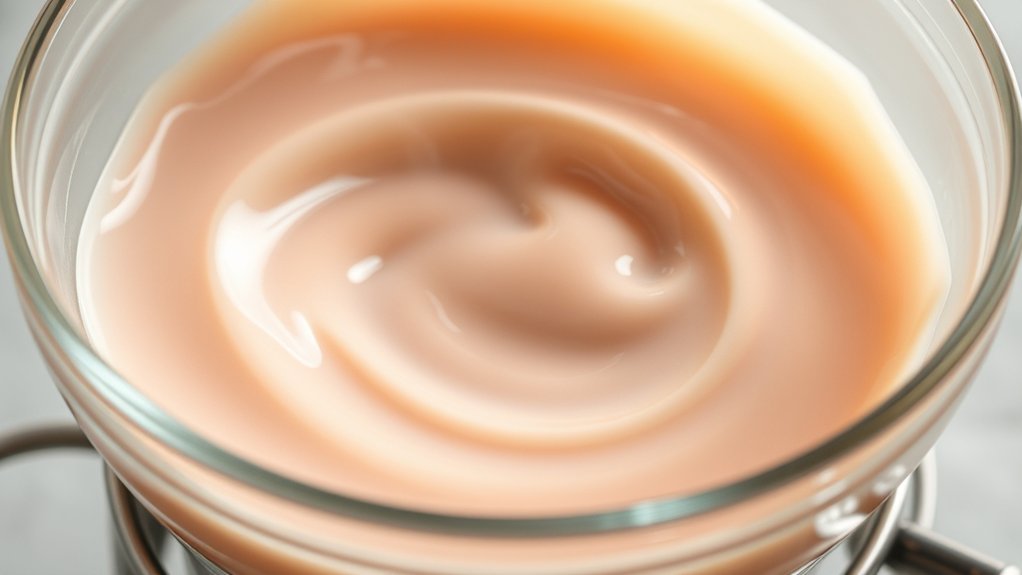
Before melting Candy Melts, you need to prepare them properly to guarantee a smooth process. First, choose your flavor combinations carefully; mixing different colors can create exciting visual effects, but verify they’re compatible to prevent clumping.
If you want vibrant hues, pick Candy Melts in shades that complement each other or match your theme. Before melting, break the candies into smaller, uniform pieces so they melt evenly. This helps avoid uneven heating and makes the process smoother.
Keep your workspace clean, dry, and free of moisture, as water can cause the melts to seize. When it’s time to color mix, do so gradually, adding small amounts of different colors and stirring thoroughly to achieve your desired shade.
Proper preparation ensures your Candy Melts melt consistently, blend beautifully, and produce a polished, professional look for your treats.
Easy Methods to Melt Candy Melts Without Clumping
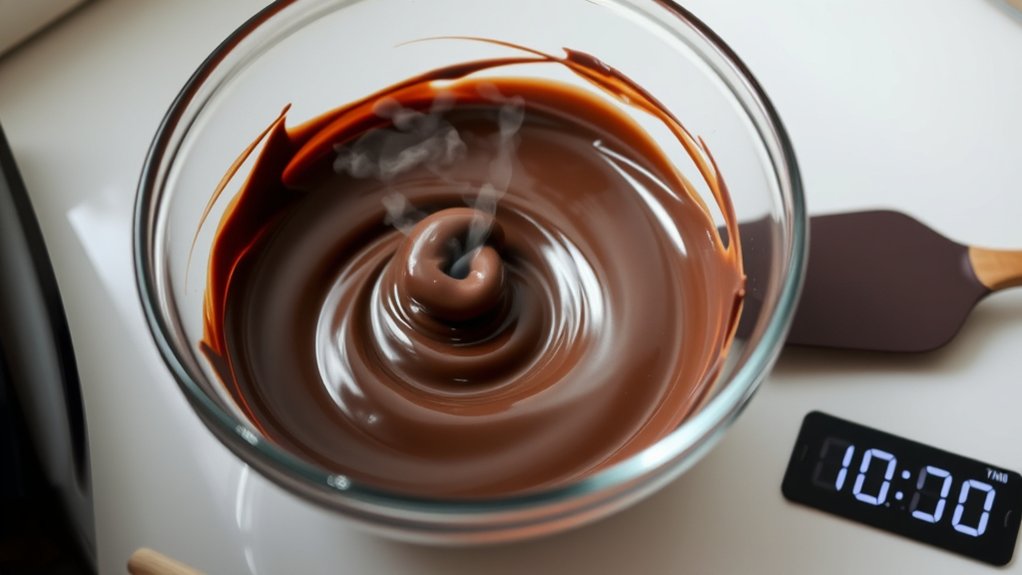
Once your Candy Melts are properly prepared, the next step is melting them smoothly without clumping. To do this, use a gentle heat source like a microwave in short bursts, stirring between each to ensure even melting.
Gently melt Candy Melts in short microwave bursts, stirring often for smooth, clump-free results.
Alternatively, melt them slowly over a double boiler, stirring constantly to prevent overheating. This method helps keep a smooth texture, which is essential for flavor infusion and decorative techniques.
As you melt, consider adding a small amount of paramount fat or vegetable oil if the candy melts seem thick. This helps prevent clumping and creates a more fluid consistency.
Proper melting makes your candies easier to work with, whether you’re customizing flavors or making intricate designs. Be patient and avoid rushing, as uneven heat can cause lumps.
With these simple methods, you’ll achieve a silky, clump-free melt perfect for all your confectionery needs.
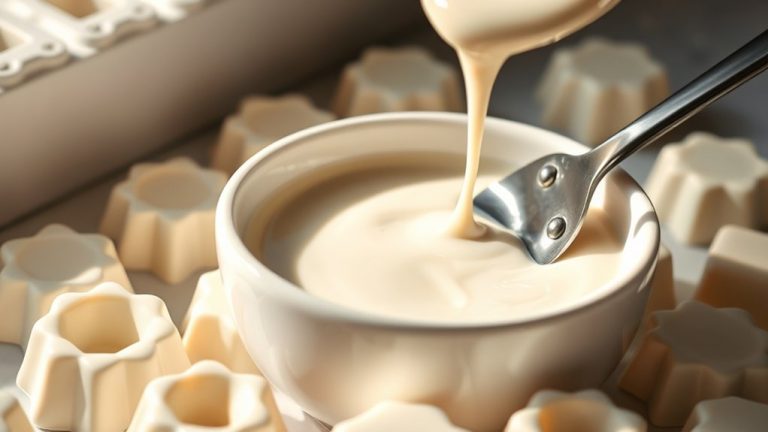
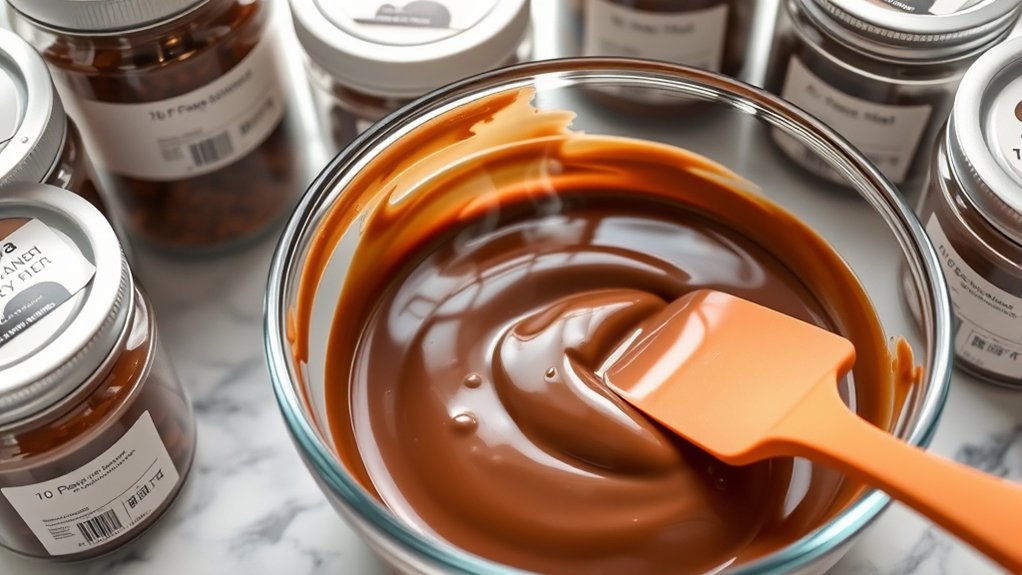
How to Get a Glossy, Smooth Finish on Your Candy Melts
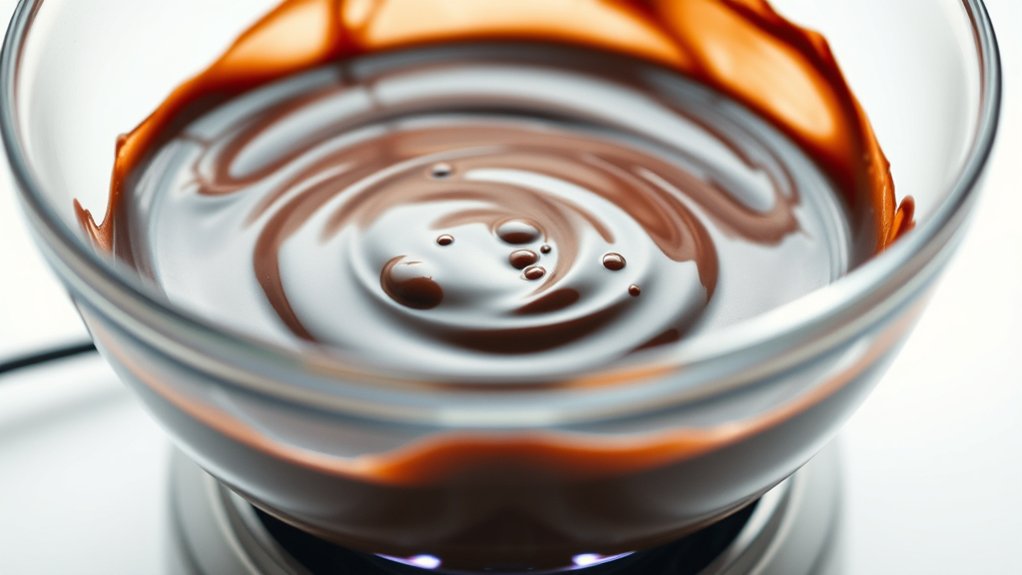
Achieving a glossy, smooth finish on your Candy Melts starts with proper melting and handling. When melted correctly, your candy will have a shiny appearance that *amplifies* its chocolate flavor and makes your decorative techniques stand out.
To get this finish, avoid overheating, which can cause dullness or a grainy texture. Instead, melt your Candy Melts slowly and stir gently until smooth. Using a heat-safe spatula helps control temperature and prevents streaks.
To *improve* the gloss:
- Add a small amount of paramount crystals or paramount glaze to increase shine.
- Use a fine sieve to remove any lumps or air bubbles before pouring.
- Work quickly and smoothly when pouring or spreading, as a quick set helps maintain the gloss.
These steps guarantee your Candy Melts look professional, appealing, and perfect for decorating treats or confections.
Troubleshooting Common Candy Melting Problems
Even with careful melting, you might run into common problems like lumpy, streaky, or dull Candy Melts. If your melts are lumpy, it’s usually because of overheating or adding moisture.
Smooth out streaks by gently reheating and stirring thoroughly. This helps you get a uniform texture that’s easier to work with for decorating.
Gently reheat and stir to smooth streaks for a uniform, easy-to-work-with texture.
A dull or matte look can happen if you don’t temper properly or cool too quickly. To fix streakiness, try tempering your melts for a shiny finish, which makes them look better and taste even better.
When experimenting with different flavors, make sure your melts stay smooth so you can mix evenly. This prevents uneven taste or texture in your treats.
If you’re having trouble, melt in short bursts and stir often. Troubleshooting early makes a big difference, helping you create professional-looking decorations and delicious treats.
Addressing these issues early on will boost your confidence and help you make stunning decorations with great flavor.
Best Practices for Storing and Reusing Melted Candy Melts
Proper storage and reuse of melted Candy Melts can help you save time and reduce waste, ensuring your treats look professional and taste great. To keep your melted Candy Melts fresh, store leftovers in an airtight container at room temperature or in the fridge.
When reheating, do so gently to prevent burning or altering flavor combinations. Always label your containers with the date so you can easily track freshness. For packaging, use resealable bags or small containers to portion out amounts you plan to reuse, helping prevent contamination.
Reusing melts allows you to experiment with different flavor combinations, making your treats more exciting. Keep in mind that melted Candy Melts should be used within a week for the best quality. Proper storage preserves their smooth texture, vibrant appearance, and flavor.
With these practices, you’ll maximize every bit of your Candy Melts and create stunning, flavorful confections.
Frequently Asked Questions
Can I Mix Different Flavors of Candy Melts Together?
Yes, you can mix different flavors of candy melts together. Just keep in mind that some flavor combos might work better than others for a tasty result.
When blending flavors, it’s a good idea to start with small batches so you can see how they taste together before making a big batch.
For colors, add your melts gradually to reach the shade you want, and stir well to mix everything evenly.
Experimenting is key—try different combinations to find your favorite!
How Long Can I Store Melted Candy Melts Safely?
They say “a stitch in time saves nine,” so don’t delay! You can store melted candy melts safely for up to 2 weeks if kept in a proper container, like an airtight jar or resealable bag.
Just make sure the container is sealed tightly and stored in a cool, dry place away from direct sunlight. This way, your melts stay fresh, smooth, and ready for your next sweet creation.
Is It Okay to Use a Microwave for Melting Large Quantities?
Yes, you can use a microwave for melting large quantities of chocolate candy melts, but you should be careful to keep the right consistency.
Use short bursts and stir often to avoid overheating. Temperature control is really important—don’t use high power settings that can cause the chocolate to scorch or seize.
What Are Alternative Tools for Melting Candy Melts?
Think of alternative tools for melting candy melts as your palette for a masterpiece. You can use a double boiler, which gently melts chocolate like a warm hug, perfect for chocolate tempering and smooth candy coating techniques.
A heatproof bowl over simmering water ensures even heat, preventing scorching. Silicone molds or a slow cooker also work, giving you control and consistency.
These tools help you master chocolate’s delicate dance, turning melts into edible art.
Can I Add Food Coloring While Melting Candy Melts?
Yes, you can add food coloring while melting candy melts. To get vibrant, even color, add the color gradually during melting.
Keep an eye on the temperature; too much heat can dull or seize the colors. Stir continuously to blend the color smoothly into the melts.
This method helps you achieve a consistent, beautiful hue without affecting the texture or look of your candy melts.
Conclusion
Now that you know the five simple steps to melt candy melts perfectly, you’re all set to create stunning treats with a professional finish. Properly melted candy can actually boost your decorating success rate by over 30%.
Keep these tips in mind, and you’ll get smooth, glossy results every time. With a little practice, you’ll master candy melting and turn ordinary treats into extraordinary delights that wow everyone.
Happy decorating!