5 Easy Steps to Make Chocolate-Covered Pretzels With Candy Melts
Many people love the idea of making homemade treats but feel overwhelmed by complicated recipes and long steps. If you’re looking for a simple, fun way to create delicious snacks, chocolate-covered pretzels with candy melts are perfect. You’re not alone—getting that perfect coating can seem tricky at first, but with a few easy steps, you’ll be a pro in no time.
To make chocolate-covered pretzels with candy melts, start by gathering pretzels, candy melts, toppings, and oil for thinning. Set up your workspace with tools and melt the candy melts in a microwave or double boiler until smooth.
Dip the pretzels, coating them evenly, then decorate with sprinkles or drizzles. Let them set on parchment-lined trays, make sure they cool completely, and store properly.
Want to find out more tips and tricks? Keep going to perfect your pretzel-making skills!
Key Takeaways
- Gather pretzels, candy melts, toppings, and tools, then set up your dipping station.
- Melt the candy melts smoothly in a microwave or double boiler, adding a little oil if needed to get the right consistency.
- Dip each pretzel completely into the melts, letting any excess drip off to get an even coating.
- Decorate with sprinkles, drizzles, or other toppings before the coating hardens.
- Let the pretzels cool and set, then store them in an airtight container to keep them fresh.
Gather Ingredients for Chocolate Pretzels
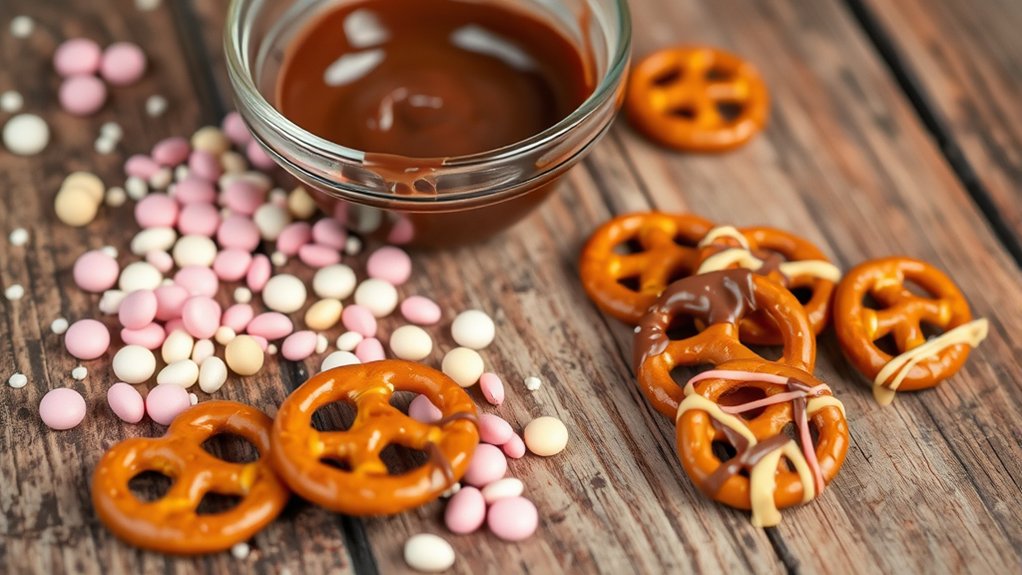
Are you ready to create delicious chocolate-covered pretzels? First, gather your ingredients. Start with your pretzel variety—choose from traditional rods, twists, or mini pretzels, depending on your preference.
Next, pick your favorite candy melt flavors; they come in a rainbow of options like milk chocolate, white chocolate, and fun seasonal colors. You’ll also need some high-quality chocolate or candy melts for coating.
Don’t forget toppings like sprinkles, crushed candies, or nuts if you want extra flair. To guarantee everything melts smoothly, have some vegetable oil or shortening on hand for thinning the candy melts.
Moreover, grab parchment paper or a silicone mat to set your pretzels on. Finally, keep a small knife or spatula nearby for stirring and spreading.
With all your ingredients ready, you’re set to move forward and create irresistible, chocolate-covered pretzels that everyone will love.
Prepare Your Dipping Station and Melt Candy Melts
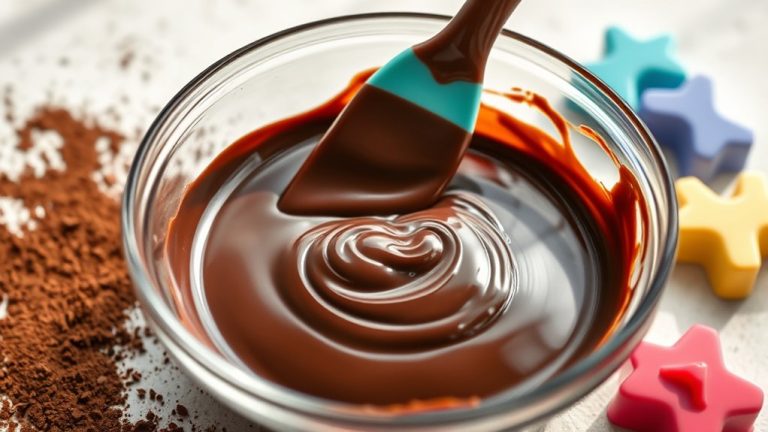
Set up your workspace by arranging everything you’ll need within easy reach. This makes dipping easier and keeps your station organized. Next, prepare your candy melts for melting. You can use methods like microwave or double boiler—both work well for smooth, glossy results.
To keep things tidy, set a heatproof bowl over a pot of simmering water or microwave in short bursts, stirring often. Use gentle heat to prevent scorching. Here’s a quick guide to your tools:
| Dipping Techniques | Melting Methods | Tools Needed |
|---|---|---|
| Twisting pretzels | Microwave | Heatproof bowls |
| Drizzling | Double boiler | Spatula |
| Dipping fully | Microwave | Parchment paper |
This setup ensures your candy melts stay at the right consistency for easy, smooth dipping, preventing clumps or uneven coatings.
Dip Pretzels and Achieve Smooth Coatings
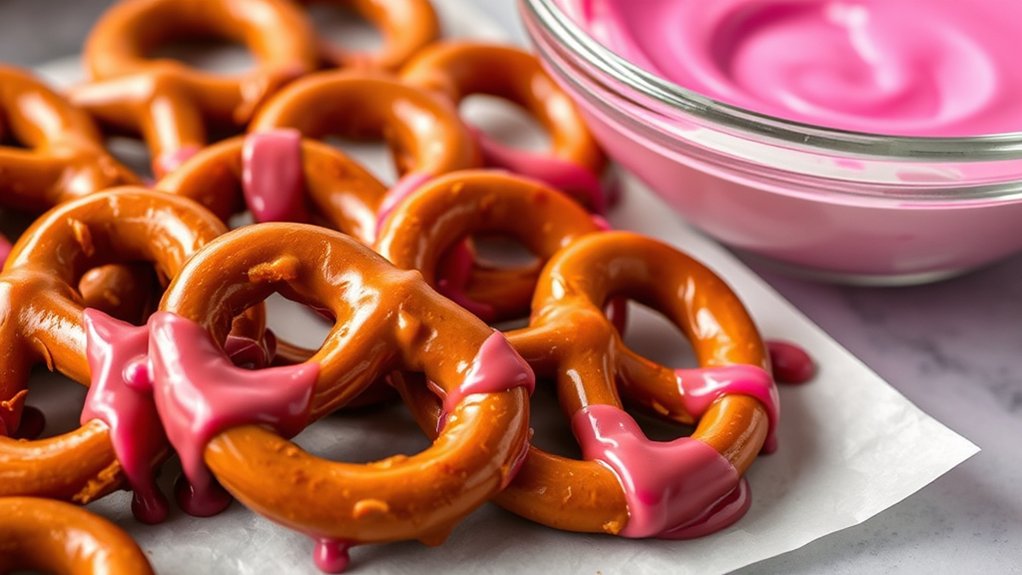
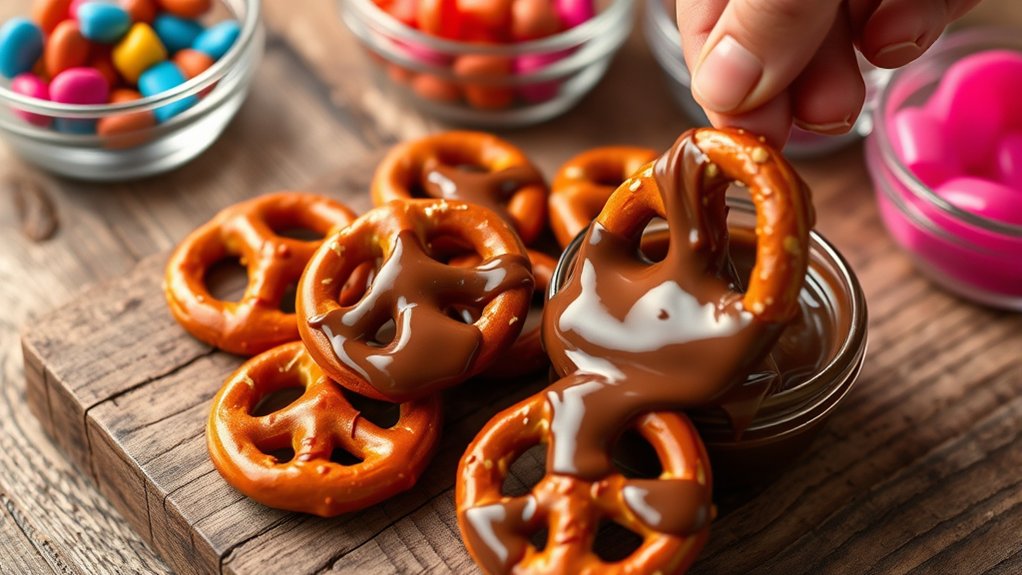
Once your candy melts are smooth and at the right consistency, it’s time to dip your pretzels. Hold a pretzel by the stem or use a fork, then dip it into the melted candy, making sure it’s fully coated.
Gently lift the pretzel and let excess candy drip off, twisting slightly for an even coat. Work quickly before the candy starts to harden to get a smooth, professional look.
Different pretzel shapes, like traditional pretzels or pretzel rods, might need slight adjustments in your dipping technique to ensure even coverage.
This is a perfect chance to experiment with flavors—try adding a pinch of sea salt to classic pretzels or mixing in flavor extracts to the melts for a unique taste.
The key is to stay consistent and patient, making sure each pretzel is evenly coated for a shiny, delicious finish.
Decorate and Let Pretzels Set
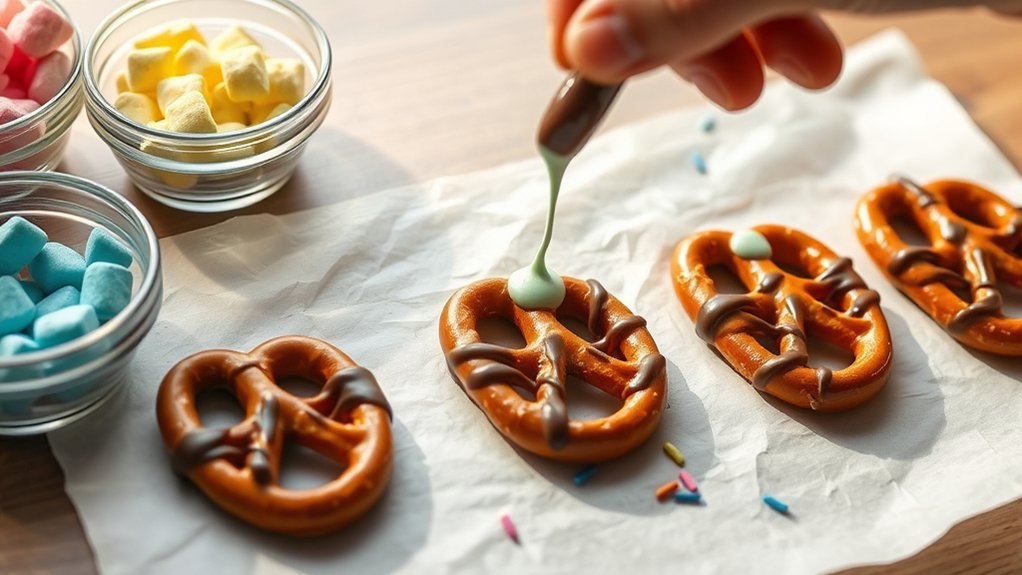
After coating your pretzels evenly, it’s time to get creative with decorating. Use colored candy melts, sprinkles, or drizzles of contrasting chocolate to make the pretzels look more appealing. Creative decoration turns simple pretzels into eye-catching treats, perfect for gifts or parties.
You can pipe patterns, add tiny candies, or create fun designs with a fork or piping bag. Keep in mind that less is often more—aim for balanced decoration that highlights the pretzels without overwhelming them. Once decorated, place your pretzels on a parchment-lined tray, and let the candy melts set completely.
This step ensures your decorations stay intact and your pretzels look professional. Patience is key—don’t rush the setting process, as it helps achieve a smooth, polished finish. When the candy is firm, your pretzels are ready to impress with their vibrant, festive appearance.
Store and Serve Your Homemade Pretzels
Wondering how to keep your homemade pretzels fresh and delicious? Proper packaging ideas and storage tips are key.
Once your pretzels are fully set, let them cool completely before storing. To keep their crunch, place them in an airtight container or resealable plastic bag.
You can also layer them with parchment paper to prevent sticking. Keep your pretzels in a cool, dry place away from direct sunlight, which can cause the chocolate to melt or discolor.
If you want to store them longer, consider refrigerating or freezing. When refrigerating, use an airtight container to prevent moisture.
For freezing, wrap pretzels individually in plastic wrap and then put them in a freezer-safe bag. To serve, let frozen pretzels thaw at room temperature.
Following these tips will keep your pretzels fresh, tasty, and ready to enjoy anytime.
Frequently Asked Questions
Can I Use Different Types of Chocolate Instead of Candy Melts?
Yes, you can use different types of chocolate instead of candy melts. For chocolate flavor variations, choose melting semisweet, dark, or milk chocolate. These make great alternative coatings and give your pretzels a richer taste.
Just melt the chocolate smoothly and dip your pretzels. Keep in mind, different chocolates might need different melting techniques, but they all work well for customizing your treats.
How Long Does It Take for the Chocolate to Dry Completely?
It takes about 30 minutes to an hour for the chocolate to dry completely, depending on the thickness and room temperature. The consistency of the candy melts also matters. Thinner coats tend to dry faster, while thicker layers might take a bit longer.
To speed things up, make sure there’s good airflow around your pretzels and avoid humid environments. You can also pop them in the fridge for a short time to set the chocolate faster, but don’t leave them there too long to prevent condensation.
What’s the Best Way to Prevent Pretzels From Sticking?
Ever wonder how to keep your pretzels from sticking? The secret is in your pretzel coating process.
Before dipping, lay down parchment paper or silicone mats to prevent sticking. Using wax paper between layered pretzels makes removal easy.
If you’re working with candy melts, make sure they’re not too thick and avoid overcrowding.
These simple tricks will keep your pretzels perfect and intact, ready to enjoy!
Can I Add Flavorings to the Candy Melts?
Yes, you can add flavorings to the candy melts to create different flavors. Melted candy makes a smooth, glossy coating, and adding extracts or flavor oils boosts the taste without messing up the texture.
Just stir in a few drops of vanilla, peppermint, or almond extract after melting. Be careful with liquid flavorings, since too much can change the consistency. This way, you can personalize your pretzels with tasty, custom flavors.
How Do I Fix a Broken or Cracked Chocolate Coating?
Did you know that 90% of home bakers struggle with imperfect chocolate coatings? If your chocolate cracks or breaks, it’s usually due to improper tempering or inconsistent temperature.
To fix it, gently reheat the chocolate and stir well. This helps improve the tempering and gives you a smooth, shiny finish.
Keep the coating at a stable temperature to stay even. This prevents future cracks and helps you get that flawless, professional look.
Conclusion
Now that you’ve mastered these simple steps, your homemade chocolate pretzels will definitely be a hit at any gathering. With a little patience and some creativity, you’ll create treats that not only taste great but also impress everyone.
Each carefully decorated pretzel adds your personal touch, turning a simple snack into a charming masterpiece. These chocolate-covered pretzels are sure to delight and become a favorite in your culinary repertoire.