7 Simple Steps to Make Chocolate Caramel Candy at Home
Many people dream of making delicious chocolate caramel candy at home but feel overwhelmed by the process or unsure where to start. You’re not alone—crafting perfect candies can seem tricky at first, but with a few simple steps, you’ll be creating sweet treats in no time.
Start by gathering your ingredients—sugar, butter, heavy cream, and chocolate—and all necessary tools like a saucepan, spatula, and candy thermometer.
Make your caramel base by stirring sugar, butter, and cream until smooth and reaching 240°F. Pour into a pan, let it cool slightly, then add melted chocolate on top.
Once set, chill, cut, and wrap your candies. For fun variations, add nuts or sea salt.
Want detailed tips and troubleshooting advice? Keep exploring!
Key Takeaways
- Combine sugar, butter, and heavy cream in a heavy-bottomed saucepan. Stir constantly until smooth and thickened.
- Use a candy thermometer to cook the caramel to 240°F (115°C) for the perfect consistency.
- Pour the caramel into a prepared pan. Let it cool, then cut into pieces.
- Melt chocolate using a double boiler or microwave. Spread or dip the caramel pieces in the melted chocolate.
- Decorate as you like, then store the candies in an airtight container at room temperature or in the fridge.
Gather Ingredients and Tools for Chocolate Caramel Candy
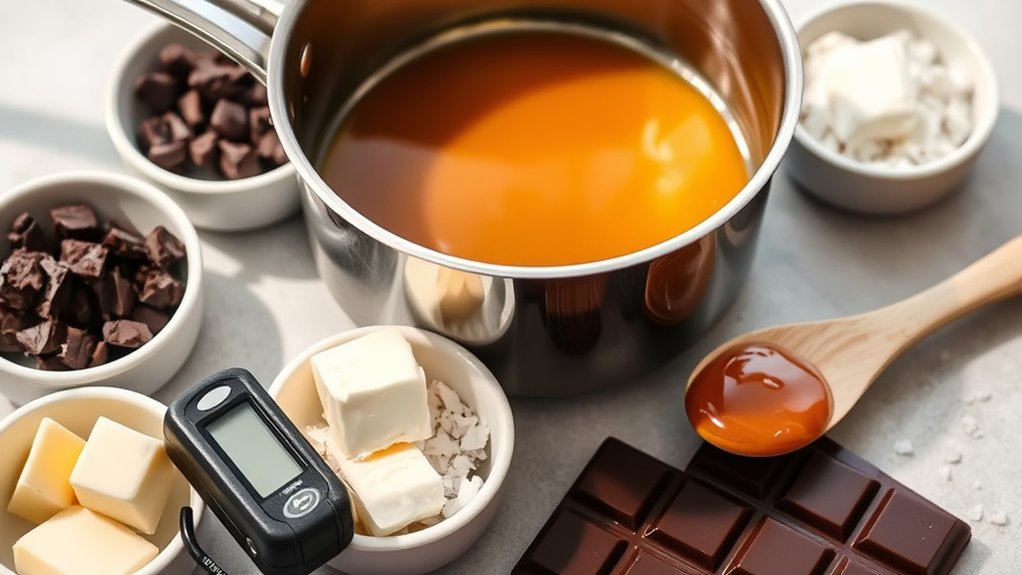
Before you start making chocolate caramel candy, it’s important to gather all the necessary ingredients and tools. Begin with basics like sugar, butter, heavy cream, and chocolate.
If you’re missing something, don’t worry—substitutions like coconut oil instead of butter or milk chocolate instead of dark can work just fine. Make sure you have a heavy-bottomed saucepan, a spatula, a parchment-lined pan, and a candy thermometer for precise temperature control.
Having the right tools makes the process smoother and helps you get the perfect texture. Once your candies are ready, storing them properly is key.
Keep them in an airtight container at room temperature or in the fridge if you want them to last longer. Homemade caramel candies stay fresh for about 1-2 weeks if stored correctly.
Make the Perfect Caramel Base
Creating the perfect caramel base starts with combining sugar, butter, and heavy cream in a heavy-bottomed saucepan. As you heat the mixture, stir constantly to prevent burning and ensure a smooth, even caramel texture.
Getting the right caramel consistency is key—aim for a thick, velvety texture that’s sticky but not runny. If you want to tweak the flavor or texture, try using coconut cream instead of heavy cream for a dairy-free option or brown sugar for a richer taste.
Keep an eye on the temperature; using a candy thermometer helps you hit the ideal 240°F (115°C) stage. Remember, patience is crucial—don’t rush the process.
Once the caramel reaches the right consistency, remove it from the heat and let it cool slightly before pouring. A well-made caramel base sets the foundation for delicious, gooey chocolate caramel candies.
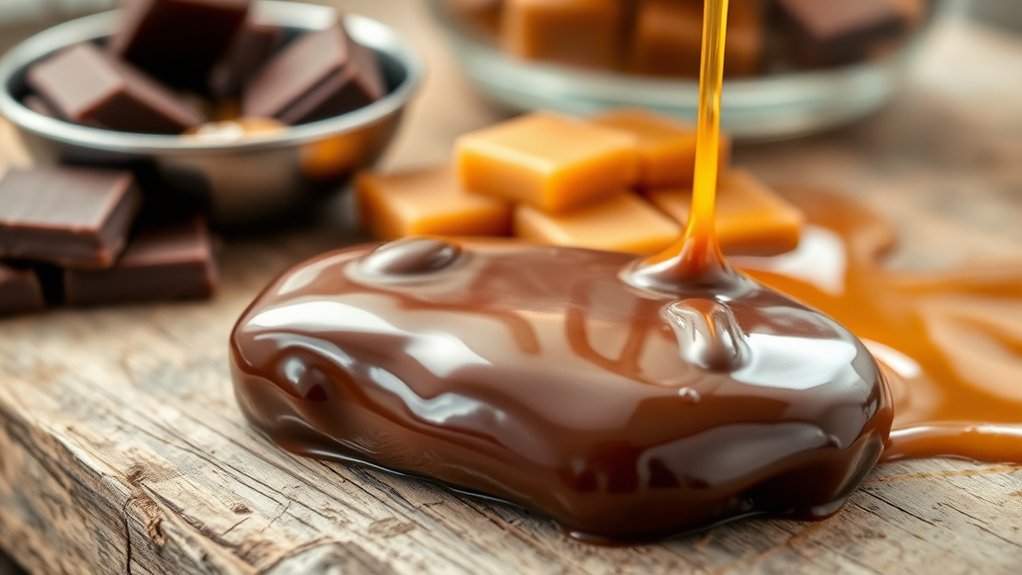
Add Chocolate for a Rich, Gooey Finish
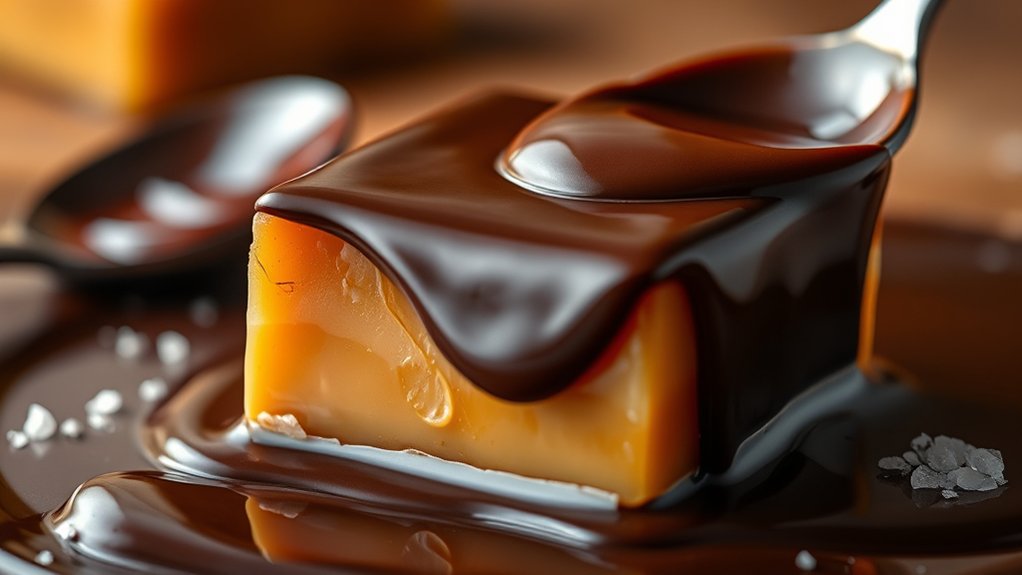
Once your caramel base has cooled slightly and reached the right consistency, it’s time to add the chocolate. Start by melting your chosen chocolate—dark, milk, or semi-sweet—using a double boiler or microwave, stirring until smooth.
When adding the chocolate, think about different pairings. For example, dark chocolate complements the rich, buttery caramel, while milk chocolate gives a sweeter, creamier touch. Gently pour the melted chocolate over the caramel, spreading it evenly to create a luscious, gooey finish.
Work quickly to keep the right texture and prevent the chocolate from setting too soon. As you blend the flavors, keep in mind the caramel’s flavor profile—whether you want a deeper, more intense taste or a lighter, sweeter note.
The final result is a beautifully layered candy with a rich chocolate top that enhances the caramel’s buttery richness. It’s a perfect balance of sweetness and depth.
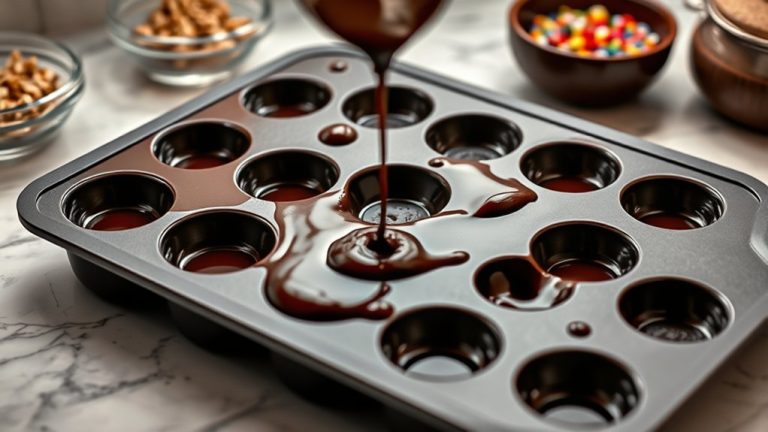
Pour and Chill Your Candies
After your caramel and chocolate layers are smooth and set, it’s time to pour the mixture into your prepared pan. Make sure to spread it evenly so there are no thin spots. Once poured, gently tap the pan on the counter to settle the mixture and get rid of any air bubbles.
Then, place it in the fridge or a cool, dry spot to chill. While it cools, you can add some decorative touches, like sprinkles or drizzles, for a fun extra flair.
Here are some tips for storing your candies:
- Wrap them tightly in plastic wrap or foil.
- Keep them in an airtight container to avoid moisture.
- Store in a cool, dark place to prevent melting.
- Label your container with the date.
- Enjoy within two weeks for the best freshness.
Chilling helps the candies firm up and makes cutting easier later on. Proper storage keeps their texture and flavor at their best for longer enjoyment.
Cut and Wrap Your Homemade Chocolates
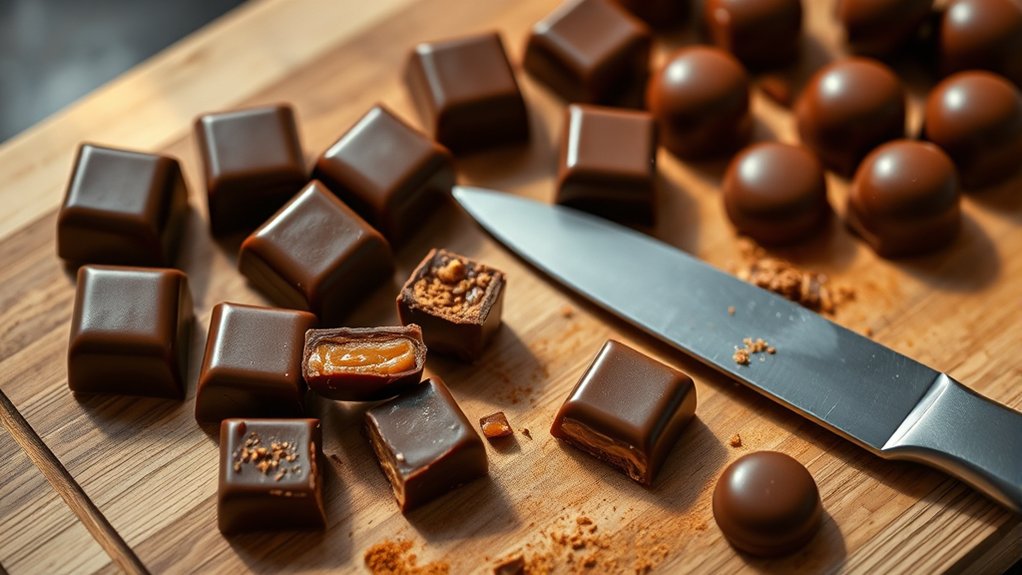
When your chocolates have chilled and firmed up, carefully remove them from the pan and get ready to cut. Use a sharp knife, warming it slightly if needed, for clean, even slices.
Decorate your candies with simple touches like drizzling melted chocolate or sprinkling sea salt to add flavor and visual appeal. Wrap each piece individually in wax paper or cellophane to keep them fresh and prevent sticking.
Decorate with melted chocolate drizzle or a sprinkle of sea salt for added flavor and visual charm.
For storage, place the wrapped candies in an airtight container in a cool, dry spot away from direct sunlight. If your kitchen is warm, store them in the fridge to keep them fresh longer.
Proper wrapping helps maintain their texture and flavor while making your chocolates look professional. Take your time during this step to ensure each piece is perfect, and enjoy your homemade chocolate caramel candies!
Flavor Variations and Add-Ins for Custom Candies
You can easily customize your chocolate caramel candies with all sorts of fun flavor combinations and add-ins. It’s a great way to make them uniquely yours! Thinking about adding a pinch of sea salt, a dash of espresso powder, or some chopped nuts can really take the flavor to the next level.
These simple tweaks allow you to create candies that match your personal taste and even impress your friends when they try them. So don’t be afraid to experiment and find your perfect mix!
Unique Flavor Combinations
Adding unique flavor combinations and mix-ins can turn your homemade chocolate caramel candies into truly personalized treats. Trying out different ingredients lets you craft candies that showcase your taste and look impressive.
You might try pairing sea salt with toasted almonds for a sweet-salty crunch, or adding chopped espresso beans for a bold coffee flavor. Dried cranberries with a white chocolate drizzle give a fruity twist, while spiced cinnamon and chili flakes add a spicy surprise.
Crushed pretzels and caramel bits bring extra texture and fun. These variations add depth and excitement, making each batch unique and special. Feel free to experiment with flavors and get creative with your presentation.
Unique flavor combos can elevate your candies from simple treats to memorable indulgences. Have fun discovering new favorites and making your candies truly one-of-a-kind.
Popular Add-In Ideas
Incorporating popular add-ins can instantly boost your homemade chocolate caramel candies, giving them extra flavor and texture. Think beyond basic ingredients—add nuts, dried fruits, or even sea salt for a unique twist.
These extras not only improve taste but also raise your gift presentation, making your candies more appealing. Creative packaging can showcase these add-ins beautifully, turning simple treats into memorable gifts.
Here are some ideas to inspire you:
| Add-In | Flavor/Texture Effect |
|---|---|
| Chopped nuts | Crunchy and savory |
| Dried fruits | Chewy sweetness |
| Sea salt | Enhances sweetness, adds contrast |
| Crushed cookies | Extra crunch and flavor |
Mix and match to create personalized candies perfect for gifting or indulging.
Troubleshooting Common Candy-Making Problems
When you’re making caramel, it’s pretty common to run into a few hiccups like crystallization, uneven texture, or even burning. Don’t worry—knowing some simple tricks can help you avoid these issues and make your candy turn out just right.
For example, to prevent crystallization, try adding a little lemon juice or cream of tartar to your sugar mixture—that little acid helps keep the sugar from forming those unwanted crystals. And if your caramel starts to look uneven or grainy, it might be because the heat was too high or you didn’t stir enough. Just keep the heat steady and stir gently to keep everything smooth.
Burning can be a real buzzkill, but it’s usually because the heat was too high or you left it unattended. Keep an eye on your saucepan, and once it reaches a nice amber color, take it off the heat right away. With these tips in mind, you’ll be able to troubleshoot common problems and whip up delicious, perfectly cooked caramel every time!
Preventing Crystallization Issues
Crystallization is a common issue that can ruin your caramel candy, but it’s often preventable with the right techniques. To avoid sugar crystallization, focus on proper temperature control and gentle stirring.
Keep your syrup clean by avoiding stray sugar crystals, which can trigger crystallization. Using a wet pastry brush to wash down the sides of the pan prevents sugar buildup that causes issues.
Adding a small amount of acid like lemon juice or cream of tartar can interfere with crystal formation. Finally, avoid stirring once the mixture reaches the desired temperature, as agitation encourages crystallization.
- Use a clean, damp brush to wash down the sides of the pan
- Maintain consistent, controlled heat
- Add acids to prevent crystal formation
- Don’t stir once boiling
- Use a candy thermometer for precise temperature control
Achieving Perfect Consistency
Even with careful control of temperature and prevention of crystallization, getting the right candy consistency can still be tricky. If your caramel ends up too hard or too soft, it might be due to how you stored it or how you cooked it—over- or under-heating.
For a smooth texture, make sure to properly temper your chocolate. Melt and cool it correctly before dipping. This step is key to avoiding streaks and achieving that glossy finish.
| Issue | Solution |
|---|---|
| Caramel too hard | Store in an airtight container at room temperature. |
| Caramel too soft | Slightly reduce cooking time and avoid overmixing. |
| Chocolate streaks | Temper the chocolate properly before dipping. |
| Inconsistent texture | Use a candy thermometer to monitor precise temperatures. |
Mastering these steps will help you get perfect consistency every time you make chocolate caramel.
Fixing Burnt Caramel
Burnt caramel can be disheartening, but quick action can often save your batch. If your caramel develops a burnt flavor, don’t panic.
First, stop the cooking process immediately to prevent further burning, and transfer the mixture to a fresh pan. You might need to strain out any burnt bits to improve the caramel texture.
If the flavor is too strong, adding a splash of cream or butter can help mask the burnt taste without compromising consistency. Remember, a burnt smell means the caramel is overcooked, so next time, watch the color carefully.
Keep your heat moderate and stir constantly to avoid uneven cooking. Act quickly to stop cooking, strain out burnt bits, and adjust your heat as needed.
Watch the color closely and stir regularly to prevent burning from happening again.
Frequently Asked Questions
How Long Do Homemade Chocolate Caramel Candies Last?
Homemade chocolate caramel candies usually last about 1 to 2 weeks if you store them in an airtight container at room temperature. The chocolate might soften a bit, but the caramel flavor stays rich.
If you want to make them last longer, you can refrigerate them for up to a month. Just keep in mind, the longer they sit, the less crispy the chocolate gets and the stickier the caramel may become.
Can I Use Alternative Sweeteners Instead of Sugar?
Yes, you can use sugar substitutes instead of sugar in your chocolate caramel candy.
Just remember that sweeteners like stevia, erythritol, or monk fruit might change the taste and texture a bit.
Be aware of potential health effects too, since some sweeteners can cause digestive issues or other reactions.
It’s a good idea to experiment carefully and think about how the substitute’s properties might affect the candy’s consistency and flavor.
What’s the Best Way to Store Leftover Candies?
Imagine tucking your sweet treasures into cozy clothing. This is how you should store your leftover candies. Use candy packaging or airtight storage containers to keep them fresh and prevent them from drying out.
Place them in a cool, dry spot away from direct sunlight. Proper storage keeps your candies tasting their best, preserving that luscious caramel and rich chocolate for future delight.
Can I Make These Candies Vegan or Dairy-Free?
Yes, you can make these candies vegan or dairy-free. Use vegan chocolate, which is made without dairy, and replace traditional caramel with dairy-free caramel made from coconut milk or other plant-based ingredients.
You’ll want to choose high-quality vegan chocolate and check that your caramel ingredients don’t contain any animal products. With these swaps, you can enjoy delicious vegan chocolate caramel candies that fit your dietary needs.
How Do I Prevent the Caramel From Crystallizing?
Think of your caramel as a delicate dance—too abrupt, and it stumbles. To prevent sugar crystals from forming, use a wet brush to wash down the sides of your pan with water.
Avoid stirring once it boils and keep a steady, gentle simmer. These steps help keep your caramel smooth and free of graininess.
Patience and gentle handling are your best allies. Follow these tips, and you’ll end up with a luscious, perfectly smooth caramel.
Conclusion
Making chocolate caramel candy at home is not only fun but also incredibly rewarding. Over 80% of home candy makers say they get more satisfaction from making treats themselves, and you’re likely to feel the same.
By following these simple steps, you’ll create delicious, personalized confections that will impress friends and family alike. So grab your ingredients, get started, and enjoy the sweet satisfaction of making your own chocolates. There’s really nothing quite like it!