Use White Chocolate Chips Instead of Candy Melts: A How-To Guide
Many bakers and decorators want to use white chocolate chips instead of candy melts but worry about achieving the right look and texture. You’re not alone—this is a common challenge for those wanting a richer, more natural finish in their treats.
Luckily, switching to white chocolate chips can be a game-changer if done properly.
Using white chocolate chips instead of candy melts is a great choice for a richer, smoother flavor and more natural look in your baked goods and decorations.
To get the best results, choose high-quality chips with cocoa butter, melt them gently using a double boiler or microwave in short bursts, and stir constantly.
Proper preparation, melting, and storing guarantee a glossy finish and perfect consistency.
Keep exploring for more tips to enhance your baking and decorating projects.
Key Takeaways
- Choose high-quality white chocolate chips with cocoa butter as the main fat for better melting and flavor. This makes a big difference in the final result.
- Melt chips gently using double boiling or short microwave bursts, stirring frequently to prevent burning or seizing. Patience is key here.
- Adjust the temperature to get the right consistency: warm for thinning, cool to firm for decorating. This helps you achieve the perfect finish.
- Store leftover chips in airtight, cool, dry conditions to keep them fresh and prevent moisture-related issues. Proper storage makes a difference.
- Use melted white chocolate chips for smooth coatings, piping, or decorating to create professional-looking desserts. It’s a versatile ingredient.
Why Should You Use White Chocolate Chips Instead of Candy Melts?
White chocolate chips are often the better choice over candy melts because they offer a smoother, more authentic flavor and texture. When comparing the chocolate flavor, white chocolate chips give a richer, creamier taste that works really well with baked goods.
Candy melts tend to have a sweeter, artificial flavor that can overpower other ingredients. Texture-wise, white chocolate chips melt evenly, creating a smooth, velvety consistency perfect for coating or mixing into recipes.
Candy melts, on the other hand, usually have a stiffer, waxy feel that can result in a less enjoyable mouthfeel. Plus, white chocolate chips hold their shape less during baking, giving a more natural chocolate experience.
How to Choose the Best White Chocolate Chips for Baking
When choosing white chocolate chips for baking, look beyond just the brand. Pay attention to the ingredients and what makes up the chips. High-quality white chocolate chips will have cocoa butter as the main fat, which helps them melt better and adds richer flavor.
Check the ingredient list for minimal additives and fillers since these can change the taste and texture of your baked goods. Make sure the chips are labeled as “white chocolate” rather than “white confectionery” or “compound” for better quality.
Here’s a quick guide:
| Consideration | What to Look For |
|---|---|
| Ingredients | Cocoa butter, sugar, milk solids |
| White chocolate quality | Rich, smooth texture with balanced sweetness |
| Flavor improvement | Pure cocoa butter flavor and fewer artificial tastes |
| Melting consistency | Smooth and creamy without separating |
Choosing the right white chocolate chips will give your baked goods a better flavor and a smooth, appealing texture.
How Do You Prepare White Chocolate Chips for Melting?
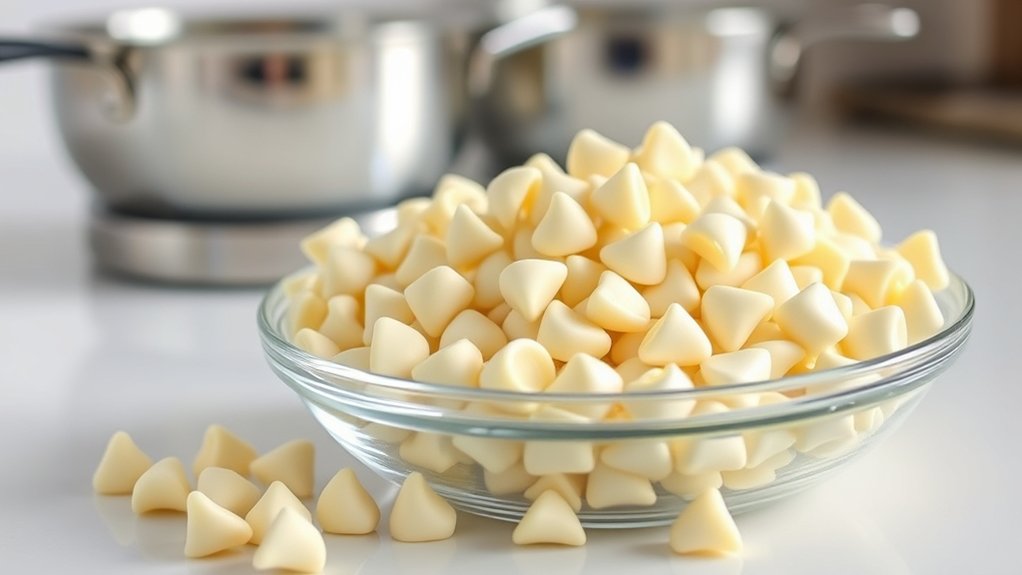
Before melting white chocolate chips, it’s important to prepare them properly to guarantee a smooth, even melt. Make sure your chips are fresh and free of moisture, since humidity can cause clumping or seizing.
Ensure white chocolate chips are fresh and dry for smooth, even melting.
For the best results, measure out the amount you need and store the rest in an airtight container. If the chips are large, giving them a quick chop can help them melt more evenly.
When it comes to melting, gentle heat is essential—avoid high temperatures that could burn the chocolate. Using a double boiler or microwaving in short bursts ensures a controlled, gradual melt.
Be sure to stir often to keep the chocolate smooth and glossy. Proper preparation and careful melting techniques will help you get white chocolate that’s perfect for your recipe.
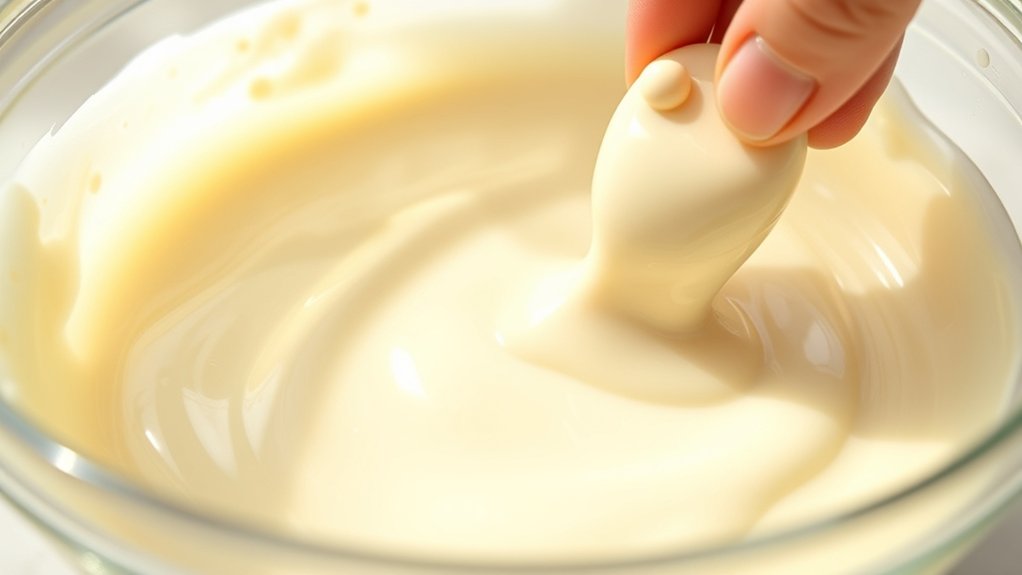
What’s the Best Way to Melt White Chocolate Chips Without Burning Them?
To melt white chocolate chips without burning them, use gentle, controlled heat and don’t rush the process. Patience is key because high heat can cause the chocolate to seize or scorch.
Using a double boiler is one of the best methods; place a heatproof bowl over simmering water, making sure the bottom doesn’t touch the water. Stir constantly for even melting.
Alternatively, melt in short bursts in the microwave—15 to 20 seconds—stirring after each interval until smooth.
When melting, think about your pairing: white chocolate’s delicate flavor goes well with fruit, nuts, or spices. Keep the temperature low to preserve its subtle taste.
Avoid direct heat or high temperatures that can cause burning or thickening. Slow, gentle melting techniques help you get a smooth, glossy consistency perfect for coating or decorating.
How to Get White Chocolate to the Perfect Consistency for Coating and Decorating
Achieving the perfect consistency of white chocolate for coating and decorating requires careful temperature control and the right technique.
To guarantee a smooth, glossy coating, gently melt your white chocolate chips, either in a double boiler or microwave, stirring frequently. When melted, let the chocolate cool slightly before use.
For coating, it should flow easily but not be too thin, which can cause drips or uneven coverage. If it’s too thick, warm it slightly; if too runny, add more melted white chocolate chips or let it cool.
Proper consistency improves your chocolate pairing and flavor combinations, making decorations look professional. Keep in mind that the temperature affects how well the chocolate adheres and sets, so avoid overheating.
Perfectly melted white chocolate will coat surfaces smoothly, creating a shiny finish that’s ideal for drizzling, dipping, or piping intricate designs.
Precision in temperature and texture ensures your decorations are flawless every time.
What Are Common Problems When Melting White Chocolate, and How Do You Fix Them?
Melting white chocolate can be tricky because it’s prone to common problems like seizing, burning, or becoming too thick. During white chocolate troubleshooting, you might notice it curdles or clumps unexpectedly.
White chocolate melts can be tricky—prone to seizing, burning, or thickening unexpectedly.
To prevent seizing, use gentle melting techniques—preferably a double boiler or microwave in short bursts, stirring frequently. Burnt white chocolate is a sign you’ve overheated it; keep the heat low and stay attentive.
If your chocolate becomes too thick or lumpy, it may have cooled too quickly or been melted improperly. To fix this, add a small amount of vegetable oil or shortening and gently stir until smooth.
Proper melting techniques like slow heating and continuous stirring are key to achieving a smooth, glossy consistency. Always use a heatproof spatula and avoid direct high heat, which can cause burning.
With careful white chocolate troubleshooting, you’ll prevent common issues and ensure perfect melts every time.
How Can You Add Color and Flavor to White Chocolate Chips?
If you want to add some color to your white chocolate chips, using gel or liquid food coloring is a great way to do it. Just make sure to mix it in really well so the color spreads evenly throughout the chocolate. Nobody likes uneven patches, right?
And if you’re looking to boost the flavor, try stirring in some extracts like vanilla, almond, or peppermint into the melted chocolate. It’s a simple trick that makes your treats even more delicious. With these easy steps, you can customize your chocolates to match any theme or flavor profile you’re going for!
Using Food Coloring Effectively
Adding color and flavor to white chocolate chips can be simple and effective when you pick the right food coloring. To get vibrant, even hues, focus on proper color blending and container choice.
Use gel or paste food coloring instead of liquids, as they won’t thin out the chocolate. When mixing, choose a heatproof, wide-mouth container for easy stirring and better control.
Stir thoroughly to blend colors smoothly and avoid streaks. Remember, small amounts of gel give you more control, and mixing gradually prevents color overload.
Stir continuously until the color is smooth. Opt for wide-mouth bowls—they make mixing easier and help you see the color better. Also, use clear containers to easily monitor your progress.
Incorporating Flavor Extracts
Incorporating flavor extracts into white chocolate chips is a quick way to improve their taste and add a subtle aromatic note. You can elevate the flavor with options like vanilla, almond, or citrus extracts to make your treats more vibrant.
Add a few drops of extract to melted white chocolate and stir thoroughly to distribute the flavor evenly. This method not only boosts taste but also helps enhance the texture, giving your finished product a richer, more complex profile.
Be cautious with the amount—start small and adjust to taste. Using flavor extracts is a simple, effective way to customize white chocolate chips without changing their natural appearance or consistency.
Tips for Using White Chocolate Chips in Different Baking and Decorating Projects
White chocolate chips are versatile and can enhance both baking and decorating projects when used correctly. To get the most out of them, consider pairing them with berries, nuts, or citrus—these combinations boost flavor without overpowering.
When melting, use gentle, even techniques—double boiling or microwaving in short bursts—to avoid burning or seizing. Keep in mind that white chocolate melts faster and has a different consistency than dark chocolate, so adjust your heat accordingly.
For decorating, tempering the chips is key. It gives a glossy finish and a firm texture, making your designs look professional. When adding melted chips to baked goods, fold them in gently to keep the air in your batter.
Patience is important—let the chocolate cool slightly before piping or shaping. With good techniques and thoughtful pairing, white chocolate chips can elevate everything from simple cookies to elaborate cake decorations.
Creative Ideas for Decorating With White Chocolate Chips
Decorating with white chocolate chips opens up endless creative possibilities that can turn simple treats into eye-catching masterpieces. You can use them to add texture and visual interest to desserts or baked goods.
For example, sprinkle them over cupcakes for a delicate, snowy look or create patterns on cookies to turn them into edible art. You might also melt and drizzle white chocolate chips over cakes in intricate designs or embed them into fruit salads for a sweet crunch.
Here’s a quick guide to get you started:
| Idea | Technique | Result |
|---|---|---|
| Sprinkle on cupcakes | Scatter evenly | Clean, elegant look |
| Create borders on cakes | Pipe melted white chocolate | Polished, professional finish |
| Decorate cookies | Arrange in patterns | Artistic, personalized flair |
| Top fruit salads | Scatter as garnish | Colorful, appealing presentation |
| Make edible flowers | Mold and shape into petals | Unique, decorative touch |
Use these ideas to elevate your edible art with white chocolate chips.
How to Store Leftover White Chocolate Chips for Future Use
Got leftover white chocolate chips? No worries! Just pop them into an airtight container to keep them fresh and prevent any air from sneaking in.
Then, find a cool, dry spot in your kitchen — away from moisture and direct sunlight — and store the container there. That way, your chips will stay nice and crisp, ready for whenever your next baking adventure calls!
Keep Chips Airtight
Once you’ve opened the bag of white chocolate chips, it’s important to store them properly to keep them fresh. Using airtight containers is key to maintaining their freshness.
These containers prevent air from getting in, which can make the chips stale or change their texture. Be sure to seal the container tightly after each use.
To help you understand better, here’s a quick table:
| Benefit | Method | Result |
|---|---|---|
| Freshness preservation | Use airtight containers | Chips stay fresh longer |
| Prevent moisture | Keep container sealed | No clumping or spoilage |
| Maintain flavor | Avoid air exposure | Sweet, clean taste |
| Reduce contamination | Clean container regularly | Safe for future use |
| Extend shelf life | Store properly | Less waste, more baking |
Keeping chips airtight helps them stay flavorful and ready for your next treat.
Store in Cool Area
Storing leftover white chocolate chips in a cool area helps preserve their quality and extend their shelf life. Keep them away from direct sunlight and heat sources, as temperature fluctuations can cause melting or blooming.
A pantry or cupboard away from appliances works well. Proper storage tips include placing the chips in an airtight container, which prevents moisture and odor absorption.
For the best chocolate pairing, ensure the storage space maintains a consistent, cool temperature—around 60-70°F. This helps keep the chips’ texture and flavor intact, making them ready for baking or decorating.
Avoid Moisture Exposure
Moisture is the enemy of white chocolate chips because it can cause them to seize, develop a dull appearance, and lose their smooth texture. To prevent moisture contamination, store your leftover chips in an airtight container.
Keep the container tightly sealed and avoid exposing it to humidity or steam, which can introduce moisture. Using a silica gel packet inside the container can help absorb excess moisture—just make sure it’s food-safe.
Store the container in a cool, dry place away from sinks or humid environments. Proper storage keeps your white chocolate chips fresh, smooth, and ready for future use without clumping or spoilage.
Frequently Asked Questions
Can I Substitute White Chocolate Chips for Candy Melts in All Recipes?
Yes, you can substitute white chocolate chips for candy melts in most recipes, but keep in mind the differences in flavor and melting techniques. White chocolate chips have a richer, creamier taste, while candy melts are designed for smoother melting and more vibrant colors.
You might need to adjust melting times or add a bit of shortening to get a similar consistency. Experimenting with these tweaks will help ensure your treats turn out just right.
Are There Specific Brands of White Chocolate Chips Better for Melting?
Yes, some white chocolate brands are better for melting than others. Look for high-quality melting white chocolate, as it contains less fat and stabilizers, making it easier to work with.
Brands like Ghirardelli, Guittard, and Wilton are popular choices because they melt smoothly without seizing or becoming grainy. Always melt in short intervals and stir frequently to get the best consistency when melting white chocolate.
How Do I Prevent White Chocolate From Seizing During Melting?
Did you know that nearly 50% of home bakers struggle with seizing white chocolate during melting? To avoid this, use gentle melting methods like double boiling or microwaving in short bursts. Keep the temperature low, around 115°F, and stir constantly.
Be careful to keep moisture away, as contact with water causes seizing. You might also want to consider tempering your chocolate for a smooth, glossy finish. Proper melting ensures your treats stay silky and helps prevent issues during any chocolate tempering process.
Can I Add Food Coloring Directly to White Chocolate Chips?
Yes, you can add food coloring directly to white chocolate chips. Use gel food coloring options because liquid dyes can cause the chocolate to seize or become too thin.
If you prefer white candy melts or other white chocolate alternatives, the same rule applies. Always add food coloring gradually and mix thoroughly.
This helps you achieve your desired shade without affecting the texture or melting process.
What Are the Best Tools for Coating Treats With White Chocolate Chips?
Think of coating treats like painting a masterpiece—you’ll want the right brushes. Use a silicone spatula or dipping tools for smooth, even coverage, helping you get that perfect chocolate texture.
Melting techniques matter too. A double boiler prevents scorching, so keep the white chocolate chips warm and fluid. Then, dip or drizzle with precision to make your treats look professional.
These tools make your chocolate coating seamless, turning simple treats into edible art. With the right equipment, your white chocolate coating will be easy and beautiful.
Conclusion
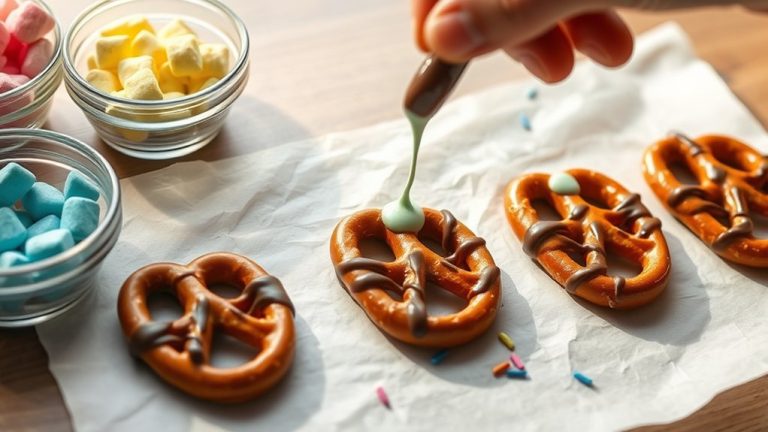
Switching to white chocolate chips can elevate your baking projects with ease. Imagine creating beautifully coated pretzels for a party—smooth, glossy, and perfectly flavored.
By selecting quality chips, melting them carefully, and experimenting with colors and flavors, you’ll open up endless decorating possibilities. Keep leftovers fresh for future treats, and watch your kitchen transform into a creative haven.
With these tips, you’ll confidently craft stunning, delicious desserts that impress every time. Using white chocolate chips instead of candy melts is a simple switch that makes a big difference.