10 Simple Steps to Make Chocolate Candy With Silicone Molds
Many people dream of making beautiful homemade chocolates but feel overwhelmed by the process. You’re not alone—crafting perfect treats can be tricky, especially without the right tools or tips. But don’t worry, with a little guidance, you’ll be creating stunning chocolates in no time.
Start by organizing your workspace with clean, dry surfaces. Gather all your ingredients and tools to keep things smooth and stress-free. Choose flexible, food-grade silicone molds that match your desired design.
Gently melt and temper your chocolate. Then, pour it slowly into molds, taking care to avoid bubbles that can ruin the look. Let your chocolates cool and set in a cool, dry area.
Once set, carefully remove the chocolates from the molds. Decorate with edible colors, gold leaf, or tiny flowers for a professional finish. Proper storage keeps your treats fresh and ready to enjoy.
Want to master each step? Keep going to uncover more tips and tricks to elevate your chocolate-making game!
Key Takeaways
- Prepare a clean workspace, gather ingredients, and select flexible, food-grade silicone molds that match your desired shapes and sizes.
- Gently melt the chocolate using a double boiler or microwave, then temper it to get that glossy, smooth finish.
- Pour the tempered chocolate slowly into the molds, filling the cavities carefully to avoid bubbles and keep the look polished.
- Cool the chocolates in a stable, dry spot until they’re fully set, then carefully remove them from the molds to prevent breakage.
- Decorate with edible colors, gold leaf, or toppings, and store in airtight containers in a cool, dry place.
Get Your Workspace and Ingredients Ready

Before you start making your chocolate candies, take a few minutes to organize your workspace and gather all your ingredients. A tidy space helps you stay focused and avoids spills or mix-ups.
Organize your workspace and gather fresh ingredients to ensure a smooth, stress-free candy-making experience.
Clear away clutter and set up a clean, flat surface just for your candy making. Then, carefully pick out your ingredients—high-quality chocolate, flavorings, and any add-ins—making sure everything is fresh and ready.
Check that your supplies—bowls, spatulas, and silicone molds—are clean and within easy reach. Getting everything prepared beforehand saves time and keeps things stress-free.
Keep your workspace well-lit and at a comfortable temperature, especially if you’re working with tempering chocolate. Good organization and thoughtful ingredient selection make the whole process smoother and more fun.
Once everything is set up, you’re ready to start creating your delicious treats.
Choose the Perfect Silicone Molds for Your Chocolates
Are you choosing the right silicone molds to bring your chocolate designs to life? The key is selecting molds with excellent silicone flexibility, which makes it easy to release your chocolates without breakage.
Flexible molds conform to intricate details, giving your candies a professional look. Just as important is mold durability; high-quality silicone resists tearing and keeps its shape over time, ensuring consistent results with each batch.
Look for molds made from food-grade silicone that’s free from harmful chemicals. Checking reviews for durability and flexibility can also help you find the best option.
Consider the size and shape that match your creative vision, whether you want simple bars or detailed figures. A versatile mold with good flexibility and durability is a smart investment.
It makes your chocolate-making process smoother and more enjoyable. Choosing the right mold enhances your artistry and ensures your chocolates look as delicious as they taste.
Learn How to Melt and Temper Chocolate
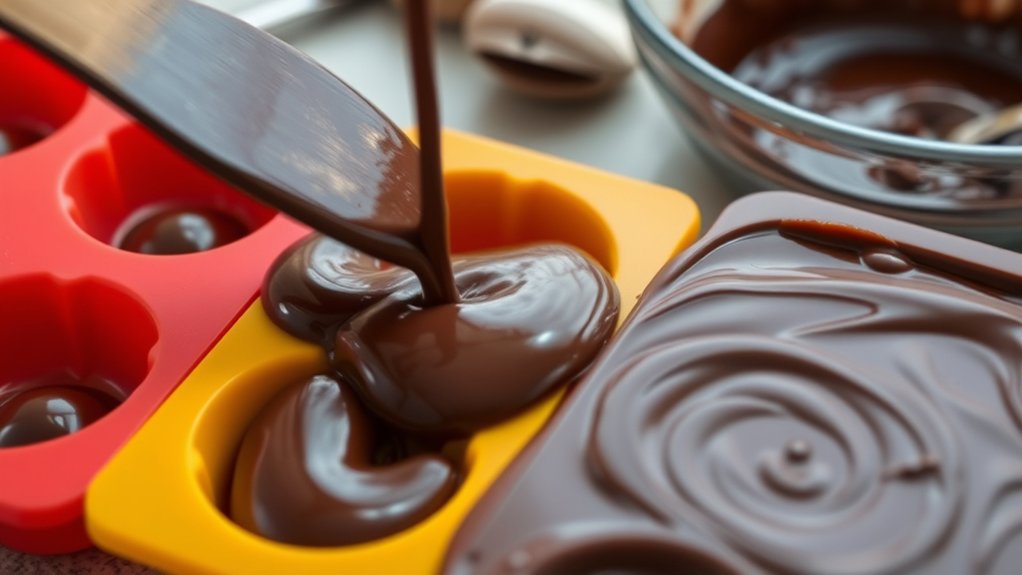
If you want your chocolates to turn out smooth and shiny, it’s really important to get the melting just right. You want to avoid burning the chocolate or having it seize up, which can be frustrating. So, take your time and melt it gently, paying attention to the temperature.
As you’re melting, aim for that glossy finish and a nice, smooth texture. This makes the chocolate much easier to work with when you’re molding or decorating. Getting this step right is pretty much the secret to making your candies look professional and totally tempting!
Proper Melting Techniques
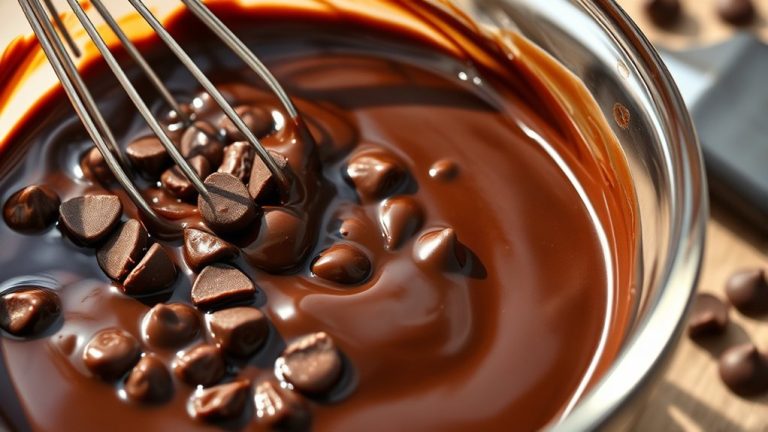
Mastering proper melting techniques is key to getting smooth, glossy chocolate that holds its shape when poured into molds. Use gentle heat methods like double boiling or microwaving in short bursts, stirring often.
Avoid overheating because it can cause the chocolate to seize or burn, ruining both its texture and look. Proper melting also helps keep your molds clean—residual chocolate or uneven surfaces can make them harder to clean and affect future batches.
Make sure your tools are dry since even a tiny bit of water can cause the chocolate to seize. By controlling the temperature carefully and handling your chocolate gently, you’ll get a silky consistency, preserve its flavor, and keep your molds in great shape for perfect candies.
Achieving Shine and Texture
Achieving a beautiful shine and the right texture in your chocolate candies depends on proper melting and tempering. When you temper chocolate correctly, you improve its shine and develop a smooth, firm texture that snaps beautifully.
To maximize shine and bring out the chocolate aroma, follow these tips: Use a thermometer to monitor precise temperatures during melting and cooling. Avoid overheating, which dulls the shine and affects texture.
Stir constantly to ensure even melting and proper crystal formation. Work quickly but carefully to maintain consistent temperatures and prevent streaks. Proper tempering transforms the chocolate’s surface, creating an eye-catching gloss that boosts your candies.
This process not only makes your chocolates look professional but also gives them that satisfying snap when broken.
Pour Chocolate Smoothly Into Silicone Molds
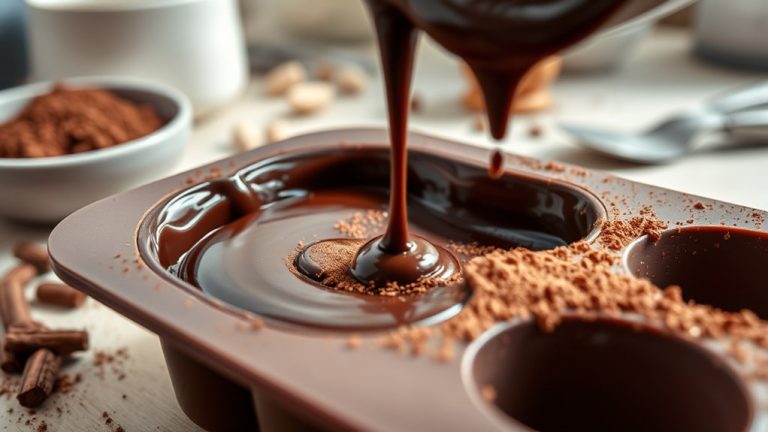
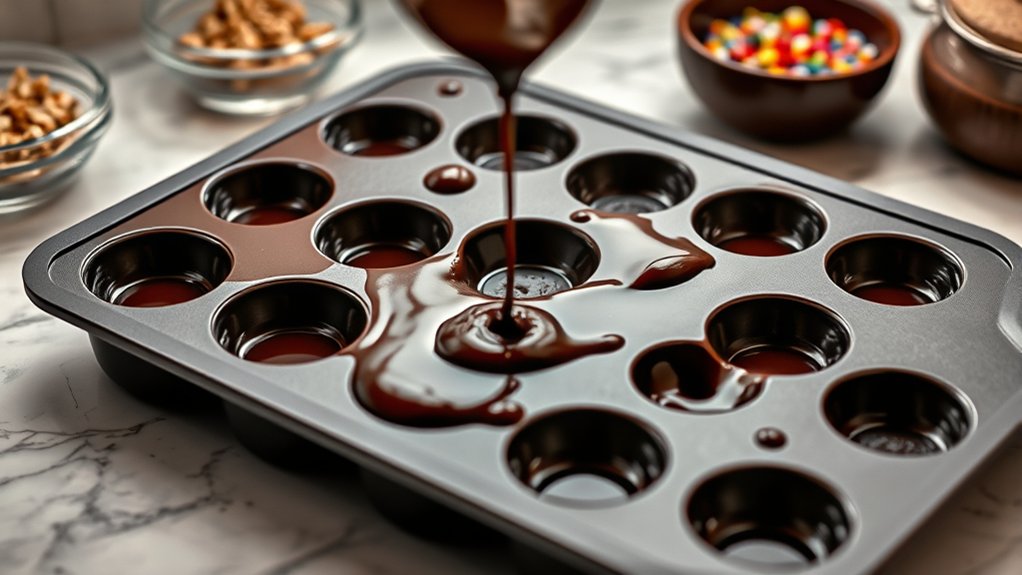
Ever wondered how to get a smooth, professional finish when pouring chocolate into silicone molds? The secret is pouring steadily and carefully, avoiding spills or air bubbles.
Before you start, make sure your chocolate is well tempered and flavored with your favorite chocolate flavoring. Use a spoon or piping bag for better control, and pour slowly to fill each cavity.
To keep things tidy, place the mold on a flat surface and pour from a height of about 1 inch. Let the excess chocolate flow smoothly to prevent messes and minimize air pockets.
This technique helps create a sleek, polished look. Remember to clean your molds thoroughly before pouring—any residue can affect the final result.
Use warm water and gentle soap, then dry the molds completely. This step ensures a flawless finish for your chocolates.
Here’s a quick overview to help you visualize the process:
| Step | Tip |
|---|---|
| Pour with control | Pour slowly from a height to avoid bubbles |
| Use proper tools | Piping bag or spoon for accuracy |
| Maintain cleanliness | Clean and dry molds before pouring |
| Add flavoring | Incorporate chocolate flavoring for taste |
Cool and Let Your Chocolates Set Properly
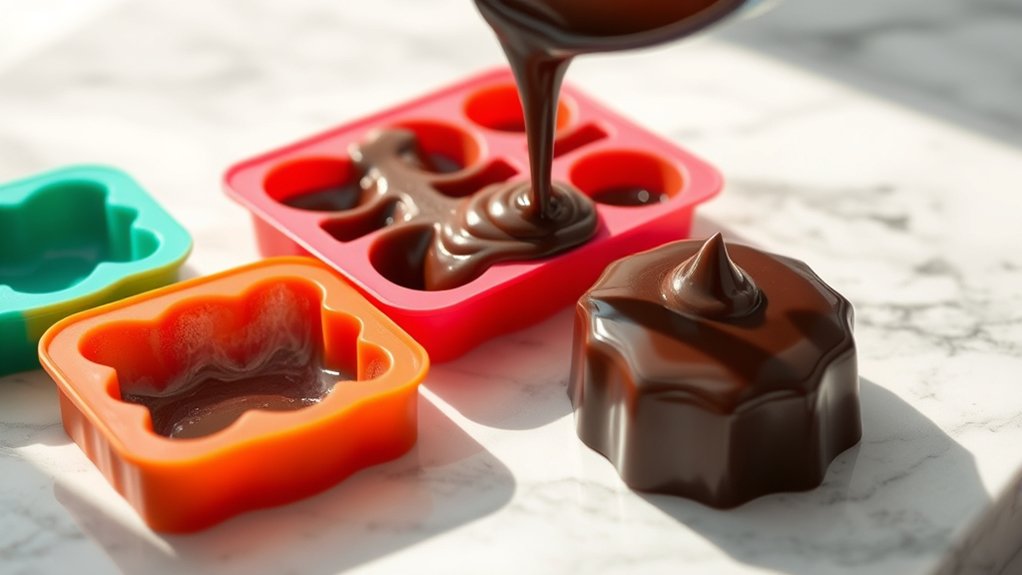
Once you’ve poured your chocolates into the molds, it’s important to give them time to cool and set properly. This helps the chocolates harden evenly, giving you that shiny finish and perfect shape. During this time, avoid moving or disturbing the molds, as that can cause imperfections.
To make the cooling process work better, try these tips:
- Place the molds on a flat, stable surface in a cool, dry spot.
- Use the fridge for faster setting, but don’t freeze them.
- Let them sit for at least 30 minutes to an hour until fully set.
- Check if they’re firm before taking them out of the molds.
Patience here makes all the difference for smooth, professional-looking chocolates. Rushing the cooling can cause cracks or misshapen candies. Proper cooling and setting are key to a great batch of chocolates.
Remove Chocolates From Molds Without Breaking
After patiently waiting for your chocolates to set fully, carefully removing them from the molds helps keep them perfect. To do this, gently flex the silicone mold to loosen the chocolates, avoiding force that could cause breakage.
Gently flex the mold to carefully remove chocolates and prevent breakage. Patience ensures perfect, glossy treats.
If you notice resistance, put the mold in the refrigerator for a few minutes. The slight chill helps the chocolates release more easily without damaging their shape or flavor. Always handle your molds with clean, dry hands to prevent sticking and maintain their condition.
Use a small, flat tool if needed to gently lift the edges without cracking the chocolates. Remember, patience is key. Rushing the process can lead to breakage and ruin all your hard work.
Removing chocolates carefully keeps their smooth surface and glossy finish. This way, they look as good as they taste. Proper removal not only preserves the flavor but also keeps your molds in top shape for next time.
Decorate and Finish Your Homemade Chocolates
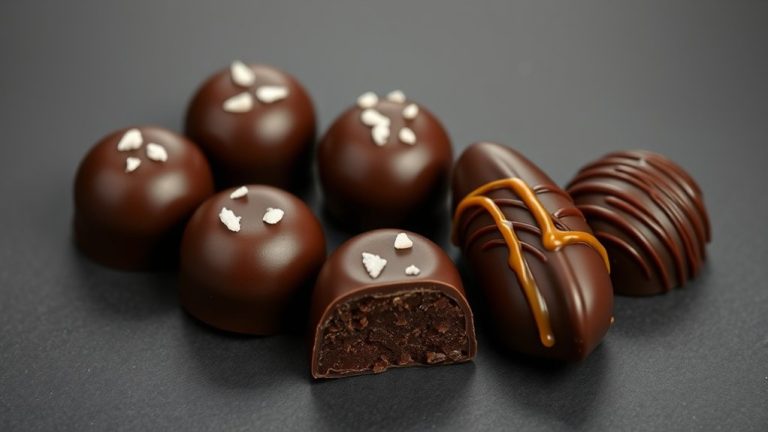
Now that your chocolates are shaped and ready, it’s time to get a little creative! You can add some decorative elements, like sprinkles, edible gold leaf, or even tiny edible flowers to give them that special touch. Don’t be afraid to experiment—sometimes the simplest details make the biggest difference.
If you want to take it a step further, try using edible colors or lusters to add shimmer and vibrancy. A little dusting of cocoa powder or a drizzle of white or dark chocolate can really make your treats pop. These finishing touches help each piece look as good as it tastes and turn your homemade chocolates into beautiful, irresistible treats everyone will love.
Choose Decorative Elements
Choosing decorative elements is your chance to add a personal touch and make your chocolates truly stand out. Whether you want to create festive motifs or elegant embellishments, pick items that enhance your design.
You can add a variety of decorative touches to boost your chocolates’ appearance and appeal. Think about using edible gold or silver leaf for a luxurious look, or tiny edible flowers for a natural, delicate touch.
Sprinkles or pearls can add texture and color, while fondant shapes or themed toppers are great for festive motifs. These elements help you customize your treats for any occasion, making them more memorable and visually appealing.
Keep your theme in mind, and choose decorative elements that complement your overall design. Whether you prefer elegant or playful chocolates, the right decorations will make them special.
Use Edible Colors and Lusters
Edible colors and lusters instantly enhance the look of your homemade chocolates, giving them a professional and polished finish.
With color mixing, you can create unique shades tailored to your design by blending different hues for custom effects. Use a fine brush or a toothpick for luster application to add a shimmering finish that catches the eye.
When applying colors, work carefully to avoid smudging or over-coverage, and test your shades on a small surface first. Lusters add a subtle shine that lifts your chocolates, making them more appealing.
Experiment with different combinations to find what best complements your mold design. This step transforms simple chocolates into visually stunning treats that look as good as they taste.
Apply Final Touches
Ever wonder how to make your chocolates truly stand out? The final touches can really elevate your homemade treats. Carefully remove chocolates from the silicone mold, handling them gently to prevent cracks.
For a professional look, consider adding a drizzle of contrasting chocolate or edible gold leaf. When decorating, think about pairing—fruit, nuts, or sea salt can really boost the flavor.
Before storing, make sure your mold is thoroughly cleaned. Residue buildup can affect your future candies. To finish, lightly dust with cocoa powder or sprinkle with colorful edible beads for visual appeal.
These simple steps help create beautifully finished chocolates that taste as good as they look. Your homemade confections will turn out irresistible.
Store and Package Your Chocolates for Freshness
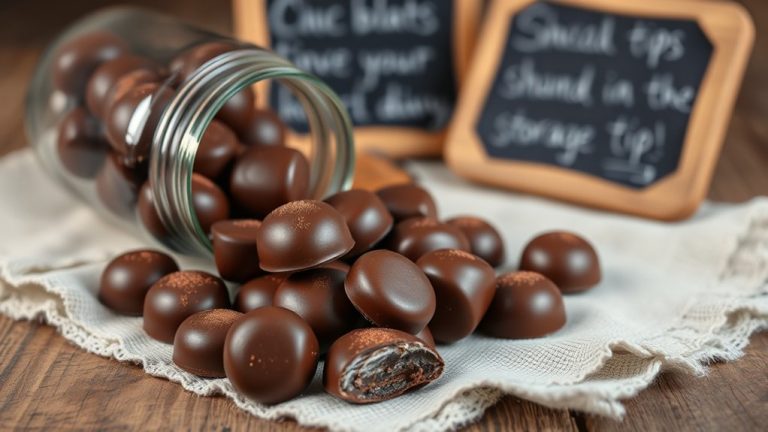
Once your chocolates are fully set and cooled, proper storage is key to keeping them fresh and flavorful. Start by choosing an airtight container to keep out moisture and air that can spoil your treats.
When packaging, place sheets of parchment or wax paper between layers of chocolates. This prevents sticking and protects them from damage. Keep your chocolates in a cool, dry place away from direct sunlight, ideally between 60-70°F.
Avoid refrigerating unless absolutely necessary, as humidity can cause blooming or a dull appearance. If you do refrigerate, seal your chocolates tightly in a container to reduce moisture exposure.
Remember to label your packages with the date so you can track freshness. Proper storage not only extends shelf life but also preserves the taste of your homemade candies.
Troubleshoot Common Chocolate Mold Problems
Having trouble with your silicone chocolate molds? Don’t worry, it’s pretty common! The first thing to do is make sure your molds are properly prepared before you pour the chocolate in. Sometimes, a little extra prep can make all the difference.
Getting the tempering right is also key—if your chocolate isn’t tempered correctly, you might end up with dull surfaces or cracks. And when it’s time to demold, knowing the best strategies can help you avoid breaking or damaging your chocolates.
Let’s walk through some simple steps to troubleshoot these issues and get perfect chocolates every time!
Proper Mold Preparation
Proper mold preparation is key to making sure your chocolate candies come out smoothly and without damage. The mold material, especially silicone, needs careful handling to keep it flexible and prevent sticking.
Start by making sure your silicone mold is clean and dry, free of dust or residue. You can lightly dust it with a non-stick spray or cocoa powder if needed, but don’t overdo it.
Check how flexible your silicone mold is. If it feels stiff, warm it slightly to improve flexibility. Store the molds flat to help them keep their shape.
Avoid using sharp tools that could tear or damage the silicone. Proper prep helps prevent common issues like sticking or breaking, making sure your chocolates release easily and look professional.
Correct Tempering Techniques
Achieving a smooth, shiny finish on your chocolate candies depends heavily on correct tempering techniques. Proper chocolate tempering ensures the cocoa butter crystals form correctly, giving your candies a glossy look and firm snap.
To temper chocolate, melt it carefully, then cool it to a specific temperature while stirring. Avoid overheating, as this can cause dullness or blooming.
Once tempered, keep the chocolate at the right temperature until you’re ready to mold. Good mold maintenance plays a role here; make sure your silicone molds are clean and dry to prevent any imperfections.
Proper tempering creates a stable coating that adheres well and looks professional. Practice precision in temperature control, and your candies will turn out beautifully shiny and perfectly finished.
Effective Demolding Strategies
Demolding chocolate candies from silicone molds can sometimes be tricky, but with the right strategies, you can minimize sticking and breakage. Start by applying a proper mold release, like a light coating of vegetable oil or a silicone spray, to guarantee easy removal.
Before each use, make sure to clean your mold thoroughly to remove any residue that can cause sticking. When it’s time to demold, gently flex or peel the silicone rather than pulling harshly, which helps reduce the risk of breaking your candies.
Using a mold release product makes removal smoother. Also, be sure to clean off any residue after each use. When you’re ready to demold, gently flex the silicone to release the candies. For an extra easy release, chill the mold slightly to firm up the chocolate and make demolding even easier.
Add Flavors and Customize Your Chocolate Candies
Once you’ve poured your melted chocolate into the silicone molds, it’s easy to customize your candies by adding flavors and extras. You can try different flavor combos like vanilla, chili, or peppermint to make each treat unique.
Add flavors and toppings to customize your chocolates for a fun, personalized treat.
Before the chocolate sets, sprinkle on toppings like nuts, dried fruit, or sea salt to add texture and flavor. For a fun touch, embed small candies or edible glitter into the molds for extra flair.
If you want a layered look, pour a thin layer of chocolate, add your flavor or topping, then fill with more chocolate. Just remember to work quickly before the chocolate hardens.
With a little creativity, you can make personalized chocolates that look great and taste even better. These custom touches make your homemade treats truly special.
Frequently Asked Questions
Can I Use Different Types of Chocolate in Silicone Molds?
Yes, you can use different types of chocolate in silicone molds to create a variety of flavors. Try experimenting with dark, milk, or white chocolate for unique taste options.
Just remember to clean your molds properly after each use to keep them in good shape. Melting different chocolates is straightforward, and mixing flavors can result in delicious, personalized treats.
Always temper the chocolates for a smooth, glossy finish on your candies. This step helps ensure your chocolates look as good as they taste.
How Do I Prevent Chocolates From Sticking to the Mold?
To prevent chocolates from sticking, think of the mold as a friendly hand guiding your treats out smoothly. Use a mold release spray or a light coating of non-stick cooking spray before pouring in the chocolate.
Alternatively, applying a thin layer of vegetable oil or a food-safe silicone spray creates a barrier, making it easier to release the candies without breaking or sticking.
This guarantees clean, professional-looking chocolates every time.
What Temperature Should I Melt the Chocolate At?
You should melt your chocolate to about 110°F-115°F for dark chocolate or 105°F-110°F for milk and white varieties. Use chocolate tempering techniques to guarantee a smooth, glossy finish and prevent sticking.
Before pouring, properly prepare your silicone molds by cleaning and lightly greasing or chilling them. Maintaining the correct temperature during melting helps achieve the ideal temper and makes it easier to release the candies without sticking.
Are Silicone Molds Safe for Use in the Freezer?
You might wonder if silicone molds are safe for the freezer, and the answer is yes. Their durability means they can handle freezing temperatures without cracking or warping.
Silicone is designed to be freezer safe, so you can confidently pop your chocolate treats in and out without worry. This flexibility helps keep your candies intact.
How Long Can Homemade Chocolates Be Stored?
You can store homemade chocolates for up to two weeks if kept properly. For the best freshness, put them in an airtight container and keep them in the refrigerator.
Make sure to add parchment paper between layers so they don’t stick together. Avoid temperature fluctuations to prevent blooming or spoilage.
If you want to keep them longer, you can freeze them for up to three months. Just be sure to wrap them well to prevent freezer burn.
Conclusion
With patience and practice, you’ll master the art of making chocolates with silicone molds. Remember, “a journey of a thousand miles begins with a single step,” so don’t get discouraged by early setbacks.
Keep experimenting with molds, flavors, and techniques. Before you know it, you’ll be creating delightful confections that impress friends and family alike.
Enjoy the process and savor every bite of your homemade chocolates. After all, the joy isn’t just in the chocolates but also in making them with your own hands.