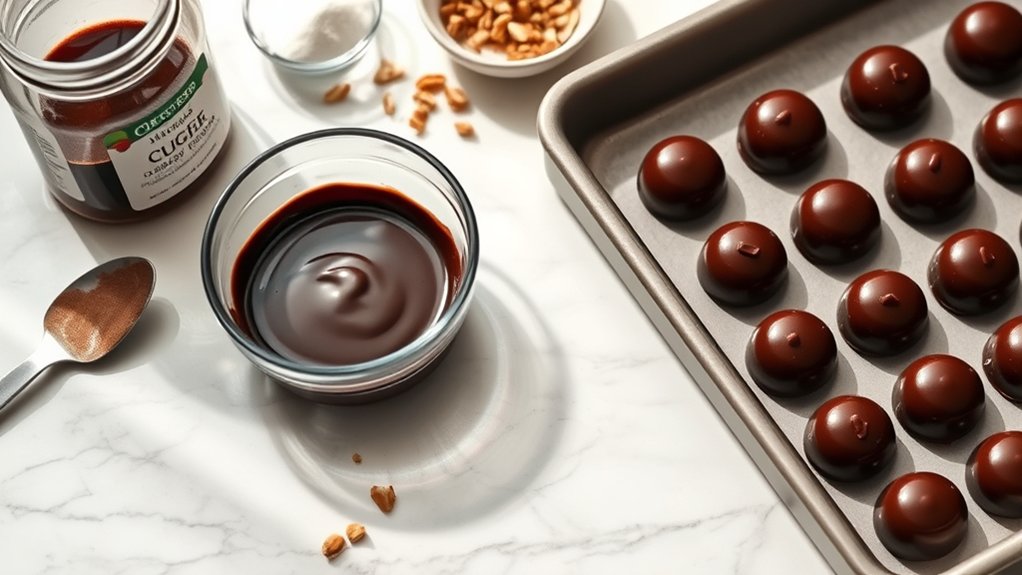
8 Simple Steps to Make Homemade Chocolate Candy
Creating homemade chocolate candy can seem daunting, especially when you’re overwhelmed by all the steps and techniques involved. Many people struggle with achieving that perfect glossy finish or getting the texture just right.
But don’t worry—you’re not alone, and making delicious homemade chocolates is totally doable with a little guidance. You just need to follow some simple steps to get started.
To make homemade chocolate candy in 8 simple steps, start by choosing quality chocolate and melting it carefully using a double boiler or microwave.
Next, temper the chocolate to guarantee a glossy finish, then pour it into molds or onto surfaces, adding fillings or decorations as desired.
After shaping, cool your chocolates in the refrigerator until set.
Finally, package them attractively and troubleshoot common issues, all while exploring plenty of tips to customize your treats even further.
Key Takeaways
- Select high-quality chocolate and melt it gently using a double boiler or microwave, stirring frequently.
- Temper the chocolate to stabilize cocoa butter crystals for a glossy, firm finish.
- Pour the melted chocolate into molds, add fillings or decorations, then seal with more chocolate.
- Cool the chocolates in the fridge or at room temperature until set.
- Package them in attractive wrappers, add labels, and store in a cool, dry place to keep them fresh.
What Ingredients Do You Need to Make Homemade Chocolate Candies?
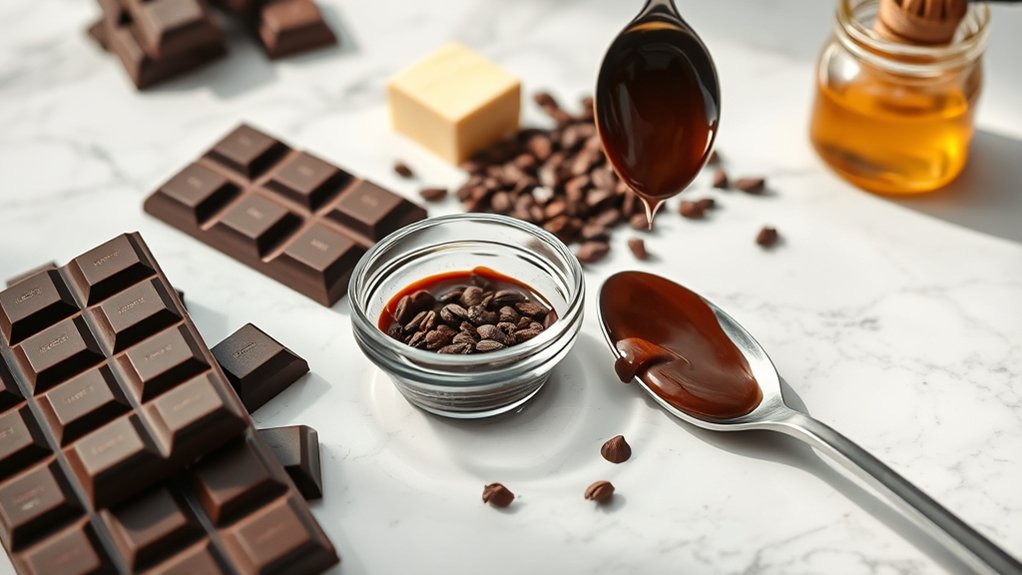
To make homemade chocolate candies, you’ll need a few essential ingredients. The first step is choosing the right chocolate bean, which affects the flavor and texture of your candies. Look for high-quality chocolate with a cocoa percentage that matches your preferred bitterness.
Generally, 60-70% cocoa provides a rich, balanced taste, while higher percentages give a more intense cocoa flavor. When selecting your chocolate, consider the type—dark, milk, or white—based on your recipe and taste preference.
Make sure to confirm you have good-quality cocoa solids and cocoa butter, which give your candies a smooth, glossy finish. Avoid cheap chocolates with fillers or additives, as they can compromise the texture and flavor.
How to Melt and Temper Chocolate for Perfect Results
Melted and tempered chocolate are essential for getting that glossy, smooth finish in your homemade candies. To melt chocolate properly, use a double boiler or microwave in short bursts, stirring often to prevent burning.
Proper melting and tempering ensure glossy, smooth, professional-quality homemade chocolates.
If you want to add flavorings, do so after melting. This helps ensure even distribution without messing up the tempering process. Tempering involves carefully heating and cooling chocolate to stabilize the cocoa butter crystals.
This process gives your candies a shiny appearance and a satisfying crunch. You can temper chocolate using the tabling or microwave method, but the key is reaching specific temperature ranges for each type of chocolate.
Proper tempering makes sure your candies don’t turn dull or streaked. Once tempered, pour the chocolate into molds or onto surfaces and work quickly before it cools down.
Mastering melting and tempering techniques guarantees professional-looking, delicious homemade chocolates every time.
How to Fill and Shape Your Homemade Chocolate Candies
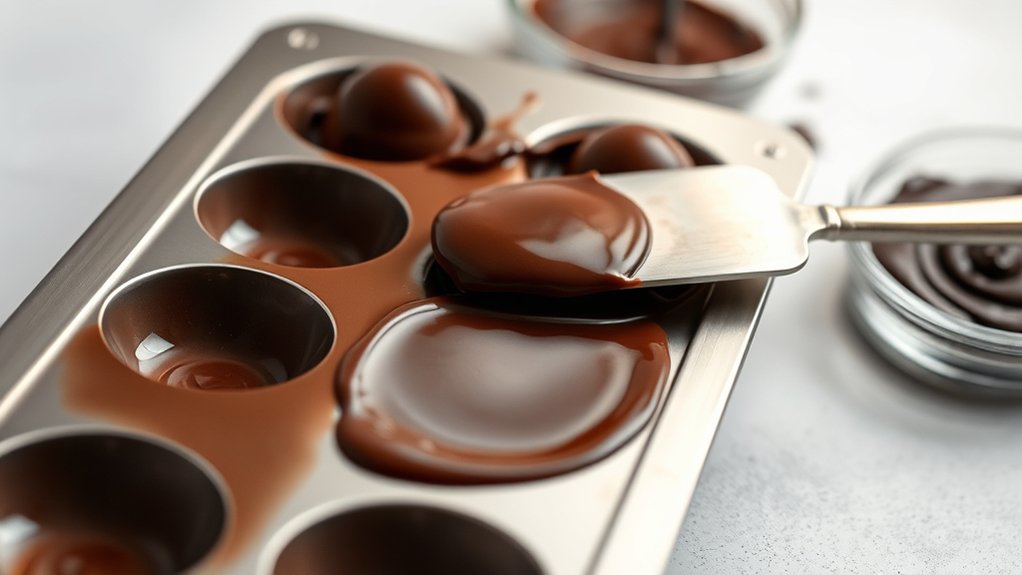
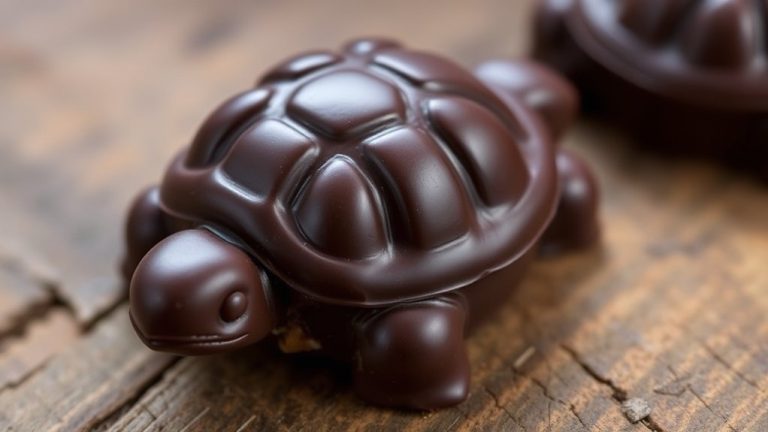
Once your chocolates are properly tempered and ready, it’s time to get creative with filling them! You can use a piping bag or a spoon—whichever you find easier—to add your favorite treats or fillings. Just be careful not to overfill, so your chocolates stay neat and look polished.
When it comes to shaping, try to keep your molds steady and work fairly quickly. This helps ensure your chocolates keep their perfect shape and have that professional finish you’re aiming for. Have fun experimenting with different fillings and designs!
Techniques for Filling Chocolates
Filling chocolates lets you add fun surprises and make them look professional right at home. Focus on good filling techniques that bring out your chocolate flavor.
First, temper your chocolate properly to get a smooth, shiny look and a sturdy shape. Use a piping bag or small spoon to carefully add your filling into the mold cavities, leaving a tiny gap at the top. Be careful not to overfill, as overflow can mess up the final shape.
Once filled, cover with more melted chocolate to seal the filling inside. Gently tap the mold to remove air bubbles and help the filling settle evenly. These simple steps help you make clean, attractive chocolates with delicious centers.
Shaping Tips and Tricks
After filling your molds, shaping your chocolates becomes the next exciting step. To get professional-looking treats, focus on smooth, even edges and uniform shapes. Use a small spatula or toothpick to tidy up any excess chocolate around the edges.
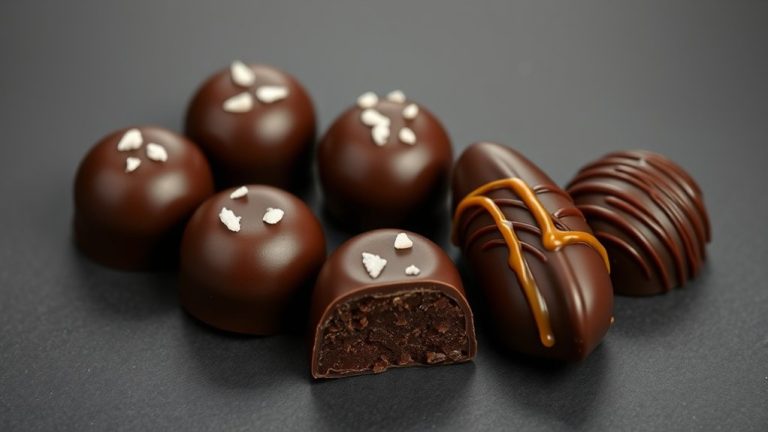
For decorating, try adding edible gold leaf or drizzles of contrasting chocolate for visual appeal. When it comes to presentation, use colorful wrappers or arrange your candies on a decorative platter.
Chill your shaped chocolates in the refrigerator to set their form quickly and prevent melting. For a polished finish, consider piping designs or dusting with cocoa powder.
These shaping tips will help you create beautifully crafted candies that impress both visually and taste-wise.
How to Add Flavors, Nuts, or Fillings to Your Chocolates
Have you ever wondered how to customize your chocolates with exciting flavors, nuts, or fillings? To do this, start by choosing your desired flavor combinations—think fruity, spicy, or creamy.
For flavor infusions, add extracts, zest, or spices directly into the melted chocolate before pouring. When adding nuts, pick from varieties like almonds, hazelnuts, or pistachios, and chop them into small pieces for even distribution.
Toast nuts beforehand to boost their flavor and crunch. For fillings, pour a small amount of chocolate into molds, then add a spoonful of caramel, fruit preserves, or ganache before covering with more chocolate.
Gently tap the mold to remove air bubbles and keep the filling centered. Mixing different textures and flavors creates a delightful contrast in your homemade chocolates.
How to Cool and Set Your Homemade Chocolates
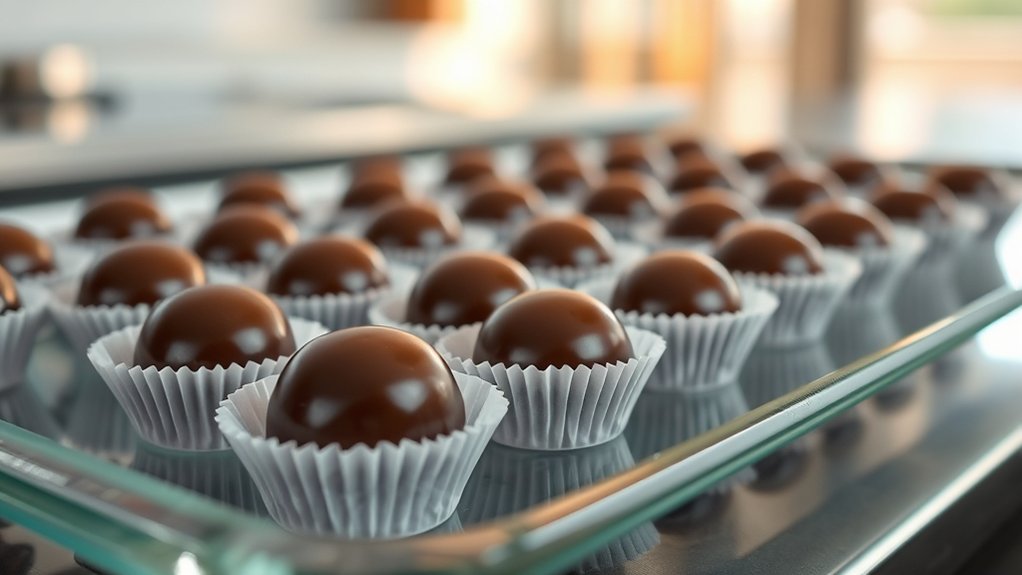
Cooling and setting your homemade chocolates the right way is key to getting that glossy look and satisfying snap. When you control the temperature properly during cooling, your chocolates will harden evenly and avoid bloom or dullness.
Proper cooling ensures shiny, crisp chocolates free from bloom or dullness.
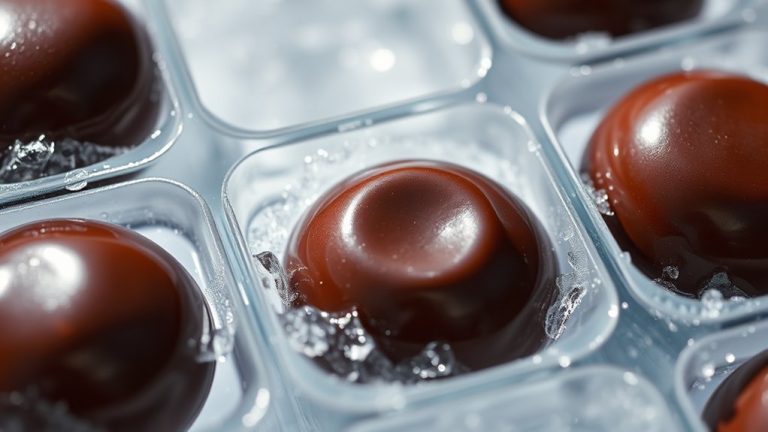
Choose the best cooling method based on your space and how much time you have. You can pop them in the fridge for a quick set, but don’t leave them too long to avoid condensation. Cooling at room temperature in a cool, dry spot works well for more even setting.
Make sure the environment isn’t too humid or warm, as that can mess with the finish. Using a silicone mold makes removal easier and helps with even cooling. Placing chocolates on a wire rack allows air to circulate around them.
If using the fridge, keep the door closed to maintain a consistent temperature. Mastering these techniques will give your chocolates that perfect shine and texture every time.
How to Package and Store Your Handmade Chocolate Candies
Proper packaging and storage are key to keeping your homemade chocolates fresh, shiny, and delicious for longer. Use gift wrapping like clear cellophane bags, decorative boxes, or foil wrappers to present your candies attractively.
Make sure each piece is separated with parchment or tissue paper to prevent sticking and damage. Label designing is also important. Include details like flavor, date made, and expiration for a professional look and easy identification.
Store chocolates in a cool, dry place away from direct sunlight, ideally between 60-70°F. Avoid humidity, which can cause blooming or spoilage.
Here’s a quick guide:
| Packaging Method | Storage Tips | Label Design Ideas |
|---|---|---|
| Gift boxes | Keep in a cool, dry area | Include flavor and date |
| Cellophane bags | Seal tightly to prevent air exposure | Use colorful labels |
| Foil wrappers | Avoid moisture | Write ingredients and notes |
Proper packaging ensures your chocolates stay beautiful and tasty longer.
Troubleshooting Common Chocolate Making Problems
When making chocolate at home, issues like blooming, seizing, or uneven texture are common, but most can be fixed easily with the right tips. Blooming happens when fat or sugar rises to the surface, affecting how the chocolate looks and feels.
Seizing occurs when moisture makes the chocolate grainy and difficult to work with. To fix these problems and improve flavor, try gently reheating and stirring the chocolate, or adding small amounts of warm, neutral-flavored fat to smooth it out.
Make sure all your utensils are completely dry before melting to prevent seizing and blooming. Use a double boiler or microwave in short bursts to avoid overheating and burning your chocolate.
Adding small bits of warm fat can help restore smoothness if the texture gets rough. Keep the temperature steady and avoid moisture to keep your chocolate smooth and shiny.
Creative Ideas to Customize Your Homemade Chocolate Treats?
Get creative with your homemade chocolates by adding a variety of mix-ins and toppings that boost their flavor and visual appeal. Try experimenting with different chocolate pairings like peanut butter, caramel, or fruit pieces to create unique flavor combinations.
Incorporate nuts, dried fruits, or crushed cookies for extra texture and a pop of color. Use decorative techniques like drizzling with contrasting chocolate, sprinkling edible glitter, or adding colorful sprinkles to make your treats stand out.
You can also sprinkle sea salt on dark chocolates or dust with cocoa powder for a more sophisticated touch. Molded chocolates can be personalized with stamped designs or embossed patterns for a polished look.
Frequently Asked Questions
Can I Use Milk or Dark Chocolate Interchangeably?
You can switch between milk and dark chocolate, but keep in mind their different flavors and melting points. Milk chocolate has a milder, sweeter taste, while dark chocolate offers a richer, more intense chocolate flavor.
Because of their melting points, milk chocolate melts at a lower temperature, so you might need to adjust your heating time slightly. Using either is fine, but think about the flavor profile you prefer for your candy.
How Long Do Homemade Chocolates Stay Fresh?
Homemade chocolates stay fresh for about two weeks if stored properly. Did you know that proper storage tips can help extend their shelf life by keeping moisture and air out?
To keep your chocolates fresh longer, store them in an airtight container in a cool, dark place. Keep them away from direct sunlight to maintain their flavor and texture.
What Are Safe Substitutes for Chocolate if Allergic?
If you’re allergic to chocolate, you can try allergy-friendly ingredients like carob, which has a similar flavor and texture. Safe alternative sweeteners like maple syrup or honey work well to add sweetness without triggering allergies.
Always check labels for potential allergens, and consider experimenting with coconut or seed butters, such as sunflower or tahini. These can help you create delicious, safe treats that satisfy your sweet tooth without risking an allergic reaction.
Can I Make Vegan or Dairy-Free Chocolate Candies?
Yes, you can make vegan or dairy-free chocolate candies. Use vegan ingredients like cocoa butter, coconut milk, or almond milk as dairy-free options.
Choose plant-based sweeteners like maple syrup or agave nectar. Mix these with high-quality cocoa powder and vegan-friendly emulsifiers for a smooth, rich texture.
With these dairy-free ingredients, you’ll create delicious vegan chocolates that everyone can enjoy, no matter their dietary restrictions.
How Do I Prevent Chocolates From Blooming or Developing a Whitish Coating?
To prevent chocolates from blooming or getting a whitish coating, focus on proper tempering and storage. Temper your chocolate carefully to stabilize the cocoa butter, which helps keep it shiny and smooth.
Store your candies in a cool, dry place away from humidity and direct sunlight. Avoid temperature fluctuations, as they can cause blooming and dull the finish.
Proper tempering and storage are key to maintaining that glossy look and preventing the unattractive white coating from forming.
Conclusion
Now that you know the steps to make your own chocolates, imagine impressing friends at your next party with personalized treats.
For example, Sarah added caramel and sea salt to her chocolates, turning them into a crowd favorite. With a little practice, you’ll master the art of homemade chocolates and create delicious, customized candies that everyone will love.
So grab your ingredients, follow these simple steps, and start crafting your own sweet masterpieces today. Making homemade chocolates is easier than you think, and it’s a fun way to add a personal touch to any occasion.