7 Simple Steps to Coat Candy in Chocolate
Many people love making homemade candies, but coating them in chocolate can feel tricky. You’re not alone if you’ve struggled with achieving a smooth, glossy finish or if your candies stick to the parchment. The good news is, with a few simple steps, you can master the perfect chocolate coating for your treats.
To coat candy in chocolate, start by preparing your candies—dry them well for even coverage.
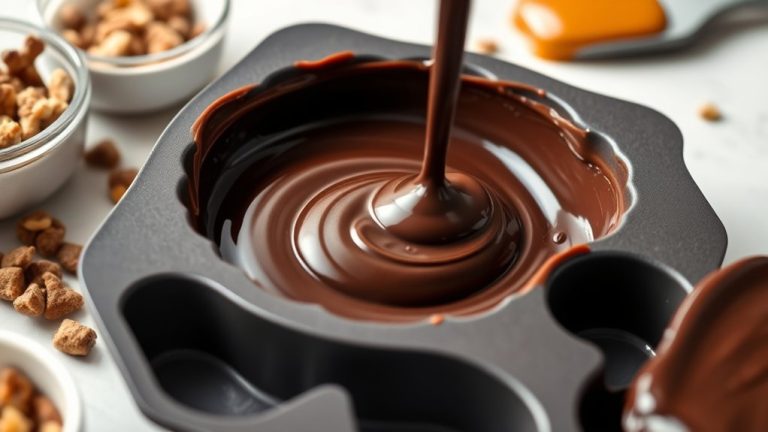
Next, pick a suitable chocolate, like couverture or compound, and melt it gently, stirring constantly.
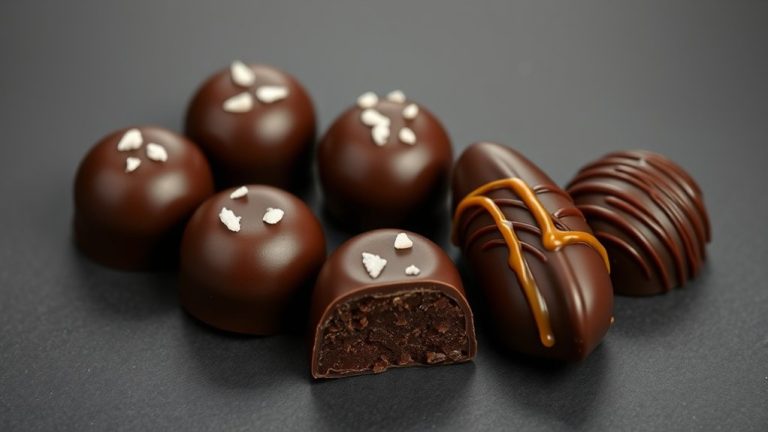
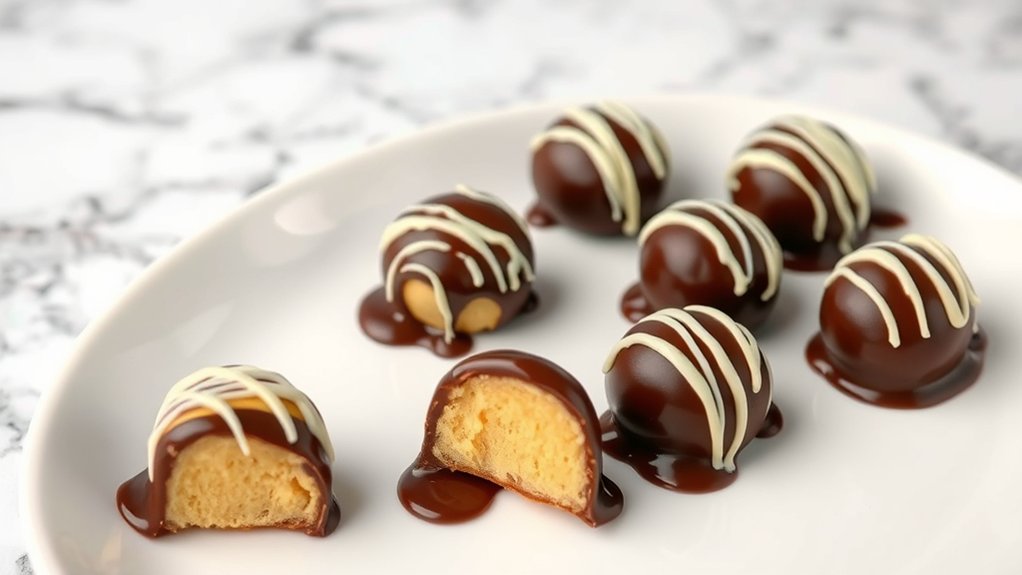
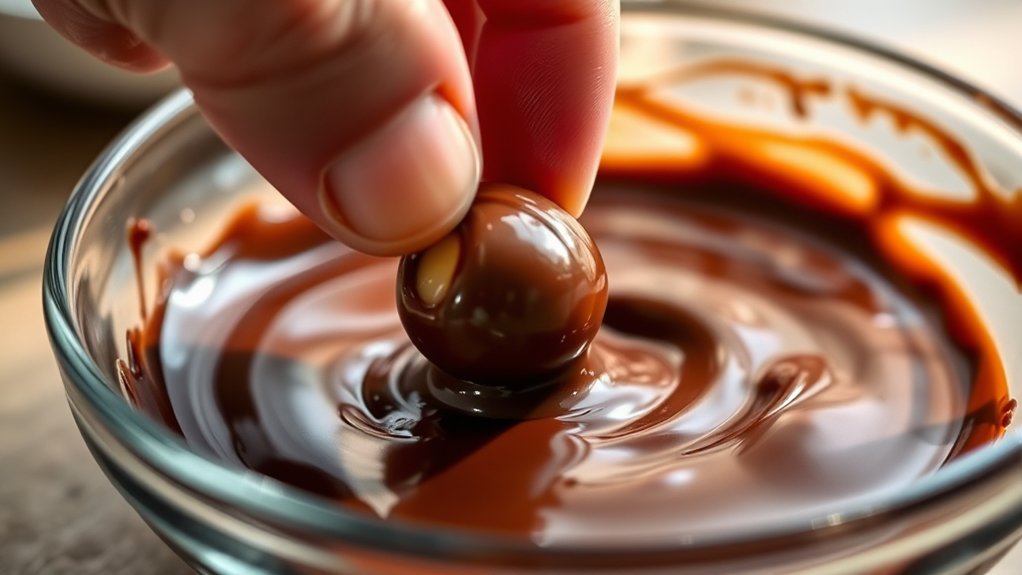
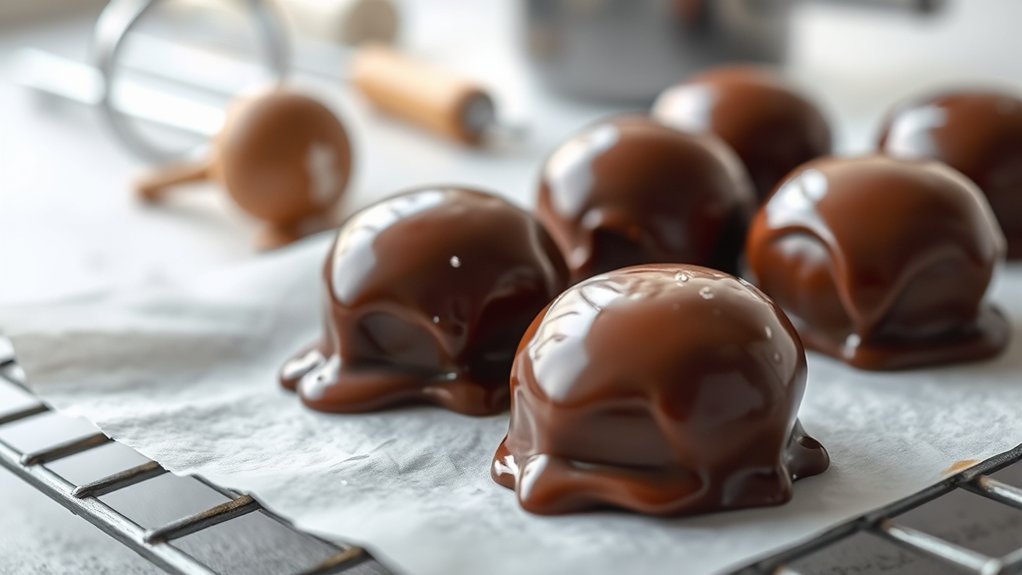
Dip your candies using a fork or dipping tool, ensuring they’re fully coated, then place them on parchment to set.
Let the chocolate cool naturally at room temperature for a glossy finish.
For more tips to master perfect coating, keep going.
Key Takeaways
- Prepare your candies so they’re dry, uniform in size, and completely cooled before dipping. This helps everything set nicely and looks better.
- Melt the chocolate gently using a double boiler or microwave, stirring constantly. This keeps it smooth and prevents seizing.
- Fully submerge each candy in the melted chocolate with a dipping tool, then let the excess drip off. This ensures a nice, even coating.
- Place the coated candies on parchment paper and let them set at room temperature. You’ll get a glossy finish once they’re ready.
- Store your candies in an airtight container in a cool, dark spot. This keeps them fresh and shiny for longer.
Getting Your Candies Ready for Chocolate Coating
Before coating your candies in chocolate, it’s important to prepare them properly. Start with candy preparation by ensuring each piece is smooth, dry, and uniform in size.
If your candies are sticky or moist, they might not stick well to the chocolate, so pat them dry or let them air-dry completely. You can also consider flavor enhancements at this stage—adding a light dusting of powdered sugar, cocoa powder, or a sprinkle of sea salt can boost taste and make your candies more appealing.
If you’re working with homemade candies, make sure they’re cooled completely before dipping. For store-bought options, check that they’re free of excess moisture or oil.
Proper preparation ensures your candies will stick evenly, look attractive, and taste great. Taking these steps now makes the entire coating process smoother and results in a more professional-looking finish.
Picking the Best Chocolate for Coating
Picking the best chocolate for coating really comes down to what kind of coating you’re aiming for and how it melts at different temperatures. It’s good to think about the flavor and texture you want—whether you’re after something smooth and creamy or crunchy and firm.
Getting these details right will help you choose the perfect chocolate for your coating project, making sure your candies turn out just how you want them!
Types of Coating Chocolates
When choosing the right coating chocolate, it’s important to consider its type and how it melts. Different chocolates bring unique flavors that can influence your candy-making process. You can pick from:
| Type of Coating Chocolate | Best For |
|---|---|
| Compound Chocolate | Easy melting, no tempering |
| Couverture Chocolate | Smooth finish, professional results |
| White Chocolate | Light flavor, versatile use |
Compound chocolate is perfect for quick, simple coatings. Couverture offers a richer chocolate flavor for more refined candies. White chocolate adds a sweet, creamy touch, making it great for decorative coatings. Your choice depends on the texture, appearance, and flavor you want for your candies.
Melting Point Considerations
Understanding the melting points of different coating chocolates is key because it affects how easily they melt and how smoothly they coat your candies. You want a chocolate with good temperature stability so it doesn’t seize or burn easily during melting.
Some chocolates have higher melting points, making them more forgiving and easier to work with, especially in warmer environments. Ingredient compatibility also matters; choose chocolates that work well with your processing methods to prevent issues like blooming or poor adhesion.
For example, couverture chocolates often have a lower melting point and a smoother consistency, which is great for a glossy finish. Picking the right melting point ensures your chocolate coats are even, shiny, and look professional without any fuss or frustration.
Flavor and Texture Choices
Selecting the right chocolate for coating depends heavily on the flavor profiles and textures you prefer, as these elements significantly impact the final appearance and taste of your candies. For flavor infusion, pick chocolates with subtle or bold notes that match your fillings, like dark chocolate for richness or milk chocolate for sweetness.
Texture improvement involves choosing chocolates that give the mouthfeel you want—smooth, glossy, or slightly firm. High-quality couverture chocolate is a great choice for a shiny finish and better consistency. If you want a richer flavor, go for dark chocolate to add depth, or white chocolate for a creamy, sweet touch.
Matching your chocolate choice to your candy’s flavor and texture goals will help you achieve a more appealing, professional-looking result.
Melting Chocolate Perfectly Without Seizing
Ever wonder how to melt chocolate smoothly without it seizing up? The key is gentle heat and patience. Use a double boiler or microwave in short bursts, stirring constantly. This helps prevent the chocolate’s natural oils from separating, which can cause seizing.
Keep the chocolate’s flavor rich and smooth by avoiding overheating. High temperatures can scorch the chocolate and ruin its taste. If you notice the chocolate starts to seize, add a small amount of vegetable oil or shortening to smooth it out.
Proper candy storage before melting guarantees the chocolate stays fresh and easy to work with. Store chocolate in a cool, dry place away from moisture, as humidity can cause it to seize during melting.
Dipping and Coating Candies Effectively
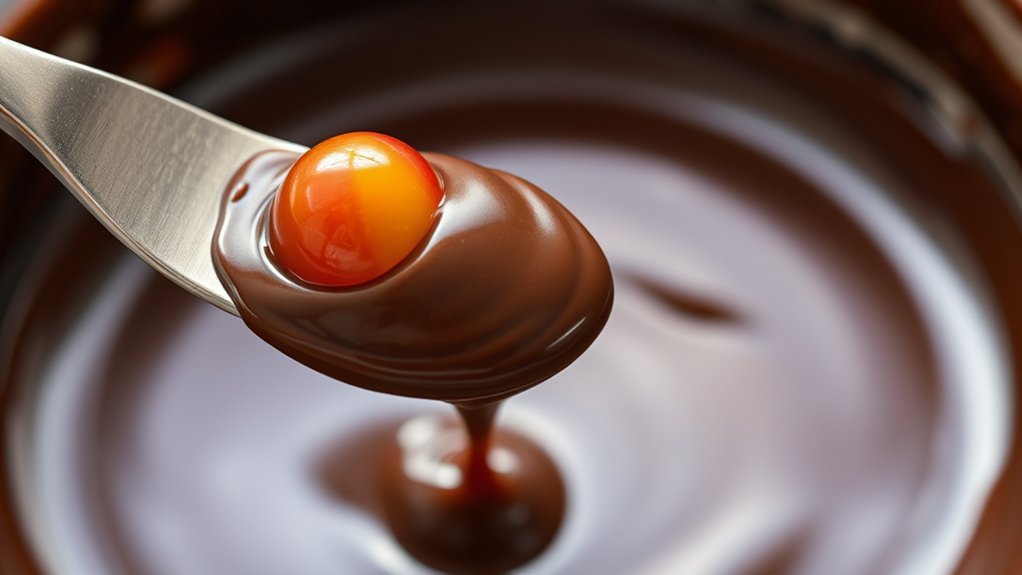
To get a smooth, even coating when dipping candies, work quickly and carefully. Use a fork or dipping tool to fully submerge each piece into the melted chocolate, then lift it out and let excess drip back into the bowl. This keeps the coating even and prevents drips.
Keep your candies steady as you work so you don’t disturb the coating. Once coated, place them on a parchment-lined tray to set. Proper wrapping during this process is key to avoiding cracks or smudges as they cool.
When it’s time to package, handle the candies gently to avoid damaging the chocolate shell. Using good packaging techniques, like wrapping individually or placing candies in clear boxes, helps preserve their look and prevents breakage.
Creating a Smooth, Even Chocolate Shell
Want that smooth, even chocolate shell? The trick is to keep your coating consistent by controlling how you dip. A steady, gentle motion helps you achieve an even layer without any drips or uneven spots.
And don’t forget about tempering! Getting your chocolate properly tempered gives it that beautiful shine and the perfect texture. It’s what makes your candies look professional and tempting.
Once you master these simple techniques, you’ll get a flawless finish every time—and your chocolates will look as good as they taste!
Achieve Consistent Coating Thickness
Achieving a consistent coating thickness is key to creating a smooth, professional-looking chocolate shell. Focus on controlled dipping and gentle tapping to remove excess chocolate.
Use decorating techniques like swirling or drizzling to help distribute the chocolate evenly. Consistency in your dipping speed and angle ensures everyone gets a uniform coverage.
Pay attention to the thickness of your coating; too thick can cause cracking, while too thin may lead to damage. Incorporate flavor combinations thoughtfully, balancing richness with the right coating depth.
Practice patience and steady movements to build muscle memory. This will help you achieve a smooth shell every time. With careful regulation, you’ll produce candies with a flawless, even coating that looks great and tastes delicious.
Use Proper Tempering Techniques
Mastering proper tempering is key to creating a smooth, glossy chocolate shell that holds its shape and looks professional. Proper tempering also enhances the chocolate flavor and gives you a crisp, even candy texture.
To do this right, follow these steps: First, melt the chocolate carefully to about 115°F (46°C) for dark chocolate. Then, cool it down to 82°F (28°C).
Next, gently reheat the chocolate to 88-90°F (31-32°C), keeping the temperature steady. Be sure to stir constantly so the heat distributes evenly and streaks don’t form.
Finally, test the temper by spreading a small amount on parchment paper. It should set quickly and have a shiny surface.
Using these techniques guarantees a beautifully tempered chocolate that looks great, tastes fantastic, and forms a perfect shell around your candies.
Cooling and Setting Your Coated Candies
Have you ever wondered why some coated candies turn out perfectly shiny and smooth while others look dull or misshapen? The secret is in how you cool and set them. After dipping, place your candies on a parchment-lined tray, making sure they aren’t touching.
Let them sit at room temperature or in a cool, dry spot to let the chocolate firm up naturally. Avoid putting them in the fridge right away because quick cooling can cause condensation, which ruins the glossy finish.
Once they’re set, store your candies in an airtight container in a cool, dark place. This helps keep their shine and texture intact. Proper cooling not only makes your candies look better but also prevents sticking or blooming, which dulls the surface.
Troubleshooting Common Chocolate Coating Issues
Even with careful cooling, you might face issues with your chocolate coating that can affect how your candies look and feel. Common problems include dull or streaky chocolate, cracks, or uneven coating. To fix these, try the following tips:
Seizing or streaky chocolate happens if the chocolate overheats or gets moisture. Gently reheat it, stirring constantly, and keep water away to keep it smooth and shiny.
Cracks in the coating are usually caused by rapid cooling, which makes the chocolate contract. To prevent this, cool your candies slowly at room temperature before chilling.
Uneven coating can happen if you dip inconsistently. Use a fork or dipping tool for a smooth and even layer.
Chocolate not setting properly means it stays sticky. This can be due to warmth or humidity. Chill your candies in a dry space and make sure your chocolate is properly tempered for a glossy, firm finish.
Frequently Asked Questions
How Do I Prevent Chocolate From Cracking After Coating?
To prevent chocolate from cracking after coating, make sure you properly temper the chocolate. This stabilizes the cocoa butter crystals and helps create a smooth, glossy finish. It also keeps the candy shell strong and less likely to crack.
Avoid temperature fluctuations and quick cooling, as these can cause stress in the chocolate. Gently temper and cool your candies at a steady pace to keep the coating even and durable.
Taking your time with the tempering process and cooling carefully will help prevent cracks and give you a nice, smooth coat.
Can I Reuse Leftover Melted Chocolate?
Yes, you can reuse leftover melted chocolate if it’s been tempered properly. Reheating chocolate for candy dipping needs gentle warming to keep its temper, so it stays smooth and shiny.
To reuse it, melt it carefully again, avoiding overheating, and stir well. Keep in mind that re-tempering might be needed to ensure the chocolate stays perfect for coating.
Proper tempering helps prevent cracking and gives a shiny, professional finish.
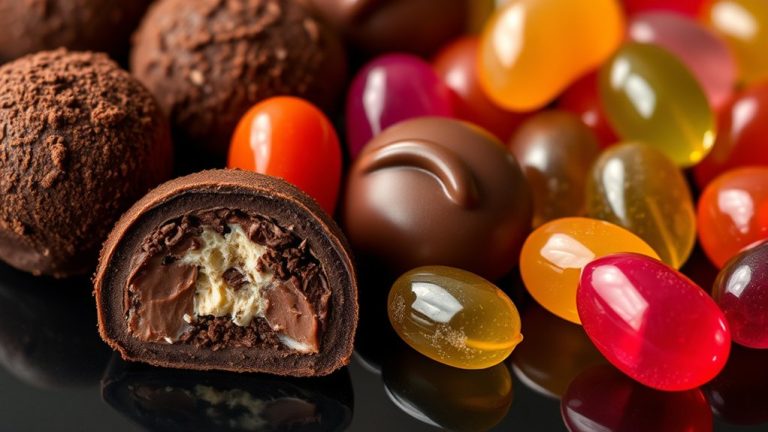
What Are Alternative Coatings if I Dislike Chocolate?
Did you know that over 60% of people prefer fruit glazes or yogurt dips over chocolate? If you dislike chocolate, try coating your candies with fruit glazes for a shiny, flavorful finish or use yogurt dips for a creamy, tangy alternative.
These options add variety and appeal, making your treats just as delicious. Experimenting with different coatings keeps your candy game fresh and exciting!
How Long Can Coated Candies Be Stored?
You can store coated candies for about one to two weeks at room temperature, or up to a month if refrigerated. Proper storage helps keep the coating intact and preserves the chocolate.
Make sure to keep the candies in an airtight container to prevent moisture and odors from getting in. Avoid exposing them to direct sunlight or heat, as this can cause melting or spoilage.
If you want to store them longer, freezing is an option. Just be sure to wrap the candies tightly to prevent freezer burn.
Is It Possible to Coat Hot Candies Without Melting Them?
Yes, you can coat hot candies without melting them if you pay attention to candy temperature and chocolate consistency.
To prevent melting, let the candies cool slightly so they’re warm but not hot. Achieving the right chocolate consistency—smooth and glossy—ensures proper coating.
A slightly cooled candy surface helps the chocolate adhere better without melting, making your coating process easier and more successful.
Conclusion
Now that you’ve mastered these steps, coating candies in chocolate becomes as smooth as pouring syrup over pancakes. Think of your process like painting a masterpiece—each careful stroke and gentle touch results in a flawless finish.
With patience and practice, you’ll turn simple candies into shiny, delicious treats that look as good as they taste. So go ahead, dip, coat, and enjoy the sweet success of your perfectly chocolate-covered creations!