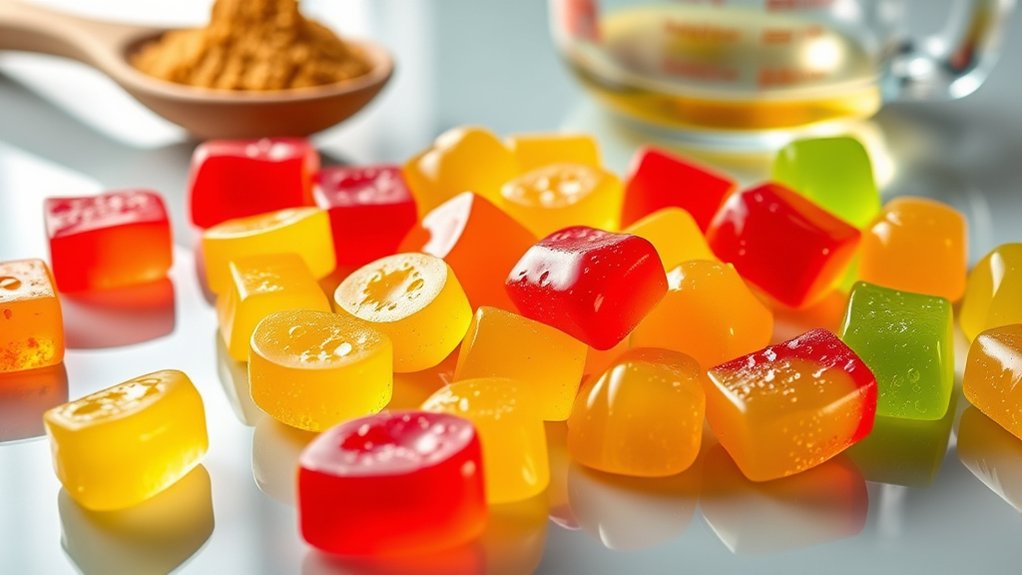
DIY Guide to Make Sugar-Free Gummy Candy at Home
Many people love gummy candies but struggle with finding healthier, sugar-free options that taste just as good. If you’re trying to cut back on sugar but still crave that chewy, fruity treat, you’re not alone.
To make sugar-free gummy candy at home, start by selecting natural sweeteners like stevia, erythritol, or monk fruit.
Choose your preferred gelling agent, such as gelatin or agar-agar.
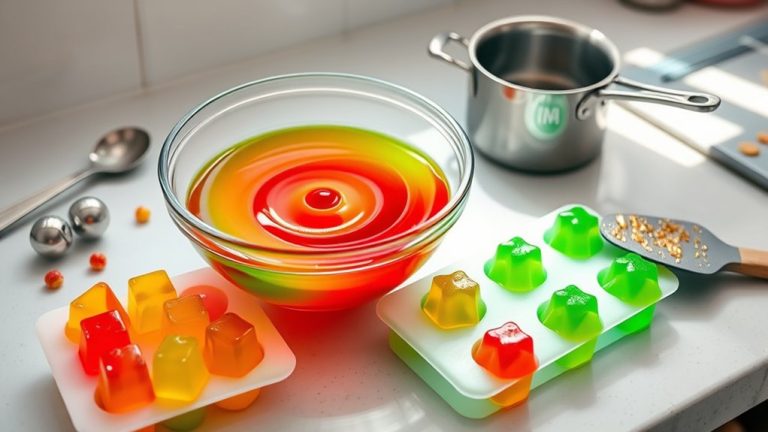
Mix fruit juice or flavor extracts with the sweetener, then carefully dissolve the gelling agent.
Pour the mixture into molds and refrigerate until set.
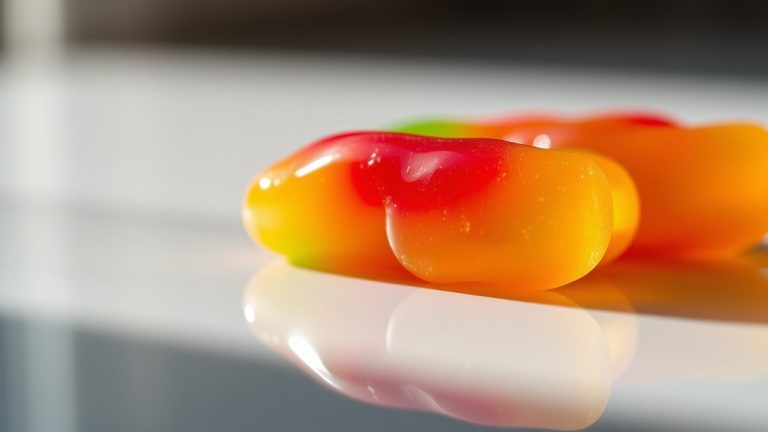
You can customize flavors, colors, and textures to suit your taste.
Keep exploring for more tips to craft perfect, healthy gummies.
Key Takeaways
- Choose natural gelling agents like gelatin or agar-agar, and pick sugar substitutes such as stevia or erythritol for sweetness.
- Bloom and gently dissolve the gelling agent in liquid. Add natural flavorings and colors during heating for even distribution.
- Pour the mixture into silicone molds. Let it set at room temperature, then refrigerate for at least an hour to firm up.
- Store gummies in airtight containers with parchment paper. Keep them cool and dry to extend shelf life.
- Customize flavors and textures by adjusting gelling agent levels, using fruit purees, and selecting dietary-specific ingredients.
What Ingredients Do You Need for Sugar-Free Gummies?
To make sugar-free gummies at home, you’ll need a few essential ingredients. First, pick a base for your gummies, like gelatin or agar-agar, to get the right gummy texture. Gelatin gives a chewy, traditional feel, while agar-agar creates a firmer, plant-based alternative.
Next, choose your sweetener substitutes. Instead of sugar, options like stevia, erythritol, or monk fruit sweetener work well without adding carbs. These keep the gummies sweet without affecting the texture.
You’ll also want a liquid component, such as fruit juice or flavored water, to give your gummies taste and color. For added flavor or natural coloring, consider using extracts, fruit purees, or vegetable juices.
Keep in mind, combining these ingredients properly will ensure your homemade gummies have the perfect texture, are sweet without sugar, and are fun and healthy to enjoy.
How to Choose Natural Sweeteners for Your Gummies
When you’re picking out natural sweeteners for your gummies, it’s good to think about how each one will change the flavor and texture. For example, honey, maple syrup, and stevia all have their own unique tastes and consistencies. So, it’s helpful to choose the one that matches the kind of candy you’re aiming for.
Also, keep in mind that some sweeteners might make your gummies sweeter or alter how they feel in your mouth. So, considering these factors can help you create the perfect, natural treat!
Types of Natural Sweeteners
Choosing the right natural sweetener is key for making tasty sugar-free gummies because it affects both flavor and texture.
Natural sweeteners include options like stevia, monk fruit extract, erythritol, and xylitol. Unlike artificial sweeteners, these come from natural sources and usually have fewer aftertastes.
Stevia is very sweet and works well in small amounts, while monk fruit offers a mild sweetness with minimal aftertaste. Erythritol and xylitol are sugar alcohols that provide bulk and taste closer to sugar, making them popular choices.
When choosing, think about your desired level of sweetness, how each may affect digestion, and how they interact with other ingredients. Natural sweeteners help you create healthier gummies without sacrificing flavor or texture.
Flavor and Texture Impact
Selecting the right natural sweetener isn’t just about how sweet it is — it also greatly affects the flavor and texture of your gummies. Different sweeteners change how chewy or firm your candies turn out.
For example, stevia offers a clean sweetness with a slight aftertaste, while monk fruit has a more neutral flavor. Your choice impacts flavor balance, so think about how the sweetener blends with other ingredients.
Some sweeteners, like erythritol, can create a more crystalline texture, making gummies firmer. Liquid sweeteners, on the other hand, tend to produce softer, more elastic candies.
Experimenting with combinations can help you find the perfect harmony of flavor and texture. Ultimately, your choice shapes the overall experience, so pick based on your desired chewiness and taste profile.
Step-by-Step: Making Homemade Sugar-Free Gummies
Making homemade sugar-free gummies is pretty simple and fun! First things first, you’ll want to gather all your ingredients and supplies — things like gelatin and natural sweeteners. Once you’ve got everything together, you can start preparing the gelatin mixture by dissolving everything thoroughly. Just make sure to mix well so there are no lumps.
After that, pour the mixture into your favorite molds and give them a little time to set. Once they’re firm and ready, you can pop them out and store them properly. Keeping them in an airtight container will help them stay fresh and delicious for longer!
Ingredients and Supplies Needed
Before you start making your sugar-free gummies, gather all the necessary ingredients and supplies to guarantee a smooth process. You’ll need gelatin or a plant-based alternative, along with flavoring extracts like fruit or vanilla.
For sweetness, choose a sugar substitute such as erythritol or stevia. Make sure it’s suitable for cooking. Prepare your Gummy mold options—silicone molds are popular for their easy release and variety of shapes.
You’ll also need a small saucepan, a whisk, and a spatula for mixing. Once your gummies are ready, consider packaging ideas like resealable bags or small jars to store and gift your treats.
Having everything on hand beforehand helps streamline the process and makes your homemade gummies even more enjoyable.
Preparing the Gelatin Mixture
Start by blooming your gelatin to make sure it dissolves smoothly and gives your gummies a firm, chewy texture. Simply sprinkle the gelatin evenly over a small amount of cold water or liquid so it can absorb and swell.
This step helps the gelatin dissolve fully when heated, giving you a consistent, gel-like texture in your candies. Once bloomed, gently warm the mixture over low heat, stirring constantly until the gelatin is completely dissolved—avoid boiling, as that can affect the texture.
If you want to add flavor variety, mix in natural extracts or flavor concentrates during this stage. Proper blooming ensures your gummies will have a smooth, gel-like consistency, and the flavor adjustments let you personalize your candies to match any taste preference.
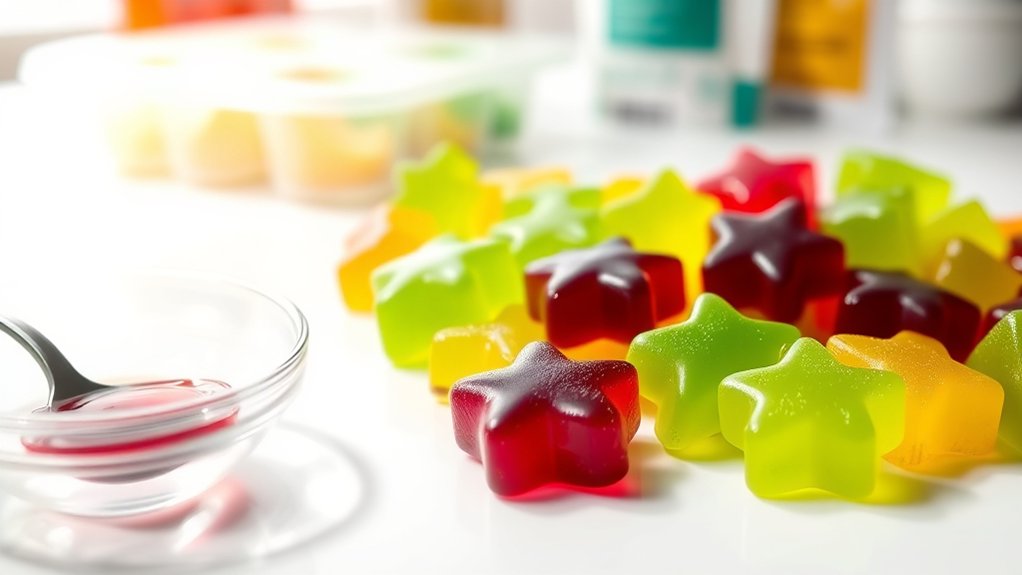
Setting and Storing Gummies
Ever wondered how to guarantee your homemade gummies set perfectly and stay fresh? Once you’ve poured your mixture into a gummy mold, let it sit at room temperature for about 30 minutes, then refrigerate for at least an hour to make sure they firm up.
Using a silicone gummy mold makes removal easier and helps maintain their shape. After setting, carefully pop the gummies out and store them in an airtight container.
Keep your gummies in a cool, dry place or in the fridge to maximize their shelf life, which is typically about one to two weeks. Properly stored, they stay chewy and fresh, ready for snacking anytime.
Tips for Achieving the Perfect Chewy Texture
Achieving the perfect chewy texture in homemade sugar-free gummy candies depends on choosing the right ingredients and controlling the cooking process. Using high-quality gelatin or agar-agar is key because these ingredients directly affect the chewiness.
Dissolve the gelatin thoroughly over low heat, making sure not to boil it. Boiling can weaken its gelling power, so gentle heating is best. Add a small amount of sweetener like erythritol or xylitol to boost gel strength, but don’t add too much, as it can change the texture.
Stir constantly to ensure even distribution and prevent clumping. Let your gummies set completely at room temperature or in the fridge. Proper setting time is essential for that perfect chewiness.
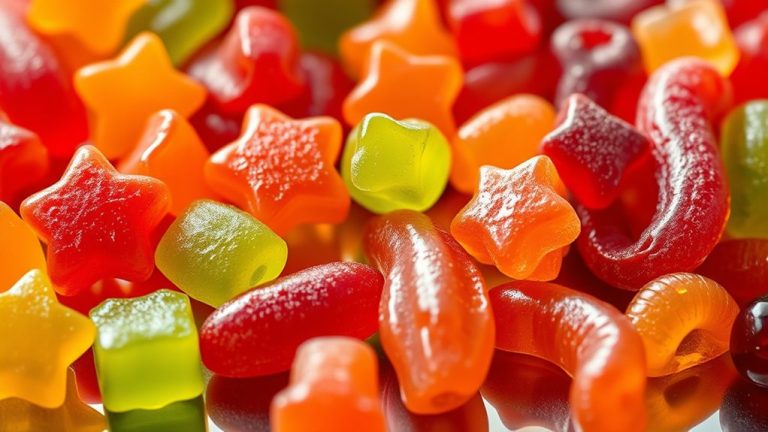
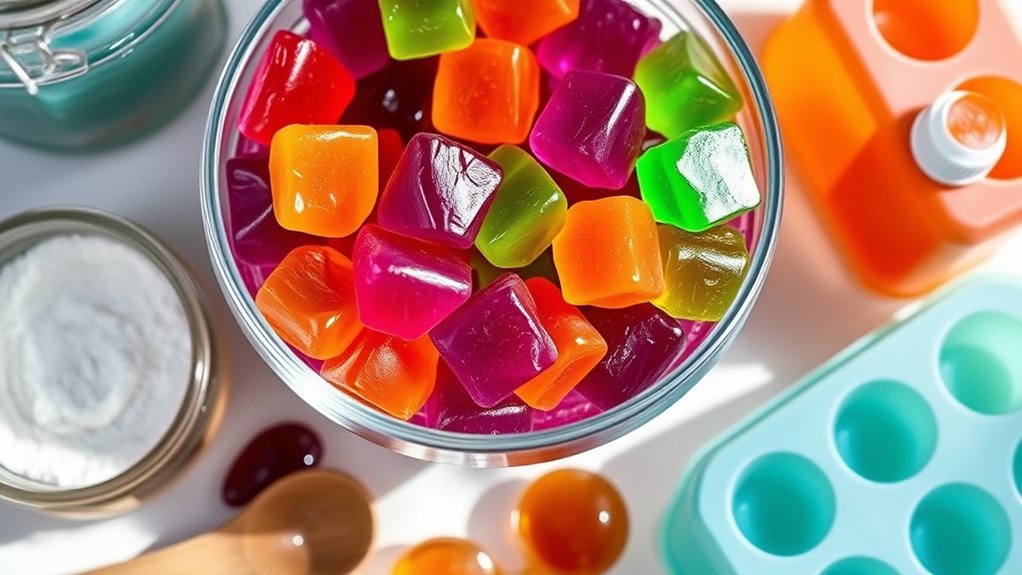
How to Customize Flavors and Colors in Your Gummies
Want to make your gummies truly your own? It’s pretty simple—just pick natural flavorings like fruit extracts or herbs that you love. That way, you can tweak the taste to match your mood or favorite flavors.
And don’t forget about the colors! Food coloring is your friend here. You can create all kinds of vibrant, eye-catching hues. Just play around with the amount you add to get the perfect color intensity. Try mixing different shades to see what fun combinations you can come up with.
Feel free to experiment until you find the flavor and color combo that makes your homemade gummies just right. It’s all about having fun and making treats that are uniquely yours!
Choosing Natural Flavorings
Choosing natural flavorings for your homemade gummies lets you customize their taste and look without any artificial stuff.
To create balanced flavor pairings, try using natural extracts like lemon, vanilla, or peppermint to boost your flavor profile.
You can also mix fruit-based extracts like strawberry and raspberry for a bright, fruity taste.
Don’t hesitate to experiment with herbal extracts like lavender or basil to add some complexity.
Finally, pick flavors that match your favorite color palette, making sure the natural extracts work well together.
Incorporating Food Coloring
Adding food coloring to your homemade gummies can really make them look more appealing and match the flavors you’ve chosen. You can pick from vibrant gels, liquids, or powders, depending on how intense you want the color and how easy it is to mix.
If you want to keep things natural, try using fruit or vegetable purees like beet juice or spinach extract. These not only give you beautiful colors but also boost the flavor of your gummies.
Start with a small amount of color and add more gradually until you get the shade you like. Natural color extraction is a gentle, healthier choice compared to synthetic dyes, so you can customize your gummies while keeping ingredients clean and wholesome.
Adjusting Intensity Levels
Adjusting the intensity of flavors and colors in your gummies is all about gradual experimentation. To get the perfect taste and look, start with small changes. Here are some tips:
- Flavor combinations: Mix different extracts or natural flavorings to create unique blends. Taste-test before adding more to avoid overpowering.
- Color adjustments: Add tiny amounts of food coloring and wait a few minutes to see the effect. Increase gradually for richer hues.
- Texture adjustments: Change gelatin or agar levels to get the firmness you want, which can also influence flavor perception.
- Layering flavors and colors: Build complexity by adding multiple layers or sections with varying intensities. This makes your gummies more visually appealing and flavorful.
Be patient—small tweaks lead to personalized, perfectly balanced gummies.
Troubleshooting Common Problems When Making Sugar-Free Gummies
Even experienced DIYers can run into issues when making sugar-free gummies, but most problems are easy to fix. Common problems include gummies sticking to the mold, uneven texture, or spoiling too quickly.
To prevent sticking, choose a good silicone mold and lightly oil it if needed. If your gummies are too soft or sticky, check your gelling agent and make sure you’re using the right amount.
For firmer gummies, you might need more gelatin or agar agar. To help your gummies last longer naturally, add preservatives like citric acid or vitamin C powder.
Vegan, Keto, and Fruit-Infused Sugar-Free Gummy Ideas
If you’re looking to make sugar-free gummies that suit specific dietary and taste preferences, trying out vegan, keto, and fruit-infused options can make your treats more exciting.
For vegan versions, swap traditional gelatin with plant-based options like agar-agar or pectin, which set gummies without using animal products.
To keep things keto-friendly, opt for ingredients like erythritol or monk fruit sweetener to add sweetness without carbs.
Choose erythritol or monk fruit for a sweet, low-carb keto gummy experience.
Adding fruit infusion is an easy way to naturally boost flavor—try pureed berries, citrus juices, or chopped fruit for fresh, vibrant tastes.
Here are some ideas to get you started:
- Vegan agar-agar gummies with lemon and blueberry
- Keto-friendly gummies sweetened with erythritol and infused with raspberry
- Fruit-infused gummies using pureed mango and lime
- A refreshing mix of coconut water and strawberry
These options let you customize your gummies to fit your dietary needs and flavor preferences.
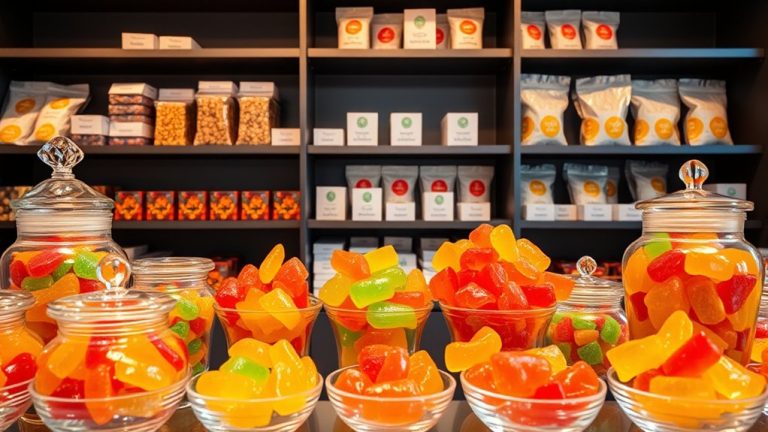
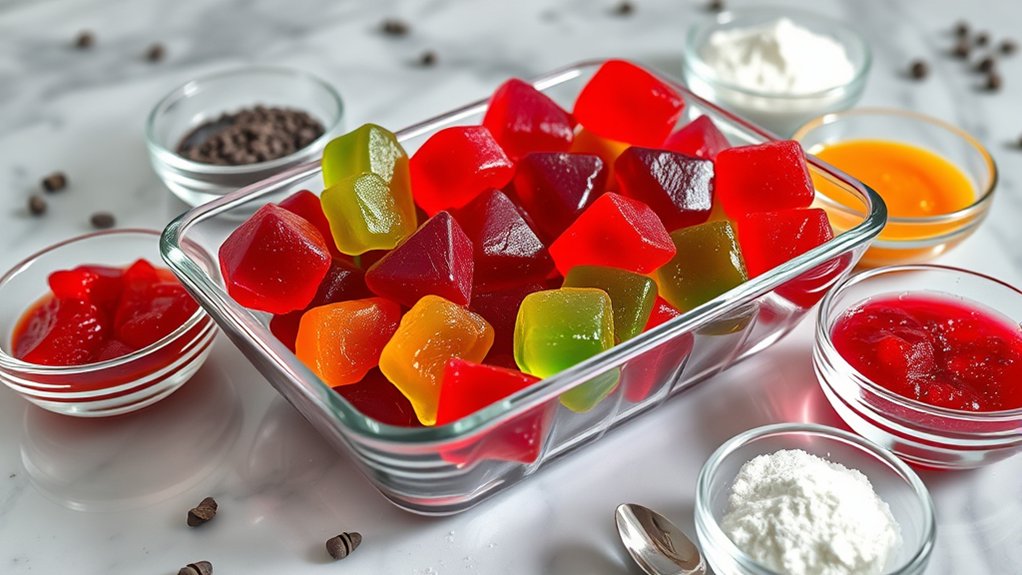
How to Store and Preserve Your Homemade Gummies
Once you’ve perfected your sugar-free gummies with your preferred flavors and dietary adjustments, proper storage becomes key to keeping them fresh and delicious. To preserve their texture and flavor, store your gummies in an airtight container, ideally lined with parchment paper to prevent sticking.
Consider your gummy mold options—silicone molds make it easy to remove individual candies without damage, helping maintain their shape and quality. When packaging your gummies, use resealable plastic bags or small glass jars for a clean, airtight seal.
You can also add a desiccant packet to absorb moisture, especially if you live in a humid climate. Store your gummies in a cool, dark place to prevent melting or discoloration.
For longer-term storage, refrigeration can extend freshness, but make sure the gummies are well-sealed to avoid absorbing other odors. Proper storage guarantees your homemade, sugar-free treats stay tasty and enjoyable.
Health Benefits and Considerations of Sugar-Free Gummies
Sugar-free gummies can offer notable health benefits, especially if you’re trying to cut back on sugar or manage conditions like diabetes. They let you enjoy a sweet treat without causing blood sugar spikes.
But it’s important to be aware of some potential health concerns. Here are a few key points to keep in mind:
- Lower calorie intake – Sugar-free candy usually has fewer calories, which can help with weight management.
- Dental health – Eating less sugar can reduce the risk of cavities and tooth decay.
- Blood sugar control – These gummies help prevent blood sugar spikes, making them a good choice for diabetics.
- Potential digestive issues – Some sugar substitutes, like sorbitol, might cause bloating or diarrhea if you eat too much.
While sugar-free gummies can be healthy, moderation is essential to avoid side effects. Always check the ingredients to understand what you’re consuming.
Frequently Asked Questions About DIY Sugar-Free Gummies
Many people have questions about making DIY sugar-free gummies at home, especially if you’re new to alternative sweeteners or want to ensure your treats are both tasty and healthy.
One common concern is how to get the perfect texture—whether chewy or firm—since sugar substitutes can affect the consistency.
When it comes to candy art, you might wonder which molds work best for detailed designs or vibrant colors.
Proper gummy packaging is also important to keep your treats fresh and appealing, so consider eco-friendly options or resealable containers.
You may ask about shelf life and storage tips; generally, homemade gummies last about a week if kept in airtight packaging.
Lastly, some wonder if alternative sweeteners impact taste. Rest assured, with the right balance, your sugar-free gummies can be both delicious and visually stunning, showcasing your candy art skills while staying fresh longer.
Frequently Asked Questions
Can I Use Alternative Gelatin Substitutes in Sugar-Free Gummies?
Yes, you can use gelatin alternatives in sugar-free gummies. Popular options include agar-agar, pectin, or carrageenan, which work well as natural substitutes.
Just make sure to check ingredient labels carefully if you or your family have allergies to natural sweeteners. Each substitute may have different setting properties and textures.
How Long Do Homemade Sugar-Free Gummies Typically Last?
Homemade sugar-free gummies usually last about 1 to 2 weeks when stored properly. You should keep them in airtight containers to maintain their freshness.
The shelf life depends on the ingredients and how you store them, so check for signs of spoilage like mold or a change in texture.
Storing your gummies in a cool, dry place helps keep them fresh longer, but for the best quality, enjoy them within this timeframe.
Are There Any Allergies Linked to Common Natural Sweeteners?
Natural sweetener allergies are possible, especially with ingredients like stevia or monk fruit, which some people might react to. While these are generally safe, they can cause allergic reactions in sensitive individuals.
Be aware of common allergenic ingredients, such as certain nuts or soy, that might be added to natural sweeteners. Always check labels and consider testing a small amount first to avoid any adverse reactions.
What Equipment Is Essential for Making Professional-Looking Gummies?
Think of your tools as the heart of your gummy masterpiece. You’ll need a sturdy silicone gummy mold, which shapes your candies perfectly, and small candy storage containers to keep your treats fresh.
A reliable saucepan, a whisk, and a dropper or spoon are also essential to pour and fill your molds neatly. With these essentials, you’ll craft professional-looking gummies that look as good as they taste.
How Can I Prevent Gummies From Sticking Together?
To prevent gummies from sticking together, make sure your gummy texture is firm yet pliable by using the right amount of gelatin.
Lightly dust the gummies with a non-stick powder like cornstarch or coconut flour before storing to help keep them separate.
Storing them in a single layer on a parchment-lined tray and avoiding overcrowding also helps prevent sticking.
Finally, keep the gummies in an airtight container at room temperature to maintain their shape and prevent clumping.
Conclusion
Now that you know how to make sugar-free gummies at home, you can enjoy healthy treats without sacrificing flavor, texture, or fun. With natural sweeteners, customizable flavors, and storage tips, you’re all set to create gummies that fit your lifestyle and taste buds.
Embrace the process, experiment with different ingredients, and indulge guilt-free. Make your treats vibrant, chewy, and uniquely yours—because delicious, nutritious, and personalized gummies are just a few steps away.