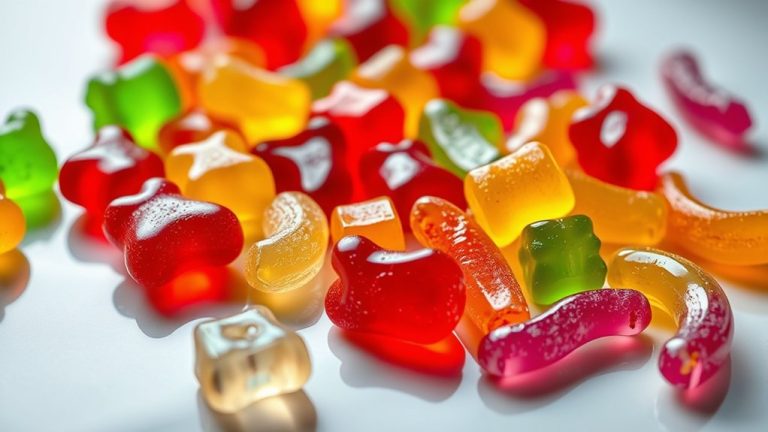
7 Simple Steps to Make Gummy Candy With Knox Gelatin
Many people love making their own treats but often struggle to find simple, fun recipes that yield perfect results. If you’re tired of complicated candy recipes that don’t turn out right, you’re not alone. Making gummy candy with Knox gelatin is a great way to create delicious, customizable treats at home with just a few easy steps.
To make gummy candy with Knox gelatin, start by gathering your ingredients like gelatin, fruit juice, sweeteners, and molds. Bloom the gelatin by sprinkling over cold liquid, then warm it gently until dissolved.
Customize flavors and colors, then pour the mixture into molds and refrigerate for a few hours to set.
Once firm, pop out your gummies and store them properly. For tips on perfect texture and creative ideas, keep exploring these simple steps further.
Key Takeaways
- Bloom the gelatin by sprinkling it over cold water or juice, then let it sit for 5 minutes until it thickens.
- Gently warm the bloomed gelatin over low heat, stirring until it’s fully dissolved. Be careful not to let it boil.
- Mix the gelatin with fruit juice, flavorings, and sweeteners, then carefully pour the mixture into molds.
- Refrigerate the molds for 2 to 4 hours until the gummies are firm and fully set.
- Once set, remove the gummies from the molds, store them in airtight containers, and keep them in a cool, dry place away from humidity.
Gather Ingredients and Supplies for Homemade Gummies
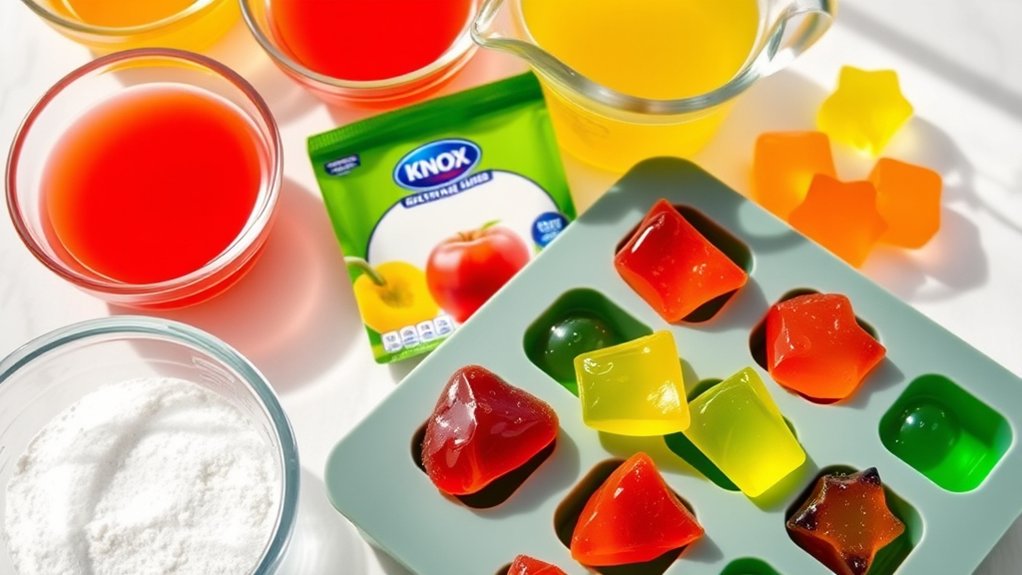
To start making homemade gummies, gather all the necessary ingredients and supplies beforehand. You’ll need Knox gelatin, which provides the base for your gummies, along with your chosen flavorings and sweeteners.
Gather ingredients like Knox gelatin, flavorings, and sweeteners for easy, homemade gummy preparation.
Fruit juice or pureed fruit makes a natural, flavorful base, while honey or agave syrup adds sweetness. Don’t forget a small saucepan, silicone molds, and a whisk or spoon for mixing.
Understanding nutrition facts can help you create healthier options, like using less sugar or adding nutrient-rich ingredients. These choices can boost the health benefits of your homemade gummies, making them a better alternative to store-bought candies.
Having everything ready guarantees a smooth process, saving you time and avoiding interruptions. Once your supplies are set, you’ll be prepared to follow the next steps confidently, creating delicious, nutritious gummies tailored to your preferences.
Prepare Your Gelatin Mixture for Perfect Gummies
Before adding the gelatin to your mixture, it’s important to bloom it properly. This step ensures the gelatin dissolves smoothly, preventing lumps and giving your gummies a glossy finish.
Use the right gelatin ratios—usually about 1 tablespoon of Knox gelatin per cup of liquid—as a good starting point. To bloom, sprinkle the gelatin evenly over a small amount of cold water or juice, then let it sit for 5 minutes.
During this process, temperature control is key. Keep the liquid cool enough to prevent it from setting prematurely but warm enough to activate the gelatin when heated. When ready, gently warm the mixture on low heat, stirring constantly until the gelatin is fully dissolved.
Avoid boiling, since high temperatures can weaken the gelatin’s setting power. Proper blooming, correct ratios, and careful temperature control are essential for a smooth, well-set gummy mixture that results in perfect candies.
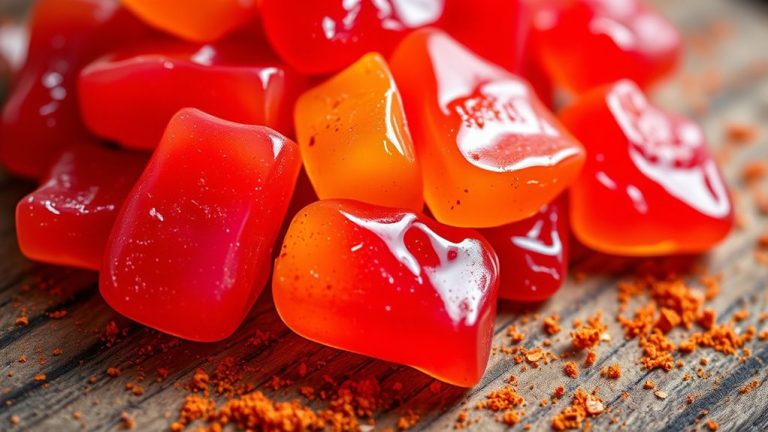
Customize Flavors and Colors to Your Taste
Want to make your gummies truly your own? Go ahead and experiment with different flavors—there are so many tasty options out there. And don’t forget to mix in some bright, vibrant colors to match your vibe!
You can also tweak the sweetness level—whether you like them a little tart or super sweet, it’s totally up to you. The fun part is getting creative and customizing each batch just the way you like it. So, have fun with it and make your gummies uniquely yours!
Experiment With Different Flavors
Trying different flavors and colors can make your homemade gummy candies more fun and personalized. You can experiment with various flavor combinations, like mixing fruit juices or adding extracts such as vanilla or lemon.
Seasonal variations also offer great opportunities: use pumpkin spice in fall or peppermint during winter holidays to create festive treats. Don’t be afraid to blend flavors—strawberry with kiwi or orange with pineapple can give you unique tastes.
Adjust the sweetness and intensity to suit your preferences. By customizing flavors, you turn simple gummies into a signature treat. Keep in mind that layering different flavors or adding small amounts of extracts can enhance the experience.
With a little experimentation, your gummies will reflect your taste and creativity perfectly.
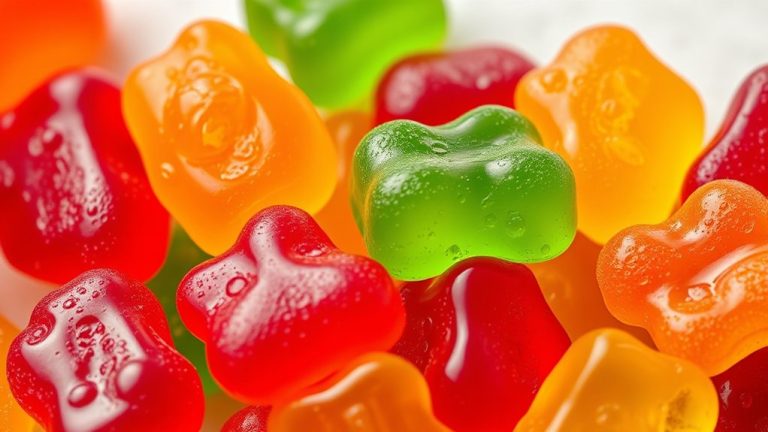
Mix Vibrant Colors Easily
Looking to make your gummy candies look stunning? Start by mixing vibrant colors easily through careful color blending.
Use clear, food-grade gel or liquid food coloring to get bright, eye-catching shades. To match specific hues, compare your mixture to a color chart or shade matching guide and adjust gradually.
Combine small batches of different colors first to see how they blend, creating custom shades that fit your taste. Remember, too much food coloring can overpower the flavor, so start with a few drops and build up slowly.
For layered or marbled effects, pour different colored mixtures into the mold at different times. With a little practice, you’ll master shade matching and color blending, making your gummies vibrant and appealing.
Adjust Sweetness Levels
Once you’ve perfected the colors of your gummies, adjusting the sweetness lets you customize the flavor to your liking. Start by adding small amounts of sweeteners like honey, sugar, or corn syrup during melting.
Taste the mixture before pouring it into molds to make sure the flavor is just right. If your gummies taste too tart or sour, gradually increase the sweetness until it matches your preference.
Keep in mind that too much sweetness can overpower other flavors, so aim for a balanced taste. Remember, you can always add more sweetener, but reducing it later is tough.
Adjust slowly, taste often, and you’ll create gummies that perfectly match your flavor goals.
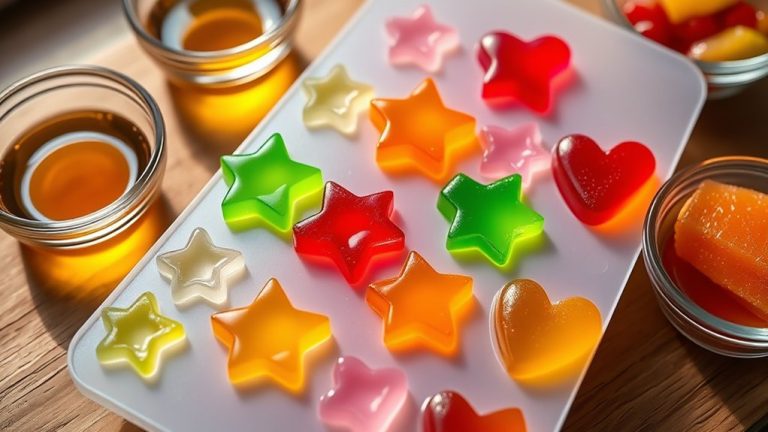
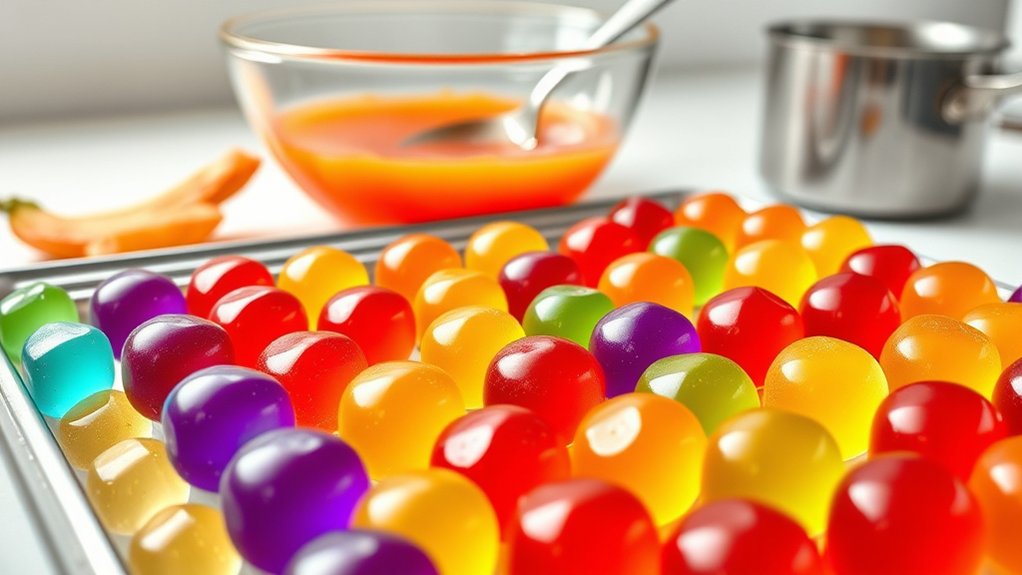
Pour Your Gummy Mixture and Let It Set
Have you prepared your gummy mixture and are ready to move on? Now, it’s time to pour your mixture into a Gummy mold.
Choose a mold that matches your desired shape and size, then carefully fill each cavity without overflows. Use a spoon or dropper to make the process easier and less messy.
Once filled, gently tap the mold on the counter to remove air bubbles and help the mixture settle evenly. Place the mold on a flat surface in your refrigerator.
The setting time can vary, but usually, it takes about 2-4 hours for the gummies to firm up completely. Avoid rushing the process by trying to speed up the setting time; patience results in better texture.
After the gummies have set, they’ll be ready to remove from the mold. Proper pouring and patience during the setting time are key to making perfect, chewy homemade gummies.
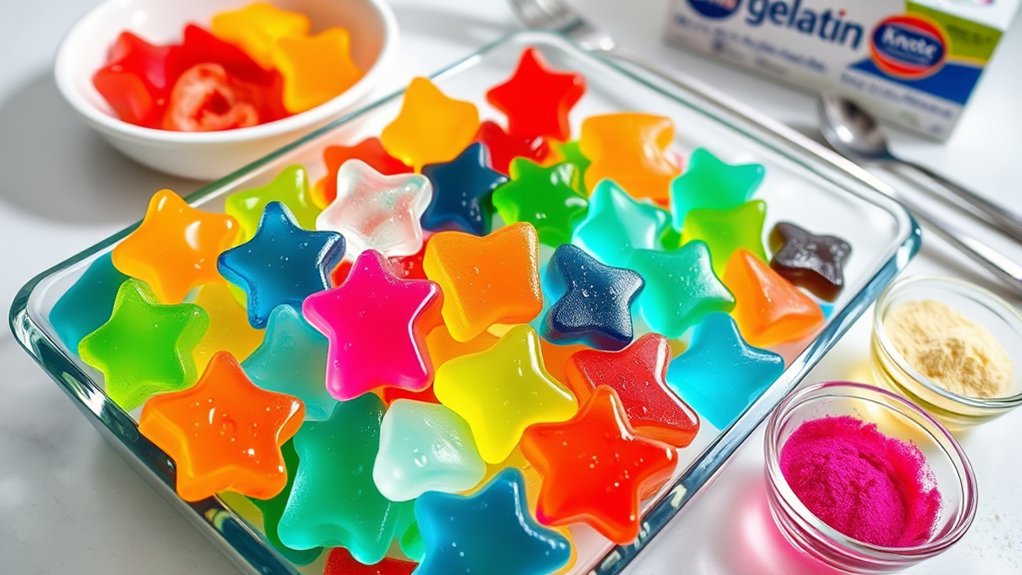
Remove and Store Your Homemade Gummies
Once your gummies are all set, gently pop them out of the mold. Then, grab some airtight containers to store them in—this helps keep them fresh. It’s best to find a cool, dry spot in your house to tuck them away. By doing this, your homemade gummies will stay delicious and enjoyable for a longer time!
Proper Storage Containers
Wondering how to keep your homemade gummies fresh and chewy? The secret is choosing the right storage containers.
Use airtight containers or reusable jars to prevent moisture from ruining their texture. These containers keep air out and help maintain your gummies’ firmness.
For extra protection, line the bottom with parchment paper to prevent sticking. Visualize your storage options:
| Container Type | Material | Benefits |
|---|---|---|
| Airtight jar | Glass or plastic | Keeps moisture out, reusable |
| Plastic container | Plastic | Lightweight, seals tightly |
| Metal tin | Metal | Durable, stylish |
| Silicone mold | Silicone | Flexible, easy to store |
Picking the right container guarantees your gummies stay fresh, chewy, and ready to enjoy.
Keep Gummies Fresh
To keep your homemade gummies fresh and satisfying, it’s important to remove them from the mold and store them properly as soon as they’re set. This helps prevent excess moisture exposure, which can shorten their shelf life.
Make sure your gummies are fully cooled and dry before storing, since moisture can cause them to stick together or spoil faster. Use an airtight container to keep the ingredients fresh and prevent air from degrading their quality.
Keep the container in a cool, dry place away from direct sunlight, which can speed up deterioration. Proper storage not only extends their shelf life but also helps preserve their texture and flavor.
Ideal Storage Conditions
Proper storage is key to keeping your homemade gummies fresh and flavorful for as long as possible. To do this, focus on controlling the temperature and humidity.
Store gummies in an airtight container in a cool, dark place, ideally between 60-70°F. Keep them out of direct sunlight and heat to prevent melting or spoilage.
Humidity matters just as much. Too much moisture can make gummies sticky and moldy. Use silica gel packs or rice in the container to absorb excess moisture.
Keep these tips in mind:
| Storage Tip | Why It Matters |
|---|---|
| Store in airtight containers | Keeps out moisture and air |
| Keep in a cool, dark place | Preserves flavor and texture |
| Use moisture absorbers | Reduces humidity-related spoilage |
Troubleshoot Texture and Setting Issues
If your gummy candies aren’t setting properly or have an unusual texture, figuring out the cause can help you get that perfect result. Texture issues and setting problems usually come down to incorrect ingredient ratios or how you’re preparing the mixture.
Make sure you’re using the right amount of Knox Gelatin. Too little, and your gummies will be soft and unstructured. Too much, and they might turn out rubbery. Stir the gelatin well to avoid lumps, and don’t rush the cooling process.
Cooling too quickly or exposing the mixture to drafts can prevent it from setting evenly. Using cold liquids can also hinder gelatin blooming, which affects how well your gummies set. Always follow the recipe closely and refrigerate the mold at the right time.
If your gummies stay soft or sticky, give them extra time in the fridge. Avoid handling them until they’re fully set. Troubleshooting these factors will help you make gummies with the perfect texture and firmness.
Creative Ideas to Enjoy and Gift Your Gummies
Once you’ve nailed making perfectly textured gummies, it’s time to get creative with how you enjoy and share them. You can boost your gummies with fun packaging and decorative touches. Wrap them in decorative bags, jars, or custom boxes to make your treats feel extra special. Edible glitter, colored sugar, or fruit slices can also enhance their look and flavor.
Here’s some inspiration:
| Creative Packaging Ideas | Gummy Decoration Tips |
|---|---|
| Personalized labels | Use cookie cutters for fun shapes |
| Vintage tins or jars | Dip gummies in chocolate |
| Cute paper boxes | Add sprinkles or edible beads |
Whether you’re sharing with friends or enjoying them yourself, these ideas can make your gummies stand out. Play with colors, shapes, and packaging styles to turn simple candies into memorable gifts or eye-catching treats.
Frequently Asked Questions
How Long Do Homemade Gummies Typically Last Before Spoiling?
Homemade gummies usually last about a week when stored properly, but their shelf life depends on how you store them. Keep them in an airtight container in the fridge to prevent spoilage and keep them fresh.
If you leave them at room temperature, they might only last 3-4 days. Be sure to check for mold or changes in texture before you eat them.
Proper storage helps your gummies stay tasty and safe for as long as possible.
Can I Use Alternative Gelatin Brands for Better Results?
Yes, you can use alternative gelatin brands for better results. Gelatin alternatives like agar-agar or pectin can work, but they might change the texture or setting time.
These options also let you experiment with more flavor variations, so you can truly customize your gummies. Just keep in mind that each alternative has different strength and preparation methods.
Make sure to adjust your recipe accordingly so your gummies turn out perfect every time.
What Are Some Healthy Substitutes for Sugar in Gummy Recipes?
Imagine your gummy candies as tiny gardens. Instead of sugar, you can plant seeds of natural sweeteners like honey, maple syrup, or agave nectar, which nourish without overloading.
These sugar alternatives blend well with gelatin, creating a healthier, vibrant treat. You’ll enjoy the sweetness without the crash, as natural sweeteners provide a gentle, sustained flavor.
This makes your gummy candies both delicious and nourishing.
How Do I Prevent Gummies From Sticking Together?
To prevent gummies from sticking together, make sure they have a firm texture by setting them in a non-stick mold or on parchment-lined tray. This helps them hold their shape and stay separate.
Once they’re set, lightly dust the gummies with cornstarch or powdered sugar. This simple step helps keep them from sticking during storage.
Store your gummies in an airtight container in a cool, dry place. Avoid stacking them directly on top of each other to maintain their perfect texture.
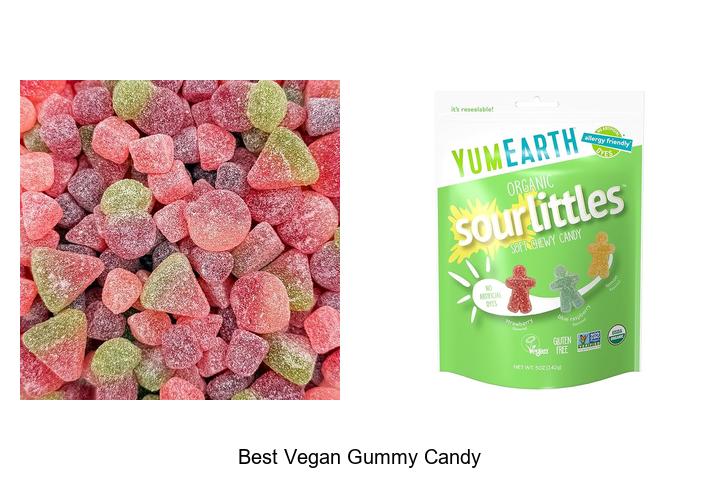
Is It Possible to Make Vegan Gummies With Knox Gelatin?
Making vegan gummies with Knox gelatin is like trying to fit a square peg in a round hole—you can’t because Knox gelatin isn’t vegan. Instead, you can use plant-based alternatives like agar-agar or pectin.
These vegan gelatin substitutes can give your gummies the right texture and firmness, so you can enjoy homemade treats that match your dietary choices. Just follow recipes designed for these plant-based options for the best results.
Conclusion
Making your own gummies is a fun, simple process that lets you customize flavors and shapes. Did you know the global gummy candy market is expected to reach $4.2 billion by 2026?
With just a few steps, you can create delicious treats right at home. It’s a great way to save money and skip artificial ingredients.
So, get creative, experiment with flavors, and enjoy your homemade gummies. Your taste buds and wallet will thank you, especially when you use Knox Gelatin for the perfect texture.