10 Easy Steps to Make Gummy Candy Just With Jello
Making your own gummy candy with just Jello can be tricky if you’re new to it. Many people struggle with getting the perfect texture or ending up with sticky, unset gummies.
But don’t worry—you’re not alone, and it’s easier than you think. With just a few simple steps, you can create delicious, colorful gummies at home using only Jello.
To make gummy candy with just Jello, start by choosing your favorite flavors and colors, then gather your ingredients and silicone molds.
Mix Jello with cold water, stirring thoroughly, and heat gently until melted. Avoid boiling to keep the texture smooth.
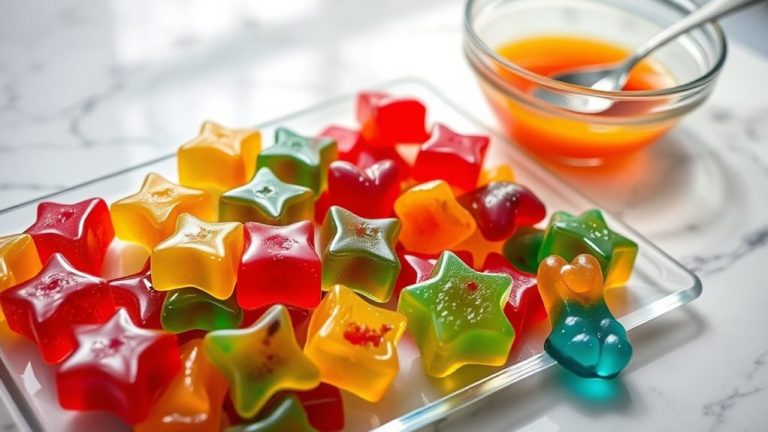
Carefully pour the mixture into molds, tap to remove air bubbles, and let them cool at room temperature until set.
Gently pop the gummies out and customize them with oils or supplements if you like.
For more tips and tricks, keep exploring each step and enjoy your homemade treats!
Key Takeaways
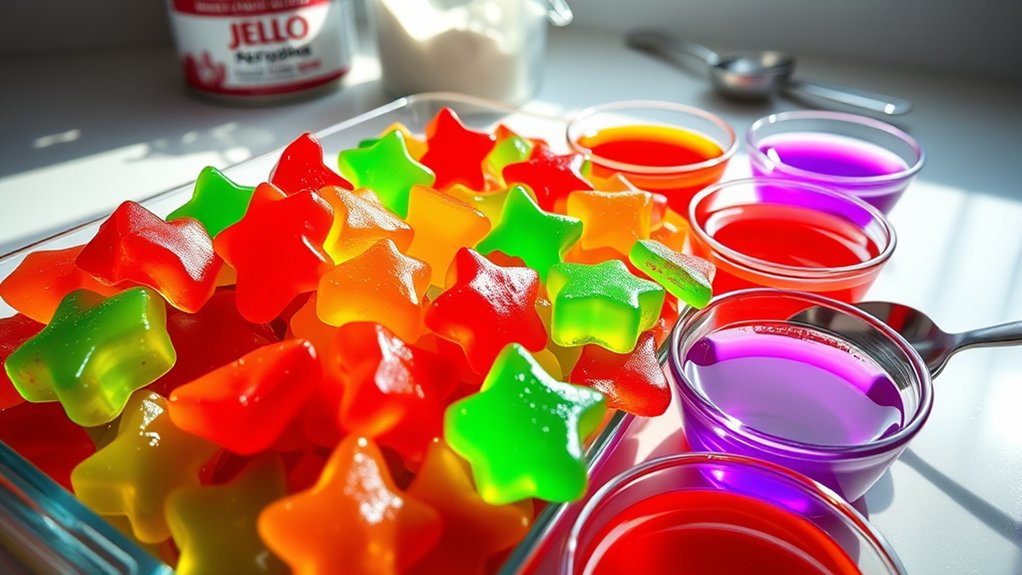
- Dissolve flavored Jello in boiling water, stirring until fully combined.
- Pour the mixture into silicone molds, tapping to remove air bubbles.
- Let the gummies cool at room temperature for about 30 minutes so they set properly.
- Gently loosen and remove the gummies from the molds once they’re fully set.
- Store them in an airtight container in the fridge to keep them fresh.
How to Choose Flavors and Colors for Your Homemade Gummies
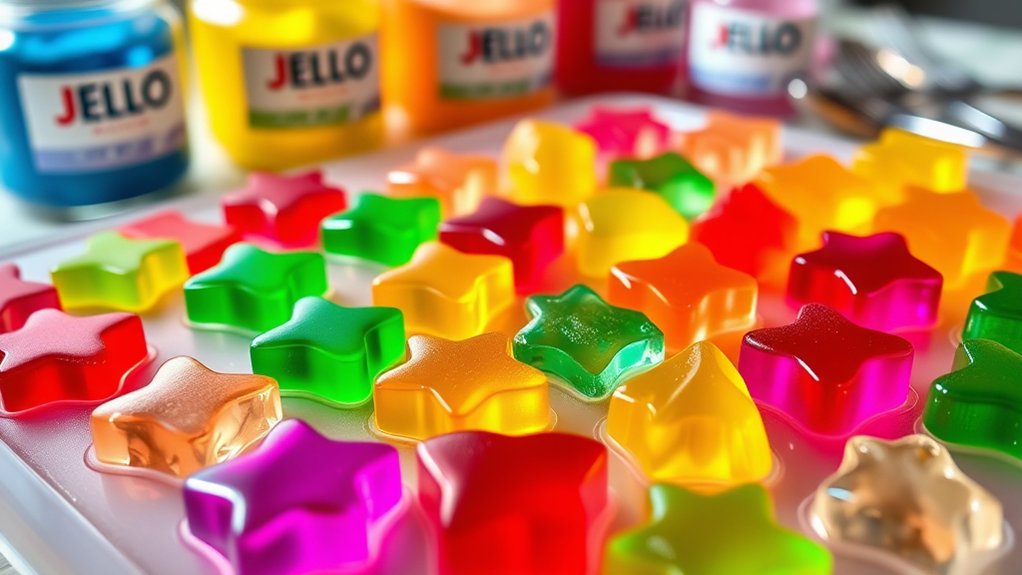
When choosing flavors and colors for your homemade gummies, start with your favorite Jello varieties or try mixing different ones. It’s fun to experiment and see what combinations you like best.
Think about flavor pairings that go well together, like strawberry and lemon or lime and orange. These blends taste great and make your gummies really appealing.
Pair fruity flavors like pineapple and coconut for delicious, eye-catching gummies.
For colors, pick vibrant combos that look attractive side by side, like red and green or purple and yellow. Bright colors make your gummies eye-catching and fun.
Mixing flavors and colors helps you create unique treats perfect for your taste or themed parties. It’s a simple way to make your gummies stand out.
Keep in mind that some flavors naturally match certain hues. Blue raspberry goes with blue, and cherry pairs with red. Choosing colors that match flavors makes everything look harmonious.
Gather Ingredients and Supplies Needed for Gummy Making
Before you start making gummies, gather all the necessary ingredients and supplies to guarantee a smooth process. You’ll need Jello, which acts as the main flavor base, plus any additional ingredients like gelatin or fruit juice for added texture.
Keep in mind ingredient substitutions—if you don’t have Jello, flavored gelatin powder works, or you can mix fruit juice with gelatin for a natural twist. You’ll also need supplies such as silicone molds, a saucepan, a spoon, and a dropper for easy pouring.
Having everything ready beforehand speeds up the process. Remember, shelf life matters; homemade gummies are best enjoyed within a week or two when stored in an airtight container in the fridge.
Having all your ingredients and supplies organized minimizes surprises and ensures your gummy-making experience is fun and efficient. Be prepared with accurate measurements to achieve the perfect texture and flavor.
Prepare Your Molds and Set Up Your Workspace
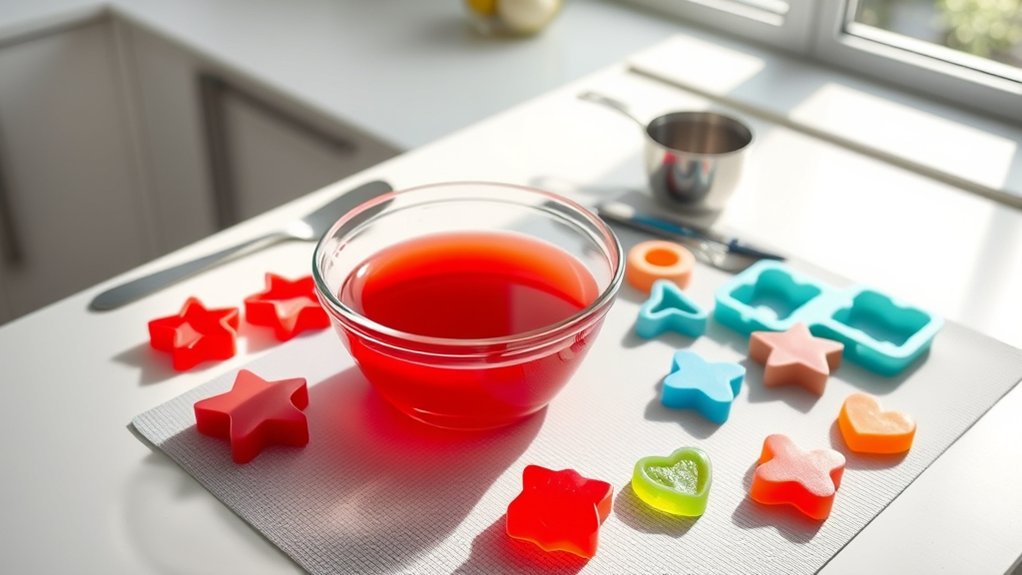
Have you prepared your workspace and gathered your molds yet? Setting up your workspace organization is key to a smooth gummy-making process. Choose a clean, flat surface with plenty of room for your supplies.
Gather your mold materials—silicone, plastic, or metal molds—and verify they’re thoroughly cleaned and dry. Silicone molds are flexible and easy to work with, making them a popular choice.
Arrange your molds nearby so you can easily pour the liquid mixture without spills. Cover your workspace with newspaper or paper towels to catch any drips.
Keep utensils, measuring cups, and a spatula within reach. Having everything organized helps prevent chaos and accidental messes.
By preparing your molds and workspace ahead of time, you’ll streamline the process, making it easier to focus on creating perfect gummy candies.
A well-organized setup ensures efficiency and keeps your gummy-making fun stress-free.
Mix Jello With Water and Other Ingredients for the Perfect Consistency
Once your workspace is set up and your molds are ready, it’s time to prepare the gummy mixture. To get that perfect gummy texture, mix the Jello with water and other ingredients for the best flavor blending.
Use cold water to prevent clumping and stir thoroughly until the powder dissolves completely. For a firmer texture, add a small amount of unflavored gelatin; for softer gummies, increase the water slightly.
Use cold water and stir thoroughly for smooth, well-dissolved gummies with adjustable firmness.
Keep in mind that ingredient ratios directly influence the texture and flavor harmony. Adjust the mixture until smooth, making sure the consistency is just right before pouring into molds.
This step ensures a uniform, flavorful gummy candy with a satisfying bite.
How to Safely Heat and Melt Your Gummy Mixture
When you’re heating up your gummy mixture, it’s best to stick with low heat. That way, you avoid burning or uneven melting, and your gummies turn out just right. Don’t forget to keep stirring the mixture constantly—it helps everything blend smoothly together.
Oh, and a quick tip: never let the mixture boil. Boiling can mess up the texture and make your gummies less than perfect. Just follow these simple steps, and you’ll melt your gummies safely while getting that ideal consistency every time.
Use Low Heat Settings
To safely melt your gummy mixture, always start with the lowest heat setting on your stove or double boiler. This gentle approach prevents burning or overcooking the gelatin and guarantees a smooth, even melt.
Using low heat helps you better control the process, so you don’t accidentally scorch your mixture. As you heat, you can experiment with flavor combinations and color blending, creating vibrant, tasty candies.
Keep the heat steady and resist the urge to turn it up for faster melting, as high temperatures can cause uneven heating or spoil the flavors. Patience is key—low and slow results in a clearer, more uniform gummy mixture that’s ready for pouring into molds or shaping.
Stir Continuously During Melting
As your mixture heats up, it’s really important to keep stirring it constantly. This helps everything melt evenly and stops anything from sticking or burning. Plus, stirring makes sure the flavors blend smoothly and the color stays consistent.
While the mixture warms, slowly add different flavor combinations to create unique tastes. Keep stirring as you do this to avoid uneven distribution and keep the texture nice and uniform.
Constant stirring also prevents hotspots that could cause burning or over-heating, which might change the flavor. Watch the mixture closely and stir gently but persistently.
This steady movement helps your gummies develop a uniform color and flavor. The result? Delicious, professional-looking treats every time.
Avoid Boiling the Mixture
Even though it might be tempting to crank up the heat to speed up melting, doing so can ruin your gummy mixture. Boiling can cause the gelatin to break down, leading to a rubbery texture and uneven flavor or color mixing.
Instead, melt your mixture gently over low heat, stirring constantly. This ensures smooth, even heat distribution and helps preserve the intended flavor combinations and vibrant colors.
Use a double boiler or microwave in short bursts for better control. This way, you prevent overheating and keep everything melting smoothly.
| Step | Tip | Result |
|---|---|---|
| Use low heat | Avoid high temperatures | Prevents breakdown of gelatin |
| Stir constantly | Maintain even heat and consistency | Smooth, uniform mixture |
| Short bursts in microwave | Prevents overheating | Better control over melting |
| Add flavor gradually | Achieve desired flavor balance | Better flavor integration |
| Mix colors carefully | Avoid muddling shades | Vibrant, appealing appearance |
Pour the Mixture Into Molds for Even Gummies
Once your mixture is ready, carefully pour it into your chosen molds. Using gentle, steady movements helps ensure the mixture fills each cavity evenly, avoiding spills and air bubbles.
To get consistent gummy shapes, tap the molds lightly on the counter to help any trapped air escape. If you want to add more flavor, try pouring small amounts of fruit juice or extract into specific sections of the mold before filling.
This creates layered or infused gummies. Pouring slowly also reduces overflow and helps you control the amount in each mold. A squeeze bottle or small pitcher makes it easier to direct the mixture precisely.
This way, you get even distribution and less mess. Taking your time during this step guarantees uniformly shaped gummies and sets the stage for a professional-looking batch.
How to Cool and Let Your Gummies Set Properly
After pouring the mixture into your molds, the next step is to let your gummies cool and set properly. Cooling at room temperature helps develop the right texture, giving your candies the perfect firmness and chewiness.
Allow gummies to cool at room temperature for ideal texture and flavor development.
Avoid rushing the process by placing gummies in the fridge right away, as this can cause uneven setting or condensation. Instead, leave them undisturbed for at least 30 minutes to an hour.
During this time, the flavors will meld, enhancing your flavor pairing choices—whether you added fruit juice or extracts. Keep the molds on a flat surface to prevent shifting.
If you want firmer gummies, let them cool longer. Just be sure to check on them so they don’t become over-hard. Proper cooling ensures your gummies are perfectly textured with vibrant flavors that taste as good as they look.
Once set, you’re ready for the next step!
How to Remove Gummies From Molds Without Breaking Them
To remove your gummies from the molds without breaking them, gently loosen the edges first by flexing the mold slightly or running a soft silicone spatula around the sides. This gentle approach helps loosen the gummies without applying too much pressure, which reduces the risk of breakage.
When doing gummy mold removal, patience is key. Don’t rush the process—carefully invert or flex the mold to release the gummies. To keep molds in good shape, use proper cleaning techniques, like washing with warm water and mild soap. Avoid harsh scrubbing that could damage the mold.
Here are some tips for successful gummy mold removal:
- Use a light touch when flexing or twisting the mold
- Chill the mold slightly before removal for firmer gummies
- Apply a small amount of non-stick spray if necessary
- Work slowly and steadily to prevent breakage
- Store gummies carefully to maintain their shape and texture
Tips for Customizing Gummies With Flavors, Oils, and Supplements
Adding flavors, oils, and supplements can instantly customize your gummies to suit your taste and nutritional needs. Experiment with flavor combinations like citrus and berry or cherry and vanilla to create unique taste profiles.
Using different extracts or fruit juices instead of plain water amplifies the natural flavor and adds depth. To boost health benefits, incorporate supplement enhancements such as vitamin powders, collagen, or herbal extracts.
Just be mindful of the quantities, as too much can affect the setting process or taste. A few drops of flavored oils like peppermint or lemon can give your gummies a revitalizing twist.
When combining ingredients, start with small amounts and adjust gradually, tasting as you go. This way, you guarantee the flavor is just right without overpowering the original recipe.
Customizing with these tips allows you to craft gummies that are not only delicious but also tailored to your personal preferences and dietary goals.
Best Practices for Storing and Enjoying Your Homemade Gummies
Proper storage is key to keeping your homemade gummies fresh and maintaining their gummy texture. To preserve flavor balance and prevent them from becoming sticky or hard, store your gummies in an airtight container. Keep them in a cool, dry place away from direct sunlight, which can degrade flavors and alter texture.
If you live in a humid area, consider adding a small packet of silica gel to absorb moisture. For longer shelf life, refrigeration is an option, but it can sometimes affect texture. Make sure they’re well-sealed to avoid moisture exposure.
When enjoying your gummies, take them out at room temperature for the best flavor and chewiness.
Frequently Asked Questions
Can I Use Sugar Instead of Artificial Sweeteners in My Gummies?
Yes, you can use sugar instead of artificial sweeteners in your gummies. Using sugar gives them a classic taste and natural sweetness, but you might need to adjust the amount to get the flavor just right.
Keep in mind, sugar substitutes often have fewer calories and different levels of sweetness. So, don’t be afraid to experiment with different amounts and flavors to see what you like best.
Just remember, swapping sugar can change the texture and overall outcome of your gummies. It’s all about finding the right balance for your perfect batch.
How Long Do Homemade Gummies Last Before Spoiling?
Your homemade gummies usually last about a week if you store them properly in an airtight container at room temperature. Keep an eye out for signs like mold, a sour smell, or a change in texture.
To make them last longer, you can keep them in the fridge for up to two weeks. Always check for any spoilage before eating—if you notice anything off, it’s best to toss them.
Are There Vegan Alternatives to Gelatin for Gummies?
Yes, you can definitely find vegan alternatives to gelatin for gummies.
Plant-based options include agar-agar, carrageenan, and pectin.
These ingredients mimic gelatin’s texture and setting properties, making your gummies vegan-friendly.
You can use these alternatives in your recipes to keep your gummies free from animal products while still getting that chewy, fun texture you love.
Can I Make Gummy Candies Without Using a Stove or Microwave?
Yes, you can make gummy candies without a stove or microwave. Just mix your flavored gelatin with hot water, then pour the mixture into storage containers or silicone molds.
Stir well to combine flavors, and then chill in the fridge until they’re set. Once they’re firm, pop out your gummies and enjoy.
This method keeps things simple and fun, and it’s easy to experiment with different flavors and shapes.
How Do I Prevent My Gummies From Sticking Together?
You might notice your gummies sticking together unexpectedly. Try adding a little cornstarch or powdered sugar to the Gummy texture to prevent clumping.
Using sugar alternatives can also help reduce stickiness, but be cautious as some can change the gummy’s consistency.
Store your gummies in a single layer or separate layers with parchment paper. This helps keep them fresh and prevents sticking to each other.
Conclusion
Now that you’ve mastered the art of gummy-making with just Jello, you’re pretty much a confectionery wizard. Who knew turning a packet of powder into chewy, colorful treats could be so simple—and maybe a little addictive?
Just remember, with great gummy power comes great responsibility. So go ahead, enjoy your homemade gummies, but maybe keep some for yourself. You don’t want to be the neighbor always asking for “just one more.”