7 Easy Steps to Make Chocolate Turtle Candy at Home
Many people love the idea of making homemade treats but often feel overwhelmed by complicated recipes or long steps. If you’ve ever wanted to craft delicious chocolate turtle candies at home but didn’t know where to start, you’re not alone. With a little guidance, you can create these sweet, caramel-filled delights easily and enjoyably.
To make chocolate turtle candies at home, start by gathering ingredients like caramel, chocolate, and nuts, along with essential tools. Next, prepare the caramel by melting sugar and mixing in butter and cream, then cool and portion it onto parchment.
Shape small turtle bodies, attach tiny limbs and heads with chocolate, and let them set.
Dip the assembled turtles in melted chocolate, add toppings immediately, and finish by storing them properly. For detailed tips and creative ideas, keep exploring further.
Key Takeaways
- Gather ingredients like caramel, chocolate, and nuts, and prepare tools such as a baking sheet and measuring cups.
- Make and cool the caramel, then portion it onto parchment paper. Prepare toasted nuts for filling.
- Shape the caramel and attach the nuts to form turtle shells, heads, and limbs using melted chocolate or caramel.
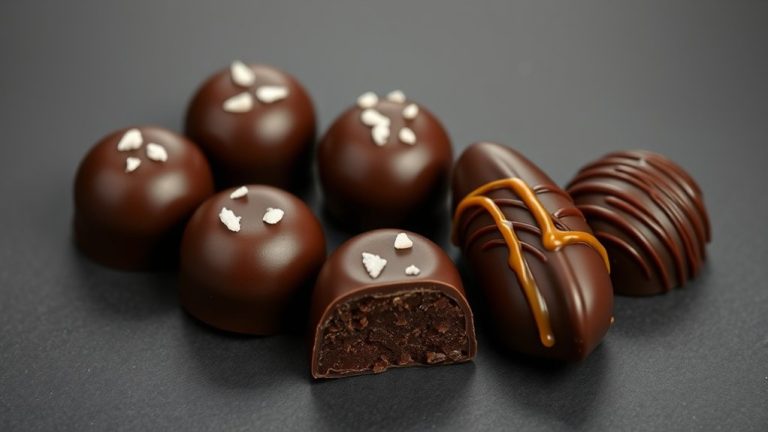
- Coat the assembled candies in melted chocolate, then add toppings like nuts or sprinkles for decoration.
- Store the finished turtles in an airtight container in a cool place to keep them fresh and flavorful.
Gather Ingredients and Tools for Homemade Chocolate Turtles
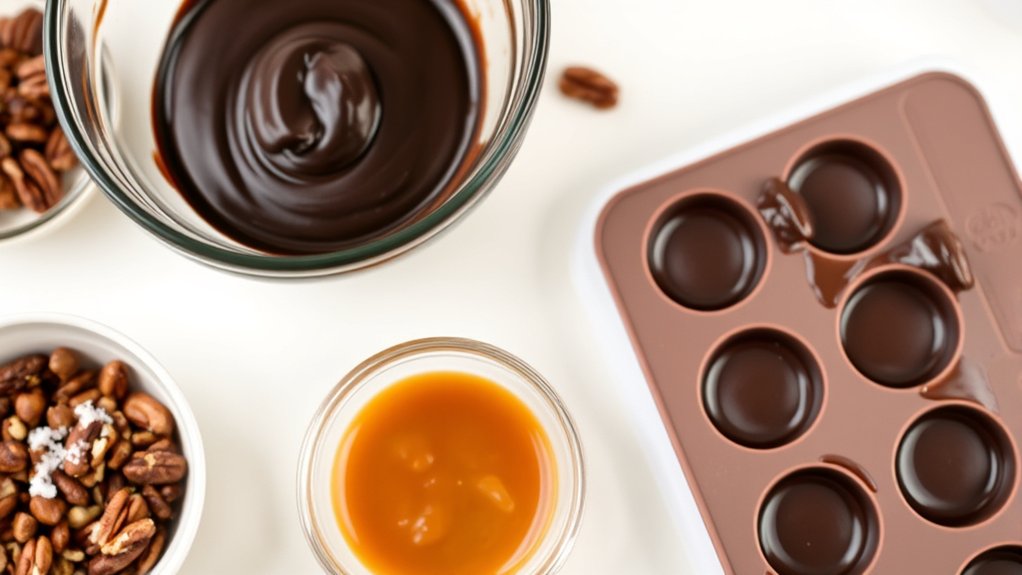
Before you start making chocolate turtles, gather all the necessary ingredients and tools. Check your pantry and kitchen for chocolates, caramel, nuts, and any extras you might want.
Gather ingredients and tools first for a smooth, stress-free chocolate turtle creation.
If you’re missing something, think about substitutions—like almond butter instead of caramel or dark chocolate for a richer taste. Prepare your tools too, such as a baking sheet, spatula, double boiler or microwave-safe bowl, and measuring cups.
Safety first! Handle hot caramel and melted chocolate carefully to avoid burns. Keep your workspace clean to prevent cross-contamination and use dry utensils to avoid accidents.
Having everything ready before you begin makes the process smoother and less stressful. Double-check that your ingredients are fresh and your tools are clean.
With everything in place, you’re ready to confidently and safely start creating your homemade chocolate turtles.
Prepare Your Candy Base and Caramel Filling
Have you decided on the type of caramel filling you’ll use? Achieving the perfect caramel consistency is key for chocolate molding and making sure your turtles hold together well. Start by melting sugar over medium heat, stirring constantly until it turns a rich amber color.
Next, carefully add butter and heavy cream—this creates a smooth, gooey caramel. Make sure your caramel is thick enough to hold its shape but still spreadable.
Use a candy thermometer to monitor the temperature; aim for 245°F (118°C). Let the caramel cool slightly before portioning it out.
For a softer filling, add a touch of corn syrup during cooking. When ready, spoon small amounts onto a parchment-lined tray for easy handling.
Shape and Assemble Your Turtle Candies Step-by-Step
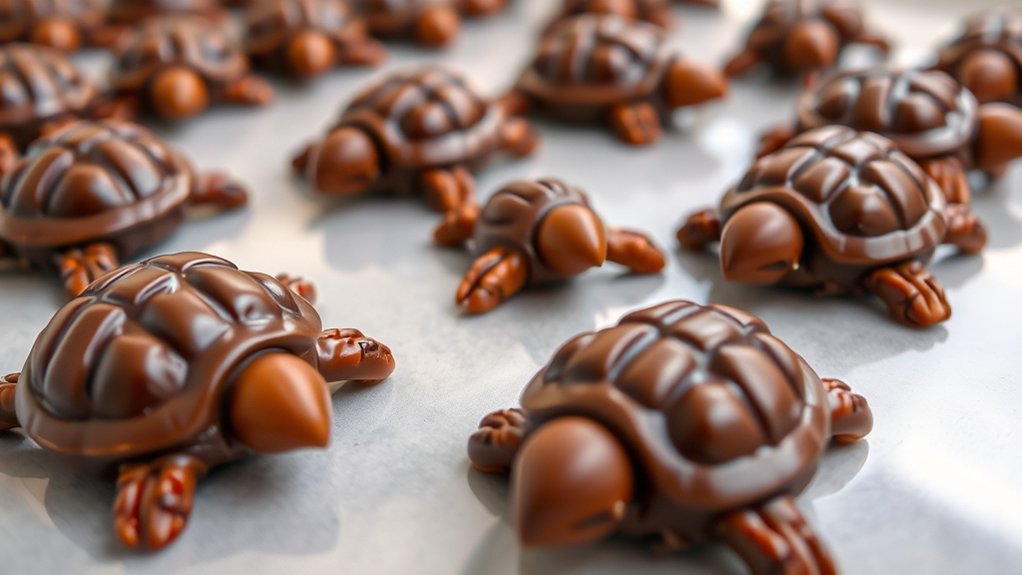
Now’s the fun part—shaping your turtle candies! Start by forming small, oval-shaped bodies. Then, grab tiny candy pieces to create the heads and limbs. Take your time to carefully attach everything to the caramel-filled bases, making sure they stick together well. With a bit of patience, you’ll end up with adorable turtle shapes that are almost ready for their final chocolate coating!
Forming Turtle Shapes
To shape your turtle candies, start by gently pressing small mounds of chocolate onto a parchment-lined surface to form the body. Focus on creating an oval shape that will be the main shell. Use your fingers or a tool to smooth and refine the shape, making it look like a turtle’s torso.
For artistic shaping, add tiny chocolate balls or drops for the head, and small elongated pieces for the legs and tail. Keep proportions in mind so your turtle looks balanced and realistic.
Use a toothpick or skewer to smooth the edges. Pinch or mold the body for a rounded shell. Shape the head with a small ball of chocolate, and form legs and tail with tiny chocolate pieces. Adjust features for symmetry and detail.
Assembling Candy Components
Once your turtle shapes are ready, the next step is to assemble the components into a complete candy. Place the turtle shell on a clean work surface, then add a small dollop of melted chocolate or caramel for the head and legs.
Carefully position each piece, pressing gently to secure them together. For a polished look, consider using a toothpick or tweezers for precise placement.
Once assembled, let the candies set until firm. When packaging your homemade turtles, use clear cellophane bags tied with ribbon or decorative tape to show off their glossy finish.
You can also add personalized labels or stickers for a professional touch. Thoughtful packaging ideas really boost the visual appeal and make your homemade chocolate turtle candies perfect for gifting or sharing.
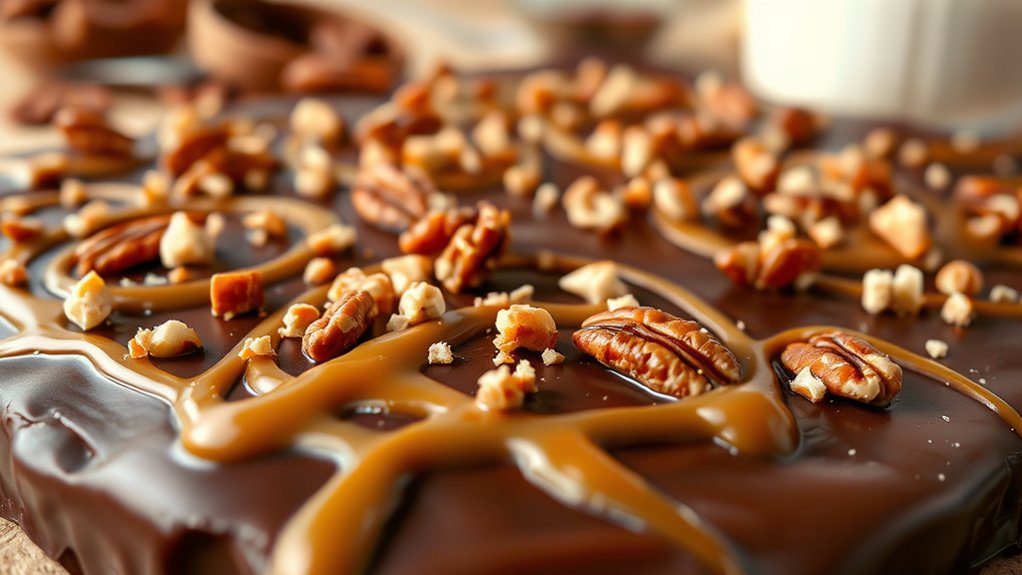
Add Nuts and Caramel for the Perfect Fillings
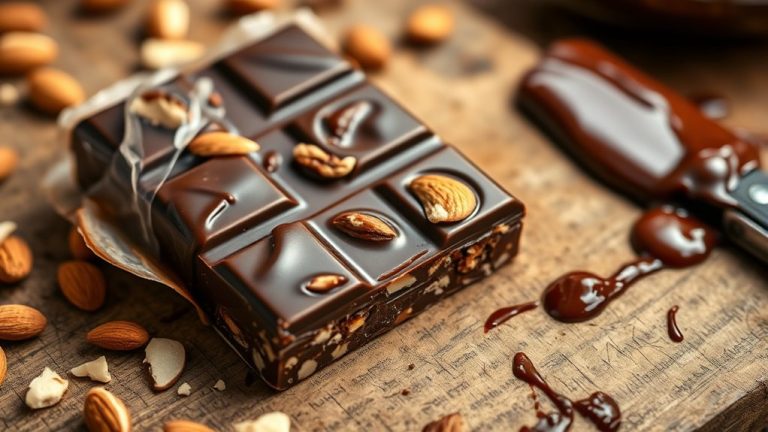
Adding nuts and caramel transforms your chocolate turtle candies into irresistible treats with rich textures and flavors. To start, pick a nut that complements the caramel’s sweetness—pecans and walnuts are perfect choices.
When preparing the caramel, aim for a smooth, thick consistency. It should hold its shape but still pour easily. Carefully spoon the caramel onto each nut, making sure it covers evenly without overflowing.
Choose nuts that are fresh and lightly toasted for extra flavor. Achieve a caramel that’s thick but still pourable for easier application.
Use a small spoon to add caramel precisely on each nut. Let the caramel set slightly before adding any additional layers for a neat finish.
Keep the fillings uniform for an attractive, professional look. This way, every candy will be just as delicious and appealing as the last.
Melt and Coat Your Turtles With Chocolate
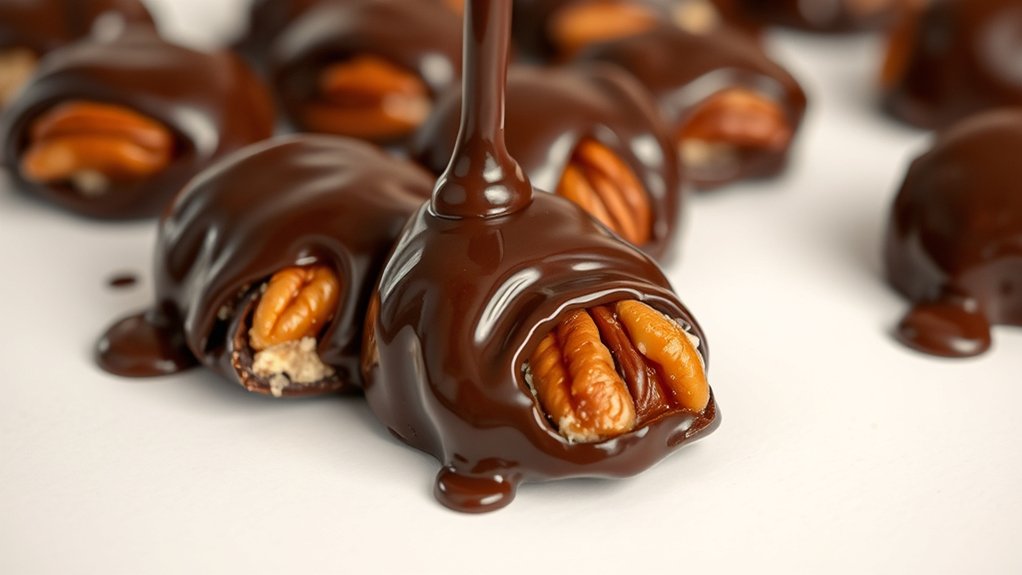
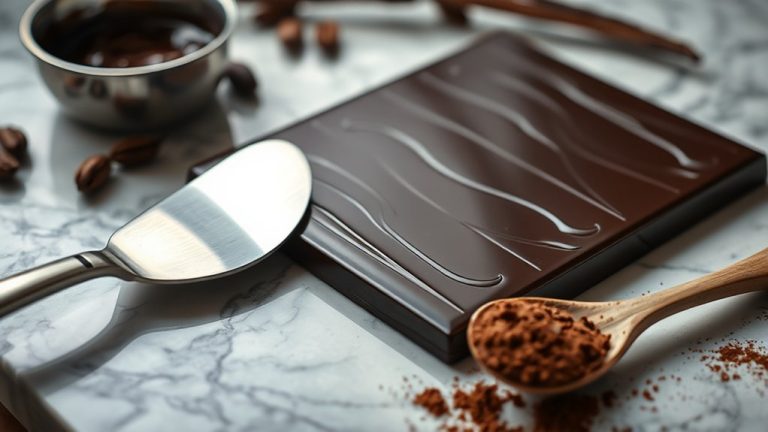
After preparing your fillings, the next step is to melt your chocolate until it’s smooth and glossy. Use a double boiler or microwave in short bursts, stirring until the chocolate is fully melted and shiny. Proper chocolate tempering is essential here; it guarantees your coating is glossy, smooth, and sets with a firm snap.
Melt chocolate until smooth and glossy, then dip fillings for a shiny, professional finish.
Once melted, hold each caramel-filled turtle by the bottom and dip it into the chocolate, covering it completely. Use a fork or decorating tool to lift it out and tap off excess chocolate.
For a more polished look, you can experiment with decorating techniques like drizzling contrasting chocolate or adding sprinkles before the coating sets. Make sure to work quickly but carefully, so the chocolate remains at the right temperature for a beautiful, even coating.
Taking these steps will give your homemade turtles a professional shine and a delicious finish.
Cool and Set Your Homemade Chocolate Turtles
To guarantee your chocolate turtles set perfectly, let them cool and firm in a cool, undisturbed environment. This step ensures they hold their shape and get the right texture.
Place the tray on a flat surface away from drafts or heat. Give them at least 30 minutes to an hour to properly set.
While waiting, you can prepare some decorating ideas to make them look even better later. Patience is key to avoid smudging or melting.
Once they’re set, think about packaging options like cellophane bags or decorative boxes to present your treats beautifully. Handle them gently to prevent cracks or fingerprints.
If you’re in a hurry, you can refrigerate the tray briefly for faster cooling. Just avoid exposing them to cold for too long.
Proper cooling makes your homemade chocolate turtles look professional and helps keep them fresh longer. Now, they’re ready for the final touches or to be stored away.
Store, Customize, and Perfect Your Chocolate Turtles
Want to keep your chocolate turtles fresh and delicious? Just pick the right storage method, like using airtight containers or placing them on baking sheets covered with foil. That way, they stay nice and crispy, and you can enjoy them later without worry.
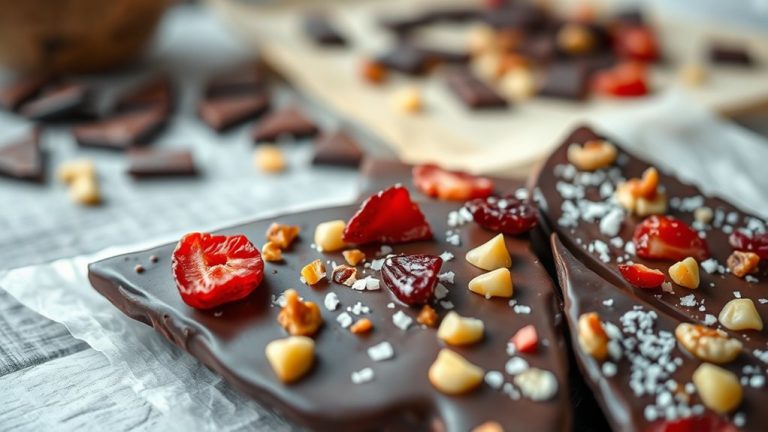
And don’t forget, you can have fun customizing your turtles! Add your favorite toppings or flavors—maybe a sprinkle of sea salt, chopped nuts, or a drizzle of caramel—to make each batch uniquely yours. Keep experimenting with different techniques until you find the perfect way to store, personalize, and perfect your candies.
Choosing the Right Storage Method
Wondering how to keep your homemade chocolate turtles fresh and delicious? The key is choosing the right storage method. Proper storage extends shelf life and keeps the chocolate shiny and tasty.
Use airtight containers to prevent moisture and air from spoiling your treats. For maximum freshness, store turtles in a cool, dry place away from direct sunlight.
Avoid stacking heavy items on top to prevent breaking. Consider separating layers with parchment paper to prevent sticking.
Keep your turtles away from strong odors, which can transfer to the chocolate. Regularly check your stored turtles to ensure they’re still good.
Proper storage methods preserve flavor and texture, making sure your homemade chocolates stay as delicious as when you first made them.
Customizing Flavors and Toppings
Adding your own flavors and toppings is an easy way to make your chocolate turtles uniquely yours. You can try different flavor combos like sea salt and caramel, espresso and vanilla, or spicy chili for a fun twist.
Topping options are endless: chopped nuts, crushed cookies, colorful sprinkles, or shredded coconut. To customize, put small dollops of caramel or peanut butter on top of the turtle before sealing it with chocolate.
Add your toppings right after pouring the chocolate so they stick well. This personal touch not only boosts the flavor but also makes your candies look more appealing.
Feel free to get creative—mix and match flavors and toppings to make a variety of delicious, eye-catching chocolate turtles.
Frequently Asked Questions
Can I Use Dairy-Free Chocolate for This Recipe?
Yes, you can use dairy-free chocolate for this recipe. Dairy-free options work well as a chocolate substitute, keeping the rich flavor and smooth texture needed for the candy.
Just pick a high-quality dairy-free chocolate to get the best results. When making your chocolate turtle candies, using dairy-free chocolate makes them suitable for those with lactose intolerance or vegan preferences.
And don’t worry—using dairy-free chocolate won’t sacrifice taste or appearance.
How Long Do Homemade Turtles Stay Fresh?
Homemade turtles stay fresh for about one to two weeks if stored properly. To get the most out of their shelf life, keep them in an airtight container at room temperature or in the fridge for longer freshness.
Make sure to keep them away from heat and humidity, which can cause melting or spoilage. Layer them with parchment paper to prevent sticking and keep them delicious and fresh for as long as possible.
What Are Alternative Fillings Besides Caramel?
For alternative fillings beyond caramel, you can try peanut butter, marshmallow fluff, or fruit preserves for flavorful options. These add variety and surprise to your treats.
If you want a different twist, consider cream cheese or Nutella for rich, creamy centers. These fillings let you customize your turtle candies to match your taste.
Each bite can be bold and beautifully balanced with a burst of flavor thanks to these versatile options.
Can I Make These Candies Vegan?
Yes, you can make vegan chocolate turtle candies by using vegan chocolate and plant-based fillings.
Swap traditional caramel with coconut caramel or date-based fillings for a cruelty-free version. Make sure your chocolate is dairy-free, and choose natural, plant-derived ingredients for the fillings.
This way, you get delicious, vegan chocolate turtles that satisfy your sweet tooth without compromising your dietary choices.
How Do I Prevent Nuts From Falling Off?
To prevent nuts from falling off, focus on nut adhesion and candy coating. First, make sure your caramel layer is sticky and well-set, which helps the nuts stick better.
When applying the chocolate coating, gently press the nuts into the surface to secure them. Using a slightly warmed, melted chocolate or candy coating creates a strong bond, ensuring the nuts stay attached during handling and storage.
Conclusion
Now you’ve mastered the art of making marvelous, mouthwatering chocolate turtles at home. With a little patience and plenty of pizzazz, you can produce perfect, prized treats every time.
From preparing and pairing to pouring and plating, your passion for praline perfection will shine through. So, seize the skill, savor the sweetness, and share your spectacular, homemade confections with friends and family.
Because nothing beats the bliss of baking your own beautiful, bite-sized chocolate turtle candies.