5 Simple Steps to Make Hard Rock Candy at Home With Sugar
Many people love the idea of making their own candies at home but often feel overwhelmed by complex recipes or hard-to-find ingredients. If you’ve ever wanted to create beautiful and tasty hard rock candy with just everyday ingredients, you’re not alone. Making candy can seem tricky, but with a little guidance, it’s totally doable and fun.
To make hard rock candy at home, start by gathering sugar, water, food coloring, and flavoring oils, along with jars and skewers. Mix sugar and water, then boil until the temperature reaches about 300°F, ensuring the solution becomes supersaturated.
Attach skewers to the jars, pour the cooled solution, and let crystals grow undisturbed for 5-7 days. Once grown, harvest and dry your crystals, and store them properly.
Keep exploring for detailed tips to perfect your candy-making process.
Key Takeaways
- Prepare a sugar solution by boiling sugar and water to 300°F, then let it cool slightly before adding flavoring.
- Set up skewers or sticks in wide-mouth jars with your cooled, supersaturated sugar solution.
- Cover the jars loosely and place them somewhere stable and undisturbed, away from sunlight.
- Let the crystals grow over 5-7 days, breaking the surface layers from time to time to encourage even growth.
- When ready, harvest the crystals, dry them thoroughly, and store in a cool, dry place for long-lasting hardness.
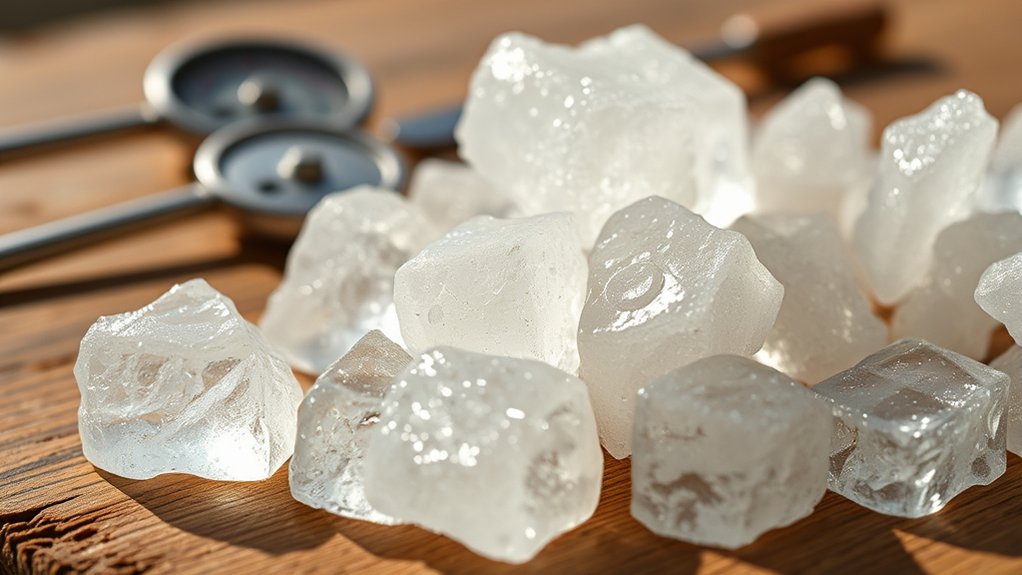
Gather Ingredients and Tools for Homemade Rock Candy
Before you start making homemade rock candy, gather all the necessary ingredients and tools. You’ll need granulated sugar, water, optional food coloring, and flavoring oils to customize your candy.
Use wide-mouth mason jars or similar containers to hold your sugar solution during crystal growth. Prepare skewers or sticks by coating them in water and sugar, then let them dry to form seed crystals that promote crystal growth.
Keep a candy thermometer handy to monitor the boiling temperature of your sugar syrup, aiming for around 300°F. You’ll also need tools like clothespins or clips to suspend the skewers in the jars without touching the sides.
These tools help keep the skewers steady as crystals form. Make sure you have enough sugar to create a saturated solution, which is vital for crystal development.
Gathering everything beforehand makes the process smoother and prevents interruptions once you start boiling the sugar solution.
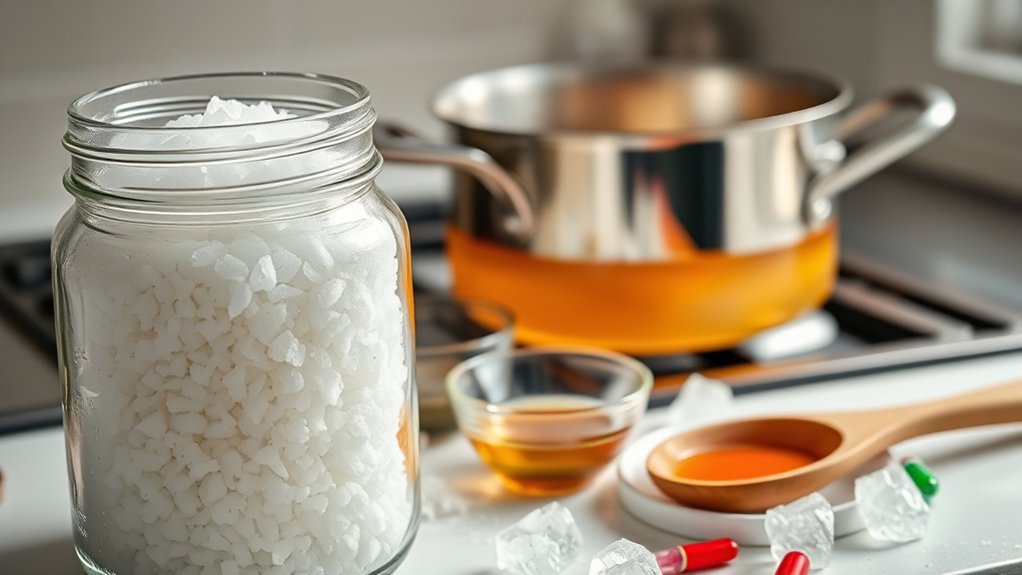
How to Make the Perfect Sugar Solution for Crystals
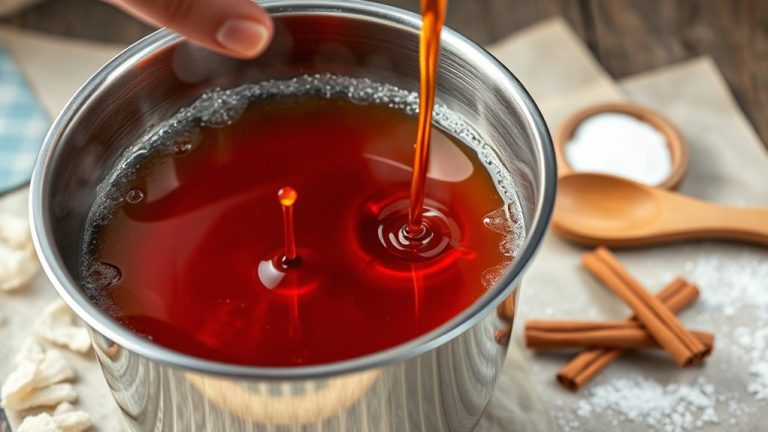
To make the perfect sugar solution for crystal formation, start by mixing 2.5 to 3.5 cups of granulated sugar with 1 cup of water in a saucepan. Bring the mixture to a boil, stirring until all the sugar dissolves completely.
Achieving a supersaturated solution means boiling until the temperature hits about 300°F, known as the hard crack stage. This allows more sugar to dissolve than at room temperature, which is key for good crystals.
Keep a close eye on the temperature to reach the hard crack stage for the best crystallization. Once boiling, avoid stirring to prevent crystals from forming too early.
Let the sugar syrup cool slightly before adding flavoring or food coloring. This helps everything blend better and prevents unwanted crystallization.
Afterward, let the solution cool to room temperature before pouring it into containers. This promotes even crystal growth and prevents disturbances.
If you want to make more later, reheat the solution and add extra sugar if needed. Just make sure it cools thoroughly before use to avoid premature crystallization.
Following these steps will give you a strong, supersaturated sugar solution perfect for crystal growth.
Setting Up Containers and Crystals for Best Growth
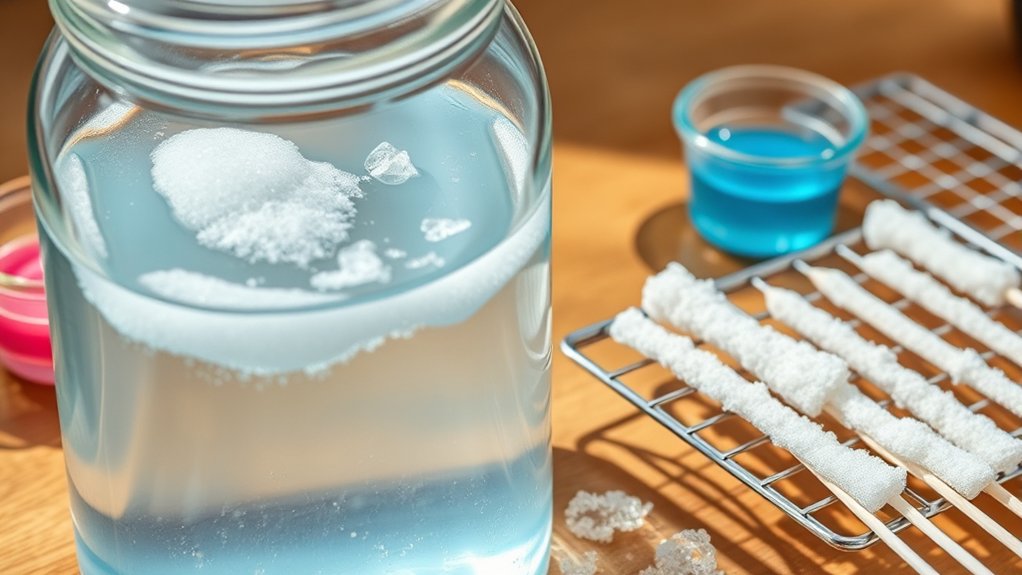
Setting up your containers properly is key to successful crystal growth because it gives the sugar crystals a stable environment to form and develop.
Use wide-mouth jars filled with cooled, supersaturated solution to give the crystals plenty of space to grow. Attach skewers or sticks vertically in the solution, making sure there’s at least 1.5 inches of clearance from the bottom and sides of the jar.
Secure the skewers with clothespins or clips to keep them centered and prevent contact with the sides or bottom of the jar. Cover the jars with a breathable material like a paper towel or cloth to keep debris out but still allow evaporation to happen naturally.
Place your jars in a stable, undisturbed spot away from direct sunlight, drafts, or vibrations. This setup creates a consistent environment for crystal growth, helps promote even development, and leads to clear, well-formed hard rock candies.
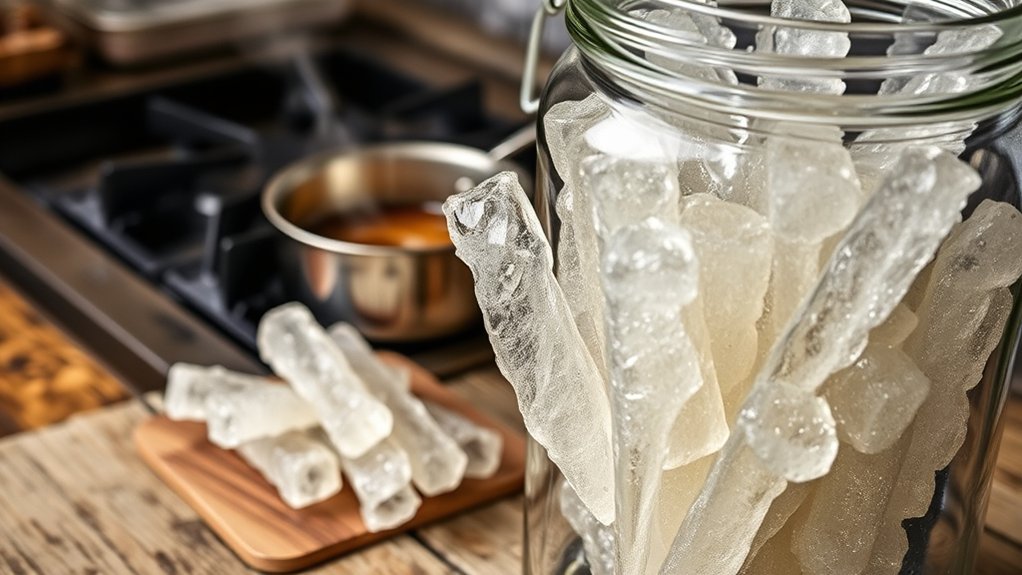
Growing and Harvesting Your Crystal Candy
Crystals grow as the sugar solution cools and evaporates over several days, usually taking about 5 to 7 days for noticeable formation. During this time, your crystal development depends on proper evaporation and patience.
To grow crystals effectively, make sure your sticks or strings are centered and at least 1.5 inches above the container’s bottom. As the crystal growth progresses, gently break any thin sugar layers on the surface to promote even crystal size and better growth.
Once your crystals reach the desired size, carefully harvest them by removing and letting them dry for about 4 hours. Proper drying is essential to prevent moisture from affecting your candy’s quality.
When stored in a dry, cool environment away from humidity and direct sunlight, your harvested rock candies can last up to a year. Proper harvesting and drying help keep your crystals beautiful and delicious for months to come.
- Grow crystals evenly by breaking surface layers
- Harvest when crystals reach your preferred size
- Let crystals dry thoroughly before handling
- Store in a dry, cool place for longevity
- Monitor evaporation to control crystal development
Troubleshooting Tips and How to Store Your Rock Candy
Even with careful harvesting and drying, some issues can still happen when making rock candy at home. To avoid problems, proper storage is key.
Keep your rock candy in an airtight container in a cool, dry place to prevent moisture from making candies sticky or soft. Wrapping individual pieces in cellophane or plastic bags helps keep them fresh and protected from humidity and dust.
Avoid storing your candy in direct sunlight or humid environments, as these can cause melting, discoloration, or loss of crunch. If your candies become sticky over time, try re-drying them in a low-temperature oven for a few minutes to restore their crispness.
When properly dried and cooled, your candies can last up to a year if stored correctly. Using humidity-proof containers and keeping the environment dry helps your rock candy stay its best, looking great, tasting delicious, and maintaining that satisfying crunch.
Frequently Asked Questions
Can I Use Alternative Sweeteners Instead of Sugar?
Around 30% of people prefer natural or zero-calorie sweeteners, but can you use alternative sweeteners for hard candy? Generally, no. Sugar substitutes like stevia, erythritol, or liquid sweeteners don’t crystallize well, which makes it hard to get that classic hard rock texture.
If you’re looking for keto options or organic sweeteners, it’s best to stick with traditional sugar or glucose-based options. They reliably form the right crystalline structure for hard candy.
How Long Does It Take for the Candy to Fully Harden?
Your hard rock candy usually takes about 45 minutes to 1 hour to fully harden. But keep in mind, crystallization timing depends on how thick your candy is.
During cooling, factors like temperature control and humidity can change the texture. For the best results, leave it undisturbed at room temperature to ensure proper storage.
Ingredient purity and sugar concentration also play a role in how quickly it hardens. Plus, the shaping methods you use can influence the cooling time.
Patience is key. Giving it enough time will help you get a crisp, satisfying final product.
What Are Common Causes of Failed Crystal Growth?
Crystals can be a stubborn crew, often refusing to grow when temperature fluctuations shake the solution, impurities in sugar act like party crashers, or when you stir improperly.
Insufficient boiling, rapid cooling, or an incorrect sugar-to-water ratio also sabotage crystal formation. Environmental factors like humidity levels and contaminated equipment can further hinder growth.
To succeed, keep the temperature steady, use pure ingredients, and let the solution cool slowly and properly.
Can I Add Flavorings or Colors to My Candy?
Yes, you can add flavorings or colors to your candy. Use concentrated gel additives, food coloring, or natural flavoring like fruit infusions and flavored extracts after boiling.
Incorporate edible dyes and aromatic spices quickly for even distribution. Be cautious with liquid concentrates or essential oils, as they can interfere with crystal formation.
Adding candy boosters and aromatic spices after cooling keeps the flavors vibrant without affecting the crystal structure.
How Do I Prevent the Candy From Sticking to the Container?
To prevent sticking, coat your container with a light layer of cooking spray, vegetable oil, or use silicone molds for non-stick surfaces. Line the container with parchment paper for extra protection.
Choose a wide-mouth jar for easy removal. Cool the sugar syrup in a room-temperature or slightly warmed container. After cooling, gently loosen the edges with a fork or spoon.
Proper container selection and cooling techniques help keep your candy from sticking. Using these simple tricks makes removing your candy much easier and mess-free.
Conclusion
Now that you’ve mastered these simple steps, you’re almost there to creating crystals so dazzling they could rival the stars. Imagine biting into your homemade rock candy, each shard bursting with vibrant sweetness and shimmering like treasures from a fairy tale.
With just a little patience and effort, you’ll craft a jaw-dropping masterpiece that’ll leave everyone in awe. Get ready to amaze yourself and everyone around you—your candy kingdom of rock candy awaits!