5 Simple Steps to Make Hard Tack Candy at Home
Many people love the nostalgic taste of hard tack candy but find making it at home a bit intimidating. You’re not alone—crafting perfect, clear candies can seem tricky at first.
Luckily, with a few simple steps, you can create delicious homemade hard tack candy that’s just as good as store-bought.
To make hard tack candy at home, gather your ingredients like sugar, water, and corn syrup, along with tools such as a candy thermometer and parchment paper.
Cook the mixture to the hard crack stage (around 290°F), then pour it onto the prepared sheet or into molds.
Let it cool completely before breaking into pieces and shaping as you like.
Storing in airtight containers keeps it fresh.
Keep going for more tips to customize and perfect your candy!
Key Takeaways
- Combine sugar, water, and corn syrup; cook to 290-295°F using a candy thermometer.
- Pour the hot mixture onto parchment or molds and let it cool fully at room temperature.
- Once cooled and firm, break or cut the candy into desired shapes with a sharp knife.
- You can add food coloring and flavor oils before pouring if you want to customize your candy.
- Store in an airtight container in a cool, dry place to keep it fresh.
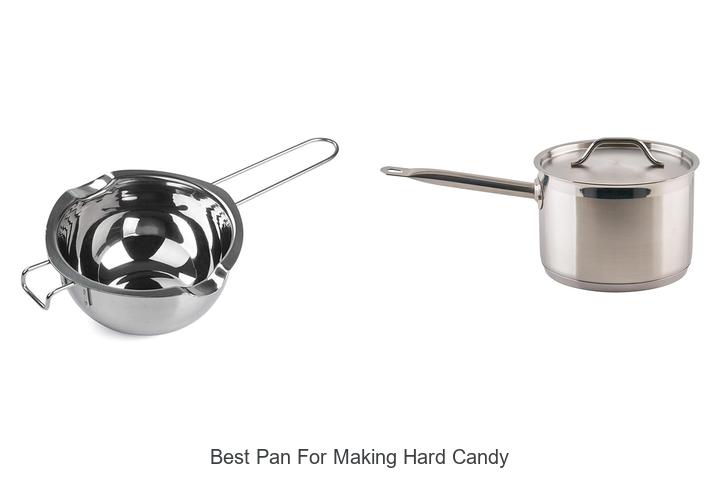
Gather Ingredients and Equipment for Hard Tack Candy
To make hard tack candy at home, start by gathering all the necessary ingredients and equipment. Your main ingredients are granulated sugar, water, and light corn syrup, which create the perfect candy mixture.
Gather ingredients and equipment like sugar, water, corn syrup, and a thermometer for successful homemade hard tack candy.
You’ll also need measuring tools to carefully measure each ingredient, ensuring the right texture and consistency during cooking. Essential equipment includes a candy thermometer to monitor the temperature accurately and a large cookie sheet lined with parchment paper for pouring and cooling the candy.
A sturdy spatula or spoon is useful for stirring the sugar mixture while cooking. When it’s time to pour the syrup, make sure your equipment is prepared to handle hot liquids safely.
For added flair, high-quality food coloring and concentrated flavor oils like LorAnn can be prepared beforehand. Furthermore, tools like a meat mallet or zippered bag will come in handy later for cracking and coating the finished candy pieces.
Gathering everything ahead of time streamlines your candy making process.
Cook the Candy to the Hard Crack Stage
As your sugar mixture heats, keep a close eye on the temperature with a candy thermometer, and stir constantly until it reaches 280°F. This guarantees you’re on the right track for the hard crack stage.
Once it hits 280°F, stop stirring and let the hot sugar continue boiling without agitation. Keep watching the thermometer, aiming for 290-295°F. That range is perfect for the hard crack stage needed for hard candy.
Temperature control is key here; overcooking can cause burning or a less desirable texture. If you don’t have a thermometer, test by dropping a small amount into cold water. If it hardens immediately and cracks easily, you’re at the right stage.
Remove the hot sugar from heat once you reach your target temperature. Doing this promptly helps prevent overcooking. Reaching this stage correctly will give your candy that perfect, crisp texture.
Pour Candy Into Molds and Let It Cool Fully
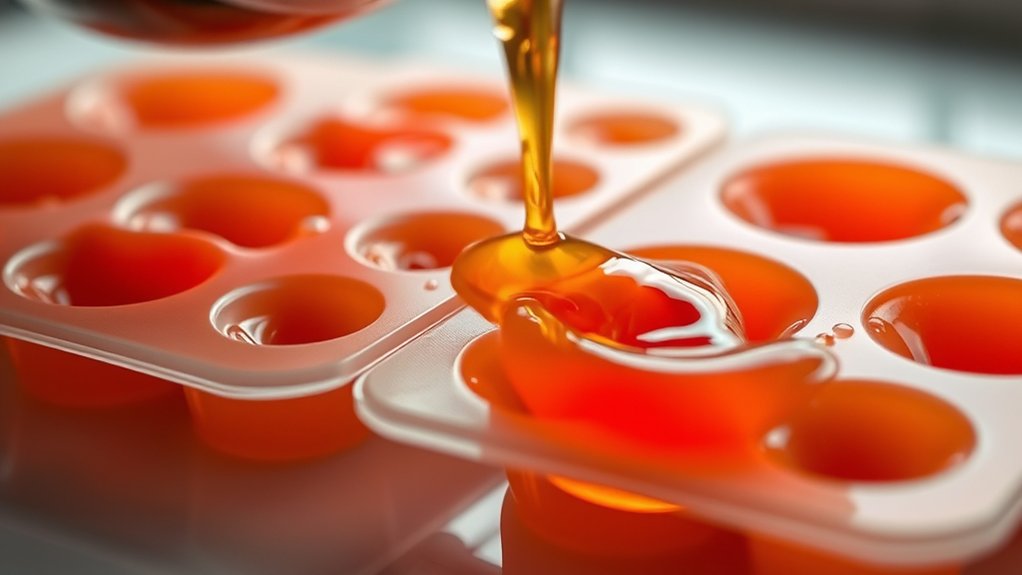
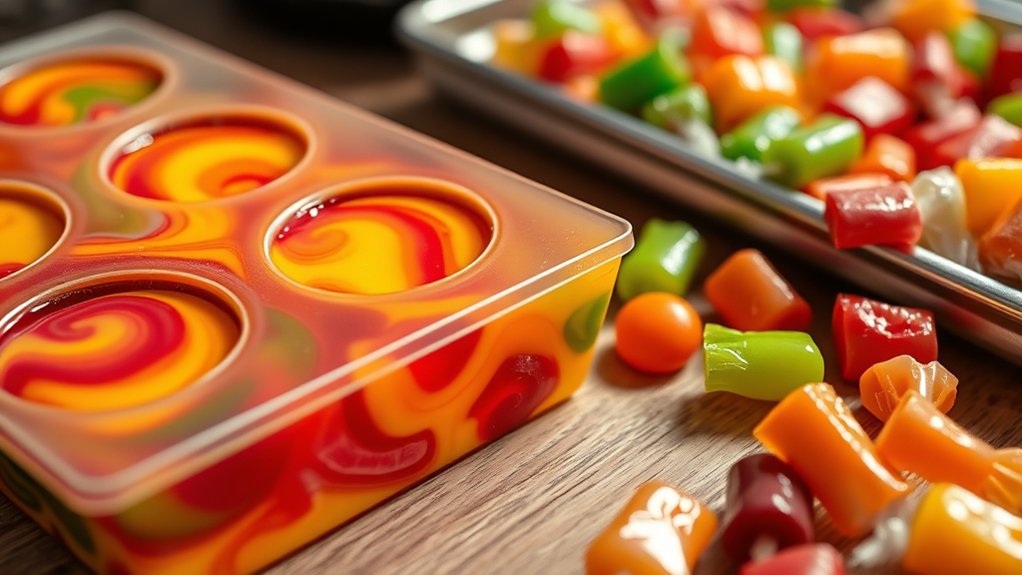
Once your sugar mixture reaches the perfect hard crack stage, carefully pour it into silicone molds or onto a parchment-lined baking sheet. Use a steady hand to pour and avoid spills, making sure the mixture fills the molds completely or spreads evenly on the parchment paper.
Pour the hot sugar carefully into molds or onto parchment, filling evenly without spills.
Let the hard candy cool and harden at room temperature for at least 30 minutes. During this time, don’t disturb or move the molds, as that can affect the shape and smooth surface of your candies.
For faster cooling, place the molds or sheet in a cool, dry area away from drafts. Just avoid refrigerating, since condensation can make the candies sticky. As it cools, the mixture will turn into a firm, glass-like consistency.
Once fully cooled and hardened, gently remove the candies from the molds or break the sheet into shards. Proper cooling helps give your homemade hard candy a smooth, perfect shape.
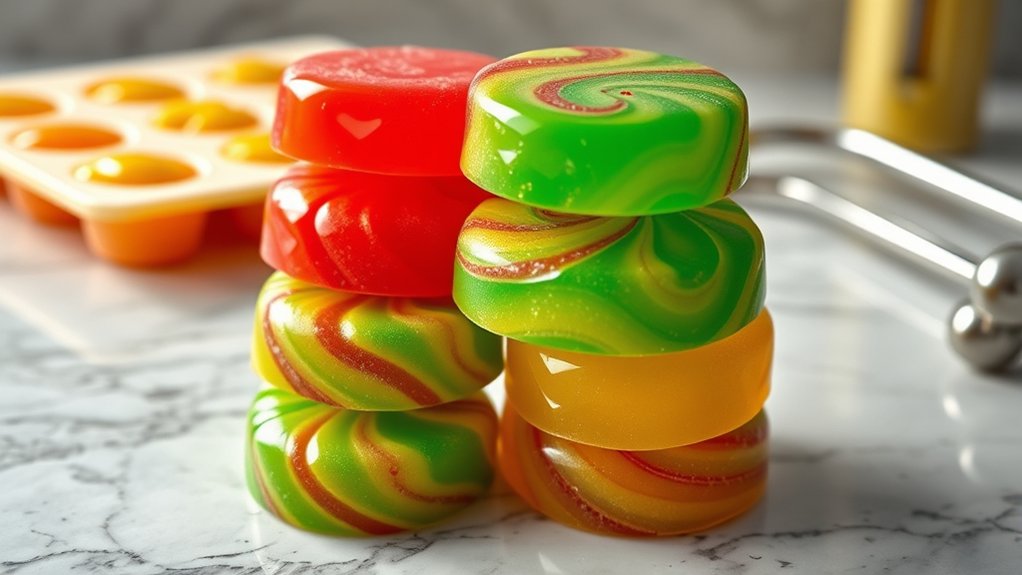
Break and Shape Your Homemade Hard Candy
After the candy has cooled and hardened for about 30 minutes, it’s time to start shaping it. First, make sure the candy is firm enough to handle but still slightly warm and pliable for easier cutting.
Use a sharp knife or kitchen shears to slice the candy into strips or your desired shapes. For cleaner cuts, you can briefly place the pan over hot water to soften the surface.
Be careful because the candy’s rough texture can make cutting tricky. Once sliced into strips, you can break the pieces into smaller chunks using your hands or a meat mallet for a rustic look.
Handling the pieces might be sticky, so toss them in powdered sugar or a mixture of powdered sugar and cornstarch. This helps prevent sticking and makes shaping easier.
This method guarantees clean breaking and shaping, producing attractive, uniform pieces ready for packaging or further decoration.
Store and Customize Your Candy for Freshness and Fun
To keep your homemade hard tack candy fresh and enjoyable, store it in airtight containers or zip-top bags with moisture-absorbing rice packs. This helps absorb moisture, preserving the candy’s crisp texture and preventing stickiness for up to six months.
Keep the candies in a cool, dry place away from humidity to maintain their freshness. Before pouring, you can customize your candy by adding food coloring and flavoring combinations, creating unique and festive appearances.
For long-term storage, place small portions in individual bags. This makes sharing easier and helps preserve each batch’s freshness. Decorative packaging, like holiday-themed jars or colorful bags, adds a fun touch and makes your homemade candy a charming gift.
Proper storage guarantees your treats stay delicious and vibrant. Using individual bags and creative presentation keeps the fun alive long after making your hard tack candy.
Frequently Asked Questions
Can I Use Honey or Alternative Sweeteners Instead of Corn Syrup?
Yes, you can use natural sweeteners like honey or alternative syrups instead of corn syrup. Just keep in mind that these substitutes might change the flavor, color, and caramelization of your candy.
You’ll need to adjust the consistency by reducing water and maybe tweak the cooking time to get the right texture. These swaps can be healthier options, but watch out for how they affect the firmness and taste of your final candy.
How Can I Prevent the Candy From Sticking to the Molds?
Oh, sure, just hope your candy magically releases itself without proper candy mold preparation! Use non-stick spray techniques, especially on silicone molds, which benefit from their flexible, easy-release qualities.
Cooling process tips include letting the candy cool completely, and mold cleaning tips involve gentle washing.
Remember, mold material differences matter—silicone is your friend—plus, edible spray options can add a slick surface.
Store in suitable containers, and consider mold size variations for flavor infusion methods.
What Are Safe Temperature Adjustments for Different Altitudes?
At higher altitudes, you should increase your cooking temperature by about 2-3°F for every 1,000 feet to counteract altitude effects on boiling point.
This adjustment helps ensure accurate boiling, which is especially important for making candies with the right consistency. Use a reliable candy thermometer for precise temperature control.
Since altitude changes impact boiling point, proper temperature adjustments prevent under- or over-cooking. This way, your high-altitude candies turn out perfectly every time.
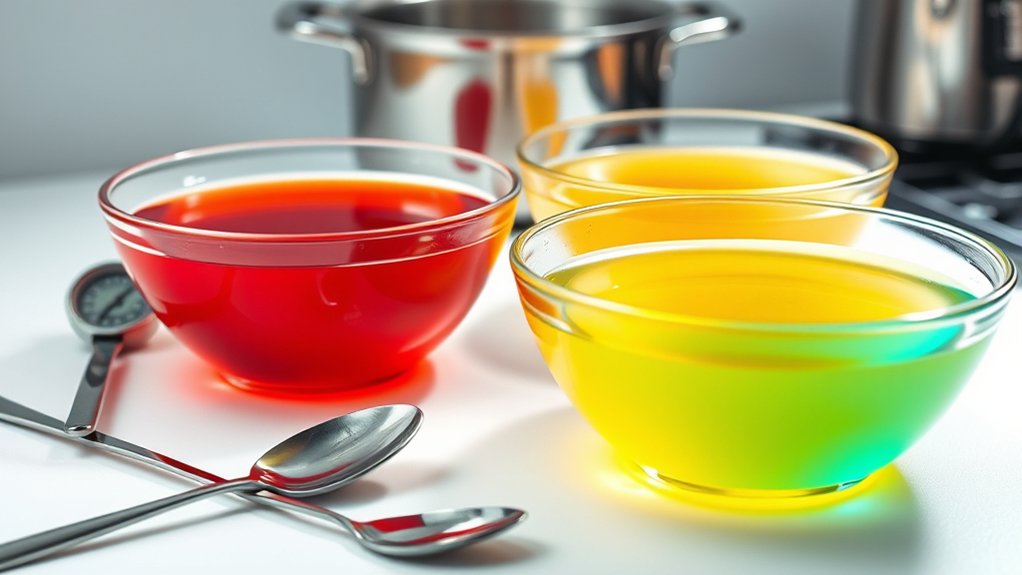
How Do I Achieve Different Flavor and Color Combinations?
Crafting colorful, flavorful candies is like painting with edible hues. You can get vibrant color mixing by adding natural dyes or gel color before pouring, then swirl or layer for stunning effects.
For flavor infusion, experiment with extract variations such as fruit essences, seasonal flavors, or spiced combinations. Add drops of LorAnn oils after reaching the hard crack stage.
You can also incorporate edible glitter or candy swirls for extra flair, creating a deliciously visual treat.
How Long Does Homemade Hard Tack Candy Typically Last?
Your homemade hard tack candy usually lasts about 6 months, depending on storage conditions. To keep it fresh longer, store it in airtight containers away from humidity and direct sunlight.
Keep an eye out for signs of spoilage like stickiness or discoloration. Unlike store-bought candy with expiration dates, homemade candy’s shelf life can vary because of aging factors.
Using proper storage helps prevent the candy from aging quickly and keeps its quality. This way, you can enjoy your homemade treat for as long as possible.
Conclusion
Now that you’ve mastered these simple steps, your kitchen is about to become a candy wonderland. With a little patience and creativity, you can turn basic ingredients into shiny, colorful treats that are as fun to make as they are to enjoy.
Think of your homemade hard tack candy as a sparkling treasure chest—each piece a jewel crafted by your own hands. So go ahead, get sticky, and let your sweet imagination run wild!
Enjoy making your own hard tack candy and turning your kitchen into a colorful, sweet paradise.