5 Simple Steps to Make Milk Chocolate Candy at Home
Many people love the idea of making their own milk chocolate candies at home but feel overwhelmed by the process or unsure where to start. If you’re tired of settling for store-bought treats and want to craft delicious chocolates yourself, you’re not alone.
Luckily, with a few simple steps, you can create your own sweet, creamy chocolates right in your kitchen.
To make milk chocolate candies at home, start by gathering high-quality ingredients like cocoa butter, milk powder, and flavorings, along with clean molds and tools.
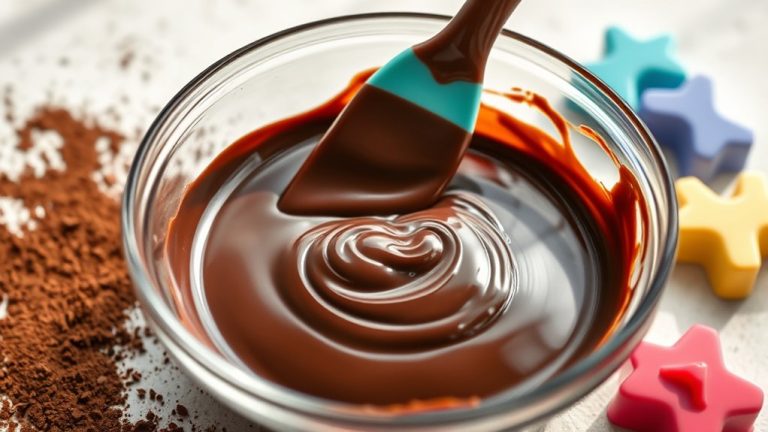
Melt the chocolate carefully using a double boiler or microwave, then temper it by cooling and reheating to guarantee a shiny finish.
Mix in your preferred flavors or add-ins, pour into molds, and let them set in a cool place.
Store them properly to enjoy fresh, delicious treats—if you want more tips, just keep exploring.
Key Takeaways
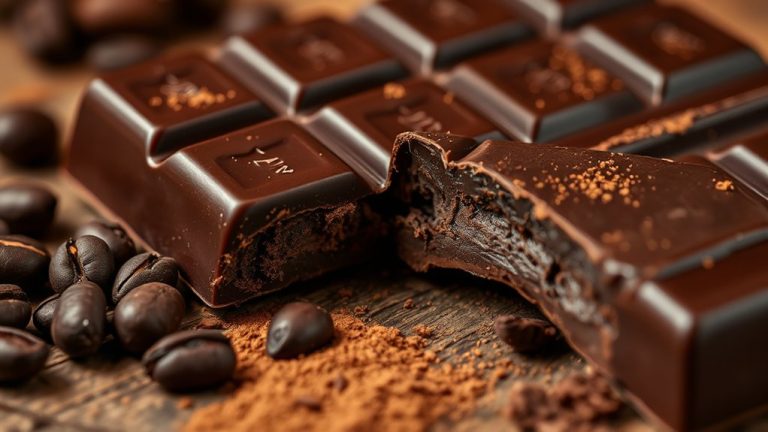
- Melt high-quality milk chocolate using a double boiler or microwave, making sure to keep the temperature just right so it doesn’t burn.
- Temper the chocolate by cooling it down to 27°C, then gently reheating it to 31°C for that nice shiny finish.
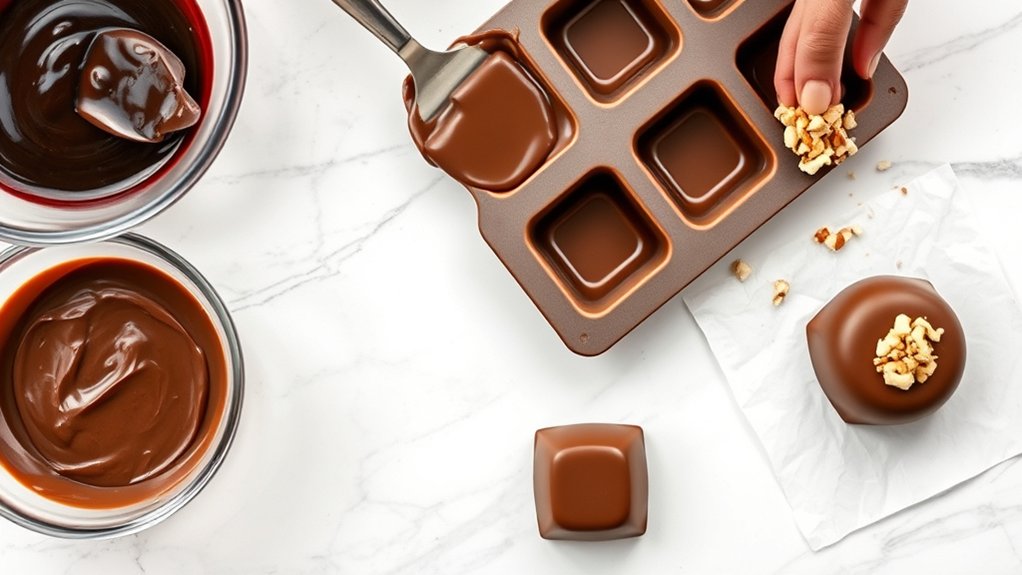
- Pour the melted chocolate into clean molds or onto parchment paper, and give it a gentle tap to get rid of any air bubbles.
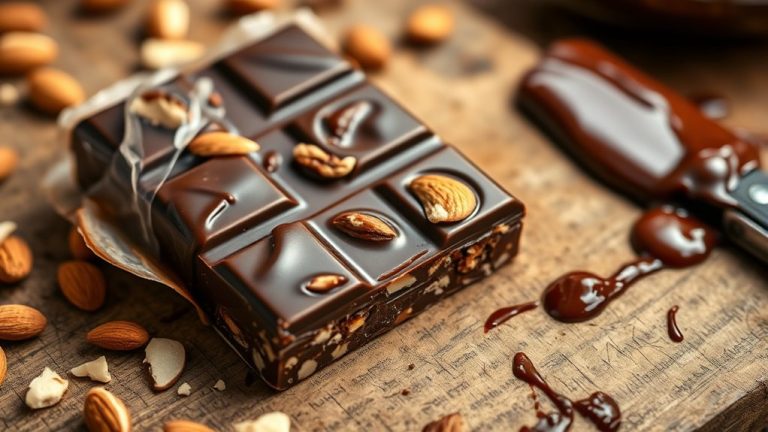
- Feel free to add flavorings or mix-ins like nuts or dried fruits to make your candies more personalized.
- Let the candies cool and set in the fridge, then store them in an airtight container somewhere cool and dark.
Gather Ingredients and Tools for Homemade Milk Chocolate
Are you ready to start making your own milk chocolate? First, gather your ingredients and tools. You’ll need high-quality cocoa butter, milk powder, powdered sugar, and chocolate flavorings to get that rich, smooth taste.
Keep in mind, the flavorings can add variety, like vanilla or caramel notes, so pick what suits your preference. Next, gather your tools: a double boiler or heatproof bowl, a spatula, a digital thermometer, and candy molds.
Flavorings like vanilla or caramel can add variety—choose what best suits your taste.
Candy molds are essential for shaping your chocolates into fun shapes and giving your treats a professional look. Make sure your molds are clean and dry before pouring in the melted chocolate.
Having all your ingredients and tools ready will make the process easier and more enjoyable. This way, you can focus on creating delicious milk chocolate candies.
With everything in place, you’re all set to craft homemade chocolates that are both tasty and visually appealing.
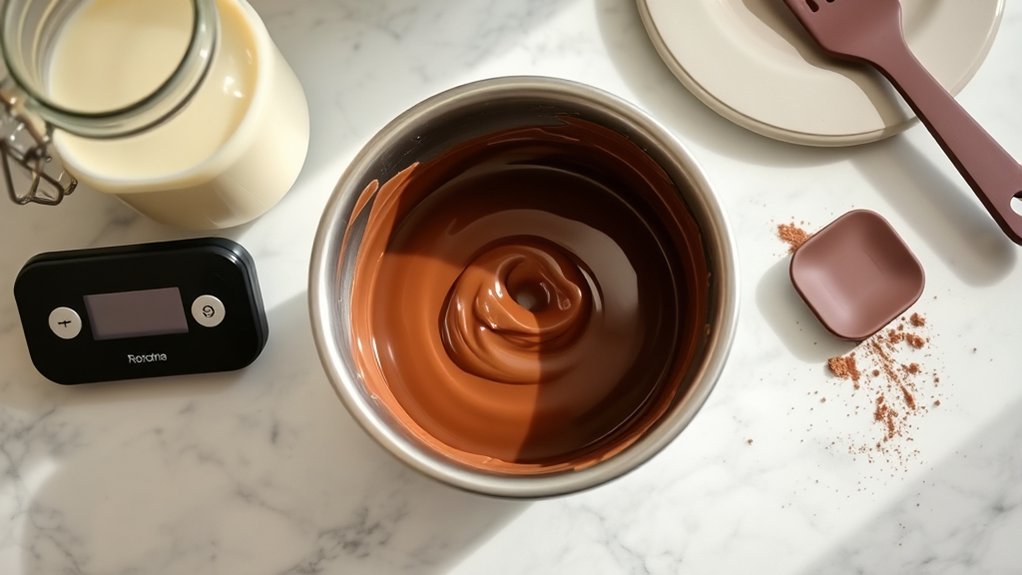
How to Melt and Temper Milk Chocolate for Smooth Results
To get smooth, glossy milk chocolate, you need to melt and temper it carefully. Proper melting makes sure your coating stays smooth without clumping or seizing. Use a double boiler or microwave in short bursts, stirring often to prevent overheating.
Keep the temperature around 45-50°C (113-122°F) to avoid burning or scorching the chocolate. Tempering is key for a shiny, professional look. After melting, cool the chocolate by stirring until it reaches about 27°C (80°F). Then gently reheat it to 31°C (88°F) for milk chocolate.
This process stabilizes the cocoa butter, giving you a smooth, glossy finish with a satisfying snap. Always use clean, dry utensils and avoid moisture, which can cause the chocolate to seize.
Mastering melting and tempering ensures your homemade milk chocolate looks great and is perfect for coating candies.
How to Add Flavors and Customize Your Milk Chocolate Candies
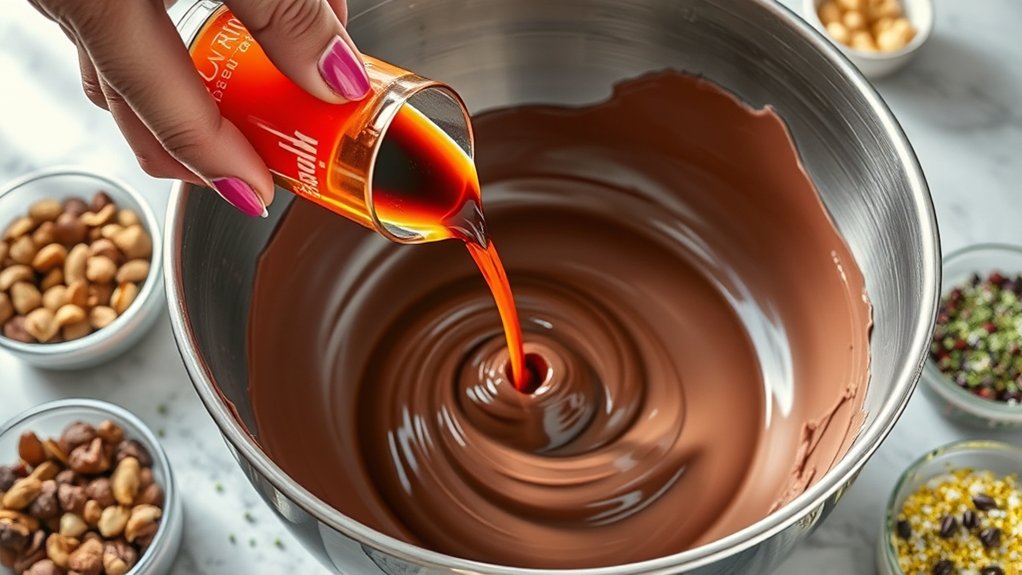
Adding flavors and customizing your milk chocolate candies lets you create unique treats that match your taste. Experimenting with different combinations can turn simple chocolates into memorable delights.
Customize your milk chocolates with flavors and decorations to make uniquely delightful treats.
Try mixing in dried fruits or nuts for a tempting crunch and natural sweetness. A splash of vanilla or peppermint extract can give your candies a refreshing twist.
Spices like cinnamon or chili add bold, unexpected flavors that surprise the palate. For a visual boost, drizzle with white chocolate or sprinkle edible glitter to make your candies look just as appealing.
These techniques not only enhance flavor but also add a personal touch to your treats. Be bold with your flavor combos and get creative with decorations—your candies will truly stand out.
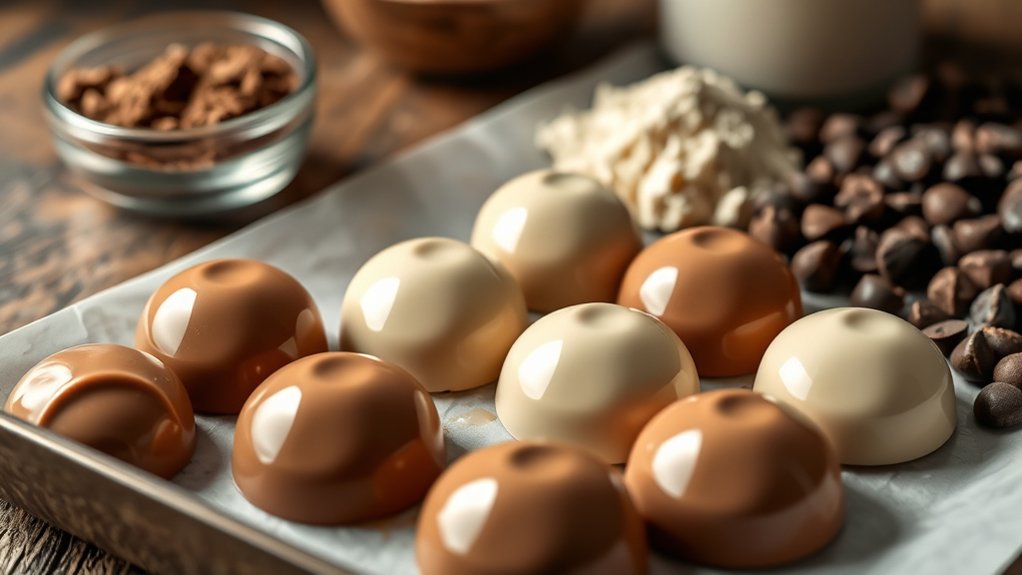
Pour, Shape, and Set Your Homemade Milk Chocolate
Once your melted milk chocolate is ready, carefully pour it into your chosen chocolate mold or onto a parchment-lined tray. If you’re using a mold, gently tap it on the counter to remove air bubbles and make sure the chocolate fills all the crevices.
For a more rustic look, pouring onto a tray lets you spread the chocolate evenly with a spatula. After pouring, use a toothpick or skewer to smooth the surface or add decorative touches.
Place the mold or tray in a cool, undisturbed area to let the chocolate set. If you want it to set faster, refrigerate it for about 30 minutes.
Once the chocolate is firm, gently remove the candies from the mold or break apart the hardened sheet into pieces. Wrap your homemade milk chocolates in candy packaging to keep them fresh and ready for gifting or snacking later.
Store and Enjoy Your Freshly Made Milk Chocolate Candies
Ever wonder how to keep your homemade milk chocolates fresh and delicious? Proper storage is key to maintaining their flavor and texture. First, wrap each candy individually with candy wrapping or small airtight bags to prevent moisture and air from spoiling it.
Next, store your wrapped chocolates in an airtight container or sealed box, ideally in a cool, dark place away from sunlight and heat. Keep the temperature steady around 65-70°F to prevent blooming or melting.
Here are four tips to guarantee freshness:
- Wrap candies tightly with candy wrapping to lock in flavor.
- Use an airtight container to avoid exposure to humidity.
- Store in a cool, dark spot like a pantry or cupboard.
- Avoid storing near strong odors, which can transfer to your chocolates.
Frequently Asked Questions
Can I Use Alternative Sweeteners Instead of Sugar?
Yes, you can use sugar substitutes instead of sugar when making milk chocolate candy at home. Options like stevia, erythritol, or monk fruit sweetener work well.
Just keep in mind, some substitutes might change the taste or texture a bit, so it’s a good idea to experiment and see what you prefer.
Also, think about health considerations because certain sweeteners can affect digestion or blood sugar levels.
Always follow the recommended amounts for the best results.
How Long Does Homemade Milk Chocolate Last?
Homemade milk chocolate usually lasts about 2 to 4 weeks if you store it right.
Keep it in an airtight container in a cool, dark spot to help it stay fresh longer.
Heat, light, or humidity can make it spoil sooner, so watch out for those.
Before eating, check for any changes in texture or smell.
For the best flavor, enjoy your homemade chocolate within this timeframe.
Is It Safe to Microwave Chocolate for Melting?
Yes, it’s safe to microwave chocolate for melting if you follow proper microwave safety. Use a microwave-safe bowl and melt the chocolate in short bursts, stirring between each to prevent overheating.
Avoid direct contact with metal or plastic that isn’t microwave-safe. After melting, store your chocolate properly to keep its quality and prevent spoilage, so it stays fresh for future use.
Always keep an eye on it to prevent burning or seizing. Just be careful, and you’ll have perfectly melted chocolate every time.
Can I Make Vegan Milk Chocolate?
Yes, you can make vegan milk chocolate using vegan milk alternatives like almond or oat milk, and plant-based sweeteners such as maple syrup or agave nectar.
Some people worry about the texture, but blending these ingredients with cocoa and cocoa butter creates a creamy, delicious vegan milk chocolate.
Don’t hesitate to experiment with different plant-based milks and sweeteners to find your perfect flavor.
Enjoy crafting your homemade vegan chocolate!
What Are Common Mistakes to Avoid When Tempering?
When tempering, avoid common mistakes like neglecting temperature control, which can ruin the chocolate’s texture. Always keep a close eye on the temperature to ensure it melts and cools at the right points.
Don’t stir too vigorously or rush the process. This can cause streaks and dullness, so be gentle and patient.
Also, keep water or moisture away from the chocolate. Even a drop can cause seizing, ruining your work.
Proper temperature control and gentle handling are key. They help you achieve glossy, smooth, and perfectly tempered chocolate.
Conclusion
As you wrap your homemade milk chocolates, think of each piece as a tiny gift, a treasure made with your effort and creativity. These candies represent patience, craftsmanship, and the sweet reward of your work.
When you take a bite, let the smooth melt remind you that even simple ingredients, when combined with care, can create something truly special. Your chocolates are more than just treats—they reflect your passion and the joy of making something homemade.
Making milk chocolate candy at home is a fun way to enjoy a sweet treat and show off your skills. Each piece you create is a small victory that brings happiness to you and those you share it with.