What Is Chocolate Candy Coating?
Ever tried making homemade candies or treats and felt frustrated when the coating doesn’t turn out just right? You’re not alone—many people struggle with achieving that perfect glossy finish or smooth texture.
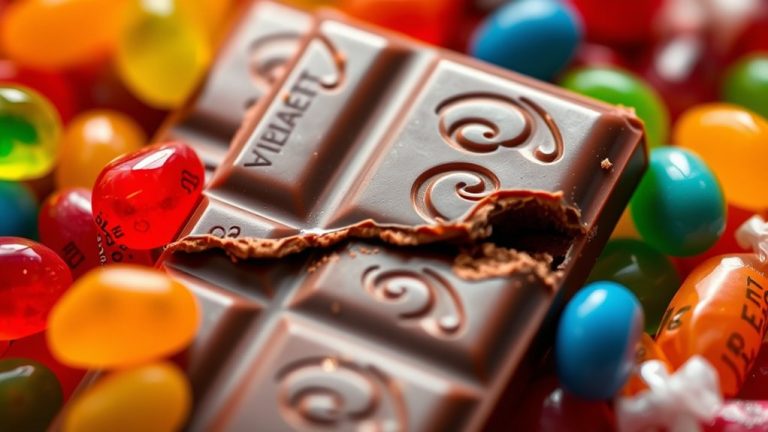
Chocolate candy coating is a smooth, shiny layer of melted chocolate used to enrobe and decorate treats like candies, nuts, or fruits. It’s made from sugar, fats like cocoa butter or vegetable oils, milk solids, and sweeteners such as corn syrup or glucose.
Unlike regular chocolate, it’s easier to melt, handle, and cool without blooming. If you want to uncover tips for perfect application and creative uses, keep exploring the details ahead.
Key Takeaways
- Chocolate candy coating is a smooth, shiny layer used to cover confections like truffles, nuts, and candies.
- It’s made by melting or tempering chocolate with added flavorings, fats, and sweeteners.
- The coating creates a crisp shell that boosts the look and texture of candies.
- Unlike regular chocolate, it’s easier to work with, doesn’t need tempering, and is more forgiving at room temperature.
- You can customize it with colors, drizzles, or flavor infusions for decorative and tasty effects.
What Is Chocolate Candy Coating and How Is It Made?
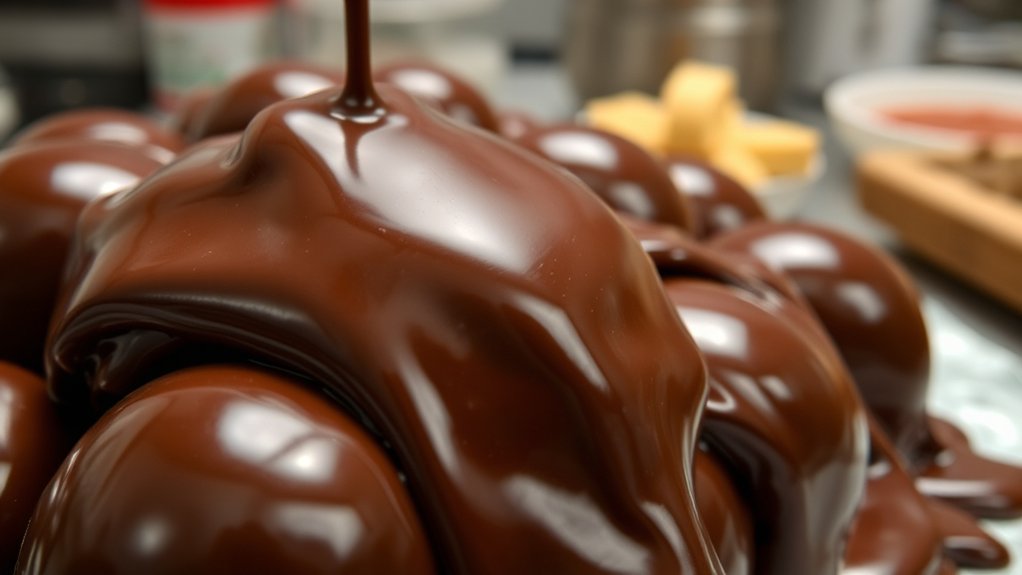
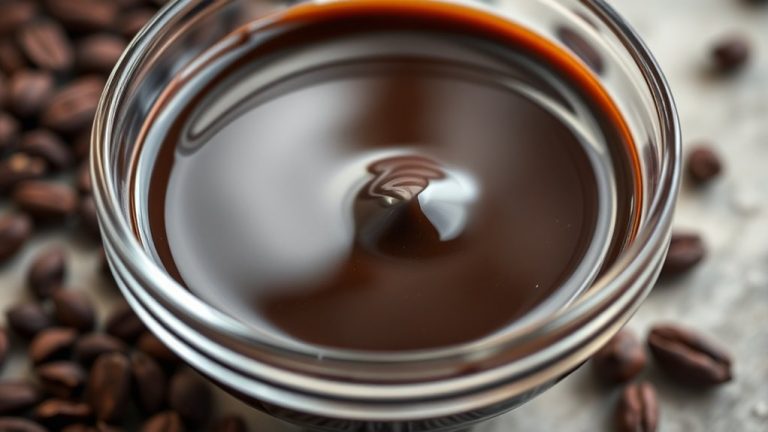
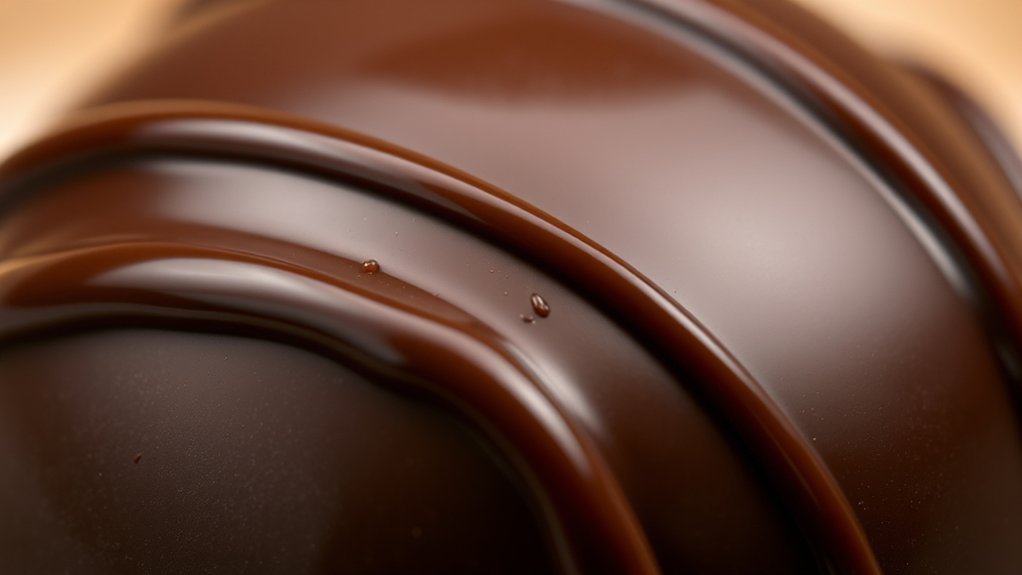
Chocolate candy coating is a smooth, shiny layer of chocolate that wraps around treats like truffles, nuts, or candies. It’s made by melting or tempering chocolate until it’s fluid enough to coat items evenly.
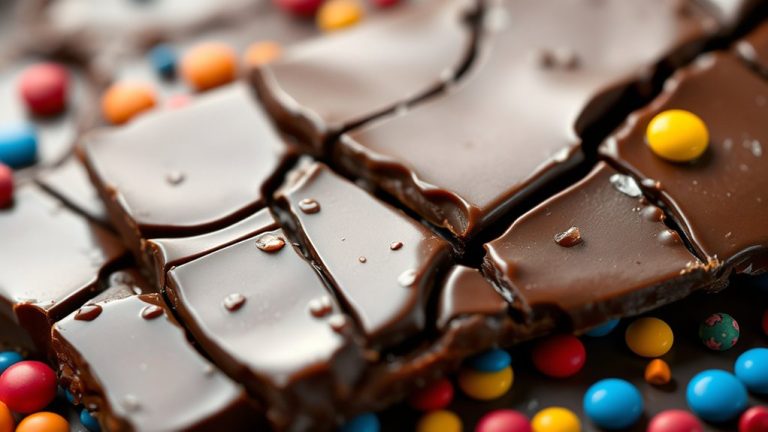
Chocolate candy coating creates a glossy, crisp shell that beautifully encases treats and enhances their visual appeal.
You can add flavorings like vanilla, mint, or fruit extracts during melting to give your candies a tasty twist. These additions boost flavor and make your treats more tempting.
Once cooled, the coating hardens into a crisp shell that protects the filling inside. Its shiny surface also makes your candies look more appealing on display.
Try experimenting with different colors or decorative drizzles to make your candies stand out even more. Well-made candy coating not only safeguards your confections but also serves as a creative canvas for flavors and eye-catching designs.
Why Use Candy Coating Instead of Regular Chocolate?
While regular chocolate can work for coating candies, many bakers prefer candy coating because it offers a smoother, more consistent finish that’s easier to work with. Candy coating melts evenly, creating a shiny, professional look without the need for tempering.
It’s also more forgiving at room temperature, reducing the risk of blooming or cracking. Regarding flavor pairing, candy coating is versatile; you can easily add extracts, oils, or colors to match your desired taste and appearance.
Nutritional benefits also play a role—candy coating tends to contain less fat and sugar compared to some chocolates, making it a lighter choice for certain recipes. Its neutral flavor allows your fillings or toppings to stand out, while still providing a crisp, decorative shell.
What Are the Main Ingredients in Candy Coating?
Candy coating is mainly made up of a few key ingredients. You’ll find sugar, fats, and milk solids, which all come together to give it that smooth texture and delicious flavor we love.
You’ll also notice sweeteners like corn syrup or glucose in there. These help make sure the coating is just the right level of sweetness and has the right consistency.
To keep everything stable and ensure the coating sets properly, manufacturers often add emulsifiers and thickeners, such as lecithin or vegetable gums. These ingredients work together to create that perfect candy coating we enjoy!
Key Ingredient Components
The main ingredients in candy coating are carefully selected to guarantee a smooth, glossy finish and a satisfying texture. Typically, you’ll find fats like cocoa butter or vegetable oils, which help achieve that shiny look and melt-in-your-mouth feel.
Sugar and cocoa solids provide sweetness and depth of flavor, while emulsifiers like lecithin ensure a smooth, uniform mixture. For flavored varieties, additional extracts or flavorings are added to improve taste.
Packaging options vary depending on the product, with some coatings available in bulk for commercial use or pre-portioned for convenience. These ingredients work together to create a versatile, appealing coating suitable for a wide range of confections.
They make it easy for you to customize your treats while maintaining quality and consistency.
Types of Sweeteners
Sweeteners are the core ingredients that give candy coating its signature sweetness and influence its texture. Common options include sugar, corn syrup, and alternative sweeteners like honey or agave syrup.
Each sweetener affects flavor pairing differently. For example, honey adds a floral note, while corn syrup offers a smooth, glossy finish. Nutritional benefits vary—sugar provides quick energy, but using alternatives like stevia or erythritol can reduce calorie content and support low-sugar diets.
Your choice of sweetener impacts not just taste but also how the coating melts and interacts with other ingredients. Understanding these options helps you tailor candy coatings to specific flavor profiles and dietary needs, ensuring a delicious, balanced result every time.
Emulsifiers and Thickeners
Have you ever wondered what keeps a smooth, glossy candy coating together? Emulsifiers and thickeners are the key ingredients.
Emulsifiers help the oil and water components blend smoothly, giving that shiny finish you love. Thickeners give the coating structure, so it doesn’t become too runny or brittle.
These ingredients also influence flavor pairing, making sure the coating complements the filling inside. They affect packaging options by providing stability during storage and handling.
Without proper emulsifiers and thickeners, the coating could crack or separate, ruining its appearance and texture. So, when you’re choosing or making candy coating, pay attention to these ingredients—they’re essential for that perfect, professional look and taste.
When and Why Should You Use Candy Coating in Confections?
You might want to use candy coating when you’re aiming for that sleek, shiny finish on your confections, especially if you’re dipping or coating something. It really helps make your treats look more polished and tempting. Plus, it adds a nice texture that can make the whole experience more enjoyable to eat.
Knowing the right time to use candy coating is key. When your treats need that smooth, professional look or a bit of extra flavor and texture, that’s when it’s a good idea to reach for it. It can totally elevate your homemade sweets and make them look and taste just like store-bought goodies!
Ideal for Coating and Dipping
Candy coating is an excellent choice for coating and dipping because it creates a smooth, glossy finish that sets quickly and evenly. It’s perfect when you want to achieve a professional look, especially for bite-sized treats or truffles.
Using candy coating allows you to experiment with various flavor combinations, making your confections more appealing and unique. Its versatility makes it ideal for dipping fruits, nuts, or molded candies, ensuring they stay intact and look attractive.
Plus, it simplifies packaging ideas, as the shiny surface amplifies the overall presentation. Whether you’re making holiday gifts or sellable treats, candy coating provides a reliable, attractive layer that highlights your creative flavor pairings while maintaining a neat, polished appearance.
Enhances Texture and Appearance
Candy coating improves both the texture and appearance of confections, making them more visually appealing and enjoyable to eat. It provides a smooth, crisp exterior that contrasts nicely with softer fillings.
It also boosts visual appeal by giving treats a shiny, professional look. When used well, candy coating can turn simple confections into eye-catching desserts.
Here’s why you should consider it:
- Texture improvement: Adds a satisfying, crispy bite.
- Visual appeal: Creates a glossy, attractive finish.
- Versatility: Great for dipping, drizzling, or shaping treats.
Using candy coating makes your confections more tempting and memorable for everyone who indulges.
How Do You Melt and Temper Candy Coating?
To achieve a smooth, glossy finish, melting and tempering candy coating correctly is key. Start by chopping the coating into small, even pieces for uniform melting.
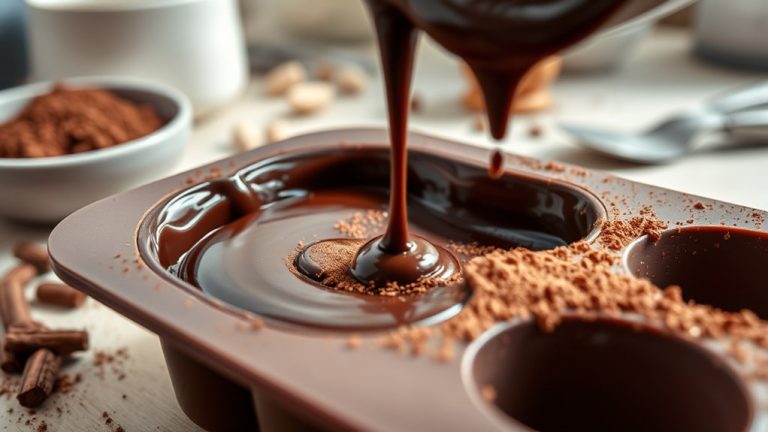
Use a microwave or double boiler, heating in short bursts and stirring often to prevent overheating. Tempering involves carefully heating, cooling, and gently reheating the coating to stabilize the cocoa butter crystals, which gives you that shiny, firm finish.
As you melt, think about flavor pairings that go well with the coating, like nuts, fruit, or spices, to make your treats even better. Once it’s tempered, you can dip or pour the coating onto your candies.
Properly melted and tempered coating also makes it easier to package your treats—whether in molds or bags—giving your candies a professional look. Keep a candy thermometer nearby to maintain the right temperature.
This process ensures your candies set with a beautiful shine and a satisfying snap.
How to Achieve a Smooth, Glossy Finish With Candy Coating
If you want that smooth, glossy finish, the first thing to focus on is mastering your tempering techniques. Keeping your candy coating at just the right melting temperature is super important. When the coating is at the perfect temp, it’ll have that shiny, professional look we’re aiming for.
Next up, applying the coating smoothly and evenly makes all the difference. Take your time and use gentle, consistent strokes to avoid streaks and lumps. When you get the temperature right and apply the coating carefully, your treats will not only look stunning but will also have that beautiful, glossy shine.
Proper Tempering Techniques
Achieving a smooth, glossy finish with your candy coating depends on proper tempering techniques. It ensures your chocolate looks shiny and has that satisfying snap.
To do this right, melt your chocolate slowly over a double boiler or microwave in short bursts, stirring constantly. This helps prevent overheating and burning.
Next, cool the chocolate to the right temperature to stabilize the fat crystals. This step is key to getting that beautiful, glossy appearance.
If needed, reheat the chocolate slightly, then test the temper by spreading a small amount on parchment. If it hardens with a shiny surface, you’re good to go.
Mastering tempering opens the door to exciting flavor combos and attractive packaging options. It makes your candies look more appealing and professional.
Proper technique really elevates your chocolate creations every time, giving them that perfect finish that looks as good as it tastes.
Ideal Melting Temperature
Reaching the ideal melting temperature is key for a smooth, glossy candy coating. If the chocolate isn’t heated enough, it’ll look dull and might not stick properly. Usually, melting happens between 86°F and 90°F for most chocolates, but check your specific type.
Overheating can cause a matte finish and change the flavor, making your coating less appealing. Use a reliable thermometer to keep an eye on the temperature. Once melted, keep the coating at this ideal temp to maintain its shine and smoothness.
Proper storage also matters: store your finished candies in a cool, dry place to keep their glossy look and prevent blooming. Keeping the right temperature ensures your candy coating stays perfect for dipping or drizzling, giving you that professional finish.
Smooth Application Methods
Once your chocolate is melted to the perfect temperature, the next step is applying it smoothly to guarantee a glossy, professional-looking finish. To do this, follow these methods:
Use a spatula or offset knife to spread the coating evenly, avoiding air bubbles and streaks.
Tap or gently shake the coated item to release excess coating and ensure a smooth surface.
Maintain a consistent temperature to prevent the coating from thickening or losing gloss. This is key for branding strategies that emphasize quality.
A sleek finish enhances the taste experience, making each bite more appealing.
A polished appearance also reinforces your branding, conveying professionalism and attention to detail.
Creative Ways to Decorate With Candy Coating
Candy coating offers endless opportunities to get creative with your decorating ideas. You can use it for more than just coating candies—think decorative drips, colorful borders, or textured designs on cakes and cookies.
To boost your presentation, try creative packaging like custom wrappers or themed boxes that showcase your treats. Experiment with flavor infusions by adding extracts or spices to the melted coating to create unique taste combos that impress.
For a fun touch, dip fruits, pretzels, or small pastries in different shades of melted coating. Then layer or swirl them for eye-catching effects. You can also pipe intricate patterns or shapes using a piping bag, adding a personal touch to your confections.
Using candy coating creatively turns simple treats into eye-catching desserts, perfect for parties or gifts. With some imagination, your decorating options are practically limitless, making your confections stand out and delight everyone.
Troubleshooting Candy Coating That Won’t Harden
If your candy coating refuses to harden, it can be really frustrating, but a few common issues might be the cause. First, check if you heated it properly; not enough heat can stop it from setting.
Ensure proper heating to prevent your candy coating from refusing to harden.
Second, if it cooled too quickly or was exposed to drafts, it might not solidify as it should. Third, using old or improperly stored coating can also affect how well it hardens.
To troubleshoot, start by reheating the coating gently, stirring constantly until it reaches the right consistency. Store it in an airtight container in a cool, dry place to prevent moisture absorption.
Finally, think about flavor pairings that match the coating’s texture—rich chocolates or fruity flavors go great with a crisp finish. Proper handling and storage really make a difference in getting that smooth, hard coating every time.
Different Types of Candy Coatings and How They Compare
Different types of candy coatings each have unique properties that influence their texture, flavor, and appearance. For example, melts like confectionery coating or candy melts offer smooth, glossy finishes and come in a variety of flavor variations, from vanilla to almond. They’re easy to work with and ideal for coating or drizzling, often packaged in convenient cubes or discs for quick melting.
On the other hand, traditional chocolate coatings, like dark, milk, or white chocolate, provide richer flavor profiles and a more authentic chocolate experience. They may require tempering for a shiny finish. These are available in bars or chips, giving you flexible packaging options suitable for different recipes.
Consider your flavor preferences, desired appearance, and how you plan to package your finished product. Each type of coating offers distinct advantages, so choose based on your project’s needs to achieve the best flavor, texture, and presentation.
How to Store and Handle Candy Coating for Best Results
Proper storage and handling are key to keeping your candy coating fresh and easy to work with. To get the best results, follow these simple tips.
Store candy coating properly to keep it fresh and easy to use.
Store your candy coating in an airtight container in a cool, dry spot. Keep it away from heat and humidity so it doesn’t melt or seize up.
When you’re ready to use it, reheat the coating gently in short bursts, stirring until smooth. This helps keep its texture just right for dipping or drizzling.
Think about flavor pairings and packaging ideas. Using nuts or fruit can add a nice touch, and attractive containers make your candies look even more appealing.
Frequently Asked Questions
Can Candy Coating Be Flavored or Infused With Other Tastes?
Yes, you can definitely flavor or infuse candy coating with other tastes. Many manufacturers add flavor enrichments to create infused varieties, giving your treats unique and appealing flavors like fruit, mint, or caramel.
You can also customize candy coating at home by mixing in extracts or oils. This way, you get a personalized touch, making your candies more exciting and tailored to your taste preferences.
Is Candy Coating Suitable for Covering All Types of Confections?
You can use candy coating for many confections, but not all. Its smooth, shiny surface works well on candies, fruits, and baked goods, yet it might not suit items that need a more durable or delicate finish.
While artificial coloring can improve visual appeal, vegan alternatives guarantee everyone gets a treat. Be mindful that some confections might require different coatings for the best texture and flavor.
Candy coating is versatile but not a universal solution. It’s important to choose the right coating for each type of confection to get the best results.
How Long Does Candy Coating Typically Last Before Going Bad?
Candy coating typically lasts about 6 to 12 months if stored properly. Its shelf life depends on factors like ingredients and storage conditions.
To keep it fresh, store it in an airtight container in a cool, dry place away from direct sunlight. Avoid moisture and temperature fluctuations to maintain its quality.
Properly stored candy coating stays delicious and safe to enjoy well past the initial expiration date.
Are There Any Dietary Restrictions or Allergies Associated With Candy Coating?
Imagine biting into a sweet treat, only to find it’s not suitable for your diet. Candy coating can sometimes contain nut ingredients, which can be risky if you have nut allergies.
Luckily, many brands now offer vegan options that are free from animal products and nuts. Always check labels carefully, especially if you have dietary restrictions.
This way, you can enjoy your favorite candies worry-free, knowing they’re safe and inclusive for your needs.
Can Candy Coating Be Reused After It Hardens?
You can’t really reuse candy coating after it hardens, as it loses its smoothness and proper consistency. To make the most of your leftover coating, store it properly in an airtight container at room temperature or in the fridge.
Reusing leftover coating isn’t effective because it thickens and becomes difficult to work with once hardened. Instead, store your candy coating carefully to keep it fresh for future use.
Conclusion
Now that you know what chocolate candy coating is and how to work with it, you’re ready to turn your sweet ideas into reality. Think of it as your trusty canvas—easy to work with and great for creative decorating.
With a little practice, you’ll master melting, decorating, and storing it like a pro. So go ahead, plunge into your confectionery adventures. Your kitchen is your playground, and candy coating is your best friend in creating delicious works of art.