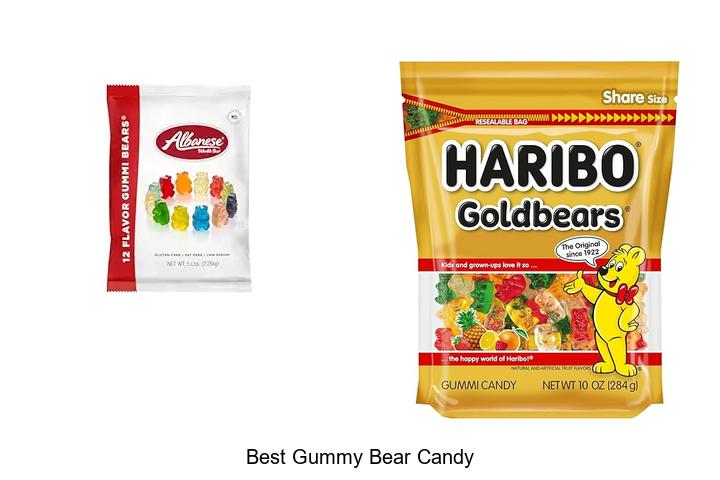
DIY Guide to Make Sour Gummy Candy at Home
Many DIY candy enthusiasts love creating their own treats, but making sour gummy candy at home can feel overwhelming. You’re not alone—many people struggle with balancing flavor, texture, and sourness to get it just right. The good news is, with a little guidance, you can craft delicious sour gummies right in your kitchen.
To make sour gummy candy at home, start by gathering high-quality gelatin, fruit juice or flavoring, sweeteners, and sour ingredients like citric acid. Mix everything carefully, adding citric acid gradually to achieve your preferred level of sourness, then pour into molds or a dish.
Make certain proper shaping and storage, and experiment with flavors and colors for variety. Keep practicing and adjusting your process to perfect your gummies—more tips and techniques await if you keep exploring.
Key Takeaways
- Choose high-quality gelatin, fruit flavors, and sour ingredients like citric acid for the best texture and tanginess.
- Mix your gummy base well, adding flavors and sourness gradually. Then pour into molds and refrigerate until set.
- Get creative by layering different colors and flavors to make your gummies visually appealing. Feel free to customize flavors for unique results.
- Keep your gummies in airtight containers in a cool, dry place to stay fresh and prevent crystallization.
- Play around with cooking time, temperature, and ingredient ratios to get that perfect chewy, smooth, and non-gritty texture.
How to Make Sour Gummies at Home
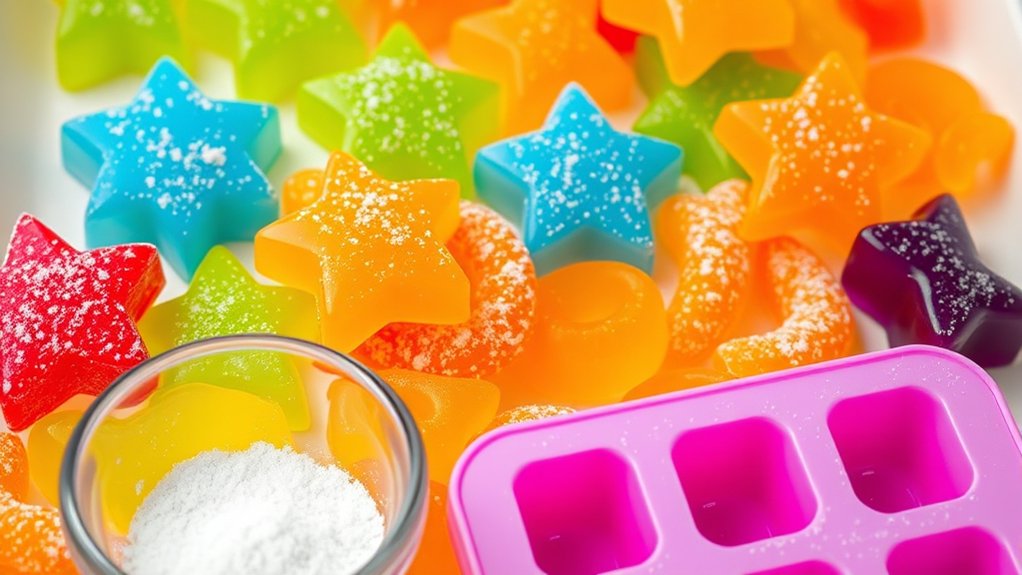
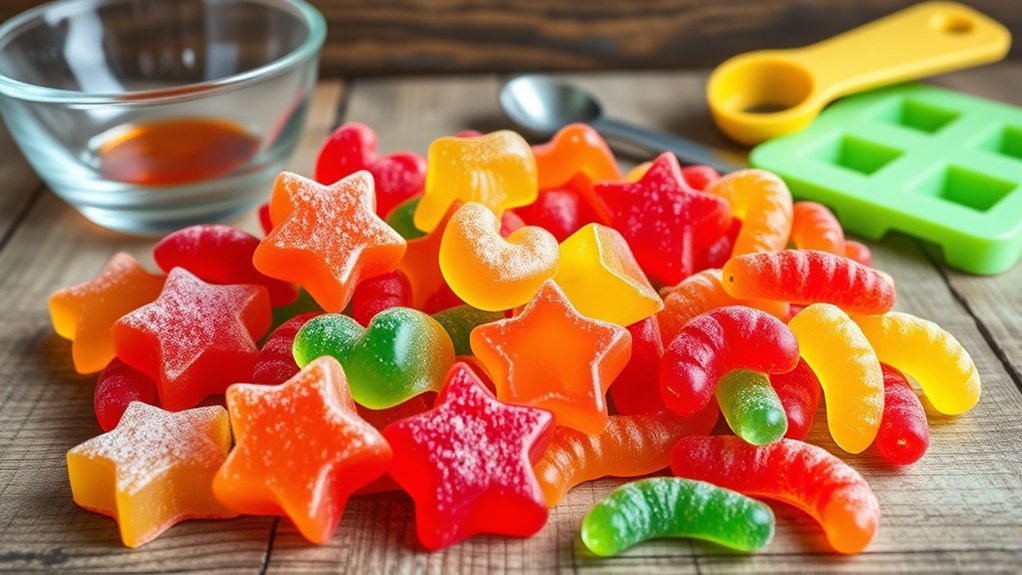
Making sour gummies at home is straightforward and fun. First, choose your gummy mold options—silicone molds come in various shapes and sizes, making it easy to create personalized candies.
Once you’ve poured your mixture into the molds, let them set in the refrigerator until firm. This step guarantees your gummies hold their shape and develop that perfect chewy texture.
After they’re ready, think about creative packaging ideas to keep them fresh and attractive. Small resealable bags, decorative boxes, or clear containers work well for gifting or storing.
You can also add personalized labels or tags for a special touch. Remember, handle the gummies gently when removing them from molds and packaging.
With the right mold options and thoughtful packaging ideas, you turn simple homemade gummies into a delightful treat that’s as appealing to look at as it is to eat.
Gather Ingredients for Homemade Sour Gummies
Before you start pouring your mixture into molds, gather all the ingredients you’ll need for homemade sour gummies. Having everything ready ensures a smooth process.
Gather all ingredients first for a smooth, hassle-free homemade sour gummy-making experience.
First, choose your gummy mold options—silicone molds are popular because they’re flexible and come in many shapes.
Next, you’ll need fruit juice or flavoring to give your gummies a vibrant taste.
Finally, pick up your sour coating ingredients like citric acid and sugar to get that tangy punch.
Keep packaging ideas in mind—small resealable bags or clear containers work great for storing and sharing your candies.
Having your ingredients organized saves time and prevents interruptions.
Remember, the right gummy molds can make your finished product more appealing, and thoughtful packaging adds a professional touch.
Once everything’s assembled, you’re ready to start creating your delicious, sour gummies at home.
Choose the Best Gelatin and Sweeteners for Gummies
Choosing the right gelatin and sweeteners is key to getting the perfect texture and flavor in your sour gummies. High-quality gelatin makes sure your candies are firm but chewy, giving that ideal mouthfeel.
When picking sweeteners, think about options like honey, agave syrup, or sugar. They all influence how sweet or sour your gummies will taste.
Here’s a quick comparison of some common sweetener options:
| Sweetener | Pros | Cons |
|---|---|---|
| Honey | Natural, adds depth | Can change flavor |
| Agave Syrup | Smooth, neutral taste | Higher sugar content |
| Granulated Sugar | Classic, easy to find | Less natural |
Focus on good-quality gelatin for consistent results. Choose your sweeteners based on your flavor preferences and dietary needs.
This foundation helps you craft delicious, well-textured sour gummies.
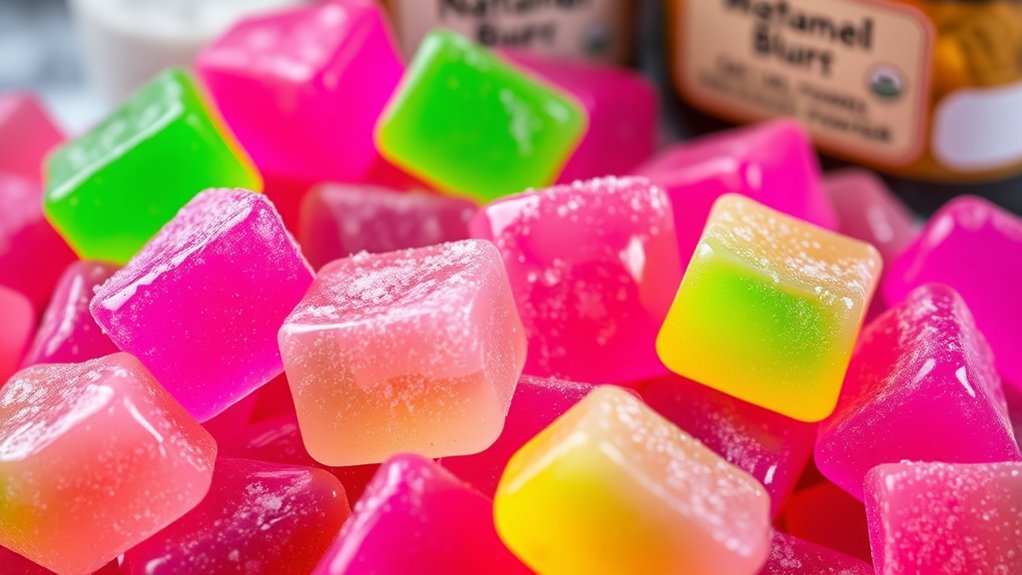
Develop Flavors for Your Custom Sour Gummies
Once you’ve picked your gelatin and sweeteners, it’s time to focus on the flavors that will make your sour gummies pop. Developing unique flavors is all about smart pairing and using natural extracts.
Try combining complementary flavors, like citrus with berry, to create a balanced and tasty profile. It’s a simple way to make your gummies more appealing.
Don’t shy away from using natural extracts like vanilla, lemon, or peppermint. They add depth and authenticity, making your gummies stand out.
And for a fun twist, experiment with bold pairings like pineapple and chili. It’s a surprising combo that enhances the sour experience and keeps things interesting.
How to Add Sourness With Citric Acid
Adding sourness to your gummies is simple and effective with citric acid, a common ingredient that delivers a sharp, tangy flavor. To get the right level of sourness, start by adding small amounts of citric acid and taste as you go.
Start with small amounts of citric acid and taste as you go for perfectly balanced sour gummies.
Generally, 1/4 teaspoon per cup of gummy mixture gives a gentle tartness. You can increase it if you want a more intense sour punch. Think about how citric acid pairs with your flavors—lemon, lime, and other citrus fruits work really well.
Adjusting the amount of citric acid helps you control the balance between sweetness and sourness, so your gummies have just the right tang. Be careful not to add too much, as it can overpower delicate flavors.
Add the acid gradually and taste often. This way, you can perfect the sourness to match your preference without overpowering the other flavors.
Making Sour Gummies: Step-by-Step Guide
To make sour gummies, start by preparing your gummy mixture according to your recipe, making sure all ingredients are well combined. Once your base is ready, follow these steps:
- Add the sour component: Mix in citric acid gradually, tasting as you go to get the sourness just right.
- Incorporate flavor combinations: Try different fruit flavors or layered tastes to make your gummies unique. Think strawberry-lemon or lime-mango for vibrant options.
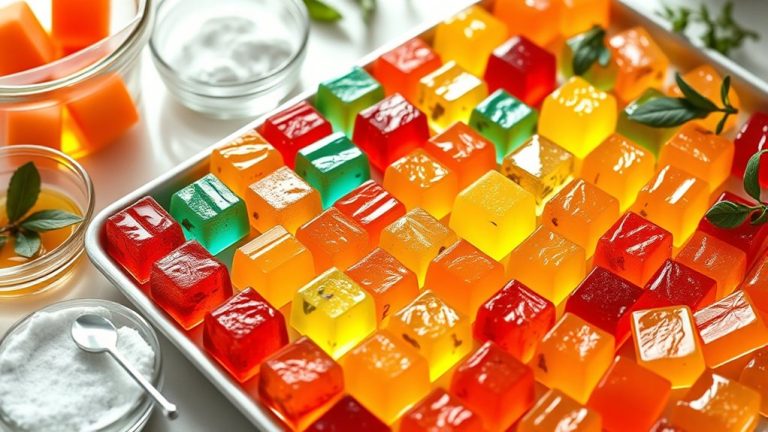
- Pour and set: Pour the mixture into silicone molds or a baking dish, then refrigerate until firm. Once set, cut into bite-sized pieces if needed.
For packaging ideas, consider using clear bags with colorful labels to showcase your flavors. Unique packaging can make your sour gummies more appealing and perfect for gifting.
Achieving the Perfect Chewy and Soft Gummy Texture
Achieving the perfect chewy and soft gummy texture depends on choosing the right ingredients and knowing how they work during cooking. Use unflavored gelatin or agar-agar, which set properly when heated.
Be careful with cooking time and temperature. Overcooking can make gummies tough, while undercooking can leave them too soft. Keep stirring to prevent lumps and make sure everything heats evenly.
To make gummies softer, try adding a little glycerin or honey—they help keep moisture in. When it comes to flavor, balance tartness with sweetness for a tasty, pleasing mouthfeel.
Adjust acidity carefully because too much can interfere with the gelatin setting. Making small test batches lets you tweak both texture and flavor so your gummies are just right.
With some practice, you’ll master making deliciously soft, chewy sour gummies every time.
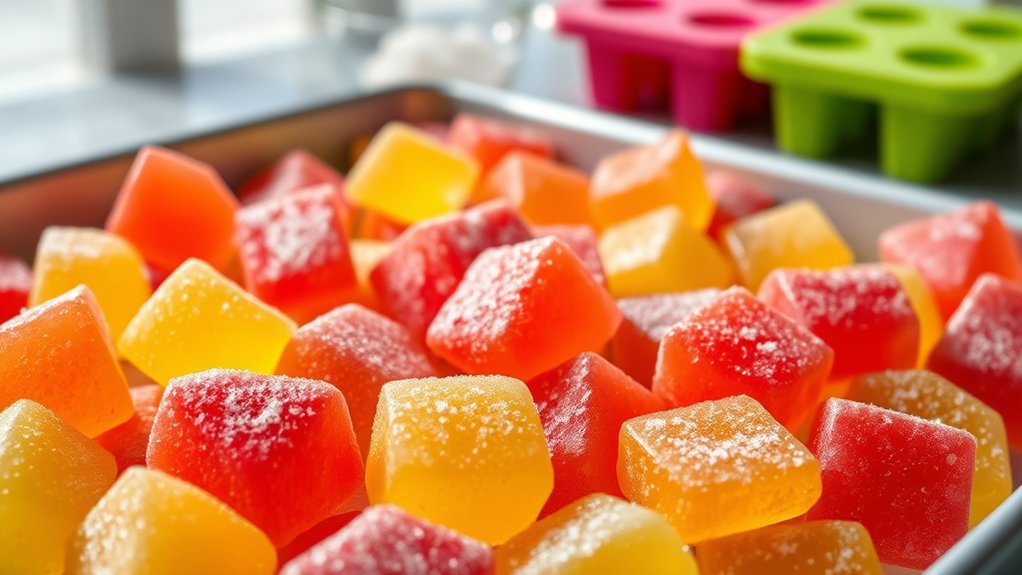
Shape and Store Your DIY Sour Gummies
Once your gummies have set to the right texture, shaping and storing them properly helps keep them fresh and looking great. To shape your sour gummies, pick from different gummy molds—silicone molds are ideal for easy removal and detailed shapes. You can also cut the gummies into fun shapes or squares if you like a more hands-on approach.
Here are some tips for storage: Use airtight containers to prevent gummies from drying out or becoming sticky. Layer them with parchment paper to keep their shape and prevent sticking. Store the gummies in a cool, dry place away from sunlight to maintain their sour flavor and chewy texture.
Experiment With Flavors and Colors
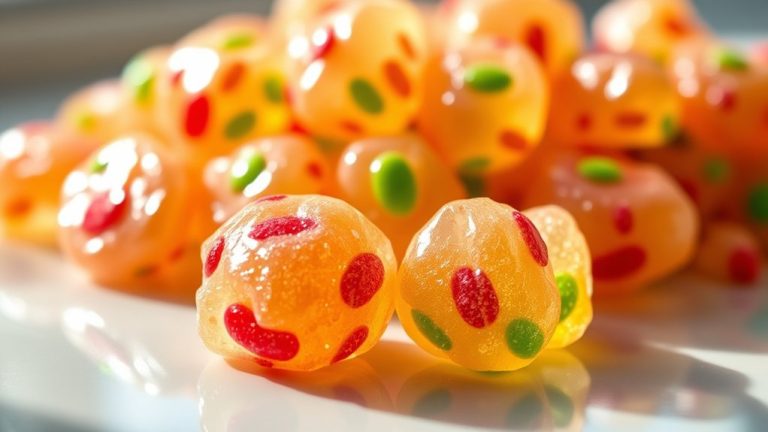
Mixing up flavors and colors is one of the most fun parts of making sour gummies at home. You can create unique flavor pairings by combining fruit extracts like lemon and raspberry or lime and cherry.
Experimenting with different combinations lets you craft gummies that match your taste buds. For colors, start with a few base shades and blend them to create new hues, like mixing yellow and blue for green or red and white for soft pink.
Use food-safe gels or powders to get vibrant, eye-catching colors that really stand out. Don’t be afraid to get creative—layer different flavors and colors for a visually appealing, multi-dimensional gummy.
Just remember, the key is to balance flavors so they complement each other. Keep color mixing controlled so your gummies look as good as they taste.
Have fun experimenting and make every batch uniquely yours!
Troubleshoot Common Gummy-Making Issues
Having trouble with your gummies turning out too soft or too firm? Don’t worry—sometimes all it takes is a quick adjustment to the cooking time or temperature to get that perfect chewy texture you’re after. And if you notice sugar crystals forming, which can make your gummies grainy, just remember to stir constantly. Using a clean, damp brush to dissolve any sugar spots can really help keep things smooth.
Troubleshooting these common issues is the best way to make sure your sour gummies come out just how you want them—delicious and perfect every time!
Achieving Perfect Texture
Achieving the perfect gummy texture can be tricky, but knowing common issues helps you troubleshoot better. Texture problems often come from over- or under-heating, so keep a close eye on your cooking temperature.
If your gummies turn out too soft or sticky, try tweaking the cooking time or changing ingredients—like using less water or adding more gelatin. To avoid a rubbery or hard texture, make sure you’re not over-gelling by following the recipe ratios carefully.
Here are some simple tips to improve your results:
- Control the heat carefully to prevent over- or under-cooking the mixture.
- Adjust ingredient ratios like gelatin and liquid to get the firmness you want.
- Experiment with substitutions like pectin or agar-agar for different textures.
Managing Sugar Crystals
Even when your gummy mixture is cooked perfectly, sugar crystals can still cause issues that ruin the final texture. Sugar crystallization happens when sugar molecules clump together, creating a gritty or grainy texture.
To prevent this, regulate moisture carefully—too much moisture encourages crystallization. Use a clean, damp brush to wash down any sugar crystals sticking to the sides of your pan during cooking.
Stir gently and avoid agitation once the mixture reaches the correct temperature. Adding a small amount of corn syrup or honey helps inhibit crystallization by interfering with sugar molecule formation.
Keep your mixture at a steady temperature and cover it if needed to prevent humidity from affecting the process. Properly managing sugar crystals ensures your gummies stay smooth and chewy.
Frequently Asked Questions
Can I Use Alternative Sweeteners for Homemade Sour Gummies?
Yes, you can use natural sweeteners or sugar substitutes for homemade sour gummies. Natural options like honey, maple syrup, or agave nectar work well but might change the texture a bit.
Sugar substitutes like erythritol or stevia are also good choices, though they can affect the flavor and consistency.
Experimenting with small batches is a smart move—this way, you can find the right balance to get that perfect sour and sweet taste.
How Long Do Homemade Sour Gummies Stay Fresh?
Imagine you make a batch of homemade sour gummies on a Saturday. Typically, their shelf life is about one to two weeks if stored properly.
To keep them fresh, store your gummies in an airtight container at room temperature, away from sunlight and moisture.
Following these storage tips, your sour gummies will stay chewy and flavorful for the best experience. Always check for signs of spoilage before enjoying.
Is It Safe to Add Food Coloring to Sour Gummies?
Yes, it’s safe to add food coloring to sour gummies as long as you choose food-safe options.
Check the safety of the food coloring, and consider natural options like beet juice or turmeric if you want to avoid artificial dyes.
Always use food-grade colorings and apply them in moderation to prevent affecting the gummy’s texture or flavor.
This way, you can customize your gummies safely and creatively.
Can I Make Vegan Sour Gummies Without Gelatin?
Yes, you can make vegan sour gummies without gelatin by using plant-based alternatives like agar-agar or pectin. These ingredients let you customize flavor combinations and get the chewy texture you want.
Keep in mind, agar-agar sets quickly and makes a firmer gummy. So, you might want to adjust the amount for a softer consistency.
Experiment with different fruit juices and sour ingredients to create delicious, vegan-friendly sour gummies that match your taste.
What Are the Best Storage Containers for Homemade Gummies?
You should use airtight containers for storing your homemade gummies to keep them fresh and prevent sticking. Packaging options like resealable plastic bags, glass jars, or silicone molds work well.
Airtight containers keep moisture out, which helps maintain the gummies’ texture and flavor. Pick a container that’s easy to open and close, so you can access your gummies without hassle.
Store your gummies in a cool, dark place to help them stay delicious longer. This simple step makes a big difference in keeping your homemade treats fresh and tasty.
Conclusion
Creating your own sour gummies is like painting a colorful rainbow from scratch—each step lets you craft your perfect candy.
With a little patience and creativity, you’ll turn simple ingredients into a vibrant, tangy treat that’s totally yours.
So, have fun experimenting with different flavors and textures. Making sour gummy candy at home is all about enjoying the process.
And when you finally bite into your homemade sour gummies, you’ll get that sweet, tangy satisfaction. Your tasty masterpiece is just a few steps away!