10 Simple Steps to Make Chocolate Candy at Home
Making chocolate candy at home can seem tricky, especially if you’re worried about achieving that perfect glossy finish or getting the texture just right. Many people struggle with melting and tempering chocolate or choosing the right fillings, but don’t worry—you’re not alone.
With a few simple steps, you can create delicious homemade chocolates that look and taste amazing.
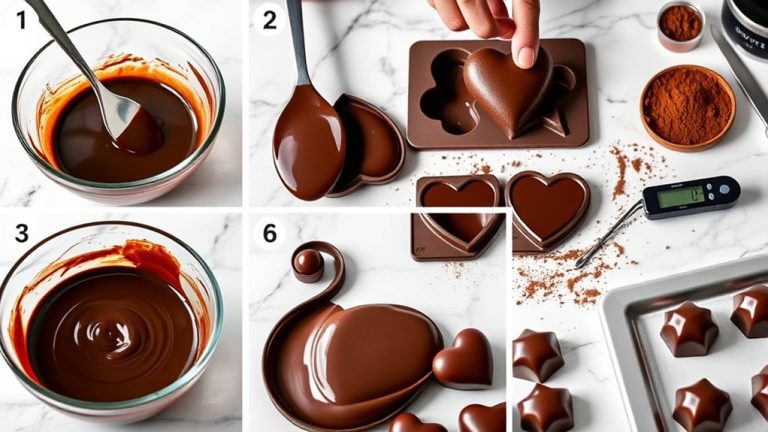
To make chocolate candy at home, start by gathering high-quality chocolate and essential tools like molds and a thermometer. Choose your preferred chocolate type and melt it carefully using a tempering method to achieve a glossy finish.
Prepare your molds and fillings, then pour and shape the chocolate, adding fillings or mix-ins as desired.
Cool the candies properly to set, then gently unmold and finish with decorations.
Store and package your treats carefully. Ready to learn more about each step?
Key Takeaways
- Choose high-quality chocolate and temper it properly to get that shiny, smooth finish.
- Prepare your molds and fillings, adding your desired ingredients before pouring in the chocolate.
- Pour the tempered chocolate into the molds, gently tapping to remove air bubbles and make sure it coats evenly.
- Let the chocolates cool in the refrigerator or a cool spot until they are completely set.
- Carefully demold the chocolates, then package or decorate them to make them look great and stay fresh.
Gather Ingredients and Equipment for Homemade Chocolate Candy
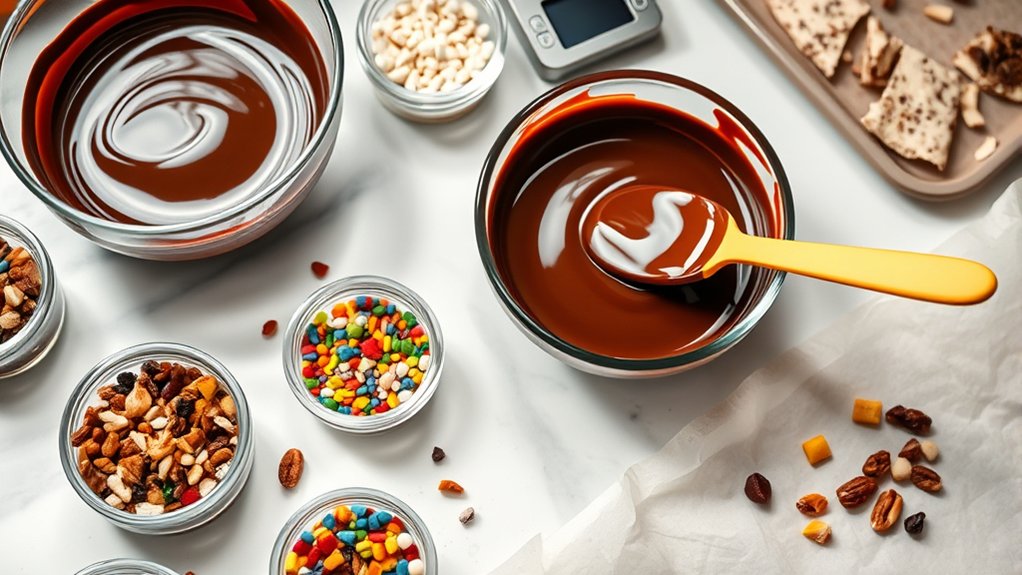
Before you start making your homemade chocolate candy, it’s important to gather all the necessary ingredients and equipment. Start with high-quality chocolate, which is crucial for good flavor and smooth melting. You’ll also need ingredients like butter, cream, or flavorings depending on your recipe.
Gather high-quality chocolate and essential ingredients to ensure smooth melting and delicious homemade candies.
For equipment, get a double boiler or microwave-safe bowl for melting, silicone spatulas for stirring, and molds or parchment paper for shaping your candies. A candy thermometer is helpful to ensure accurate temperature control and prevent over or under-cooking.
When it’s time to pack your finished treats, consider candy packaging options that keep them fresh and make them look appealing. Clear boxes, foil wraps, or decorative bags work well, especially if you plan to gift or sell your chocolates.
Having all your ingredients and tools ready before you start will make the process smoother and help ensure your homemade chocolates turn out delicious and beautifully presented.
Choose the Best Types of Chocolate for Candy Making
When you’re picking out chocolate for your candy, think about the different types like dark, milk, or white chocolate. Each one has its own special flavor and texture, so it’s fun to choose based on what kind of treat you want to make.
Also, don’t forget to check the quality and cacao content. Usually, the higher the percentage, the richer and more intense the chocolate will taste. Picking the right kind is key to making sure your candy turns out absolutely delicious and just how you want it.
Types of Chocolate Varieties
Choosing the right type of chocolate is essential for making delicious homemade candies. Different varieties offer distinct flavor profiles, so your choice really influences the final taste.
For a smooth, creamy texture, go for couverture or high-quality chocolate with a high cacao content. Milk chocolate gives a sweeter, milder flavor, perfect for softer, sweeter treats.
Dark chocolate delivers a richer, more intense cacao flavor, making it ideal for sophisticated confections. White chocolate, which contains cocoa butter but no cocoa solids, has a sweet, buttery taste and offers a different sensory experience.
The cacao origin also affects flavor nuances. Chocolates from regions like West Africa or Central America bring unique taste notes. Picking the right variety guarantees your candy tastes just the way you want.
Quality and Cacao Content
Selecting high-quality chocolate with the right cacao content is key because it directly affects the texture and flavor of your homemade candies. During cacao harvesting, beans are carefully picked at peak ripeness to ensure better flavor potential.
After harvesting, chocolate fermentation develops the beans’ complex taste and aroma. This process also influences the final cacao content and quality of the chocolate you choose.
For candy making, go for dark chocolate with at least 70% cacao for richness and depth. If you prefer sweetness, choose milk chocolate with around 40-50% cacao.
Higher cacao content usually means a more intense flavor and a smoother texture. By understanding how cacao harvesting and fermentation affect quality, you can pick the best chocolate for your recipes.
This way, your candies will turn out delicious and look professional.
How to Temper Chocolate for a Glossy Finish
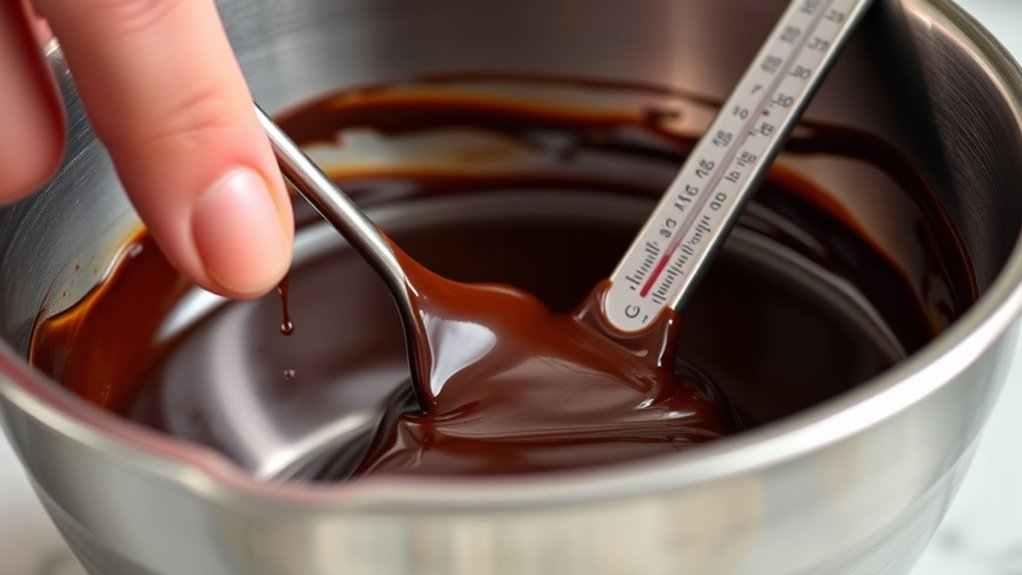
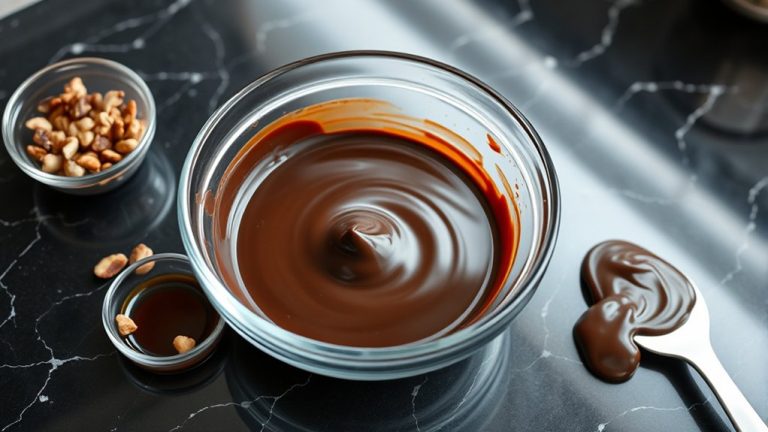
To get that smooth, shiny finish on your chocolate candies, proper tempering is key. It involves heating and cooling the chocolate to stabilize the cocoa butter crystals, which gives you a glossy look and a nice, crisp snap.
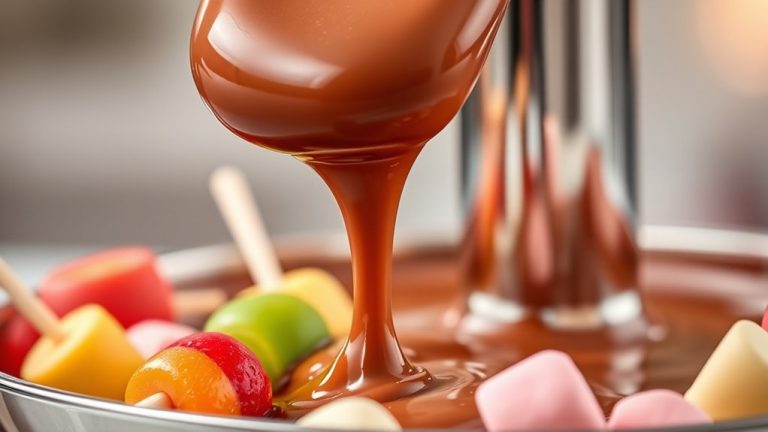
Start by melting two-thirds of your chocolate over a double boiler until it reaches about 115°F (46°C). Then, take it off the heat and add the remaining third, stirring constantly to cool it down to around 82°F (28°C).
Next, gently reheat the chocolate to about 88-90°F (31-32°C) for dark chocolate, or slightly lower if you’re working with milk or white chocolate. This step locks in that glossy finish and helps give your candies a firm texture.
Once your chocolate is properly tempered, pour it into molds or spread it onto parchment paper. Let it set at room temperature, which allows it to develop that perfect glossy look.
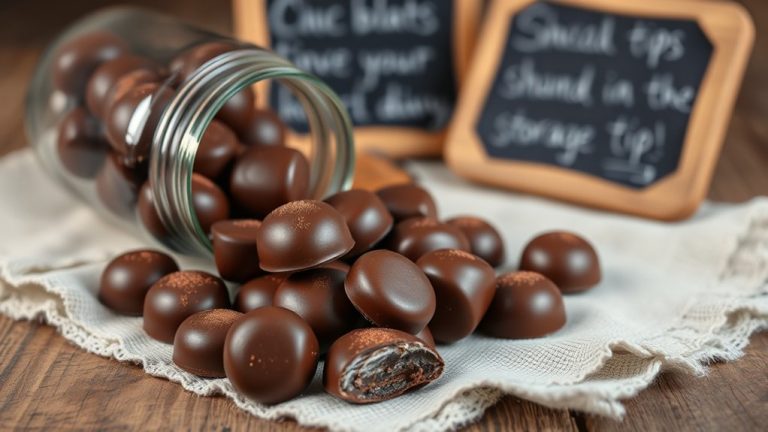
Proper storage is essential to keep your chocolate looking and tasting great. After cooling, store your candies in an airtight container. When you’re ready to package them, make sure the chocolate stays shiny and intact.
Prepare Molds and Fillings for Custom Candies
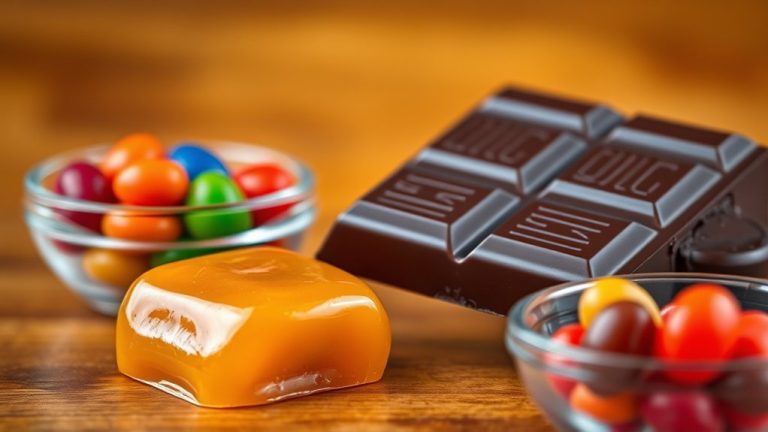
First, you’ll want to pick out molds that match the shape and size you have in mind for your candies. Just make sure they’re food-safe and easy to handle so things go smoothly. Once you’ve got your molds, think about the fillings — options like caramel, fruit purees, or nuts are great for adding some variety and texture to your candies.
With your molds and fillings ready, you’re all set to start filling them up and creating your own custom chocolates. It’s a fun process, and you can really get creative with different flavors and designs!
Selecting Suitable Molds
Choosing the right molds is essential for creating professional-looking chocolates that hold their shape and showcase your fillings beautifully. Silicone options are popular because they’re flexible, non-stick, and easy to work with.
Look for molds made from food-grade silicone that can withstand temperature changes without warping. When selecting molds, consider the size and shape that best fit your design ideas.
Make sure to properly clean the molds before use to remove any residue or dust that could affect your chocolates. Silicone molds are easy to clean—just wash with warm, soapy water and dry thoroughly.
Avoid using abrasive cleaning tools that could damage the surface. Well-chosen molds ensure your chocolates come out smoothly and look gorgeous every time.
Choosing Flavor Fillings
Ever wondered how to make your chocolates stand out with delicious, personalized flavors? Choosing the right fillings is key. Think about flavor pairings that complement the chocolate—fruity jams, caramel, or nut butters work well.
Consider filling textures too. Smooth ganache or chunky pieces add variety and interest. When selecting fillings, keep in mind how they’ll interact with the chocolate’s flavor and texture.
For example, a tangy jam pairs nicely with dark chocolate, while a creamy caramel enhances milk chocolate. Prepare your molds by filling them with small amounts of your chosen filling, leaving room for the chocolate to cover.
This way, you create a balanced, visually appealing candy with a delightful burst of flavor in each bite.
Pour and Shape Your Chocolate in Molds
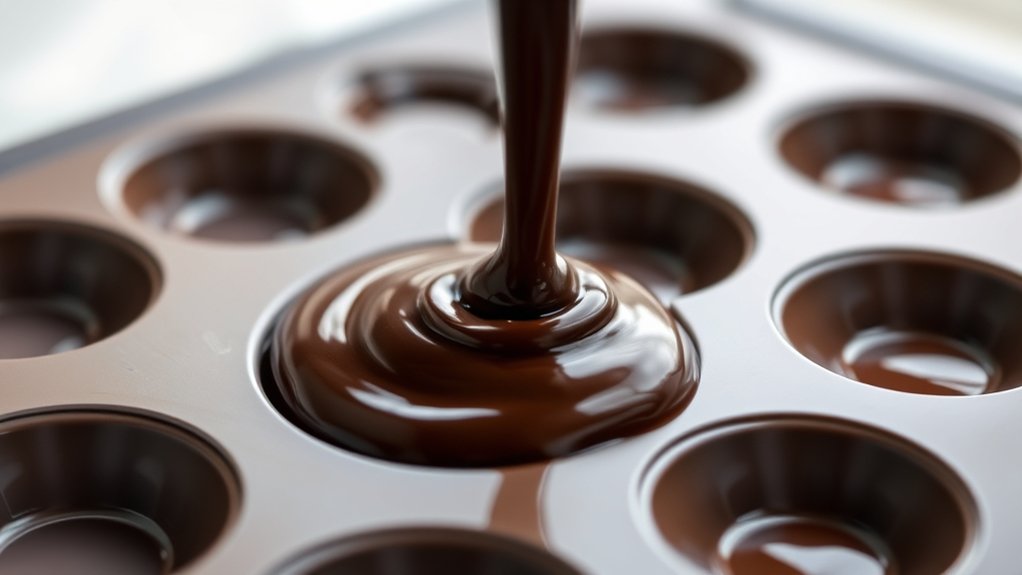
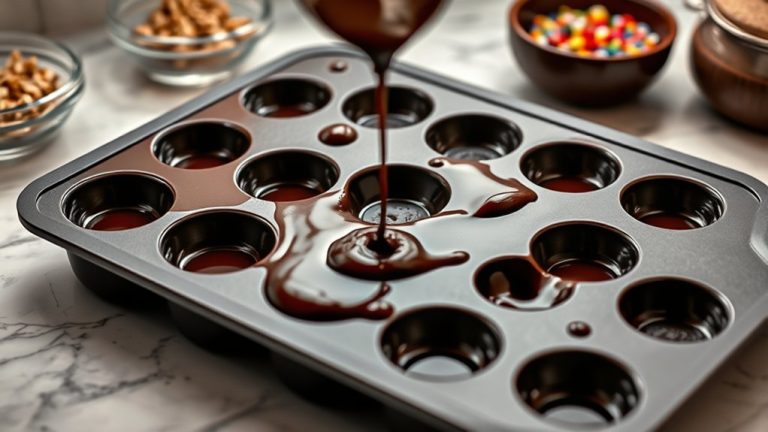
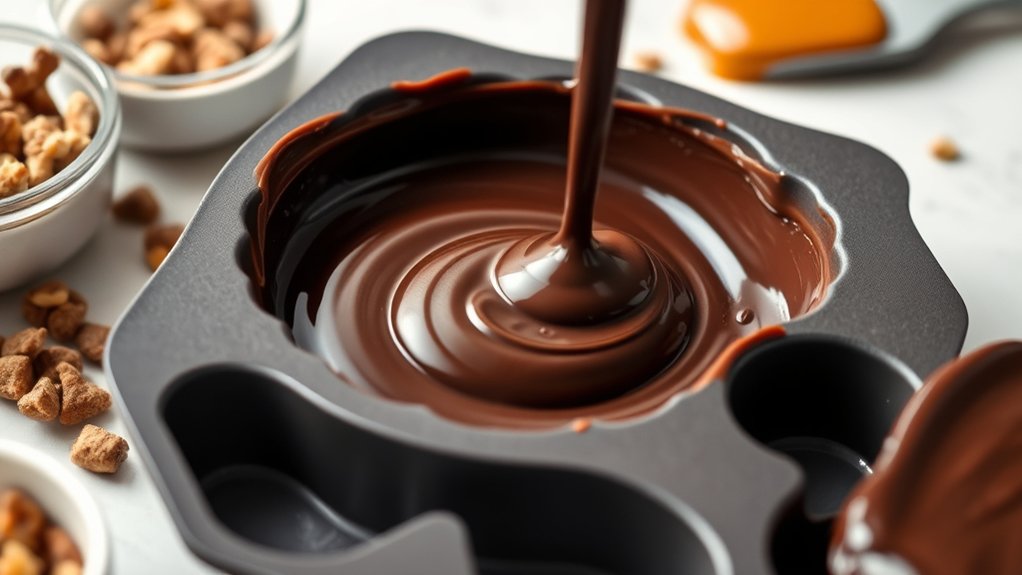
Once your melted chocolate has cooled slightly to the right pouring temperature, carefully spoon or pour it into your molds. Choose mold materials like silicone or plastic, which are easy to work with and help with release.
As you fill each cavity, tap the mold gently on the counter to eliminate air bubbles and guarantee an even chocolate layer. Focus on maintaining a consistent chocolate flavor by pouring smoothly and avoiding overfilling.
If you’re using silicone molds, they’re flexible and make removal simple once the chocolate has set. For plastic molds, be gentle to prevent cracking. Use a spatula or the back of a spoon to smooth the surface if needed.
The key is to work steadily and precisely, so your candies have a professional look. Once filled, place the molds in the fridge to set the chocolate completely before removing.
This step ensures your candies hold their shape and achieve the desired glossy finish.
Add Fillings or Mix-Ins to Enhance Your Candy
Adding fillings or mix-ins can turn your homemade chocolates into tasty, personalized treats. With creative flavor combos, you can make candies perfect for any occasion.
Think beyond the usual options—try adding caramel, fruit preserves, nuts, or even spicy chili for a fun surprise. Unique fillings let you experiment and create one-of-a-kind confections.
When adding fillings, place a small spoonful or dollop inside the mold before pouring the melted chocolate. This helps keep it centered and gives your candies a polished look.
Mix-ins like crushed cookies, dried fruit, or candy bits can be stirred into the chocolate for extra texture and flavor. Just be careful not to add too much, as it can make molding tricky or cause leaks.
Cool and Set Your Homemade Chocolate Candies
After filling or mixing in your desired ingredients, the next step is to cool and set your chocolates properly. This ensures your candies hold their shape and develop the right texture. Place the tray in a cool, dry area or in the refrigerator for about 30 minutes to an hour.
Proper cooling boosts your candy presentation, making each piece look appealing and professional. Think about how chocolate pairing affects the overall experience. Dark, milk, or white chocolates each need different setting conditions to bring out their best flavor.
| Temperature & Time | Effect on Candy Presentation |
|---|---|
| Chill in fridge | Creates a shiny finish and crisp texture |
| Room temperature | Softens and lets flavors meld |
| Quick cooling | Prevents bloom and keeps vibrant appearance |
Cooling method impacts both the visual appeal and taste, so choose wisely depending on what you want to achieve.
Unmold and Finish Your Chocolates for a Professional Look
Once your chocolates are nicely cooled, gently unmold them to avoid any cracks or breakage. Take your time—it’s all about being gentle so they come out smooth and intact.
When you’re removing them from the molds, try to use smooth, steady motions. This helps keep the surface even and gives your chocolates a polished look. If you want to add that extra special touch, consider decorating them with some drizzles, sprinkles, or other fun details.
Paying attention to these little finishing touches really makes a difference. It’s the secret to making your chocolates look super professional and totally inviting!
Proper Cooling Techniques
To achieve a professional finish, proper cooling is crucial when unmolding and finishing your chocolates. After pouring your chocolate into molds, let them cool at room temperature or in a refrigerator for a controlled environment.
Rapid cooling can cause cracks or bloom, which affects both the appearance and flavor of the chocolate. Once set, gently remove the chocolates from the molds, making sure they keep their shape.
Proper cooling helps prevent damage during demolding and guarantees a glossy, smooth surface. For packaging, wait until the chocolates are fully cooled to avoid condensation and moisture buildup.
This step preserves their shine and texture, making them look appealing and professional. Taking your time with cooling not only improves quality but also enhances the overall presentation of your homemade candies.
Smooth Molding Tips
Achieving a smooth, professional finish starts with careful handling during unmolding. When your chocolates are ready, gently loosen the mold edges before flipping onto a clean surface. Don’t rush—abrupt movements can cause cracks or imperfections.
To get a flawless candy presentation, work in a cool, dry environment. Humidity can make the chocolate stick or bloom. Proper storage before molding helps prevent temperature fluctuations that could affect the finish.
Using a silicone mold makes it easier to release your chocolates and ensures maximum smoothness.
| Tip | Reason |
|---|---|
| Chill the mold briefly | It tightens the chocolate, making unmolding easier |
| Use a gentle tap | Loosens chocolates without damaging them |
| Store in a cool, dry place | Maintains quality and helps prevent imperfections |
Finishing and Decoration
After unmolding your chocolates, the finishing touches can really boost their look to a professional level. Carefully check each piece and smooth out any imperfections with a warm knife or spatula.
For a touch of elegance, try drizzling contrasting chocolate over the top or piping decorative designs. Proper finishing not only makes your candies more attractive but also highlights your chocolate pairing choices.
Once decorated, think about packaging that shows off your work. Clear boxes or wrappers are great for highlighting your craftsmanship. You can also add a small ribbon or sticker for a polished look.
These finishing details don’t just improve presentation—they make your homemade chocolates more memorable, whether you’re gifting or sharing. With a little effort, your chocolates will look as amazing as they taste.
Store and Package Your Homemade Chocolate Candy for Freshness
Proper storage is essential to keep your homemade chocolate candy fresh and delicious. Proper chocolate storage prevents melting, blooming, and loss of flavor. Use airtight containers or resealable bags to protect your candy from moisture and odors.
When packaging, choose options that prevent air exposure, like wrapping candies individually in wax paper or foil. Keep your candy in a cool, dark place, ideally between 60-70°F, to avoid temperature fluctuations that can cause blooming.
Label your packages with the date made so you can track freshness. Avoid stacking heavy items on top, which can crush delicate chocolates. Consider using small sections within containers for different flavors to prevent cross-contamination.
Proper candy packaging not only preserves texture and taste but also makes your treats look professional. By paying attention to storage and packaging, you’ll keep your homemade treats fresh, flavorful, and appealing for longer.
Troubleshoot Common Problems When Making Chocolate Candy
Even with careful storage and packaging, you might encounter some common issues when making chocolate candy. If your chocolates develop a dull or streaky appearance, it’s likely due to improper tempering. To fix this, reheat and cool the chocolate to the correct temperature to restore its glossy finish and smooth texture.
Dull or streaky chocolates often mean improper tempering—reheat and cool to restore their shine and smoothness.
When chocolates don’t set properly, check if you’re using the right amount of cocoa butter and make sure your environment isn’t too warm. If your candy’s surface feels sticky or greasy, it might be over-melted or exposed to humidity, which can ruin the presentation.
For flavor problems, think about how chocolate pairing influences taste. Balancing sweet, bitter, or salty elements will improve your finished product. Remember, good candy presentation depends on clean, even surfaces and thoughtful decoration.
Troubleshooting these issues will help your homemade chocolates look appealing and taste fantastic. This way, your chocolate candy becomes a delightful treat every time.
Frequently Asked Questions
Can I Make Chocolate Candy Without a Thermometer?
Yes, you can make chocolate candy without a thermometer by using the touch and sight method for chocolate tempering. Melt your chocolate, then let it cool slightly while stirring.
When it thickens but remains glossy, it’s ready for shaping. Proper candy storage keeps your chocolates fresh and shiny.
Just watch for signs of proper tempering, like a smooth texture and a firm snap, to avoid the need for a thermometer.
What Are Alternative Sweeteners I Can Use in Homemade Chocolate?
You can try using natural sweeteners like honey or agave syrup in your homemade chocolate. For example, a home baker replaced sugar with maple syrup, resulting in a rich, smooth texture.
Sugar substitutes like stevia or erythritol also work well, providing sweetness without affecting flavor. These alternatives are perfect if you’re looking for healthier options or need a sugar-free treat.
They give your chocolate a unique twist while still satisfying your sweet tooth.
How Long Does Homemade Chocolate Candy Typically Last?
Homemade chocolate candy usually lasts about 2 to 3 weeks if you store it right. Keep it in an airtight container, ideally in a cool, dry place away from direct sunlight.
To keep your treats fresh, layer them with parchment paper so they don’t stick together. Try to avoid temperature changes that can cause blooming or spoilage.
For longer storage, you can refrigerate or freeze your chocolates. Just remember to let them come to room temperature before you enjoy them.
Can I Use Microwave Instead of Stovetop for Melting Chocolate?
Yes, you can use a microwave instead of a stovetop for melting chocolate. It’s quick and convenient—you just need to microwave in short bursts and stir in between to prevent burning.
While the stovetop method is more traditional and gives you more control, the microwave is a great alternative if you’re short on time or equipment. Just be careful not to overheat, and you’ll end up with smooth, melted chocolate perfect for your candy.
Are There Vegan or Dairy-Free Options for Making Chocolate Candy?
Did you know that a growing 15% of consumers look for dairy-free and vegan options? Yes, you can definitely make vegan or dairy-free chocolate candy with plant-based ingredients like coconut oil, cocoa butter, and vegan-friendly sweeteners.
Discover dairy-free recipes that use almond or soy milk, and choose vegan chocolate chips. These alternatives give you rich flavors without dairy, making your homemade treats perfect for vegans and those with dairy sensitivities.
Conclusion
Now that you know these simple steps, you’re ready to create chocolates that impress, chocolates that delight, chocolates that satisfy.
With patience and practice, you’ll master the art of homemade candy and craft treats that are both beautiful and delicious.
Enjoy the sweet satisfaction of your own creations.
So gather your ingredients, follow each step carefully, and welcome the joy of making chocolate candy at home—because your next delicious masterpiece is just a few steps away.