5 Simple Steps for Perfect Candy Dipping in Chocolate
Many people love making homemade chocolates, but perfecting candy dipping in chocolate can be tricky. You’re not alone—getting that smooth, glossy finish often feels like a challenge.
Luckily, with a few simple tips, you can master the art of chocolate dipping and create stunning treats every time.
To perfect your chocolate candy dipping, start by ensuring your candies are at room temperature and your workspace is clean and organized.
Choose high-quality chocolate suited for dipping, like couverture or melting wafers, and melt it smoothly, maintaining proper temperature.
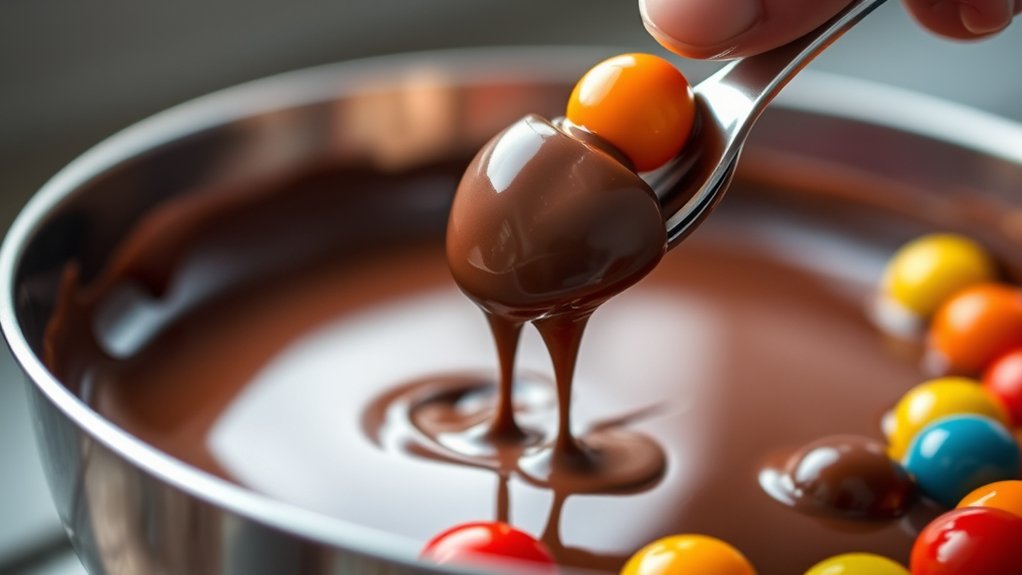
Fully submerge your candies with a dipping tool, then lift and let excess drip off.
For a glossy finish, temper the chocolate correctly and let the candies set at room temperature.
Keep these tips in mind, and you’ll master candy dipping in no time.
Key Takeaways
- Make sure candies are at room temperature and dry before dipping. This helps prevent cracks and sticking.
- Use high-quality, properly tempered chocolate for a smooth, glossy coating.
- Fully submerge candies with a dipping tool, then lift and let excess drip off.
- Cool dipped candies at room temperature on parchment paper for an even, shiny finish.
- Keep the chocolate at a consistent temperature and avoid sudden changes to prevent cracks and uneven coating.
Preparing Candies and Tools for Perfect Chocolate Dipping
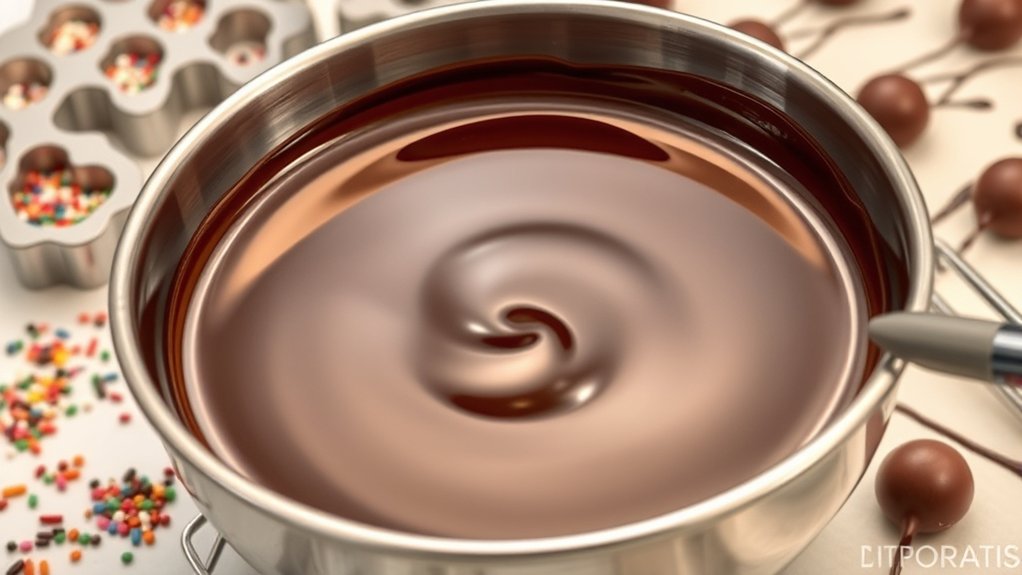
Before you begin dipping, it’s important to prepare your candies and tools to guarantee a smooth process. Start by verifying your candies are at the right temperature, typically room temperature, to prevent cracking or melting issues. Consider the candy flavor; choosing flavors that complement your chocolate improves the overall taste.
Use a clean, dry surface to organize your candies, making dipping more efficient. Gather tools like a dipping fork, spatula, and parchment paper for easy handling and drying. Proper storage tips are essential—store candies in an airtight container to keep them fresh and prevent moisture from affecting the coating.
Before dipping, make sure your workspace is clean and free of dust or debris. This prevents imperfections on your finished candies. Taking these steps ensures your candies are perfectly prepared, your tools are ready, and your flavors shine through, setting the stage for that flawless chocolate coating.
How to Choose the Best Chocolate for a Smooth Finish
Choosing the right chocolate is key to getting that smooth, glossy finish on your candies. The type of chocolate you pick affects the flavor, texture, and how well it melts.
Selecting the right chocolate ensures your candies achieve a smooth, glossy finish with rich flavor and ideal texture.
Think about the flavor first. High-quality chocolate with a rich, smooth taste works best. Dark chocolate gives a deep flavor, while milk chocolate is sweeter and creamier. White chocolate is milder and adds a different look.
Next, consider the candy type. Some candies need specific chocolates, like couverture chocolate for a shiny coating or melting wafers for easy melting. Match the chocolate to your candy for the best results.
Cocoa content also matters. Higher cocoa content usually means better flavor and a glossier finish. Look for chocolates with at least 60% cocoa for a smooth, professional look.
Choosing the right chocolate ensures your candies taste great and have that perfect, glossy appearance.
How to Dip Candies Without Making a Mess or Cracking
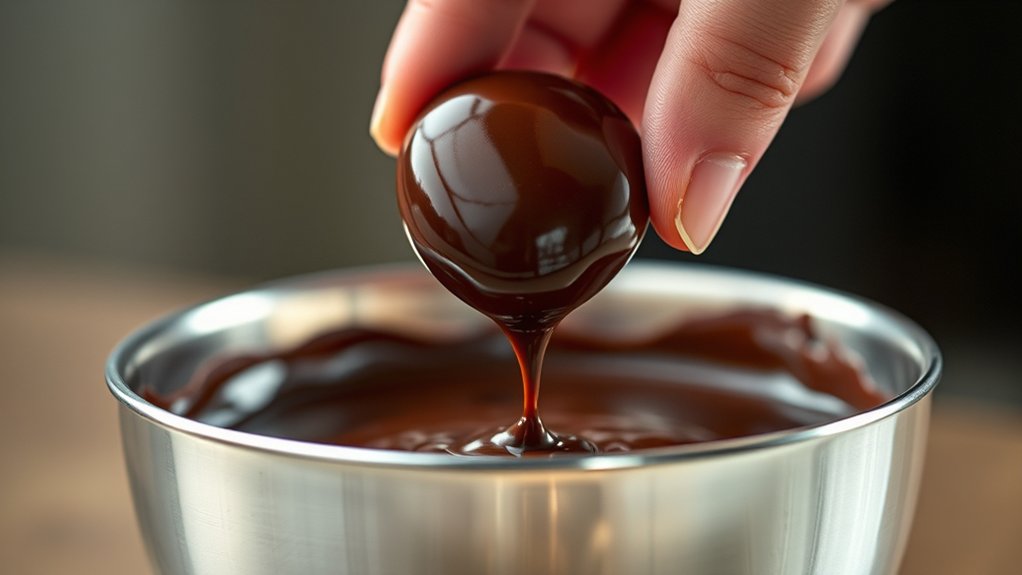
Dipping candies can be tricky, but with the right technique, you can avoid messes and cracks. Start by melting your candy coating evenly, making sure it’s smooth and not too hot, which can cause cracking. Use a fork or dipping tool to hold each candy without touching the coating directly, reducing drips and mess.
Dip the candy fully, then gently lift it, allowing excess coating to drip off before setting it down. To prevent cracks, avoid sudden temperature changes. Don’t dip cold candies into hot coating or vice versa.
Consider flavor pairing when choosing candies, as complementary flavors can improve the treat’s overall appeal. Keep your workspace organized, and place a sheet of parchment paper nearby for quick transfers.
With patience and care, your candies will stay intact, look professional, and taste delicious—all while minimizing mess and cracking.
How to Achieve a Glossy, Professional-Looking Coating
Achieving a glossy, professional-looking coating starts with properly tempering your chocolate or candy coating. Tempering ensures your chocolate has a smooth, shiny finish and a firm snap, making your candy look more polished.
To do this effectively, follow precise chocolate tempering steps—melt, cool, then reheat to the ideal temperature. Use a thermometer to keep track and make sure your chocolate hits the right tempering points.
Use high-quality chocolate for better gloss and consistency. This helps you get that mirror-like shine and a more professional look.
Dip your candies and let them cool at room temperature on a parchment-lined surface. This allows the coating to set evenly, boosting the glossiness and giving your candies a refined finish.
Troubleshooting Common Dipping Problems and Fixes
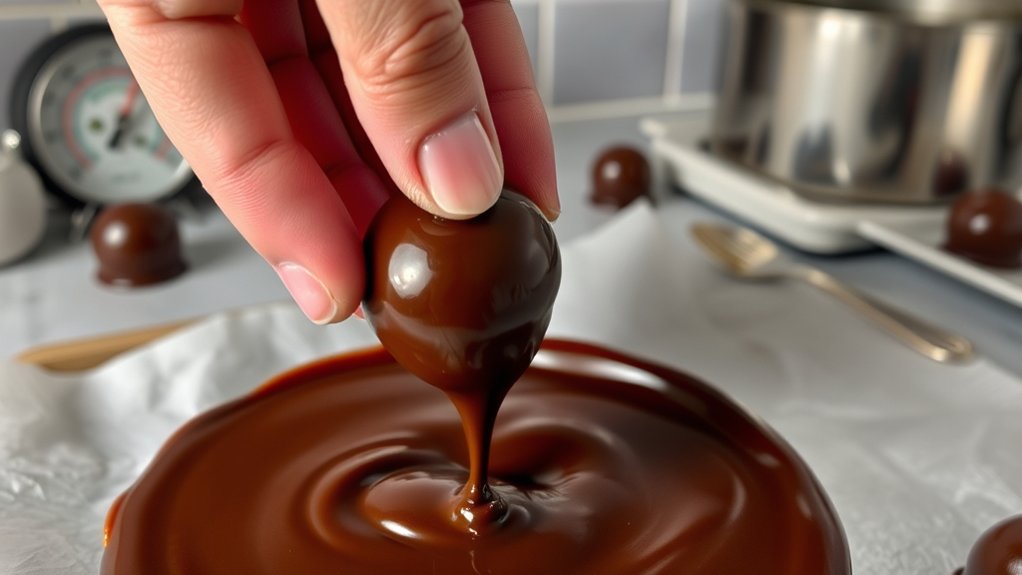
Even with careful preparation, dipping can sometimes lead to issues like uneven coating, sticking, or cracks. To fix uneven coating, make sure your chocolate is properly tempered. Untempered chocolate can cause inconsistent texture and appearance.
If your candy sticks to the dipping tools or surface, ensure your candies are dry and stored correctly. Moisture causes sticking. Also, avoid overcrowding your workspace, which can lead to clumping.
Cracks often happen if your chocolate cools too quickly or isn’t melted evenly. To prevent this, keep your chocolate at a consistent, slightly warm temperature and consider re-tempering if needed.
Proper candy storage is key—store dipped candies in a cool, dry place to avoid condensation or melting issues later. When troubleshooting, always check your chocolate’s temperature and your candy’s moisture level.
Adjusting these factors can help you achieve smooth, flawless chocolate coatings every time.
Frequently Asked Questions
How Long Should Candies Dry After Dipping Before Packaging?
You should let candies dry for at least 1 to 2 hours after dipping before packaging. Proper candy storage and ensuring the chocolate is well tempered help achieve a smooth finish.
Avoid rushing the drying process, as it prevents smudging or sticking. Once the candies are dry, store them in a cool, dry place.
This way, the chocolate stays shiny, and your candies stay perfect for gifting or selling.
Can I Reuse Leftover Chocolate for Future Dipping Projects?
Yes, you can reuse leftover chocolate, but only if it’s been properly tempered. Think of tempering as giving your chocolate a fresh coat of armor, making sure it stays glossy and smooth when reused.
Store your candy in an airtight container to keep out moisture and odors that could spoil it. When you’re ready to dip again, gently reheat the chocolate while maintaining proper tempering to get that perfect, professional finish.
What Are Some Flavor Variations to Enhance Dipped Candies?
You can enhance dipped candies with flavor infusions like vanilla, peppermint, or orange zest added to the chocolate. Just make sure to mix the flavorings well into the chocolate before dipping.
Topping options such as crushed nuts, sprinkles, or sea salt can also boost the taste. Feel free to experiment with these to create unique treats.
Remember to choose toppings that complement your candy’s flavor profile for the best results.
How Do Humidity Levels Affect Chocolate Dipping Results?
Think of humidity levels as your secret weapon, like a wizard’s wand, controlling your chocolate’s fate.
High humidity makes it harder to control your environment, causing chocolate to seize or get a dull finish.
It also affects the temperature, making it tougher for the chocolate to set smoothly.
To get perfect results, keep your workspace dry and cool.
Proper humidity management ensures your dipped candies stay glossy, smooth, and irresistibly delicious.
That way, you can avoid any chocolate mishaps and enjoy perfect treats every time.
Is It Necessary to Refrigerate Dipped Candies?
You don’t always need to refrigerate dipped candies, but it can help, especially if you’ve used tempered chocolate. Proper chocolate tempering gives your candies a shiny finish and a nice snap, making them more stable.
After dipping, store your candies in an airtight container in a cool, dry place. If you live somewhere humid, refrigerating can prevent melting or blooming.
Just be careful with sudden temperature changes, as they might affect how the chocolate looks.
Conclusion
Think of chocolate dipping as tending a delicate garden: patience and gentle handling yield the sweetest blooms. When you master each step, from choosing the right chocolate to perfecting your technique, you nurture your skills like tending vibrant flowers.
With practice, your candies will shine with a glossy, flawless finish—proof that care and attention transform simple ingredients into edible art. Keep nurturing your craft, and watch your chocolate dipping skills blossom into perfection.