7 Simple Steps to Make Chocolate Candy Apples
Many people love the idea of making homemade treats, but the process can seem overwhelming or messy. If you’ve ever wanted to craft perfect chocolate candy apples without the hassle, you’re not alone.
To make chocolate candy apples, start by choosing firm, fresh apples of similar size and sweetness, then dry them thoroughly.
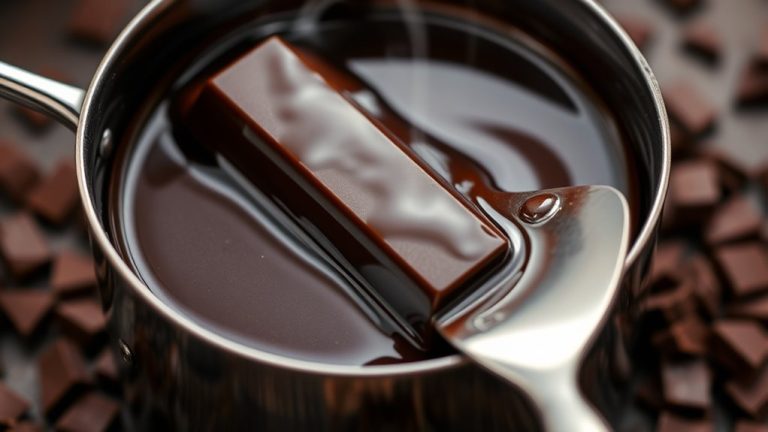
Melt and temper your chocolate until glossy and at the right consistency for dipping.
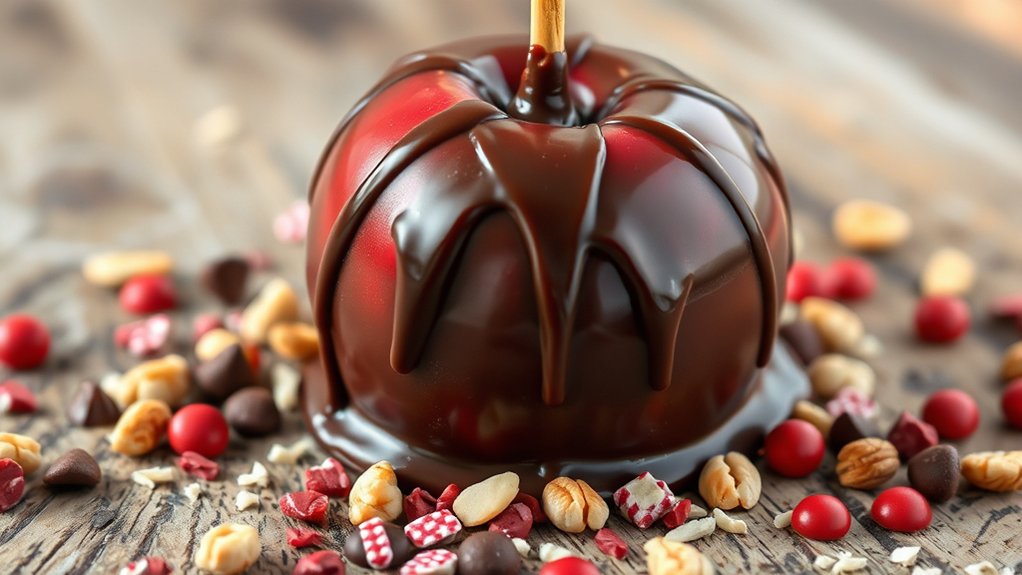
Hold each apple by a skewer and dip it into the chocolate, letting excess drip off.
Decorate with toppings or drizzles for added flair.
Store the finished apples properly to keep them fresh, and if you follow these steps, you’ll create stunning treats every time.
Key Takeaways
- Choose firm, uniformly-sized, sweet apples at room temperature, and thoroughly dry them before dipping.
- Melt and temper chocolate carefully to get a glossy, smooth coating. Take your time to avoid lumps or dullness.
- Dip apples by skewering, rotate to cover evenly, then let the excess chocolate drip off before setting.
- Decorate with drizzles, sprinkles, or themed embellishments to make your apples look extra fun and festive.
- Store in airtight containers, keep away from heat, and serve at room temperature for freshness.
Gather Ingredients and Tools for Perfect Candy Apples
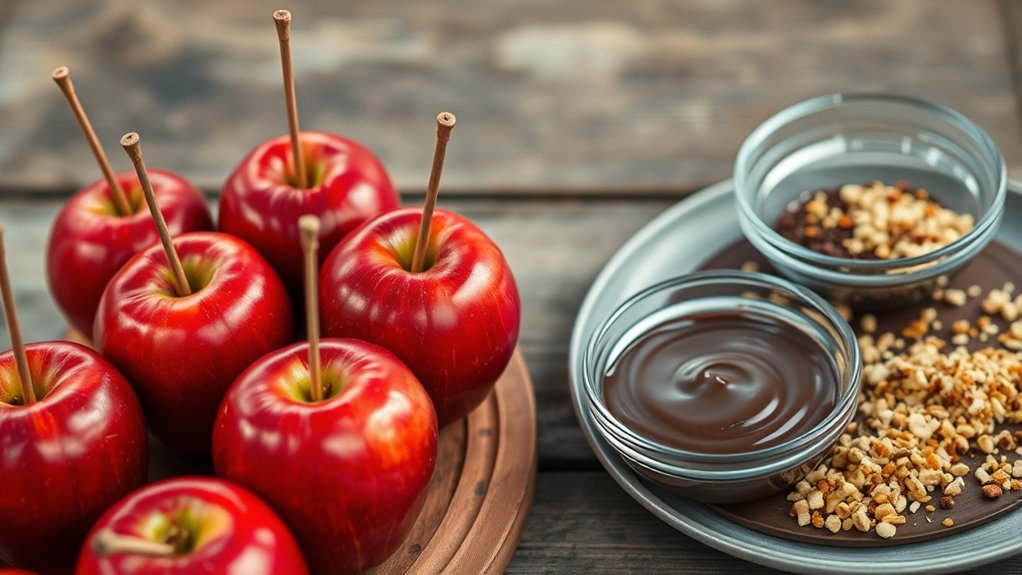
Before you start making candy apples, it’s important to gather all the necessary ingredients and tools. Pick firm, fresh apples to ensure a smooth coating.
You’ll need ingredients like sugar, corn syrup, and chocolate for the coating. Optional toppings such as nuts, sprinkles, or drizzles can add extra appeal.
For tools, grab a candy thermometer, skewers, a heavy-bottomed saucepan, and parchment paper for setting the apples. Think about presentation—decorative toppings or themed wrappers can make your apples more attractive.
Having everything ready ahead of time helps you work efficiently without interruptions. Choosing the right flavor pairings and toppings can really make your candy apples stand out.
Neatly arranged apples or creative decorations add visual appeal and make your treats irresistible. Preparing your ingredients and tools first sets the stage for a successful, eye-catching candy apple.
How to Select Apples for Candy Coating
When you’re picking apples for candy coating, it’s best to go for ones that are firm and fresh. This way, they’ll hold up nicely under the chocolate and won’t turn mushy. It’s also a good idea to pick apples that are roughly the same size—this makes them look more uniform and makes dipping easier.
As for the type of apple, go for sweet varieties because they pair really well with the candy coating. Picking the right apples not only makes your candy apples taste amazing but also helps them look gorgeous. So, take your time choosing the perfect apples, and your candy apples will turn out just fantastic!
Choose Firm, Fresh Apples
When selecting apples for candy coating, it’s essential to pick ones that are firm and fresh. During apple harvesting, choose apples with a crisp texture and smooth skin, as these qualities help the candy stick better.
Fresh apples are less likely to bruise or soften, ensuring your candy apples stay looking good. The history of candy apples shows that sturdy, fresh apples have always been preferred because they hold up well under the coating process.
Avoid apples that are soft, wrinkled, or blemished, as they can cause the coating to slip or crack. Picking the right apples makes a big difference in how your candy apples look and taste.
Always opt for apples that feel firm and look shiny for the best results.
Select Evenly Sized Fruits
Choose apples that are similar in size to ensure they cook evenly and look uniform once coated. Consistent fruit size helps the candy coating stick smoothly and set properly, avoiding uneven patches or drips.
When selecting apples, aim for fruits with roughly the same diameter. Avoid picking drastically larger or smaller ones, as this uniformity makes handling easier during dipping and decorating.
Varying fruit sizes can cause differences in how the candy coating sets, leading to an unprofessional finish. Picking apples of similar size creates a cohesive, appealing batch that looks polished.
Opt for Sweet Varieties
Opting for sweet apple varieties guarantees your candy apples taste as delicious as they look. Choose apples like Fuji, Gala, or Honeycrisp for their natural sweetness, which boosts the overall flavor of your candy coating.
Sweet varieties provide the perfect balance, ensuring the chocolate or caramel sticks well and creates a satisfying bite. Using tart apples can overpower the candy’s flavor or make the treat less enjoyable.
Furthermore, sweet apples improve flavor enhancements, making each bite more luscious and appealing. When selecting apples, look for firm, fresh fruit with smooth skin.
Avoid bruised or soft apples, as they won’t hold up well under the coating. Picking the right sweet variety is key to achieving a perfectly balanced, irresistible candy apple.
Preparing and Cooling the Chocolate Coating
Before dipping your apples, you need to prepare the chocolate coating so it flows smoothly and sticks well.
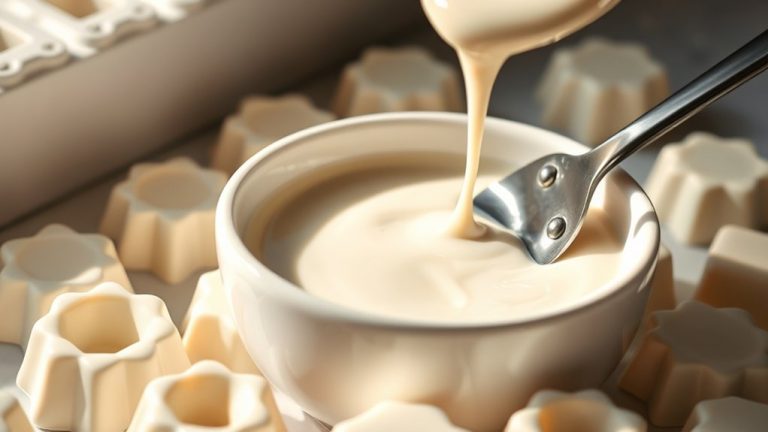
Start with chocolate tempering. Melt the chocolate gently, then cool it using specific methods to get a glossy finish and a proper set.
Cooling methods include placing the bowl in a cool water bath or letting it sit at room temperature.
Proper cooling prevents the chocolate from seizing or becoming too thick.
Here’s a quick visual guide:
| Temperature | Effect |
|---|---|
| Slightly Warm | Smooth, pourable consistency |
| Room Temp | Slightly thickened but workable |
| Cooler | Thickens, ready for dipping |
| Cold | Hardens quickly and may crack |
How to Dip Apples for Smooth, Even Coating
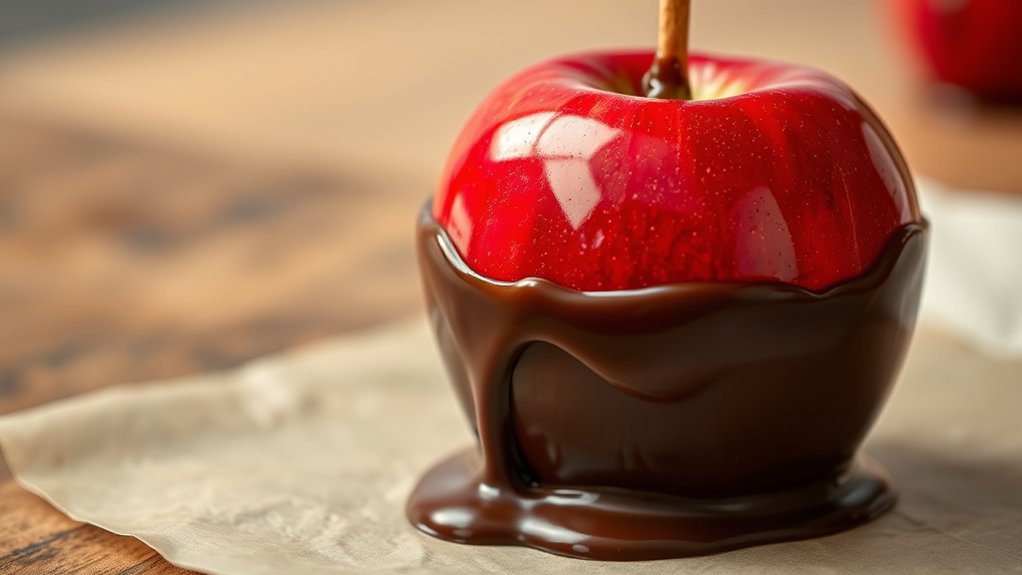
To achieve a smooth, even coating when dipping your apples, start by preparing your workspace. Place a sheet of parchment paper nearby for easy placement of dipped apples. Make sure your apple is thoroughly dried because extra moisture can cause the chocolate to seize and result in uneven coating.
Hold the apple by the stick and dip it into the melted chocolate, making sure the whole surface is submerged. Gently lift the apple and let the excess chocolate drip off, rotating slightly to spread it evenly. If needed, use a spoon to smooth out any uneven spots.
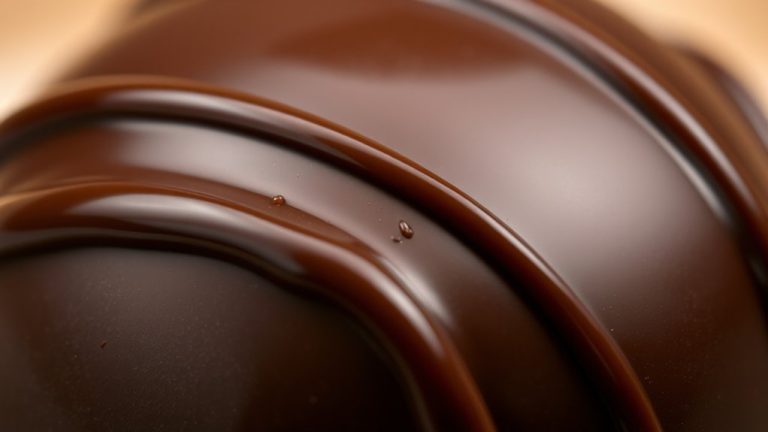
Work quickly but carefully to prevent the chocolate from setting too soon. Dipping apples this way helps create a glossy, smooth finish, which makes them look more appealing and taste better. Following this method ensures a nice, even chocolate coating on every apple.
Decorating and Finishing Your Candy Apples
Once your apples are coated and the coating has set, it’s time to have some fun with decorations. You can add colorful drizzles, sprinkles, or even fondant to make each apple unique and eye-catching. It’s a great way to get creative and personalize your treats!
And don’t forget, mastering some finishing techniques can really make your candy apples look professional and irresistible. Whether it’s adding a smooth chocolate glaze or a fancy drizzle, these small details can make a big difference in making your candy apples stand out.
Creative Decoration Ideas
Decorating your candy apples is where your creativity really shines, turning simple treats into eye-catching masterpieces. Use festive color schemes to match holidays or special occasions, like red and green for Christmas or pastel shades for Easter.
Add visual interest with themed edible decorations such as sprinkles, candies, or chocolate drizzles. You can also create fun patterns like stripes or polka dots to make each apple unique.
For a more personal touch, try small edible toppers like tiny flowers or holiday icons. Layering different decorations will make your candy apples stand out even more.
With a little imagination, your candy apples will not only taste delicious but also become the star of any celebration.
Perfect Finishing Techniques
After applying your chosen decorations, the final step is to refine the look with finishing techniques that give your candy apples a polished finish. Start by adding decorative accents, like drizzles of white chocolate or colorful sprinkles, to make them more visually appealing.
Use a steady hand to create clean lines or patterns, making sure your designs look intentional and neat. For a professional touch, gently tap the apple to remove any excess coating or uneven decorative accents.
You can also add a glossy finish with a light spray of edible glaze or a quick dip in melted chocolate. These finishing touches help your candy apples stand out and give them a cohesive, attractive appearance perfect for gifting or display.
Troubleshooting Common Candy Apple Problems
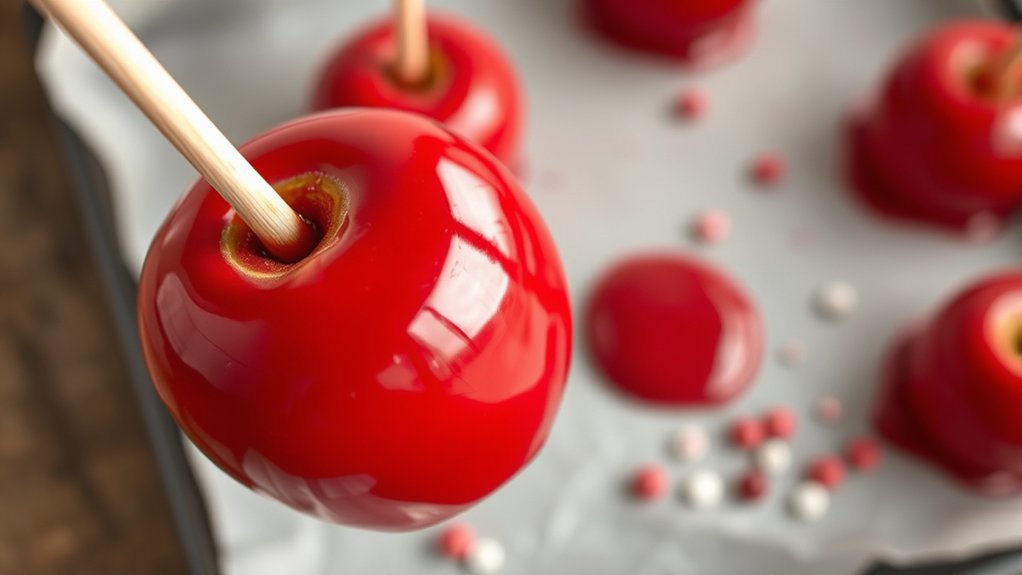
Even experienced candy apple makers can encounter common problems that throw off the perfect finish. One issue is a fruit flavor that doesn’t come through, which usually happens if the apple isn’t properly prepared or if the coating is too thick, dulling the taste. To fix this, choose crisp, fresh apples and verify they’re at room temperature before dipping.
Another common problem is coating consistency. If it’s too thick, it becomes hard to spread smoothly, resulting in uneven coverage. To improve this, gently reheat the coating and stir well until smooth. Conversely, if the coating is too thin or runny, it won’t set properly and can slide off.
In that case, allow it to cool slightly or add a small amount of confectioners’ sugar to thicken it. Paying attention to these issues helps achieve a shiny, even coating and preserves the fruit flavor, making your candy apples perfect every time.
Storing and Serving Your Homemade Candy Apples
Wondering how to keep your homemade candy apples fresh and delicious? The key is proper storage. First, choose the right containers—preferably airtight ones—to prevent moisture and air from degrading the candy coating.
Keep your candy apples away from direct sunlight and heat, which can cause the chocolate and caramel to melt or soften. For the best results, store them in a single layer to avoid sticking or damage.
When considering fruit pairing, it’s best to enjoy your candy apples within a few days for fresh flavor, but they can last up to a week if stored properly. If you plan to serve them later, refrigerate them and let them come to room temperature before serving.
Proper storage helps your homemade candy apples stay crisp, shiny, and delicious until you’re ready to share or enjoy them.
Frequently Asked Questions
Can I Use Non-Traditional Toppings on Candy Apples?
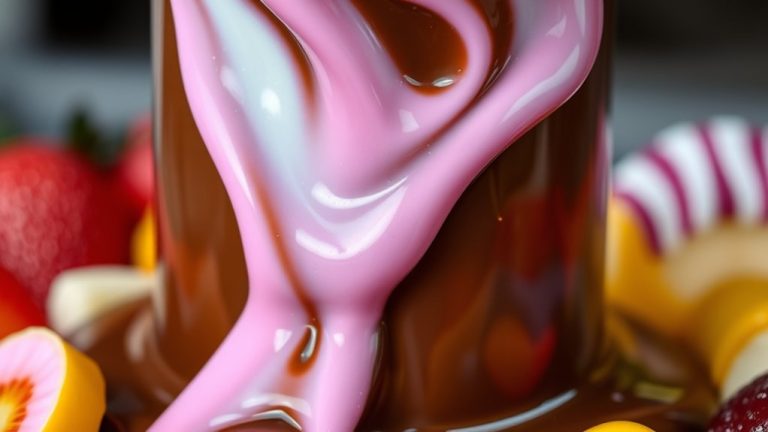
Yes, you can definitely use non-traditional toppings on candy apples. Feel free to get creative with fruit toppings like sliced strawberries, bananas, or kiwi, or add edible decorations such as sprinkles, crushed cookies, or colorful candies.
These options make your candy apples unique and fun. Just make sure the toppings are edible and stick well to the caramel or chocolate coating, so your treat looks and tastes great.
How Long Do Homemade Candy Apples Stay Fresh?
Candy apple storage significantly impacts freshness. You can expect homemade candy apples to stay fresh for about 2 to 3 days.
Keep them cool and covered in an airtight container or wrap them tightly in plastic wrap. Avoid exposing them to heat or humidity, which can cause the coating to soften or spoil.
For the best bite, enjoy your deliciously decadent treats within this timeframe!
What Are Alternative Coatings Besides Chocolate?
You can use various alternative coatings besides chocolate to create delicious candy apples. Think about fruit toppings like crushed nuts, shredded coconut, or sprinkles for extra texture and flavor.
Candy coatings such as caramel, white chocolate, or a sugar glaze also work really well. These options let you customize your apple with different flavors and looks.
Trying out these coatings can make your candy apples even more fun and tasty. Each one adds a unique twist to your treat!
Is It Safe to Use Microwave to Melt Chocolate?
Using a microwave to melt chocolate is like quicksand—convenient but needs caution. It’s generally safe if you follow microwave safety tips and melt in short bursts, stirring frequently.
To prevent issues like seizing, consider chocolate tempering techniques, which stabilize the cocoa butter. This method ensures smooth, glossy results and reduces the risk of overheating.
Just keep a close eye, and your microwave will serve you well for melting chocolate.
How Do I Prevent Apples From Slipping off Sticks?
To prevent apples from slipping off sticks, focus on proper apple sticking and securing techniques. Insert the stick firmly into the apple’s core, making sure it’s straight and centered.
Chill the apples beforehand so they’re firm. This helps the stick stay in place better.
You can also dip the apple in melted chocolate or caramel first. Then, insert the stick quickly so the coating sets and secures the apple more effectively.
Conclusion
Now that you know the simple steps to make perfect chocolate candy apples, you’re ready to impress friends and family. Imagine hosting a fall party where your homemade apples steal the show—crisp, shiny, and decorated just right.
With a little practice, you’ll master every step, turning ordinary apples into delightful treats. So get creative, have fun, and enjoy sharing your delicious, handcrafted chocolate candy apples at your next gathering!