10 Steps to Make Chocolate Candy at Home
Making chocolate candy at home can seem tricky, especially if you’re worried about getting that perfect glossy finish or the right texture. You’re not alone—many people struggle with turning simple ingredients into delicious treats. But don’t worry, with a little guidance, you’ll be creating your own chocolates in no time.
To make chocolate candy at home, start by choosing high-quality chocolate with the right cocoa content. Gather your supplies, like molds, spatulas, and decorations. Melt and temper the chocolate carefully to get a glossy finish and good texture.
Pour it into molds or shape by hand, then add fillings, flavors, or toppings to customize. Allow chocolates to set and store them properly to keep freshness. Keep experimenting with flavors and techniques—you’ll uncover more tips as you continue.
Key Takeaways
- Select high-quality chocolate and gather necessary tools like molds, spatulas, and piping bags.
- Properly melt and temper the chocolate to ensure a shiny, firm finish.
- Pour or pipe the chocolate into molds, then add fillings or decorations as desired.
- Allow chocolates to cool and set at room temperature, avoiding refrigeration if possible.
- Package in airtight containers or attractive wraps for storage or gifting.
Choosing the Best Chocolate for Homemade Candy
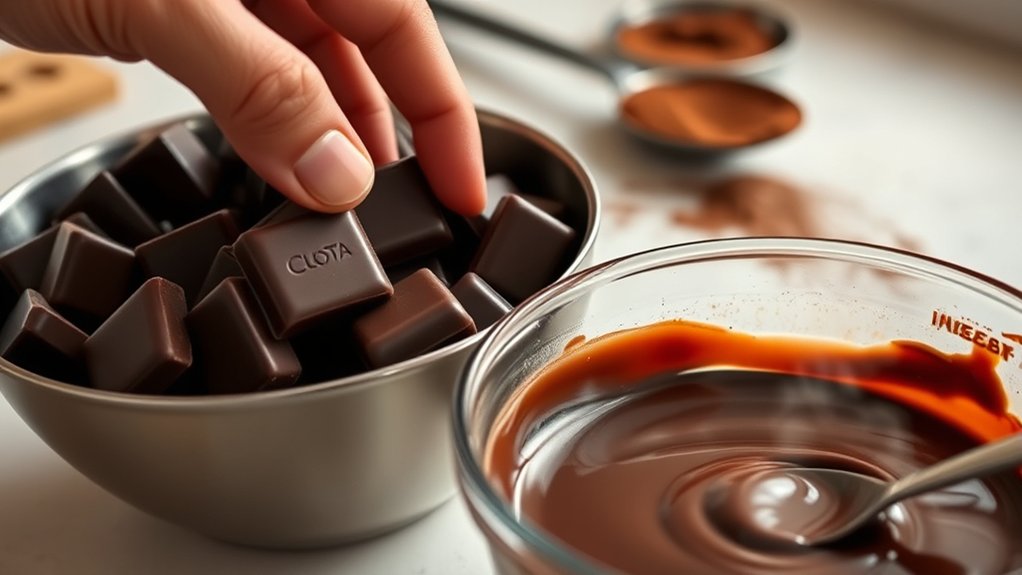
When choosing the best chocolate for homemade candy, it’s important to consider the type and quality of the chocolate you use. High-quality chocolate from reputable sources ensures better flavor and smooth melting.
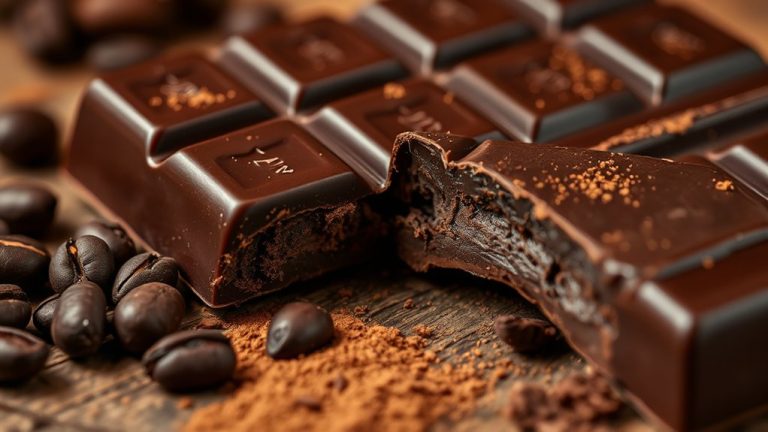
Look for chocolates with a high cocoa content. Dark chocolates with 60-70% cocoa are perfect for rich, intense flavors. Milk chocolates add sweetness and creaminess, while white chocolate offers a smooth, buttery base.
Choose chocolates with 60-70% cocoa for rich, intense flavors; milk and white chocolates add sweetness and creaminess.
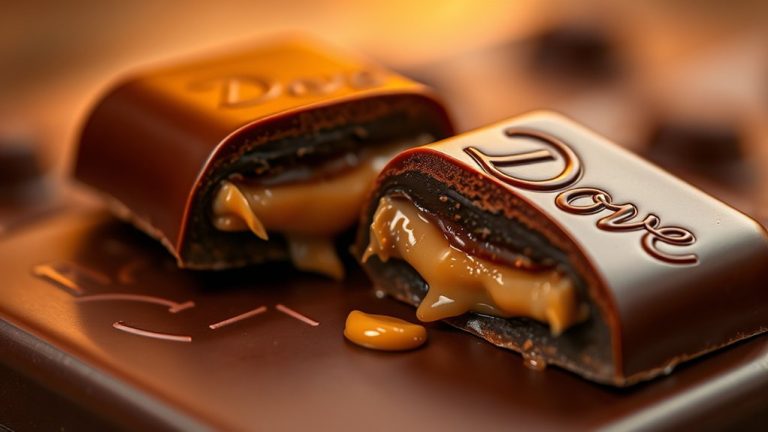
Think about how the chocolate will pair with other ingredients. For example, dark chocolate goes well with tart fruits like raspberries, while milk chocolate pairs nicely with caramel or nuts.
Checking the ingredients list helps you avoid additives or fillers that could change the taste or texture. Whenever possible, taste test different brands and choose ones known for quality.
This careful choice and understanding of flavor pairing will give your homemade candies a strong foundation. They’ll taste as good as they look.
Gathering Supplies and Ingredients
Before you start making your homemade chocolates, it’s important to gather all the supplies and ingredients you’ll need. First, make sure you have high-quality chocolate because it really affects the flavor and texture.
You’ll also need a double boiler or a microwave-safe bowl for melting the chocolate. Remember, storing your chocolate properly in a cool, dry place is key to preventing blooming and keeping it fresh.
For shaping and presentation, gather molds, spatulas, and piping bags. Small tools like brushes or toothpicks are great for adding details. Don’t forget parchment paper or a silicone mat for easy cleanup.
When it comes to decorating, consider small items like sprinkles or edible glitter to make your chocolates look more appealing. Having everything ready beforehand makes the process smoother and more enjoyable.
Being well-prepared sets a strong foundation for successful candy-making at home.
Selecting Fillings and Flavors
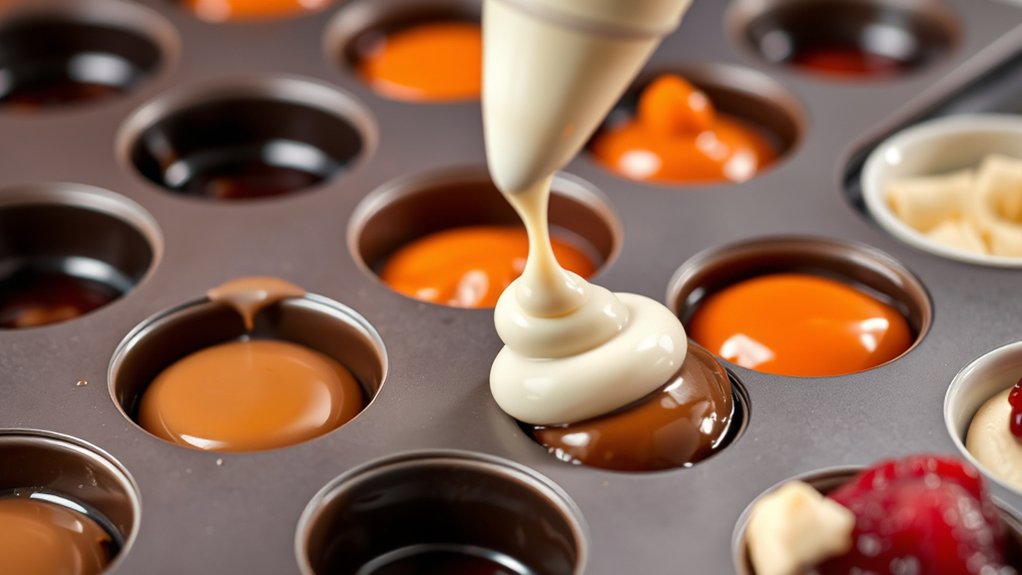
Thinking about fillings and flavors is one of the most exciting parts of making homemade chocolates. This is your chance to experiment with unique flavor combinations that reflect your taste.
Consider classic options like caramel, fruit preserves, or nuts, but don’t shy away from creative pairings such as chili-infused ganache or lavender cream. When selecting fillings, think about how flavors complement each other. Using filling pairing techniques can really elevate your chocolates.
Balance sweetness with tartness, or richness with a hint of spice, to create complex, memorable bites. Texture matters too. Smooth fillings work well with crisp shells, while chewy or crunchy fillings add contrast.
Keep your ingredients fresh and high-quality for the best results. Remember, this stage is all about your personal taste and imagination, so don’t be afraid to try bold or unusual flavor combinations. Your perfect homemade chocolates start with thoughtful filling choices.
Melting and Tempering Chocolate for Perfect Texture
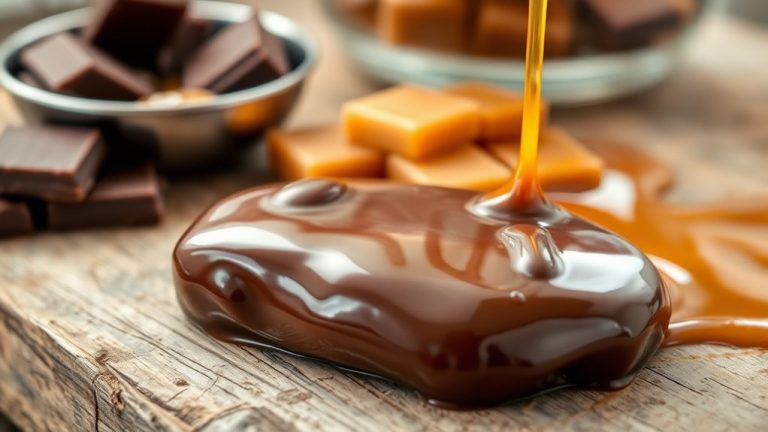
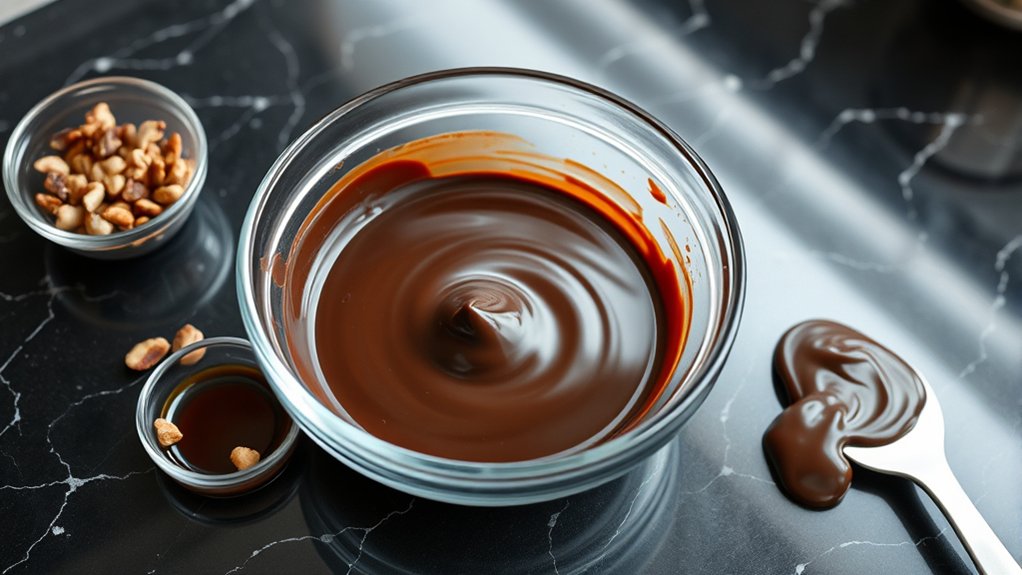
Once you’ve chosen your fillings and flavors, the next step is to melt and temper your chocolate to get that glossy finish and perfect snap. Proper melting means gently heating the chocolate in a double boiler or microwave in short bursts, stirring often to prevent burning.
Tempering is really important because it stabilizes the cocoa butter, giving your candy a shiny look and firm texture. You do this by heating the chocolate to specific temperatures, then cooling and reheating slightly, according to a precise temperature chart.
Once your chocolate is tempered, work quickly to keep that glossy finish from dulling. After it’s ready, store it properly in a cool, dry place away from humidity to maintain quality.
When your candies are set, wrap them carefully to protect their shine and prevent bloom or moisture damage. Proper melting, tempering, and storage will make your homemade chocolates look professional and taste amazing.
Pouring and Shaping Your Chocolate Candies
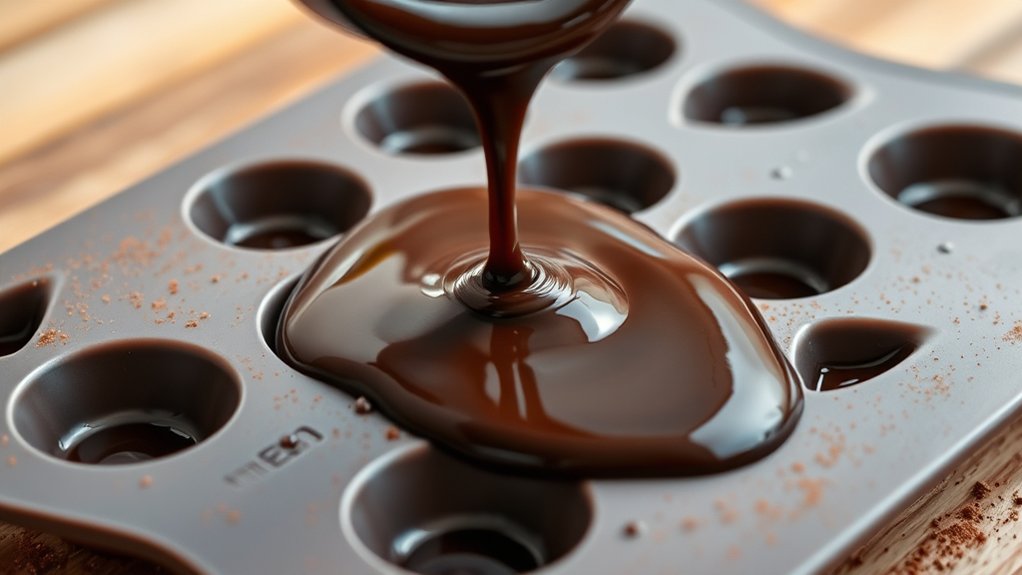
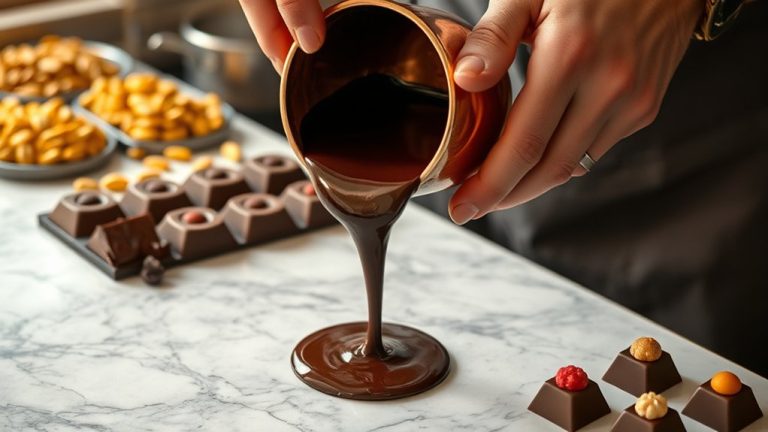
After your chocolate is properly tempered and ready, it’s time to pour it into molds or onto a prepared surface. Use gentle, steady motions to avoid air bubbles and ensure even filling.
When working with molds, tap them lightly on the counter to release trapped air and improve the surface finish. If shaping candies by hand, use tools like small spatulas or molds to create precise forms.
| Technique | Tool Suggestions |
|---|---|
| Pouring into molds | Silicone or plastic molds |
| Spreading on surface | Offset spatula |
| Filling cavities | Piping bags |
| Shaping by hand | Candy shaping tools |
Choose your approach based on the final look you want. Molds are great for detailed or intricate designs, while shaping tools give you more control for freeform candies.
Cooling and Setting Your Chocolates
Cooling and setting your chocolates properly is the final step to guarantee they get the right texture and shine. Once you’ve poured and shaped your candies, move them to a cool, dry area.
Avoid refrigerating them immediately because rapid cooling can cause condensation and dull the finish. Instead, let them sit at room temperature until they’re fully set.
This helps keep their glossy appearance and smooth texture intact. When your chocolates are firm, store them in an airtight container in a cool, dark place to keep them fresh.
Proper storage prevents moisture and temperature changes that can affect quality. Handle your chocolates carefully to avoid fingerprints or smudges, especially if you want a shiny finish.
If you like, you can gently buff the surface with a soft cloth after they’ve set. Patience during the cooling process makes sure your homemade chocolates look professional and taste great.
Adding Decorations and Finishing Touches
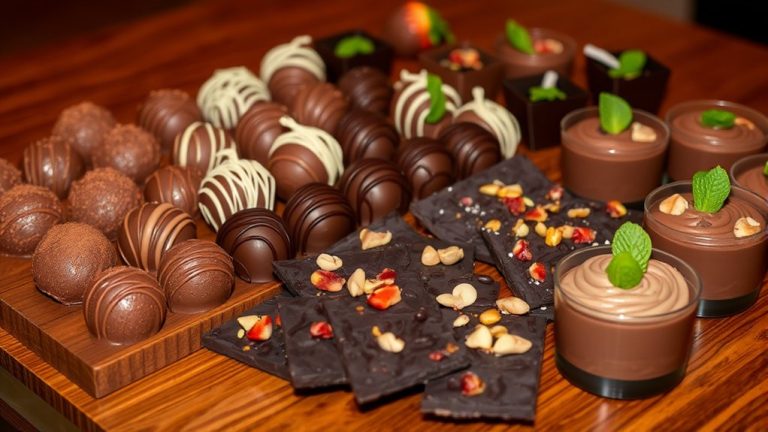
Adding decorations and finishing touches is your chance to make your homemade chocolates really stand out. Use edible glitter for a sparkling, glamorous effect that catches the light beautifully.
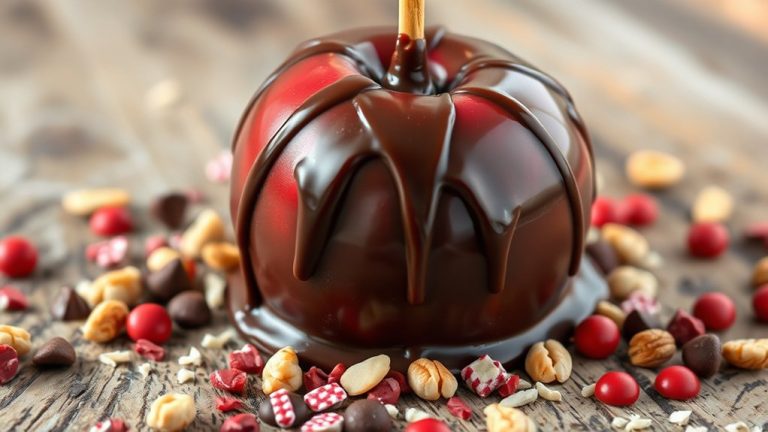
Lightly dust the tops of your chocolates with glitter for a subtle shimmer or apply it more generously for a bold, festive look. Candy toppings like sprinkles, crushed nuts, or tiny candies are great for adding texture and color.
You can pipe contrasting chocolate designs or drizzle white chocolate over dark chocolates for an elegant finish. Just make sure your toppings are small enough to stick well without overwhelming the surface.
Handle your decorations gently to avoid smudging or damaging the chocolates. Once you’re happy with your design, let everything set briefly so the decorations stay securely in place.
These finishing touches will make your chocolates look professional and irresistible.
Troubleshooting Common Candy-Making Issues
Even with careful attention to decorations and finishing touches, issues can still come up during candy-making. One common problem is chocolates looking dull or streaked, which is often caused by incorrect tempering.
To fix this, re-temper the chocolate to ensure a glossy, smooth finish for a better presentation. If chocolates stick together or feel sticky at room temperature, they might be over-humidified or not cooled properly.
Store them in a cool, dry place and consider adjusting the cooling process. If you see white streaks or spots on the chocolates, it’s usually due to fats or sugar crystallization. They’re still safe to eat but look less appealing.
When pairing chocolates, make sure the flavors complement each other to improve the overall presentation. Sometimes, melting or seizing happens if the chocolate gets too hot or touches water.
Use a double boiler or microwave carefully, and keep moisture away to prevent these issues.
Storing and Packaging Your Homemade Chocolates
Properly storing and packaging your homemade chocolates is key to keeping them fresh, tasty, and looking great. Use airtight containers to protect them from moisture and air, which can cause blooming or spoilage.
Store homemade chocolates in airtight containers to keep them fresh and prevent spoilage.
Layer your chocolates with parchment or wax paper to prevent sticking and help them keep their shape. For gift packaging, go for decorative boxes or clear cellophane bags tied with ribbons to make them look appealing.
Keep your chocolates in a cool, dark spot away from direct sunlight and heat, ideally between 60-70°F. Avoid refrigerating unless absolutely necessary, since humidity can affect their quality.
If you do need to refrigerate, place them in sealed containers so they don’t absorb other odors. Proper packaging not only helps them last longer but also ensures they arrive looking beautiful and tasting fresh when gifted or enjoyed at home.
Experimenting With Flavors and Customizations
Exploring different flavors and customizations lets you create unique chocolates that match your taste and occasion. You can try out various flavor combos by adding ingredients like nuts, dried fruits, or spices to your melted chocolate.
Incorporate extracts such as peppermint, vanilla, or citrus to boost the flavor and add some depth. Personalized toppings make each piece special—sprinkle sea salt, crushed cookies, or colorful sprinkles before they set.
If you love fusion flavors, experiment with combinations like chili and chocolate or coconut and caramel. Just remember, balancing flavors is key; start small and adjust as you go.
This way, you can craft chocolates that perfectly fit your preferences or suit a specific event. Customizations not only make your candies stand out but also turn them into memorable gifts or treats tailored just for you.
Frequently Asked Questions
How Long Does Homemade Chocolate Candy Typically Last?
Homemade chocolate candy usually stays good for about 2 to 3 weeks if you store it right. But keep in mind, how long it lasts can depend on the ingredients and how you keep it.
To keep it fresh longer, store your candies in an airtight container in a cool, dry spot away from sunlight. This helps prevent melting and spoilage.
If you notice any changes in texture or smell, it’s best to toss the candy to stay safe and enjoy fresh treats.
Can I Use Alternative Sweeteners Instead of Sugar?
Using alternative sweeteners instead of sugar is totally doable, and it can turn your chocolate candy into a fun, unique treat.
Sugar substitutes like stevia, erythritol, or monk fruit work well, but keep in mind they might change the flavor a bit.
Trying out different sweeteners lets you explore exciting flavor variations and makes your treats more suited to dietary needs.
Just remember, some sweeteners can change the texture or leave an aftertaste, so choose wisely for the best results.
Is It Safe to Make Chocolate Candies With Children?
Making chocolate candies with children can be safe if you focus on keeping things kid-friendly and stay close to supervise.
Make sure kids know the kitchen safety rules, like handling hot ingredients carefully and staying away from sharp objects.
Supervise their involvement closely, especially when melting chocolate or pouring mixtures.
With the right safety measures and close supervision, children can have a fun and safe time making homemade chocolate candies.
What Are Common Mistakes to Avoid in Candy Making?
Think of candy making as a delicate dance—one misstep can ruin your batch. Avoid common mistakes like rushing the chocolate tempering process, which can make your candies look dull or streaky.
Make sure to store your candies properly to prevent melting or blooming. Don’t skip stirring or temperature checks, as they are key for smooth, glossy results.
Patience is your best friend here; rushing can turn your sweet success into a sticky mess.
How Can I Make Vegan or Allergy-Friendly Chocolates?
To make vegan or allergy-friendly chocolates, you should use vegan chocolate, which is free from dairy and animal products. Choose allergy-friendly ingredients like coconut milk or sunflower lecithin.
Always read labels carefully to avoid common allergens like nuts or soy. You can also experiment with natural sweeteners like agave or maple syrup.
Conclusion
Now that you’ve mastered the art of chocolate candy making, get ready to turn your kitchen into a confectionery chaos zone—think melted chocolate rivers and sprinkle storms.
With your newfound skills, you’ll craft treats so tempting even the most disciplined dieter will surrender to temptation.
So go ahead, accept the mess, and let your sweet creations be proof of your daring, delicious, and slightly chaotic culinary adventures.
Remember, making chocolate candy at home is all about having fun and embracing the delicious chaos.
Sweet victory has never tasted so messy!