DIY Chocolate Candy Coating: Simple Guide to Make It
Many people love making homemade treats but often struggle with getting that perfect chocolate coating—smooth, shiny, and just right. You’re not alone; mastering the art of chocolate coating can be tricky, but with a little guidance, you’ll be a pro in no time.
To make your own chocolate candy coating, start by selecting quality chocolate in your preferred flavor—cocoa powder, chips, or wafers. Melt it carefully using a double boiler or microwave, stirring often, and keep the temperature controlled to prevent seizing.
Add vegetable oil or shortening for shine and smoothness. Once your chocolate is at the right temperature, dip your candies, fruits, or pretzels, then let them set.
If you’d like more tips on perfect coating techniques and decorating ideas, keep exploring.
Key Takeaways
- Use high-quality chocolate and vegetable oil or shortening for a smooth, glossy coating. This helps your candies look professional and taste great.
- Melt chocolate gently with a double boiler or microwave, stirring often to avoid scorching. Patience is key to getting that perfect melt.
- Temper chocolate to achieve a shiny finish and firm snap. Cool it to the right temperature before coating your treats.
- Fully dip candies or fruits, then lift and let the excess drip off for an even coating. This makes your chocolates look neat and appealing.
- Store coated candies in airtight containers in a cool, dark place to keep them fresh and looking their best.
What Do You Need to Make Homemade Chocolate Coating?
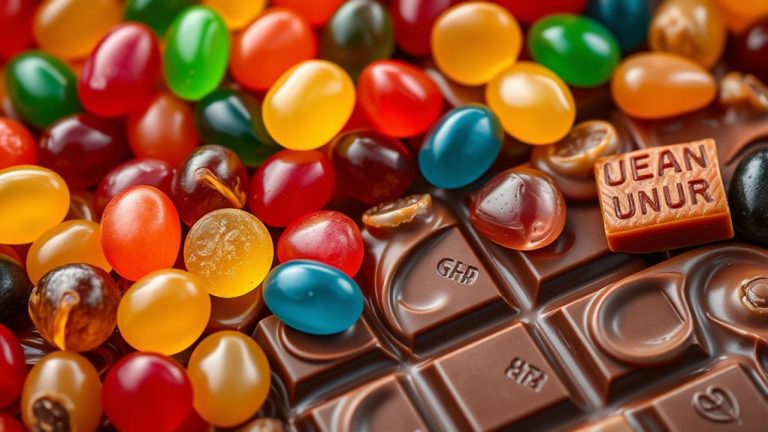
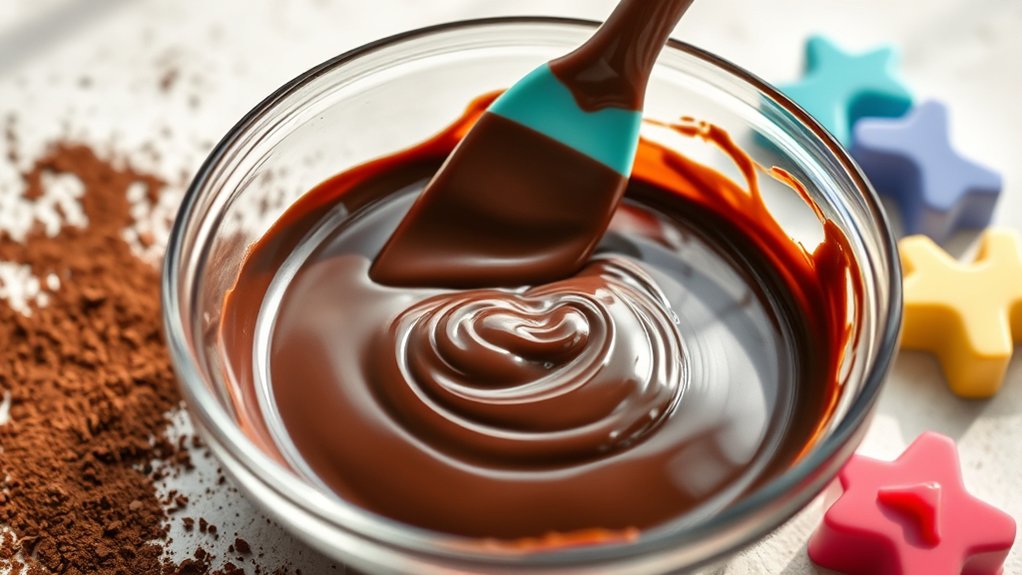
To make homemade chocolate coating, you’ll need a few basic ingredients and tools. First, gather high-quality chocolate flavoring—whether you prefer cocoa powder, chocolate chips, or melting wafers—since it directly impacts the taste and consistency.
Gather high-quality chocolate ingredients like cocoa powder, chips, or wafers for the best flavor and texture in your coating.
Choose the type of candy you want to coat, like nuts, fruits, or candies, and prepare them in advance. You’ll also need a mixing bowl, a spatula, and a microwave or double boiler to melt the chocolate smoothly.
For added flavor, consider using a small amount of vegetable oil or shortening to achieve a glossy finish and a thinner coating. Keep in mind that different candy types may require slight adjustments in the chocolate’s consistency.
Having these essentials ready will set you up for success, ensuring your homemade chocolate coating is flavorful, smooth, and perfect for dipping or drizzling. Once you have everything, you’re ready to start creating delicious, homemade candies.
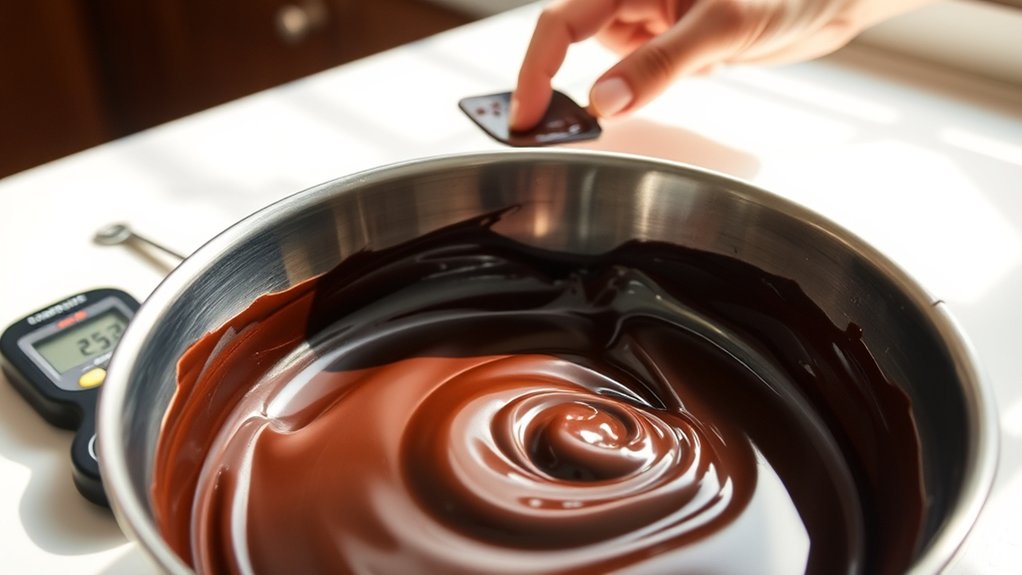
How to Melt and Temper Chocolate for a Smooth Finish
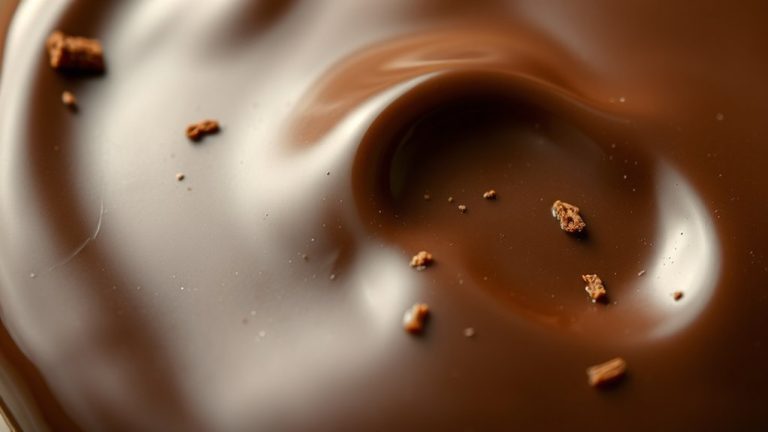
Achieving a smooth, glossy finish on your homemade chocolate coating requires properly melting and tempering the chocolate. This process ensures the right texture and a consistent shine.
To do this effectively, use a double boiler or microwave in short bursts, stirring often to control the temperature. Gently heat the chocolate, keeping it below 115°F (46°C) to avoid scorching and maintain good texture.
Once melted, remove the chocolate from heat and cool it to about 88°F (31°C) for dark chocolate or 86°F (30°C) for milk and white chocolates. This step ensures perfect tempering.
If needed, reheat the chocolate slightly but never overheat. Temperature control is key to achieving a shiny, professional finish.
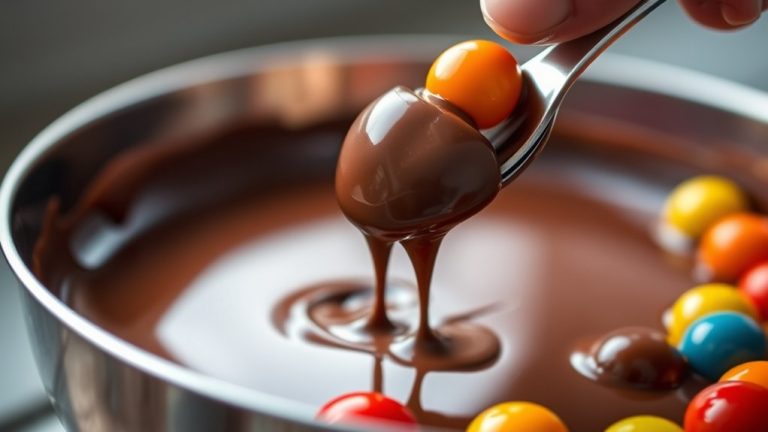
Step-by-Step: Dipping Fruits, Pretzels, and Candies

Before you dive in, it’s a good idea to set up a clean, organized station with all your tools ready to go. Make sure your fruits and pretzels are prepped properly—dry and at room temperature—so the coating goes on smoothly without any hiccups. When you’re ready to dip, use steady, even motions to get that flawless finish and avoid drips or uneven coverage.
Preparing Your Dipping Station
Setting up your dipping station the right way makes for a smooth, mess-free chocolate coating process. First, gather all your tools and ingredients before you start. This includes a clean workspace, bowls for melting chocolate, and parchment paper for drying.
Arrange your dipping tools like tongs or forks for easy handling of fruits, pretzels, or candies. Have a designated area for chocolate pairings and decorations so you can add fun details later. Keep a tray with candy decorations nearby to quickly embellish your treats once dipped.
Keep a cloth or paper towels handy to clean drips and spills right away. A well-organized station keeps everything within reach, so you can focus on perfecting your chocolate pairings and decorating with style. It makes the process more enjoyable and efficient.
Proper Fruit and Pretzel Prep
Have you ever wondered how to get your fruits, pretzels, and candies perfectly coated without mishaps? Start by properly washing your fruits to remove dirt and wax, guaranteeing a clean surface for coating. Pat them dry thoroughly, as excess moisture can cause the chocolate to seize or slide off.
For pretzels, shaping is key—make sure they’re uniformly formed so they dip evenly. Before dipping, arrange your pretzels and fruits on a lined tray, ready for quick action. If you’re using pretzels, handle them gently to avoid breaking or bending.
Dryness and uniformity are essential for a smooth coating. Taking these prep steps ensures your chocolate adheres well, giving you a professional-looking finish and delicious results.
Techniques for Smooth Coating
Mastering the art of smooth coating starts with the dipping technique. To get flawless results, follow these steps:
- Dip your fruit, pretzel, or candy into the melted chocolate, making sure it’s fully covered without keeping it submerged too long.
- Gently lift it out and let any excess chocolate drip off. This helps prevent thick or uneven layers.
- If you want flavor infusions, add extracts or spices to the chocolate before melting. This boosts the taste without messing up the smooth finish.
- Use a toothpick or fork to adjust the coating. You can also add color by lightly brushing or drizzling contrasting chocolates over the coated items.
These tips help you get a glossy, even finish. Managing the temperature and consistency keeps the chocolate silky and easy to work with.
How to Achieve a Glossy, Professional-Looking Coating
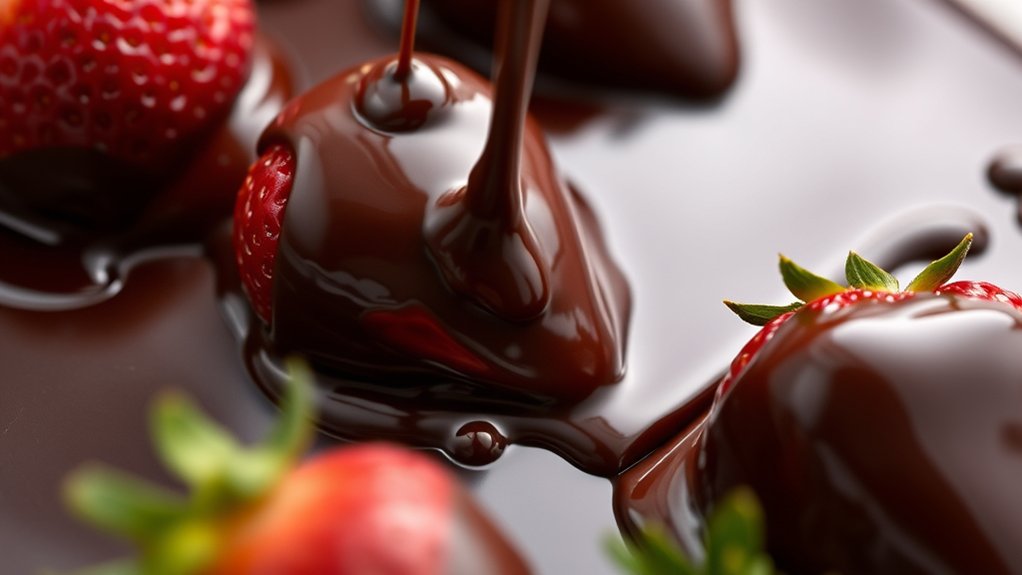
To achieve a glossy, professional-looking coating, it’s essential to carefully temper your chocolate. Proper tempering creates a smooth, shiny finish that improves color and appearance.
Start by melting your chocolate gently and then cooling it to the ideal temperature, ensuring the cocoa butter crystals form correctly. This process enhances color, giving your coating a vibrant, appealing look.
If you need to adjust the shine, consider ingredient substitutions—adding a small amount of vegetable oil or cocoa butter can boost the gloss. Be cautious with substitutions; choose high-quality, neutral fats to avoid dulling the finish.
As you work, maintain consistent temperatures and avoid moisture, which can cause streaks or matte spots. Properly tempered chocolate will effortlessly coat your treats with a sleek, polished look, making them appear professional and tempting.
How to Add Flavor Variations to Your Chocolate Coating
Adding flavor variations to your chocolate coating can really elevate your treats and impress your guests. You can easily customize flavors with simple infusions or spice blends, making each batch unique.
To get started, try adding vanilla extract, coffee, or citrus zest directly into the melted chocolate for subtle, natural flavors. These quick additions can make a big difference.
Spice blends like cinnamon, nutmeg, or chili powder are perfect for creating warm or spicy profiles, especially for seasonal treats. They add a nice kick and complexity.
You can also incorporate extracts and liqueurs such as almond, peppermint, or flavored spirits for a richer, more indulgent taste. Just a splash can go a long way.
For a gourmet twist, combine herbs like basil or thyme with spices to craft unexpected flavor infusions. It’s a fun way to experiment and surprise your guests.
Always add these flavorings gradually, tasting as you go, to get the perfect flavor strength. This ensures your chocolate coating turns out both delicious and distinctive.
Troubleshooting Common Issues When Making Chocolate Coating
Even with careful flavoring, issues can still come up during the chocolate coating process. One common problem is uneven chocolate consistency, which can make the coating too thick or too thin.
To fix this, make sure you’re using proper tempering techniques. Proper tempering gives you a smooth, glossy finish and helps the chocolate set just right.
If your chocolate looks streaky or dull, it’s probably not tempered properly. Gently reheat it and use a thermometer to check the temperature, following precise tempering steps.
Another common issue is chocolate seizing or becoming lumpy. This often happens if moisture gets in or if it’s overheated. To prevent this, keep your utensils dry and melt the chocolate slowly over low heat or a double boiler.
How to Store and Reuse Your Homemade Chocolate Coating Safely
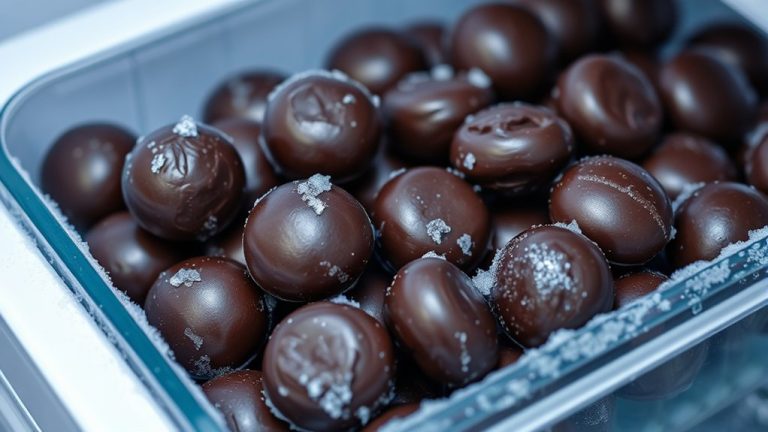
Proper storage is essential to keep your homemade chocolate coating fresh and safe for reuse. When storing your chocolate, focus on maintaining its quality and preventing spoilage. Reusing chocolate is convenient and economical, but it must be stored correctly.
Here’s how to do it:
- Use airtight containers: Store leftover chocolate in airtight containers to prevent moisture and odors from affecting it.
- Keep it cool and dark: Store the container in a cool, dark place like a pantry or cupboard, away from sunlight and heat.
- Label your chocolate: Write the date you stored it so you can keep track of freshness and avoid reusing old chocolate.
- Reheat properly: When you’re ready to reuse, melt the chocolate gently using a double boiler or microwave, stirring frequently to prevent burning.
Creative Ways to Use Your DIY Chocolate Coating
Once you’ve stored your homemade chocolate coating properly, you can get creative with how you use it. Try adding fun flavor infusions like peppermint, orange zest, or espresso powder to customize the taste. These touches make your treats stand out and give them a gourmet flair.
Get creative with flavor infusions like peppermint, orange zest, or espresso to elevate your homemade chocolate treats.
You can also experiment with alternative chocolate options, like using cocoa butter or carob for a dairy-free or lower-fat version. Dip fresh fruits, nuts, or pretzels in your coating for quick, delicious snacks.
Use it as a drizzle over baked goods or as a layer in homemade truffles or bark. For a fun twist, pour your chocolate into molds to create unique shapes or personalized candies.
The possibilities are endless when you combine creative flavor infusions and alternative chocolate options. This way, you can craft customized, irresistible treats perfect for any occasion or dietary need.
How to Customize Your Coating for Special Occasions
To make your chocolate coating perfect for special occasions, focus on customizing its appearance and flavor to match the theme. Start by choosing vibrant colors that complement the event. You can add colorful sprinkles for a festive look or sprinkle edible glitter for a touch of elegance.
Here are some ways to personalize your coating:
- Mix in different food coloring to match a specific color scheme.
- Decorate with colorful sprinkles for a fun, lively vibe.
- Add edible glitter for a shimmering, sophisticated finish.
- Incorporate flavored extracts like vanilla or peppermint to boost the taste.
These simple touches will make your treats stand out and feel tailored to the celebration. Experiment with different combinations to match holidays, birthdays, or weddings, making sure your homemade candies look as impressive as they taste.
Frequently Asked Questions About DIY Chocolate Coating
If you’re new to making DIY chocolate coatings, you probably have some common questions about the process and best practices. One frequent question is about adding chocolate flavoring. Using extracts or oils can enhance the taste, but make sure to add small amounts so you don’t change the coating’s consistency too much.
When it comes to getting smooth, shiny results, tempering your chocolate is really important. Many wonder if they can skip this step. While you can, it might affect how the coating looks and the snap it has when you break it.
For candy decorations, you can add sprinkles, nuts, or edible glitter once the chocolate is just set. Just keep in mind that decorations should be lightweight and stick well without sinking to the bottom.
Some also ask how to prevent blooming—those white streaks or spots. The key is controlling temperature during melting and cooling. Overall, experimenting within these tips helps you make beautiful, tasty chocolate coatings perfect for any occasion.
Frequently Asked Questions
Can I Make Chocolate Coating Without a Double Boiler?
Yes, you can make chocolate coating without a double boiler by using other methods like microwaving or placing a heatproof bowl over a pot of simmering water.
When microwaving, do short bursts and stir often to avoid overheating. Just be careful not to burn the chocolate.
Remember to store leftover coating in an airtight container in a cool, dry place. Reheat gently to keep it smooth and glossy.
What Types of Chocolate Are Best for Coating?
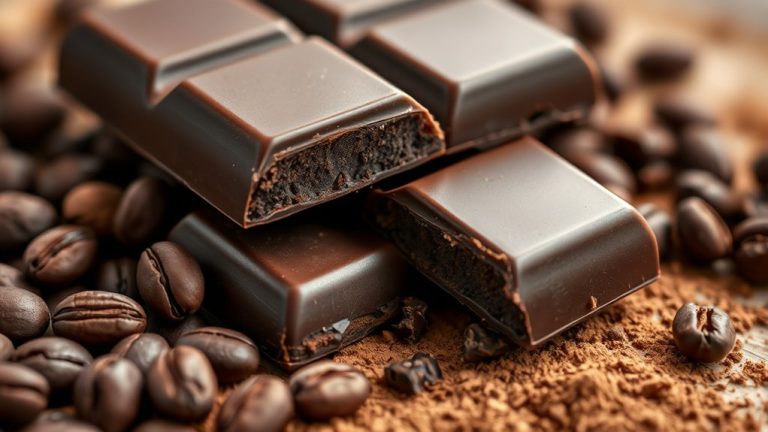
Did you know that dark chocolate makes up over 70% of the chocolate coating used in confections? For the best coating, go for chocolates with high cocoa content, like dark or semi-sweet. They give you richer flavor and a smoother coating.
Milk chocolate is softer and smoother but not as sturdy. White chocolate melts easily but may not hold up well for certain decorations. Choose based on your flavor preference and how durable you want your coating to be.
How Long Does Homemade Chocolate Coating Last?
Homemade chocolate coating usually lasts about 2 to 3 weeks if you store it the right way. Keep it in an airtight container in a cool, dry spot away from direct sunlight.
To make it last longer, avoid temperature changes and make sure to seal it tightly after each use. If you notice any changes in texture, smell, or appearance, it’s best to throw it out.
This way, your treats stay fresh and safe to enjoy!
Can I Add Food Coloring to Chocolate Coating?
Think of your chocolate coating as a blank canvas—yes, you can add food coloring to make it vibrant! You can experiment with different colors, including natural options like beet juice or turmeric.
Just add a few drops and stir well. Keep in mind, some food colorings might change the taste a bit, so choosing natural ones can give you a more subtle, wholesome hue that makes your treats look amazing.
Is Homemade Chocolate Coating Suitable for Coating Hot Items?
Homemade chocolate coating isn’t ideal for hot items because it struggles with temperature stability. This can cause it to melt or lose its texture.
When coating hot foods, the heat can make the coating soften or become greasy. To get a good seal, let your food cool slightly before dipping.
Or, you can use a commercial coating designed for higher temperatures. This helps keep the coating’s structure and appearance intact.
Conclusion
Now that you’re armed with this simple guide, your homemade chocolate coating will turn any treat into a showstopper. It can rival professional confections!
With just a few easy steps, you can create glossy, flavorful coatings for fruits, pretzels, or candies that look as stunning as they taste.
So go ahead, get creative, and let your kitchen become a chocolaty wonderland where your sweetest ideas come to life.
Your delicious masterpieces await. Dive in and enjoy the sweet success of your DIY chocolate candy coating!