How to Make Candy Coating From Chocolate Chips
Many people love the idea of making homemade treats but often struggle with getting that perfect, smooth candy coating. You’re not alone—turning chocolate chips into a glossy, easy-to-use coating can be tricky.
Luckily, with a few simple tips, you can master this process and create delicious, professional-looking candies at home.
To make candy coating from chocolate chips, start by choosing high-quality chips with minimal additives. Melt them gently using a double boiler or microwave, stirring constantly to keep the finish smooth and glossy.
You can thin the melted chocolate with a small amount of vegetable oil for drizzling or dipping.
To customize, add flavors or colors, and store leftovers properly to reuse later.
If you want to master the process, there’s plenty more to explore below.
Key Takeaways
- Melt high-quality chocolate chips gently using a double boiler or microwave, stirring until smooth.
- Add a small amount of vegetable oil or shortening to thin the melted chocolate for dipping or drizzling.
- Make sure to melt slowly and carefully so you don’t burn, seize, or streak the chocolate.
- Once melted, you can mix in flavorings or colorings, preferably gel or oil-based for the best results.
- Keep leftover coating in an airtight container, reheat gently, and avoid moisture to keep it shiny and smooth.
What Is Homemade Candy Coating and Why Make It Yourself?
Have you ever wondered what homemade candy coating is and why you might want to make it yourself? Many candy coating myths suggest it’s complicated or unhealthy, but that’s not true.
When you make your own, you control the ingredients, which can offer health benefits like avoiding artificial preservatives and additives found in store-bought options.
Homemade candy coating is simply melted chocolate chips or other ingredients mixed to achieve a smooth, glossy finish perfect for coating candies, fruits, or baked goods.
Homemade candy coating is melted chocolate mixed for a smooth, glossy finish on candies and baked treats.
Creating it yourself allows you to customize flavor and thickness, ensuring your treats turn out exactly how you want.
Plus, making candy coating at home can be more cost-effective and satisfying. Instead of relying on store-bought versions with questionable ingredients, you get a fresh, natural coating you can feel good about.
How to Choose the Best Chocolate Chips for Candy Coating
When you’re choosing chocolate chips for candy coating, think about the type you want—semi-sweet, milk, or dark. Each one has its own flavor profile, so it really depends on what taste you’re aiming for.
Also, keep an eye on the cocoa content. Usually, the higher the percentage, the richer and more stable your coating will be. It’s worth noting that some chips might have additives or fillers, which can affect how well they melt or how they taste. So, it’s a good idea to check the ingredients list before making your pick.
Types of Chocolate Chips
Choosing the right type of chocolate chips is essential for achieving smooth, glossy candy coating. Different varieties offer unique chocolate flavors and candy textures that impact your final result.
Semisweet chips are versatile, providing a balanced sweetness and good meltability, making them perfect for classic coatings. Milk chocolate chips add a sweeter, creamier flavor, creating a softer candy texture.
Dark chocolate chips deliver a richer taste with less sweetness, resulting in a more intense flavor and firmer coating. White chocolate chips offer a different look and a sweet, milky flavor, but they can be more sensitive to heat and may seize easily.
Consider your desired flavor profile and texture when selecting your chocolate chips to guarantee your candy coating turns out perfectly smooth and appealing.
Cocoa Content Importance
Cocoa content plays a crucial role in determining the flavor, texture, and melting properties of your candy coating. Higher cocoa content usually means a richer, more intense chocolate flavor that *improves* your treats.
It also affects how smoothly the chocolate melts, making for a glossy, seamless coating. When choosing chocolate chips, consider cocoa freshness; fresher cocoa retains more flavor and melts better.
Chips with lower cocoa content may be milder but lack depth, while those with higher content offer a more robust taste. Keep in mind that higher cocoa percentages can make the coating thicker and less sweet.
Balancing cocoa content with your desired flavor profile ensures your candy coating turns out just right.
Additives and Fillers
Additives and fillers in chocolate chips can significantly affect the quality and performance of your candy coating. Some chips include additives like emulsifiers or stabilizers, which help achieve a smoother melt and better coating consistency.
Comparing fillers is important because some brands add ingredients like vegetable oils or starches to cut costs. However, these can impact the texture and flavor of your finished product.
When choosing chocolate chips, look for options with minimal additives and fillers, especially if you want a clean, glossy finish. High-quality chips usually list cocoa solids and cocoa butter as main ingredients, with fewer or no added fillers.
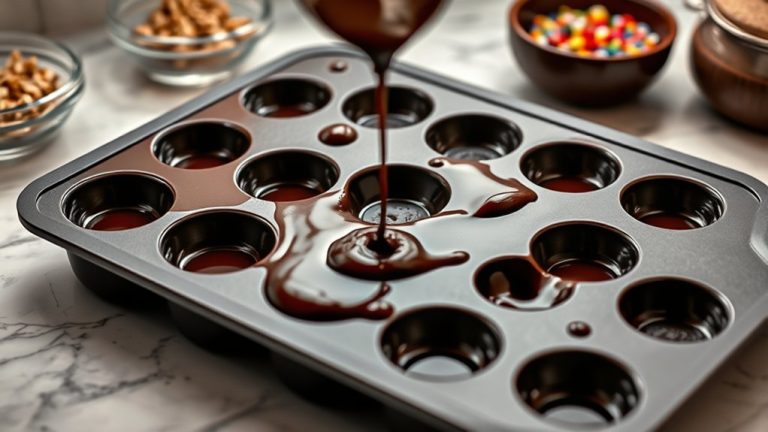
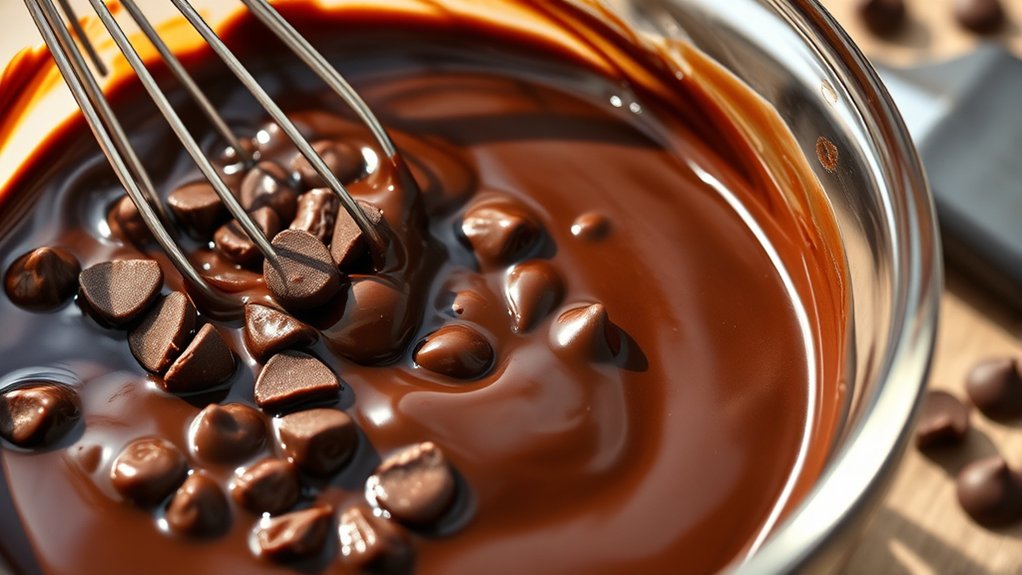
Step-by-Step: How to Melt Chocolate Chips Smoothly
Want to melt your chocolate chips smoothly? First off, make sure you have the right tools—like a heatproof bowl and either a double boiler or a microwave-safe container. It’s all about keeping things steady and gentle, so don’t rush the process or crank up the heat too high.
And here’s a tip: keep an eye on the temperature. Overheating can cause your chocolate to burn or seize up, which no one wants. By monitoring the heat carefully, you’ll ensure your chocolate melts evenly and stays nice and silky smooth.
Use Proper Equipment
Using the right equipment guarantees your chocolate melts smoothly and evenly. Choose a microwave-safe bowl or a heavy-bottomed saucepan to prevent hot spots that can scorch the chocolate.
Make sure your tools are clean and dry to promote proper equipment maintenance and avoid introducing moisture, which can cause seizing. Use a spatula or spoon for stirring to help distribute heat evenly.
When handling hot equipment, prioritize kitchen safety by wearing oven mitts if necessary. Avoid using plastic or flimsy utensils that can warp or melt.
Properly maintained equipment not only ensures safety but also results in a consistent melt. Picking the right tools and taking care of them leads to a smoother, more controlled melting process, making your candy coating perfect every time.
Maintain Correct Temperature
Maintaining the correct temperature is crucial for melting chocolate chips smoothly and preventing them from seizing or burning. Proper temperature control keeps your chocolate glossy and workable, which is essential for tempering.
Think of the melting process like a delicate dance. Here’s a quick guide:
| Temperature Range | Effect on Chocolate | Recommended Method |
|---|---|---|
| 80°F – 85°F | Ideal for melting | Use a double boiler or microwave in short bursts |
| 86°F – 90°F | Slightly warm, good for tempering | Stir continuously and monitor carefully |
| Above 90°F | Too hot, risks seizing | Cool down immediately |
| Below 80°F | Too cool, may thicken | Warm gently, avoid overheating |
| 70°F – 75°F | Perfect for final tempering | Maintain with gentle heat |
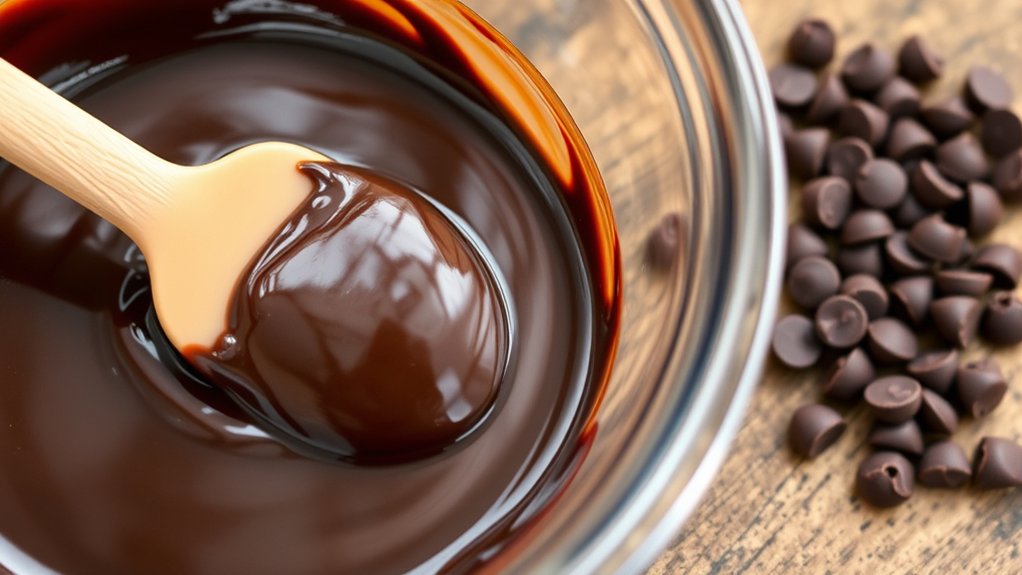
How to Get That Perfect Glossy Finish on Your Candy Coating
Achieving a glossy finish on your candy coating instantly boosts its visual appeal and makes your treats look professionally made. To get that perfect candy sheen, make sure your chocolate is heated and tempered correctly. This helps create a smooth, shiny surface.
Once melted, stir the chocolate well to distribute the heat evenly. Be careful not to overwork it, as this can cause dullness. When pouring the coating, let it sit for a moment to settle and smooth out any air bubbles.
For extra shine, lightly brush the surface with a small amount of warm, melted chocolate or vegetable shortening. Then, gently spread it with a spatula. Working at the right temperature and avoiding moisture helps keep that luscious gloss intact.
Patience is key—don’t rush the cooling process. With these simple steps, you’ll create a beautiful candy sheen that makes your treats irresistibly appealing.
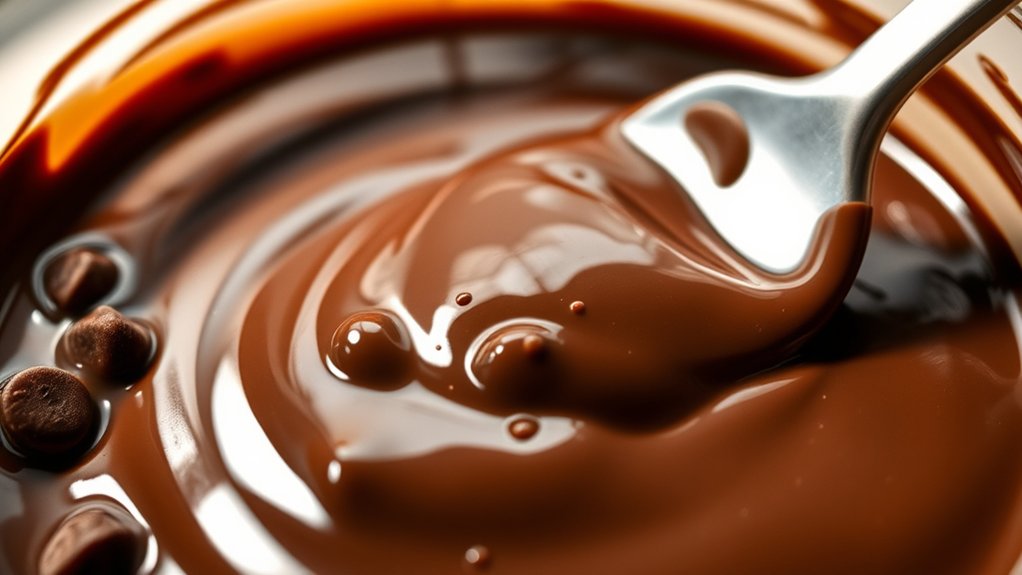
How to Thin Out Melted Chocolate for Dipping and Drizzling
If you want to thin out melted chocolate for dipping or drizzling, the trick is to add the right kind of liquid—usually a little vegetable oil or shortening. Just a small amount goes a long way, so start with a teaspoon and add more if needed.
When you’re melting the chocolate, be gentle about it. Use a double boiler or microwave in short bursts, stirring often. This way, your chocolate stays smooth and doesn’t seize up, making it much easier to work with.
Choosing the Right Liquid
Choosing the right liquid is key to thinning melted chocolate to the perfect consistency for dipping and drizzling. The liquid you pick affects flavor and texture, so choose wisely.
For a neutral option, a small amount of vegetable oil or coconut oil works great. They give a smooth, glossy finish and enhance the chocolate’s natural flavor.
If you want a touch of flavor, add a splash of heavy cream. It adds richness and a subtle creaminess, making your coating more luscious.
Avoid using water because it can cause the chocolate to seize and become clumpy.
The goal is to thin the chocolate just enough for easy application without losing taste or texture.
Experiment with small amounts until you find a silky, flowy consistency that’s perfect for your topping needs.
Proper Heating Techniques
Proper heating techniques are essential for thinning chocolate chips without ruining their texture or flavor. You want a smooth, glossy consistency that’s easy to dip or drizzle, but overheating can cause a grainy or scorched result.
Use gentle, even heat—preferably a double boiler or microwave in short bursts, stirring frequently. This helps prevent rapid temperature changes that can affect texture and flavor.
When melting, keep the temperature below 115°F to preserve flavor and avoid burning. Stir constantly to ensure even heat distribution, and add a small amount of vegetable oil or shortening if the chocolate is too thick.
Proper heating not only creates the right consistency but also highlights the subtle flavor nuances. This makes your candy coating perfect for dipping, drizzling, or coating treats.
Troubleshooting: How to Prevent Seizing and Streaks in Your Coating
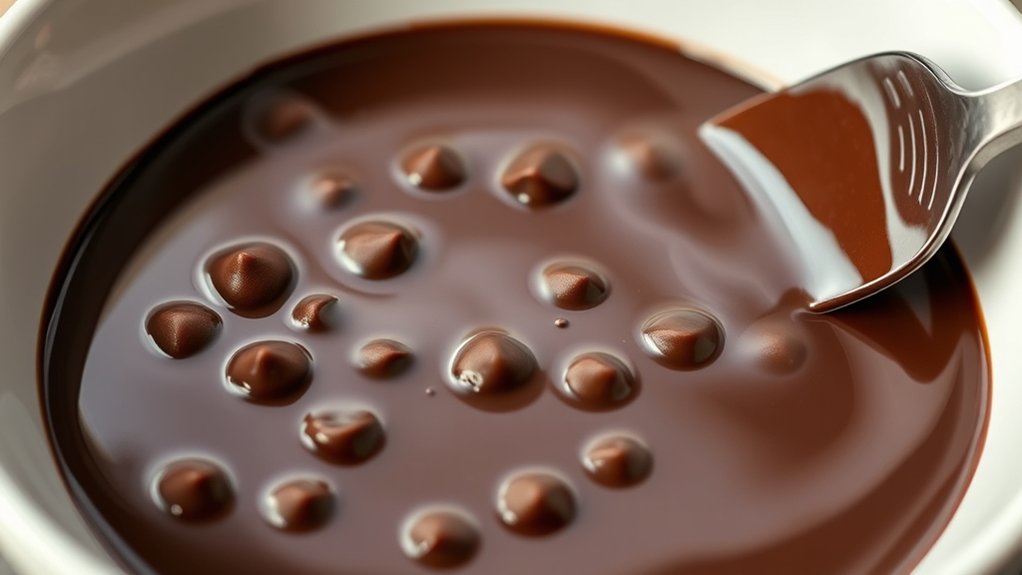
Seizing and streaks often happen when chocolate coating is exposed to moisture or heated unevenly, causing the fat to separate and form clumps. To prevent this, focus on temperature control. Use low heat and stir constantly to guarantee even melting, avoiding sudden temperature spikes that can cause seizing.
If you need to make adjustments, consider ingredient substitutions carefully. For example, a small amount of vegetable oil can help smooth out the coating if it starts to seize. Avoid adding water or steam, as moisture is a common culprit.
When reheating or thinning the coating, do so gently and in short bursts. Also, make sure all utensils and bowls are completely dry before starting. By maintaining steady heat and paying attention to ingredient choices, you can prevent streaks and keep your chocolate coating smooth and glossy.
How to Add Flavors and Colors to Customize Your Candy Coating
Adding flavors and colors to your candy coating is a simple way to customize your treats and make them more appealing. To infuse flavor, try adding extracts like vanilla, peppermint, or almond once the coating has melted and cooled slightly.
For color blending, use gel or oil-based food coloring, which won’t affect the coating’s consistency. Stir thoroughly to create a uniform hue or experiment with layered colors for visual interest.
Use high-quality flavor extracts for a strong, authentic taste. Add food coloring gradually to control the color intensity. Combine multiple colors to create unique shades through blending.
Avoid water-based dyes, as they can cause seizing. Always test small amounts first to perfect your flavor and color balance.
These tips help you create a vibrant, customized coating that boosts both the flavor and visual appeal of your treats.
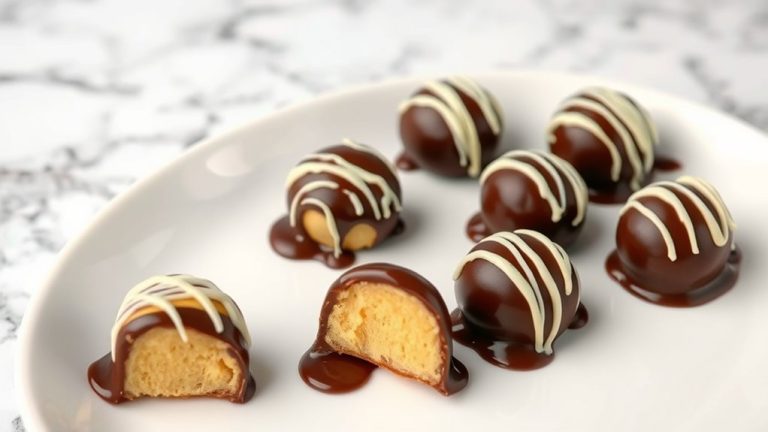
Dipping and Decorating Tips for Your Homemade Candy Coating
Once your candy coating is melted and ready, dipping and decorating become the fun part of making homemade treats. To keep the coating smooth, reheat gently if it thickens and stays at a consistent temperature.
When adding flavor infusions, do so gradually to keep the coating’s taste and texture just right. For sprinkles, work quickly before the coating cools and hardens—sprinkle them right after dipping for the best adhesion.
Get creative with decorations like chopped nuts, edible glitter, or contrasting chocolate drizzles. For a polished look, dip items fully or partially, then let the excess drip off before placing them on parchment paper.
If you want to add extra flair, use piping bags or squeeze bottles for precise designs. Remember, decorating with sprinkles and flavors makes your candies unique and eye-catching, turning simple treats into delightful masterpieces.
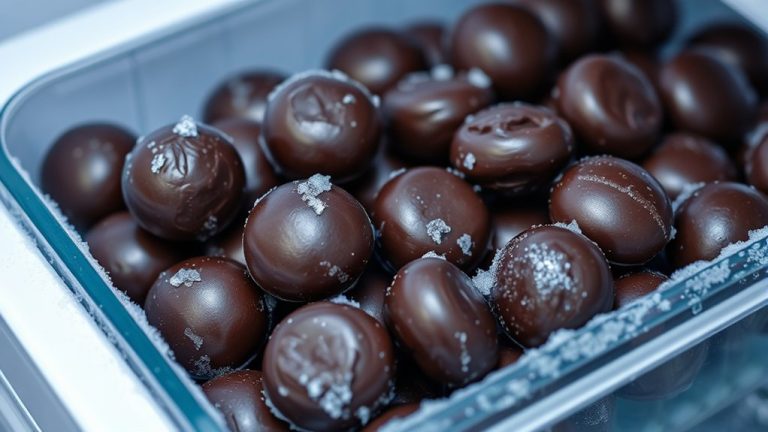
How to Store and Reuse Leftover Candy Coating Safely
After you’ve finished decorating and are ready to save any leftover candy coating, proper storage is key to keeping it fresh and safe to reuse later. Transfer the coating to an airtight container, smoothing the surface to prevent air exposure. Label the container with the date so you can track its freshness.
Store leftover candy coating in an airtight container, smooth the surface, and label with the date to keep it fresh.
Store it in a cool, dry place away from direct sunlight, avoiding temperature fluctuations that could cause separation or spoilage. When you’re ready to reuse, reheat gently, stirring often to keep it smooth.
Follow these tips to prevent waste and stay safe: Use clean, dry utensils when handling leftover coating. Avoid reusing old or contaminated containers. Check for signs of spoilage before reheating.
Do not refreeze once thawed or reheated. Discard the coating if it develops an unusual smell or appearance. Following these guidelines will help you get the most out of your candy coating and keep your treats safe and delicious.
Creative Ideas for Using Your Homemade Candy Coating
Your homemade candy coating offers endless possibilities beyond simple drizzling. You can dip strawberries, pretzels, or cookies to add a glossy, chocolate flavor that boosts their taste and appearance.
Use it to create decorative drizzles on cupcakes or cakes, elevating your candy aesthetics with contrasting colors and textures. Mold the coating into shapes like flowers, stars, or hearts for personalized treats or party favors.
Pour it into silicone molds for custom chocolates or truffles, turning your kitchen into a mini chocolate studio. Spread it thinly over baked goods for a shiny, professional finish.
You can also layer different colors or flavors to craft eye-catching designs. The versatility of homemade candy coating makes it perfect for customizing desserts, gifts, or party snacks.
Frequently Asked Questions
Can I Use Milk or Dark Chocolate Chips Instead of Semi-Sweet?
Yes, you can use milk or dark chocolate chips instead of semi-sweet for your candy coating. Just keep in mind that the flavor will change—milk chocolate will be sweeter and creamier, while dark chocolate offers a richer, more intense taste.
When melting, use gentle heat and stir frequently to prevent burning. Adjust your melting techniques slightly if needed to ensure a smooth, glossy coating that’s perfect for your candies.
How Long Does Homemade Candy Coating Last?
Did you know homemade candy coating usually lasts about 6 to 8 months if you store it the right way?
Its shelf life depends on how well you keep it, like storing it in an airtight container and keeping it away from heat and light.
Before using, check for any changes in smell, texture, or appearance.
Proper storage helps your homemade candy coating stay fresh longer, so it’s ready for dipping or decorating whenever you need it.
Is It Safe to Microwave Chocolate Chips for Melting?
Yes, microwaving chocolate chips is safe if you follow proper microwave safety and melting techniques. Use a microwave-safe bowl and melt the chips in short bursts—about 20-30 seconds—stirring well each time to prevent burning.
This method helps ensure even melting and reduces the chance of overheating. Keep a close eye on the process, and avoid overheating, which can cause the chocolate to seize or burn.
Can I Add Nuts or Dried Fruit to the Coating?
Yes, you can definitely add nuts or dried fruit to your candy coating. Just fold them in gently after melting the chocolate chips, making sure they’re evenly spread out.
Be mindful of the moisture in dried fruits because too much can mess with the coating’s texture. For nuts, it’s a good idea to lightly toast them first—that boosts the flavor and helps prevent sogginess.
This little step will give your coating a tasty, textured boost.
How Do I Prevent the Coating From Cracking After Cooling?
Like a masterful painter avoiding cracks on a canvas, you can prevent your coating from cracking by mastering tempering techniques and cooling methods.
Make sure you temper the chocolate properly, heating and cooling it gradually for flexibility. When cooling, use a gentle, controlled method like a cool room or a gentle fan to avoid rapid temperature shifts.
This careful process keeps your coating smooth, shiny, and crack-free after cooling.
Conclusion
Making your own candy coating from chocolate chips is like having a secret recipe up your sleeve—fun, rewarding, and totally customizable. With just a few simple steps, you can create glossy, flavorful coatings perfect for dipping, drizzling, or decorating.
Once you get the hang of it, you’ll find it as easy as pie to add your own twists with colors and flavors. So go ahead, craft your sweet masterpieces and enjoy every delicious bite. Making candy coating from chocolate chips is a great way to elevate your treats and make them uniquely yours.