How to Make Candy Chocolate: Step-by-Step Guide
Are you passionate about making your own candy chocolate but feel overwhelmed by the process? You’re not alone—many people struggle with getting that perfect glossy finish or the right texture.
Luckily, with a few simple steps, you can master the art of homemade candy chocolate and impress everyone with your skills.
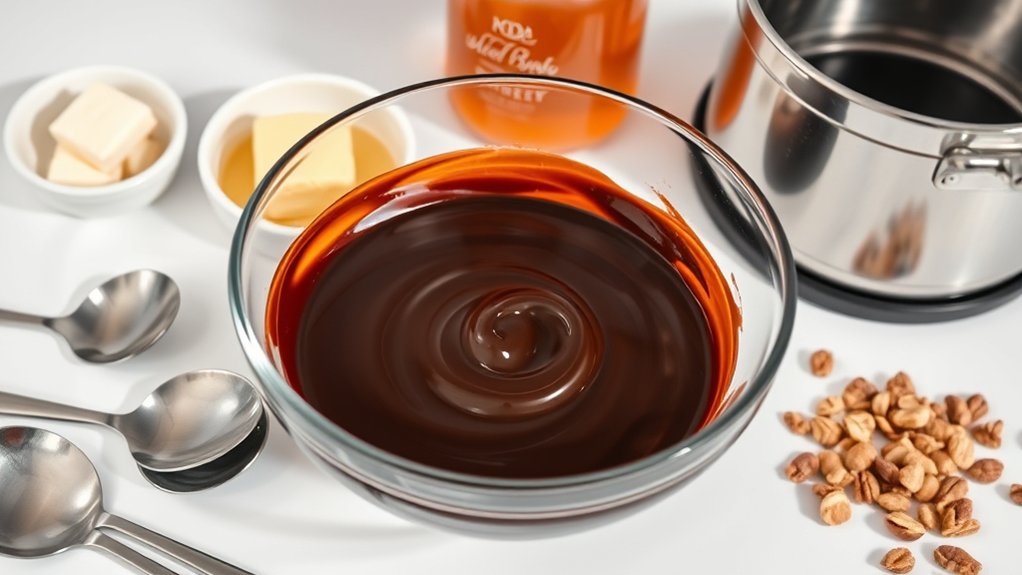
To make candy chocolate, start by gathering high-quality chocolate and essential tools like a double boiler or microwave-safe bowl. Melt the chocolate slowly, stirring often, and temper it carefully to achieve a glossy finish.
Pour into molds or shape by hand, adding flavorings and textures as desired. Cool in a steady environment, avoiding humidity and drafts.
For tips on troubleshooting and decorating, keep exploring—there’s much more to perfect your craft.
Key Takeaways
- Gather quality chocolate and essential tools, making sure you have the right ingredients and equipment for smooth melting and shaping.
- Melt and temper the chocolate carefully using a double boiler or microwave, keeping a close eye on the temperature for the best results.
- Pour the chocolate into molds or shape it by hand, then add flavorings or textures before letting it cool in a steady environment.
- If you run into issues like bloom or seizing, try re-tempering or reheating with compatible fats to restore a glossy finish.
- Finish your chocolates by decorating with piping or edible decorations, and let them set properly for a professional look.
Gather Ingredients and Equipment for Homemade Candy Chocolate
Before you start making your homemade candy chocolate, it’s important to gather all the necessary ingredients and equipment. Understanding the history of chocolate can deepen your appreciation, as it’s been valued for centuries for its rich flavor and cultural significance across civilizations like the Aztecs and Mayans.
Gather essential ingredients and tools, appreciating chocolate’s rich history and cultural significance for a meaningful homemade craft.
This history influences modern chocolate making, so sourcing quality ingredients really matters. You’ll need basic supplies such as high-quality chocolate, a double boiler or microwave-safe bowl, a spatula, and molds. Precise measurements and good ingredients help ensure your candy turns out delicious.
Equipment like a thermometer can help you control the temperature, which is critical for getting the right texture. While gathering your supplies, consider the cultural importance of chocolate as a symbol of celebration and tradition. This adds an extra layer of meaning to your craft.
Being prepared with the right ingredients and tools sets a solid foundation for a successful, satisfying chocolate-making experience.
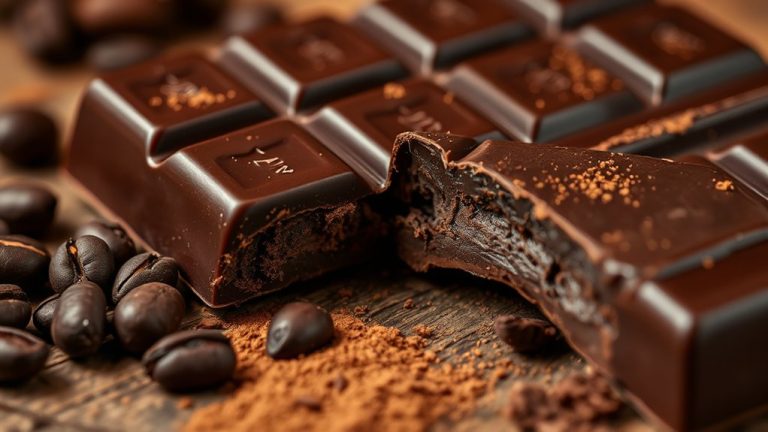
Choose the Right Type of Chocolate for Your Candy
Choosing the right type of chocolate is a key step in creating delicious homemade candy. The chocolate flavor you pick will influence the overall taste, so choose one that complements your candy profile.
For a rich, intense flavor, go for high-quality dark chocolate; if you want something sweeter, milk chocolate works great. White chocolate offers a creamy, mellow taste that can add a different dimension to your candy.
Beyond flavor, think about the texture you want to achieve. Some chocolates, like couverture, melt smoothly and create a glossy finish, perfect for coating or molding. Others, like baking chocolate, are less sweet and can give a different consistency.
Remember, the type of chocolate you choose directly affects the final look and mouthfeel of your candy. Picking the right one sets the foundation for a tasty, well-textured treat.
Your selection guides the whole candy-making process, so choose wisely to make your homemade candy a success.
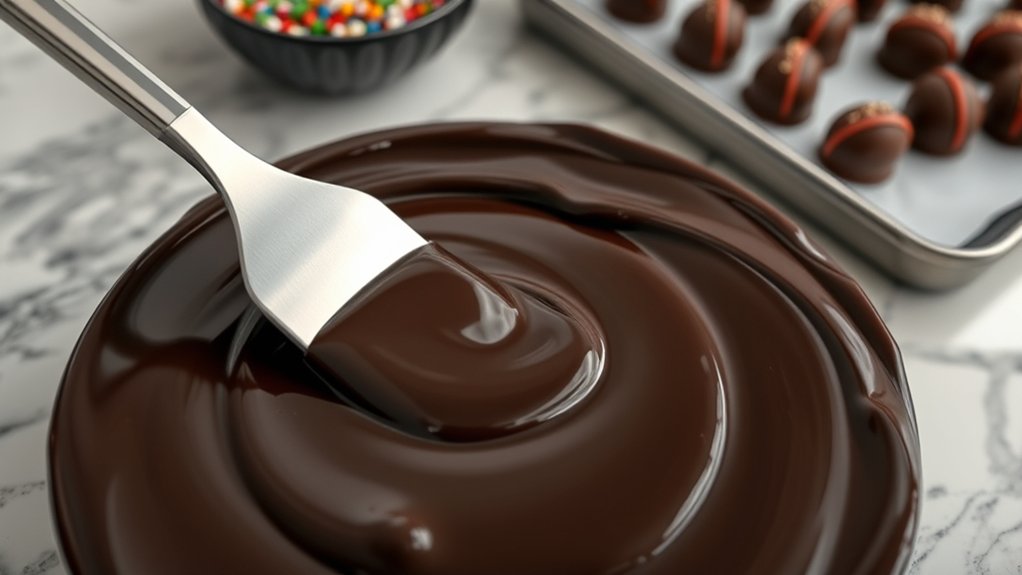
How to Melt Candy Chocolate Safely and Effectively
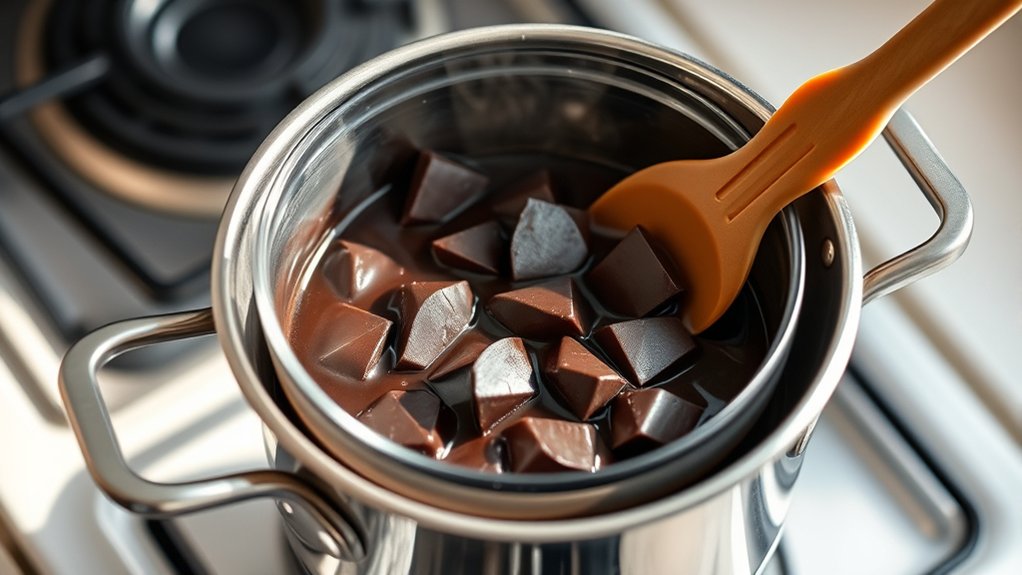
Melting candy chocolate properly is key to getting that smooth, shiny finish and avoiding issues like seizing or burning. Use gentle heat and keep water away, since contact can cause the chocolate to seize up.
Here are some simple steps to do it safely and effectively:
- Use a double boiler or microwave: Melt the chocolate slowly, stirring often. If you’re using a microwave, heat in short bursts at 50% power to avoid overheating.
- Keep an eye on the temperature: Aim for around 110°F (43°C) if you’re tempering the chocolate. This helps keep it glossy and stable. Use a candy thermometer for the best accuracy.
- Handle ingredient swaps carefully: If you need to substitute ingredients, pick compatible fats like cocoa butter to keep the melting process smooth and the texture just right.
Following these tips will help you melt your chocolate smoothly and safely, setting you up for perfect candy-making results without sacrificing quality or texture.
Mix and Flavor Your Candy Chocolate for Perfect Taste
Want to make your candy chocolate just right? You can do that by adding the perfect flavor extras, like different extracts or spices. They really help boost the taste and make your candy stand out.
And don’t forget about balancing the sweetness and tartness. You want it to taste good, not too bland or too overpowering. So, taste as you go and adjust until it’s just right.
If you’re feeling creative, try adding some texture elements, like nuts or crispy bits. They add a fun crunch and make the whole eating experience way more enjoyable.
Selecting Flavor Additives
Have you ever wondered how to improve the flavor of your homemade candy chocolate? Choosing the right flavor additives can really take your creation to the next level. Consider these options for the perfect flavor combinations and additives:
- Extracts and Oils – Vanilla, almond, or peppermint extracts add depth and aroma to your chocolates.
- Spices – Cinnamon, chili powder, or cardamom introduce warmth and complexity, making your candies more interesting.
- Fruits and Zests – Citrus zest or dried fruit pieces can brighten up the flavor and add texture.
Pick additives that complement your base chocolate and the flavor profile you want. Always start with small amounts to see how strong the flavor is, then adjust as needed.
The right flavor combinations can turn simple candy into a memorable treat. Don’t be afraid to experiment with different additives to create unique, delicious chocolates tailored just for you.
Balancing Sweetness and Tartness
Once you’ve chosen your flavor additives, the next step is to fine-tune the overall taste by balancing sweetness and tartness. Achieving the right sweetness balance is crucial for a harmonious flavor.
Taste your mixture regularly as you go. If it’s too tart, add more sugar or sweetener. If the tartness is overpowering, toss in a bit more sweetener to mellow things out.
Remember, some flavors naturally lean toward tartness, so moderation is key. The goal is to create a pleasant interplay between sweet and tart notes, which enhances the candy chocolate’s complexity.
Balancing these elements carefully ensures your final product isn’t too sour or overly sweet. The result should be a well-rounded, delicious treat that hits all the right notes.
Incorporating Texture Elements
To achieve the perfect candy chocolate, adding texture elements is key because they bring depth and make each bite more interesting. Choosing the right ingredients helps create a pleasing contrast.
Try mixing in nuts, crisped rice, or cookie pieces for a satisfying crunch. These crunchy add-ins add a nice variety to the smooth chocolate.
Swirling in caramel, ganache, or fruit preserves creates creamy layers that contrast with the crunch. This makes each bite smoother and more indulgent.
You can also add dried fruit or chewy candies for a chewy component. They add complexity and keep things fun with different textures.
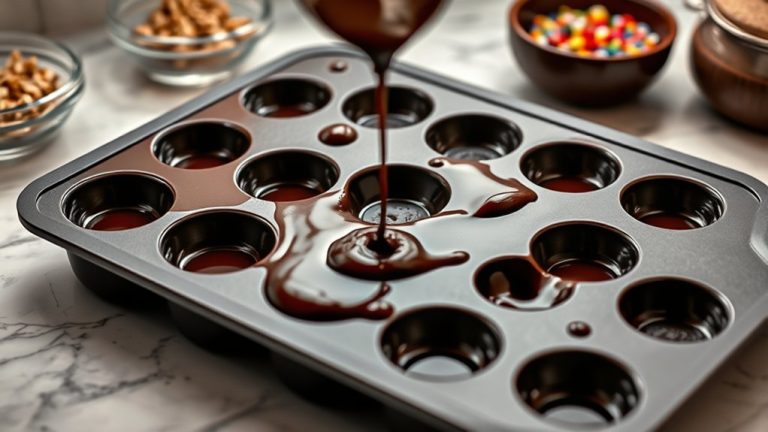
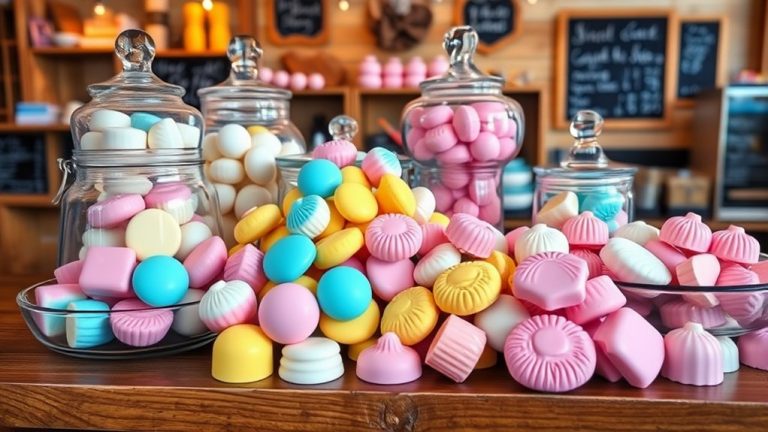
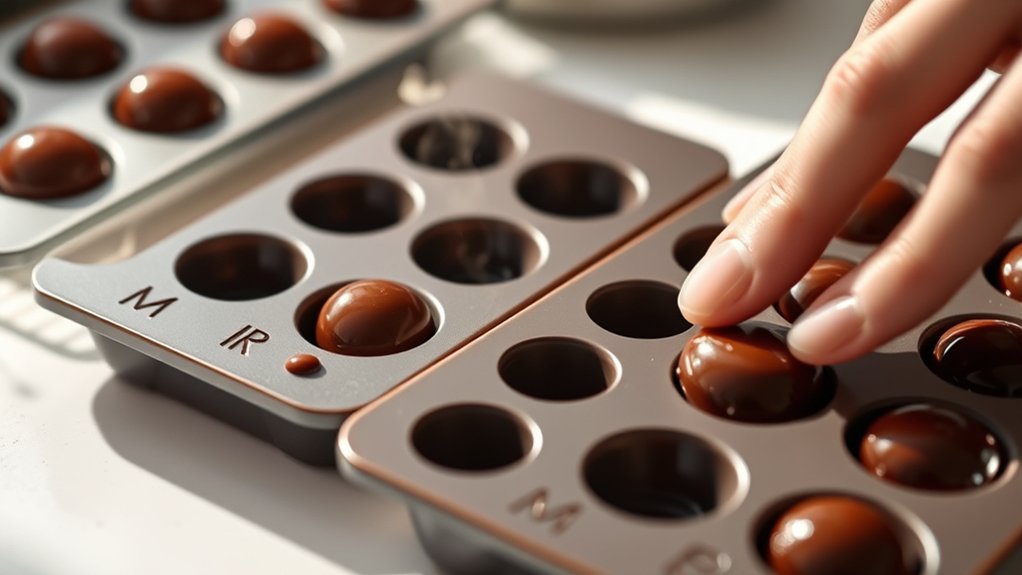
Shape and Mold Your Candy Chocolate Into Creative Forms
Getting creative with your candy chocolate means shaping and molding it into fun and unique forms. First, pour melted chocolate into silicone molds or shape it by hand for cool candy shapes.
Get creative by shaping and molding melted chocolate into fun, unique forms for eye-catching treats.
Use cookie cutters or small molds to make candies in different designs, like hearts or stars. As you mold, think about flavors—adding nuts, dried fruit, or spices can make your creations stand out.
For more detailed designs, try piping or using molds with intricate patterns. Once shaped, gently tap the molds to release excess air and avoid cracks.
Remember, the key to great shapes is patience and precision. Playing around with different molds and flavors can turn simple chocolates into eye-catching treats.
Whether you’re making playful shapes for kids or elegant designs for gifts, shaping your candy chocolate is a fun way to let your creativity shine.
How to Cool and Set Your Homemade Candy Chocolates
Sure! Here’s the modified version with a more conversational tone:
—
To make sure your chocolates set just right, you’ll want to create a good cooling environment with a steady temperature. Ideally, keep your fridge or cool room around 60°F (15°C). It might sound specific, but trust me, it makes a big difference!
And hey, don’t rush the process. Patience is key here. Giving your chocolates enough time to set properly helps them develop that perfect texture and shiny finish you’re aiming for. So, just relax and let nature do its thing!
Proper Cooling Environment
Creating the right environment for cooling your candy chocolates is key to getting that smooth, glossy finish. Proper temperature control and humidity levels help the chocolates set just right without blooming or streaking.
Make sure to keep the temperature steady around 60-70°F. Rapid or uneven cooling can cause issues, so consistency is important.
Keep humidity low, ideally 50% or less, to prevent moisture from interfering with the chocolates.
Choose a dedicated, well-ventilated space away from direct sunlight and drafts, which can cause temperature fluctuations and affect the setting process.
Ideal Temperature Settings
Maintaining the right temperature during the cooling and setting process is key to getting shiny, professional-looking candy chocolates. Proper temperature control helps your chocolates set correctly, preventing bloom or cracks.
Aim for a room temperature between 65°F and 70°F (18°C to 21°C). Avoid refrigerating them, as this can cause condensation and dull the finish. Use a thermometer to keep tabs on the environment and make adjustments as needed.
Proper temperature settings also help balance flavors, since uneven cooling can dull or distort them. Keep your chocolates undisturbed during this phase to promote even setting.
Patience During Setting
Patience is key when cooling and setting your homemade chocolates because rushing can ruin their look and texture. Taking your time helps preserve the rich chocolate history and makes for an elegant presentation.
To get the best results, let the chocolates cool at room temperature without disturbing them. This helps prevent cracks and bloom, keeping your candies smooth and shiny.
Avoid putting them in the fridge right away, as rapid cooling can affect their texture and gloss. Giving them time to set slowly is much better.
Wait until the chocolates are fully firm before handling or decorating. This ensures a smooth, professional finish and prevents mishaps.
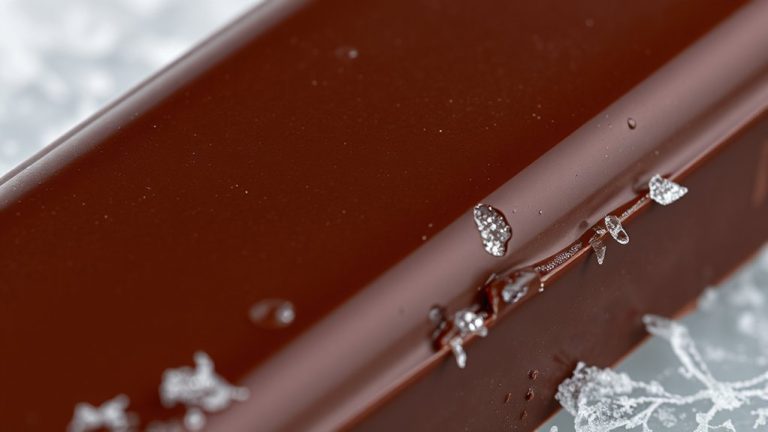
Troubleshoot Common Candy Chocolate Problems (Bloom, Seizing, Etc.)
When your candy chocolate develops issues like bloom or seizing, it can be frustrating, but most problems have simple solutions. Bloom, which appears as a whitish coating, often results from improper chocolate tempering or temperature fluctuations. To fix this, gently reheat and temper the chocolate, making sure it reaches the right temperature.
Seizing happens when moisture or incorrect ingredient substitutions cause the chocolate to become grainy or hard. To avoid this, keep water away from your chocolate and measure ingredients precisely, especially when substituting. If you do encounter seizing, you might be able to rescue the chocolate by adding a small amount of vegetable oil or cocoa butter and stirring vigorously.
Proper chocolate tempering is key to preventing many issues and helps ensure a smooth, glossy finish. Always measure ingredients accurately and avoid sudden temperature changes. Troubleshooting these common problems takes patience, but with careful handling, your candy chocolate will turn out beautifully.
Decorate and Finish Your Homemade Candy Chocolates
Once your candy chocolates have been properly tempered and set, the next step is to add decorative touches and a polished finish. This stage showcases your chocolate artistry and enhances flavor pairing.
Use a fine-tipped piping bag to create intricate designs, swirls, or patterns on your chocolates. This adds visual appeal and makes your treats stand out.
For a sophisticated look, drizzle contrasting chocolate or edible gold leaf over the surface. It emphasizes both flavor contrast and elegance.
Incorporate edible decorations like nuts, dried fruit, or sprinkles that match your flavor pairing. They add texture and visual interest to your chocolates.
Taking time with decoration transforms simple chocolates into gourmet treats. Focus on symmetry and detail to reflect your craftsmanship.
Remember, chocolate artistry isn’t just about looks; it’s about balancing flavors and textures to delight the senses.
Finish with a gentle chill if needed, to set your decorations and give your chocolates a professional, polished appearance.
Store and Package Your Candy for Freshness
Want to keep your candy and chocolates fresh? It’s all about choosing the right storage containers that keep out moisture and air. Think of containers that fit snugly and seal tightly—these are your best friends in preserving those sweet treats.
And don’t forget to seal them properly! Using good sealing techniques helps prevent spoilage and keeps everything tasting just as good as when you first got it. Proper packaging isn’t just about keeping things fresh; it’s about making sure your candies stay delicious for longer.
Proper Storage Containers
Choosing the right storage containers is key to keeping your candy fresh and flavorful. Proper containers protect against air, moisture, and light, which can ruin your candy’s quality.
For storing chocolates with rich flavors, go for glass jars with tight-fitting lids. They keep your treats fresh and preserve their texture and taste.
Plastic containers with secure seals are great for quick access and portability. They’re convenient when you need to grab a snack on the go.
Metal tins are ideal for candies that need protection from light and humidity. They help maintain the candy’s quality over time.
Using the right containers helps your candy stay fresh and your flavorings vibrant. Good packaging is essential for keeping your treats at their best.
Sealing Techniques
Sealing your candy properly is key to keeping it fresh and preventing spoilage. Using good sealing methods helps maintain the quality of your homemade treats.
You can use airtight bags, vacuum sealers, or resealable containers to keep moisture and air out. Make sure each piece has fully cooled before sealing to avoid condensation.
For extra protection, try wrapping individual candies in wax paper or cellophane before placing them in a sealed bag. Proper sealing also stops odors from transferring and keeps your candy tasting fresh longer.
Don’t forget to label your packages with the date so you can track how long they’ve been stored. By using these sealing techniques, your candy will stay delicious and ready to enjoy for weeks.
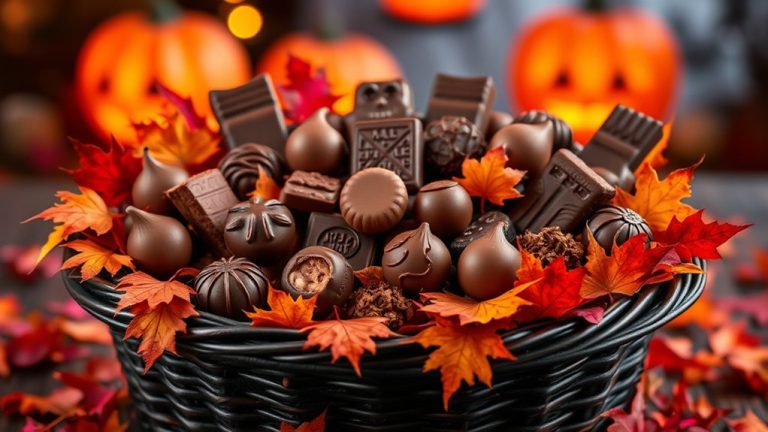
Creative Variations and Fun Ideas for Custom Candy Chocolates
Get creative by trying out different shapes, colors, and flavors to make your candy chocolates truly stand out. Mold them into fun forms like hearts, stars, or custom shapes to catch people’s eye.
Use vibrant, food-safe dyes to add striking colors that match seasonal themes or your personal style. You can also add unique ingredients like spices, nuts, or fruit fillings for unexpected flavor combinations.
To really make your candies pop, focus on creative packaging. Decorate boxes or wrappers that match your theme or brand, elevating the presentation and making them perfect for gifts.
For marketing, consider offering limited-edition designs or personalized options. This can attract loyal customers and make your treats even more special.
Pair attractive visuals with engaging descriptions on social media to boost your reach. When you blend inventive designs, appealing packaging, and smart marketing, simple candies become memorable, shareable treats.
Frequently Asked Questions
Can I Use Alternative Sweeteners Instead of Sugar in Candy Chocolate?
Yes, you can use sugar substitutes for candy chocolate, but you should choose them carefully.
Options like stevia, erythritol, or monk fruit are healthier choices and can mimic sweetness without raising blood sugar levels.
Just keep in mind, some substitutes might change the texture or flavor a bit.
It’s a good idea to experiment to find what works best for you.
Always follow recipes made for these alternative sweeteners to make sure your candy chocolate turns out great.
How Long Does Homemade Candy Chocolate Typically Last?
Homemade candy chocolate usually lasts about 1 to 2 weeks if you store it properly.
Keep it in an airtight container and place it in a cool, dry spot. This helps the chocolate stay fresh longer.
Avoid exposing it to heat or humidity because that can cause blooming or spoilage.
If you store it right, your homemade chocolate will stay delicious for as long as possible within that timeframe.
What Are the Best Natural Flavoring Options for Candy Chocolate?
You can enhance your candy chocolate with natural extracts like vanilla, almond, or peppermint for authentic flavor. These small additions make a big difference in taste.
Fresh herbs such as basil, mint, or thyme also add unique, aromatic touches. You can steep them or finely chop them into your melted chocolate.
These natural options give your candy vibrant, wholesome flavors without artificial additives. They make your treats more appealing and flavorful.
Just remember to balance the herbs and extracts carefully so the flavors don’t overpower.
Is It Possible to Make Vegan or Dairy-Free Candy Chocolates?
Did you know that vegan chocolate sales have grown by over 40% in recent years? Yes, you can make vegan or dairy-free candy chocolates easily.
Use dairy-free alternatives like coconut milk, almond butter, or coconut oil as your base. Incorporate plant-based sweeteners and natural flavorings for delicious results.
With these ingredients, you can craft vegan chocolate that’s just as rich and satisfying as traditional versions.
How Do I Prevent Chocolate From Sticking to Molds or Surfaces?
To prevent chocolate from sticking to molds or surfaces, start by thoroughly cleaning and drying the molds. This helps remove any residue or moisture that could cause sticking.
If needed, apply a light coating of cocoa butter or a specialized mold release spray. These create a barrier that makes removing the chocolate easier.
Proper tempering of the chocolate is also key. It helps the chocolate set smoothly and reduces the chances of it sticking or breaking.
When pouring the chocolate, tap the mold gently to get rid of any air bubbles. Then, let the chocolate set at room temperature or in a cool, stable environment for the best results.
Conclusion
Now that you know how to make candy chocolate, you’re ready to create some delicious treats. Just keep in mind that practice makes perfect, so don’t be afraid to experiment.
Feel free to get creative with flavors and designs. With patience and a bit of trial and error, you can turn your kitchen into a candy wonderland.
So go ahead, roll up your sleeves, and let your imagination run wild. Your homemade candy chocolate will surely be the talk of the town!