DIY Guide to Make Chocolate Molds With Candy Melts
Many people love making their own chocolates, but creating perfect molds can feel tricky and frustrating. You’re not alone—crafting beautiful, homemade chocolates often involves a lot of trial and error.
Luckily, making your own chocolate molds with candy melts is easier than you think.
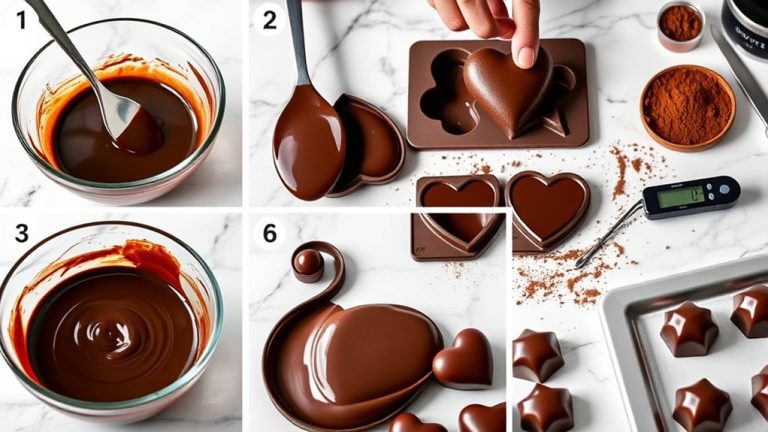
To make your own chocolate molds with candy melts, start by choosing high-quality melts in your preferred colors and designs. Prepare your molds—silicone trays, household ice molds, or other heat-resistant shapes—and spray them lightly with non-stick spray.
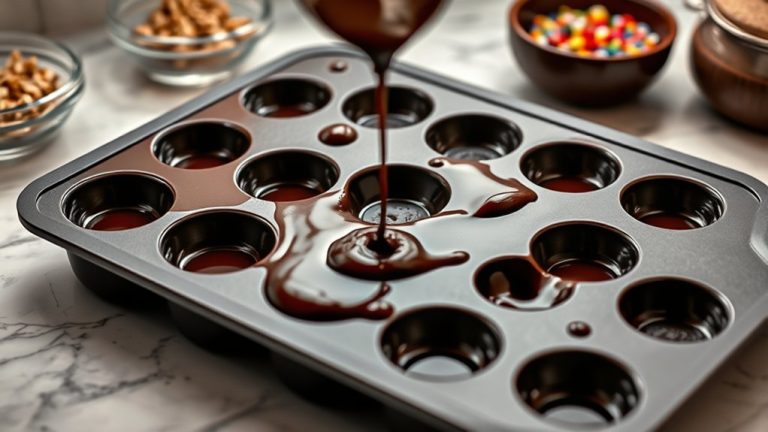
Melt the candy in your microwave or double boiler, then carefully pour or pipe the melts into the molds, tapping gently to remove air bubbles.
Let them set fully, and you’ll have personalized chocolates ready for packaging or decorating—discover more simple steps ahead.
Key Takeaways
- Choose high-quality, heat-resistant molds like silicone or household items, and make sure they’re clean and dry before you start.
- Melt the candy melts at 115°F-120°F. Pour them evenly into your molds, then tap gently to get rid of any air bubbles.
- Let the molds cool completely, either at room temperature or in the fridge, so the chocolates set properly.
- When they’re ready, gently flex the molds and support them to release the chocolates without cracking or breaking.
- Store your molds in a cool, dry place, and handle them carefully to keep their shape and last longer.
Gather Your Supplies for Making Candy Melt Molds
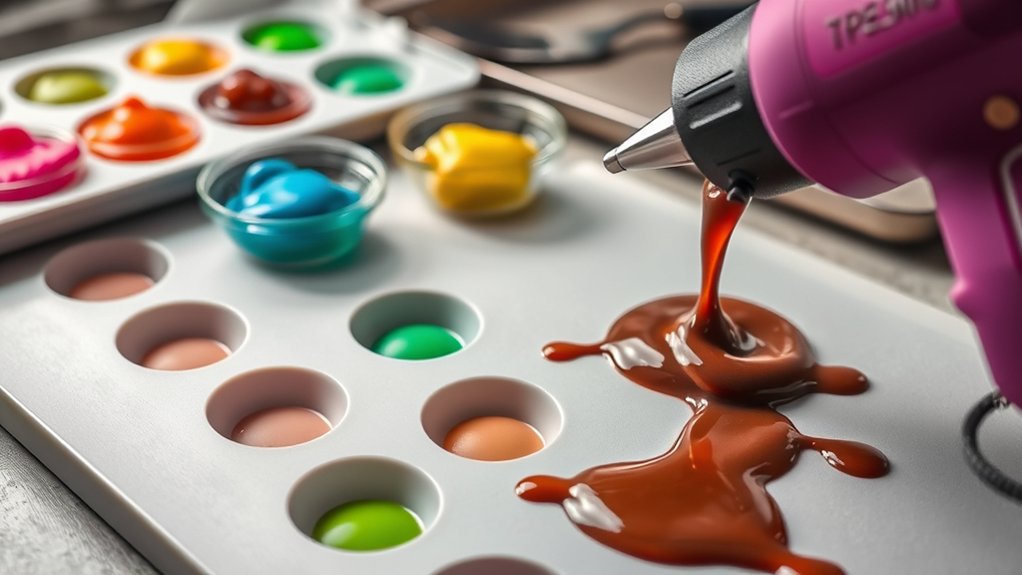
Before you start, make sure you’ve gathered all the supplies you’ll need for making your candy melt molds. First up, choose high-quality candy melts in the colors you want.
Gather all your supplies first for smooth, professional-looking candy melt molds.
You’ll also need silicone mold trays or silicone molds with the shapes you’re aiming for. A piping bag or plastic squeeze bottles can help with detailed decorating, so pick one that works for you.
Don’t forget a microwave-safe bowl for melting the candy, along with a spatula or spoon for stirring. To prevent sticking, have some shortening or cornstarch on hand for mold storage tips.
Keep paper towels nearby for quick cleanup and small tools like toothpicks or brushes for fine decorating. Lastly, consider a cooling rack or tray to set your molds.
Gathering all these supplies will help your project run smoothly and make your results look professional. Proper prep makes decorating easier and mold storage more manageable.
Choose the Best Candy Melts for Your DIY Molds
Picking the right candy melts is super important if you want your molds to turn out just right. There are different types out there, so it’s good to think about which one will work best for your specific project. And of course, don’t forget about the colors! Bright, vibrant hues can really make your creations pop and look professional.
Also, take a moment to look into melting and setting tips. Getting these steps just right can make a huge difference in how smooth and polished your final product looks. With a bit of attention to these details, you’ll be creating candy molds that are both beautiful and delicious!
Types of Candy Melts
Selecting the right type of candy melts is essential for achieving smooth, professional-looking molds. There are several options, including traditional wax-based melts and newer, vegetable-based varieties.
Historical recipes often used simple ingredients, but modern options emphasize ease of use and consistency. Some candy melts contain added nutritional benefits, like fortified vitamins or natural ingredients, which may appeal if you’re health-conscious.
Milk chocolate, white chocolate, and dark chocolate melts each offer distinct flavors and textures, so choose based on your desired outcome. Always check the ingredients list to guarantee quality and compatibility with your molds.
The right choice will help you achieve a glossy finish and smooth surface, making your DIY projects look polished and professional.
Color Variety Options
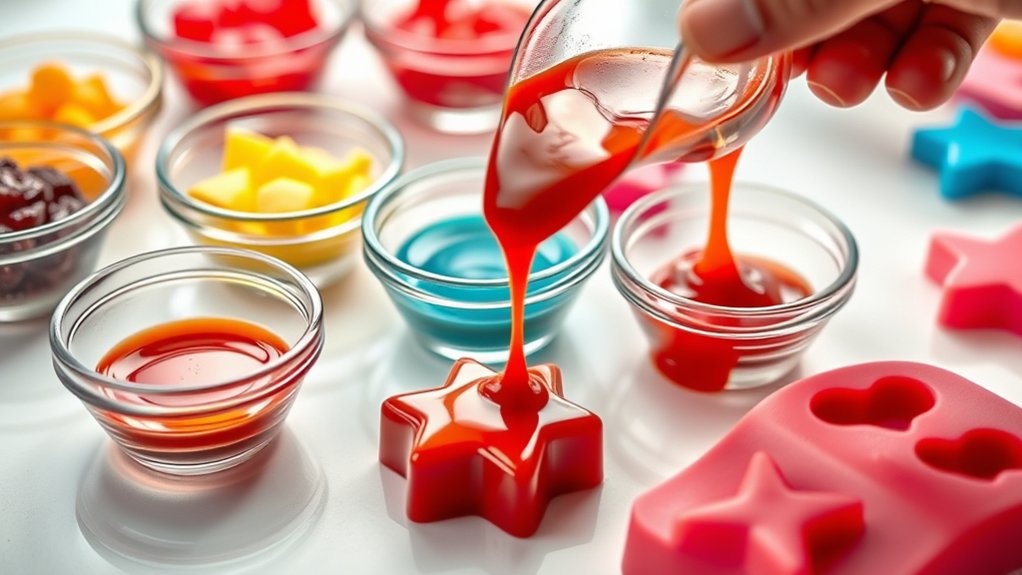
Candy melts come in a wide array of colors, giving you plenty of options to customize your molds and make them visually appealing. With so many shades available, you can experiment with color mixing to create custom hues that match your theme perfectly.
Shade matching gets easier when you combine different candy melt colors, giving your molds a unique, professional look. Whether you’re going for vibrant, pastel, or metallic finishes, choosing the right colors can really make your project pop.
Think about the emotional impact of colors—bright reds evoke excitement, while soft pinks bring a gentle charm. Use this variety to set the tone for your creations and evoke the feelings you want.
The possibilities are endless, and your creativity is the only limit. Have fun exploring different color combinations to make your treats truly stand out!
Melting and Setting Tips
To get smooth, professional-looking molds, it’s important to melt your candy melts properly and let them set correctly. Pick a candy melt flavor you like, whether it’s milk, dark, or white chocolate, so it suits your taste.
When melting, keep the temperature around 115°F to 120°F. This helps prevent burning or thickening. You can use a microwave or double boiler, just stir often for even heat.
Once melted, pour the candy into your molds and gently tap to get rid of air bubbles. For the best results, let the chocolate set at room temperature or pop it in the fridge until it’s fully hardened.
Using the right melting and setting techniques makes your molds glossy, smooth, and perfect for decorating or gifting.
Design Unique Shapes and Templates for Your Molds
Creating unique shapes and templates for your molds lets you personalize your chocolates and make them really stand out. Designing your own adds a special touch that shows off your creativity. Use fun patterns to make intricate designs or playful themes that bring joy.
Custom templates allow you to shape chocolates into meaningful symbols, memorable characters, or elegant motifs. Whether you sketch by hand or use digital tools, your ideas can come alive in edible form.
Try bold, eye-catching designs that surprise and delight. Incorpor’s meaningful symbols or initials for a personal touch. Use different textures to add depth and visual interest.
Mix and match patterns to create a truly unique collection. With custom templates, your chocolates become more than treats—they’re expressions of your creative spirit. Play around with ideas and don’t be afraid to think outside the box!
Create Custom Molds Using Household Items
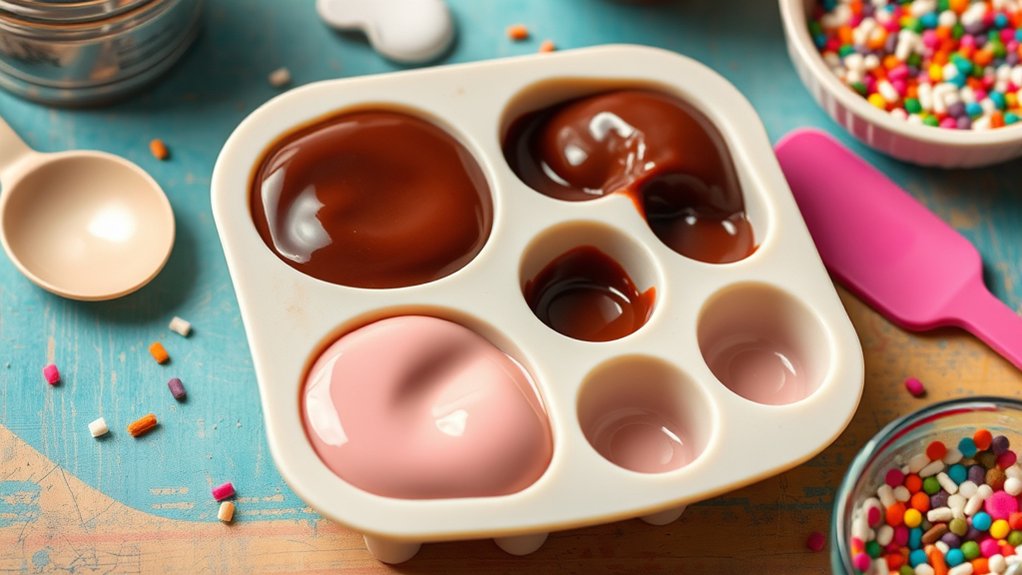
Want to get creative with your chocolates? You can actually turn common household items into custom molds! Just pick the right materials, like silicone or plastic, and you’re all set. Before you pour in your candy melts, make sure the surface of your mold is nice and clean, and smooth if possible. That way, your chocolates will come out looking perfect and easy to remove. Once you’ve shaped your treats, give the melts plenty of time to set completely. Then, gently pop out your chocolates, and you’ll have a batch of beautifully molded candies ready to enjoy!
Selecting Household Mold Materials
When selecting household materials to create custom molds, it’s important to choose items that can withstand the heat and mold the candy melts effectively. Historically, creative uses of everyday objects have shaped culinary traditions, inspiring innovative mold designs. While focusing on nutritional benefits, consider how your mold choices impact the overall experience.
Opt for materials that are safe and heat-resistant, such as silicone baking molds and plastic containers labeled microwave-safe. Cardboard lined with aluminum foil and wax paper or parchment can also work for gentle shaping.
These options evoke a sense of resourcefulness and nostalgia, turning simple household items into personalized molds. Ensuring your materials can handle the heat guarantees a smooth process and beautiful results, making your candy melts both fun and safe to craft.
Preparing the Mold Surface
Before pouring your candy melts, it’s important to prepare the mold surface to guarantee clean, detailed results. Using household items inspired by historical chocolate molds and cultural candy traditions, you can create custom molds easily.
Clean your mold thoroughly and lightly coat it with vegetable oil or non-stick spray to ensure easy release. For better detail, consider lining the mold with plastic wrap or parchment paper.
| Household Item | Purpose |
|---|---|
| Plastic wrap | Preserves fine details from cultural candy traditions |
| Parchment paper | Protects the surface and makes release easier |
| Toothpicks | Remove air bubbles and refine details |
| Cotton swabs | Clean edges and intricate designs |
| Soft brush | Smooth surfaces and remove dust |
This preparation connects you to the artistry behind historical molds and cultural sweets.
Shaping and Setting Candy Melts
To shape and set your candy melts effectively, start by warming them slightly to ensure smooth pouring and easy molding. Once melted, pour the candy into your homemade molds made from household items like silicone ice trays or plastic containers.
Use a toothpick or small spatula to remove excess and create clean edges. As the melts cool and harden, you can experiment with different flavor combinations by adding extracts or colorings.
These custom molds and flavors open up exciting packaging ideas, turning simple treats into personalized gifts. To evoke emotion and excitement, consider creating themed molds for special occasions.
Try combining flavors for unique taste experiences and using vibrant colors to attract attention. Designing packaging that showcases your creative molds will make your confections stand out.
These tips help you craft memorable, professional-looking confections at home.
Pour Candy Melts Into Your Molds and Let Them Set
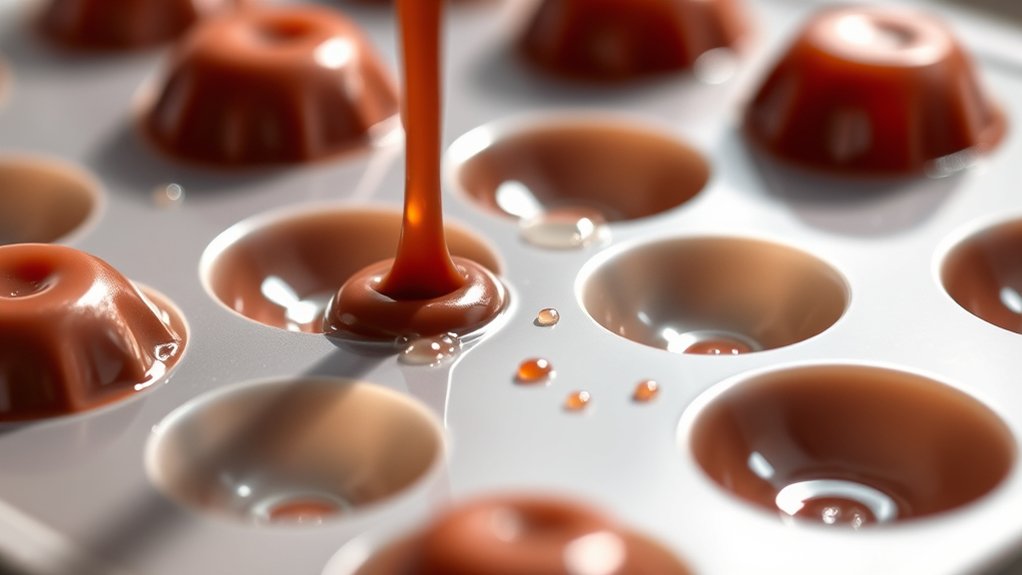
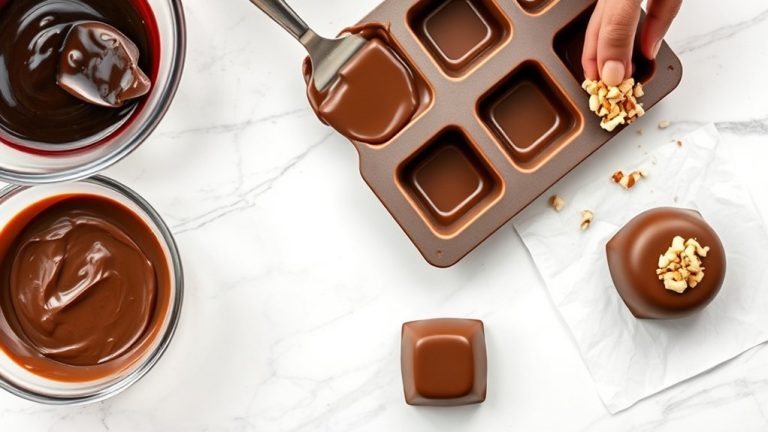
Once your molds are ready and the candy melts are smooth and pourable, carefully spoon or pour the melts into each cavity. Make sure to fill each mold completely, but avoid overflows. Filling the molds properly helps with durability and gives a smooth finish.
While pouring, you can get creative by adding extracts or flavor oils to the melts beforehand. This is a fun way to create unique chocolates with different flavor combinations. If you’re making layered or filled molds, let each layer set slightly before adding the next to keep the layers distinct.
Use a toothpick or skewer to guide the melts into intricate details of the mold. Keep your workspace steady to prevent spills. After filling, gently tap the mold on the counter to remove air bubbles, which helps improve the finish.
Finally, leave the molds undisturbed until the candy melts are fully set and hardened. This ensures your chocolates come out perfect and smooth.
Carefully Remove Molds Without Breaking Them
To avoid breaking your molds, it’s best to handle them gently and not force them out. Give them enough time to cool completely before you try to remove whatever’s inside because warm molds can be a lot more fragile. When you’re ready to pop the shapes out, use light, even pressure — no need to rush or squeeze too hard. This way, you’ll keep your molds in good shape and your creations looking perfect!
Use Gentle Handling Techniques
Removing your chocolate molds carefully is essential to avoid cracks or breaks. Handle them gently to protect your creations and make sure they look professional.
Prioritize handling safety by supporting the mold from underneath and avoiding excessive pressure. Keep mold hygiene in mind—wash your molds thoroughly before use and handle them with clean hands to prevent contamination.
As you remove the chocolates, take your time and avoid rushing, which can cause damage.
Remember these tips:
- Use soft, steady pressure to release the mold
- Support the mold from the base to prevent flexing
- Handle with clean, dry hands to maintain hygiene
- Be patient and avoid forced removal
This careful approach ensures your chocolates look perfect and your molds stay in top condition.
Allow Proper Mold Cooling
Allowing the mold to cool completely is essential before trying to remove your chocolates. Rushing this step can cause the delicate mold material to tear or damage your creations.
Once cooled, gently flex the mold to release the chocolates. Be careful not to use too much force, as this can also cause damage.
Proper mold storage tips include keeping molds in a cool, dry place away from direct sunlight. This helps maintain the mold material’s safety and extends its lifespan.
Visualize this process with the following mental image:
| Hot, Flexible Mold | Cooled, Rigid Mold |
|---|---|
| Soft, pliable | Firm, sturdy |
| Tearing risk | Safe to handle |
| Needs careful release | Easy removal |
Patience is key. It keeps your mold intact, ready for reuse, and ensures your chocolates come out perfect.
Apply Light, Even Pressure
Once the mold has cooled completely and hardened, gently apply light, even pressure around the edges to release the chocolates without causing damage. Use your fingertips or the back of a spoon, avoiding excessive force. Proper lighting techniques can help you see fine details and ensure gentle handling.
As you work, keep the mold stored in a cool, dry place to prevent warping or sticking. Be patient—rushing can crack your creations or ruin the mold. Carefully flex the mold, releasing the chocolates gradually. Remember, patience and gentle pressure are key to perfect results.
Handle your mold with care, and you’ll create beautiful, professional-looking chocolates every time. Feel the anticipation build with each delicate release and celebrate your craftsmanship without fear of breakage.
Trust your instincts, guided by proper lighting techniques. Preserve your molds for endless sweet creations.
Finish and Refine Your Handmade Candy Molds
After you’ve poured and cooled your chocolate molds, it’s time to finish and refine them for a professional look. Carefully inspect your molds for any rough edges or imperfections.
Use a small, warm knife to trim excess chocolate and smooth out the edges for a clean finish. To make your candies more appealing, try experimenting with flavor combinations like mint and dark chocolate or caramel and sea salt.
Once you’re happy with the chocolates, consider creative packaging ideas. Decorative boxes, clear cellophane wraps, or custom labels can really showcase your craftsmanship.
| Step | Tip | Result |
|---|---|---|
| Trim edges | Use a warm knife to smooth edges | Neat, professional look |
| Add details | Use fine tools for intricate work | Better visual appeal |
| Packaging | Choose attractive, themed packaging | More appealing presentation |
Refining your molds takes your homemade candies from simple treats to gift-worthy delights.
Troubleshoot Common Problems When Making Candy Molds
Making candy molds can sometimes lead to common issues like air bubbles, cracks, or uneven surfaces, but many of these problems are easy to fix with a few simple adjustments. To reduce air bubbles, gently tap or vibrate your mold after pouring to encourage bubbles to rise.
Cracks often happen if the melts cool too quickly, so make sure your workspace stays at a consistent temperature. Uneven surfaces may result from pouring unevenly—try pouring slowly and from one side for better results.
If your molds don’t turn out perfect, think about your flavor pairings. Complementary flavors can help mask minor imperfections. Also, consider packaging ideas that showcase your craftsmanship and boost presentation.
Creative Ideas for Using Your Homemade Chocolate Molds
Your homemade chocolate molds open up a world of creative possibilities beyond just making candies. You can use them for personalized treats at parties, filling them with flavored ganache or caramel for added flavor pairing.
Experiment with different fillings to match themes or seasons, like peppermint for winter or fruit flavors for summer. These molds are perfect for creating unique chocolates to gift or serve.
Think about packaging ideas—wrap your chocolates in clear cellophane with a ribbon or place them in decorative boxes to boost their appeal.
You can also incorporate your molds into dessert presentations, creating chocolate accents for cakes or plated desserts.
Furthermore, use them to make custom-shaped chocolates with your logo or initials for branding or special events. The key is to combine your creativity with flavor pairing and thoughtful packaging, transforming simple molds into impressive, personalized treats that delight everyone.
Safe Tips for Working With Candy Melts and Storing Your Molds
Once you’ve created your beautiful homemade molds, it’s important to handle candy melts safely and store your molds properly to keep them in top shape. Follow safety tips to avoid burns or messes, like working with melted candy in a microwave-safe container and stirring gently.
Always keep your workspace dry and clean to prevent accidents. When storing your molds, make sure they are completely dry and kept away from direct sunlight or heat sources, which can cause warping or discoloration.
To keep your molds in great condition, consider these storage tips: store them in a cool, dry place to prevent melting or sticking, keep molds flat to maintain their shape, use airtight containers to block out dust and humidity, and label your molds to stay organized.
Following these safety precautions and storage tips will help you preserve your molds and keep your candy melts safe and ready for your next sweet project.
Frequently Asked Questions
Can I Reuse My Homemade Chocolate Molds for Different Candies?
Yes, you can reuse your homemade chocolate molds for different candies. Just make sure to clean them thoroughly after each use with warm water and mild soap, and avoid harsh chemicals.
Proper storage is key. Dry the molds completely and keep them in a cool, dry place to prevent damage or warping. This way, your molds stay in good shape and are ready for your next sweet creation.
How Long Do Candy Melt Molds Typically Last?
Your candy melt molds can last a lifetime if you handle them with care! Mold durability depends on the material, but with proper storage tips—keep them in a cool, dry place away from direct sunlight—they’ll serve you for countless projects.
Avoid scratching or bending the molds, and they’ll stay in top shape. This way, each candy creation will be as perfect as your first.
Proper maintenance ensures your molds remain a repository of sweet possibilities. With a little care, they can be a long-lasting part of your candy-making adventures.
What Are Some Alternative Materials to Household Items for Mold Making?
You can consider silicone, latex, or food-grade plastic as alternative materials for mold making, offering better mold durability than household items.
Silicone molds are flexible, reusable, and withstand high temperatures, making them ideal for repeated use.
Latex molds are affordable and versatile, but they are less durable.
Food-grade plastic provides durability and is suitable for complex designs.
These alternatives help your molds last longer and keep their shape, enhancing your chocolate-making experience.
How Do I Fix a Mold That Has Tiny Air Bubbles?
To fix a mold with tiny air bubbles, start by gently heating the mold to help air bubbles escape. Be careful not to overheat, just enough to soften the surface slightly.
Next, use a toothpick or a fine needle to carefully pop the bubbles. Take your time to do this gently so you don’t damage the mold.
After that, smooth the mold surface with a soft brush or cloth to get an even finish. This helps ensure your final product looks clean and professional.
Let the mold cool completely before pouring your candy melts again. Cooling helps set the surface and prevents new bubbles from forming.
Following these steps will improve your mold’s surface and lead to better, more polished results.
Is It Safe to Use Silicone Molds for Hot Candy Melts?
Yes, silicone molds are safe for hot candy melts if they’re food-grade and heat-resistant. Imagine pouring molten candy into a flexible mold—if it’s durable and designed for high temperatures, it won’t melt or release harmful chemicals.
Always check food safety labels and temperature limits. When used properly, silicone molds provide a reliable, safe way to shape your treats without worrying about mold durability or health risks.
Conclusion
Now that you’ve mastered the art of creating your own chocolate molds with candy melts, imagine all the endless possibilities waiting for you. Whether you want a fancy design or a personal gift, the choice is yours.
With your new skills, the creative world is truly at your fingertips. You can surprise and delight with unique, homemade treats. Keep experimenting, and you might just craft your best mold yet.
Your next sweet surprise is waiting—ready for you to make with your DIY chocolate molds using candy melts.